Week 13 & 14
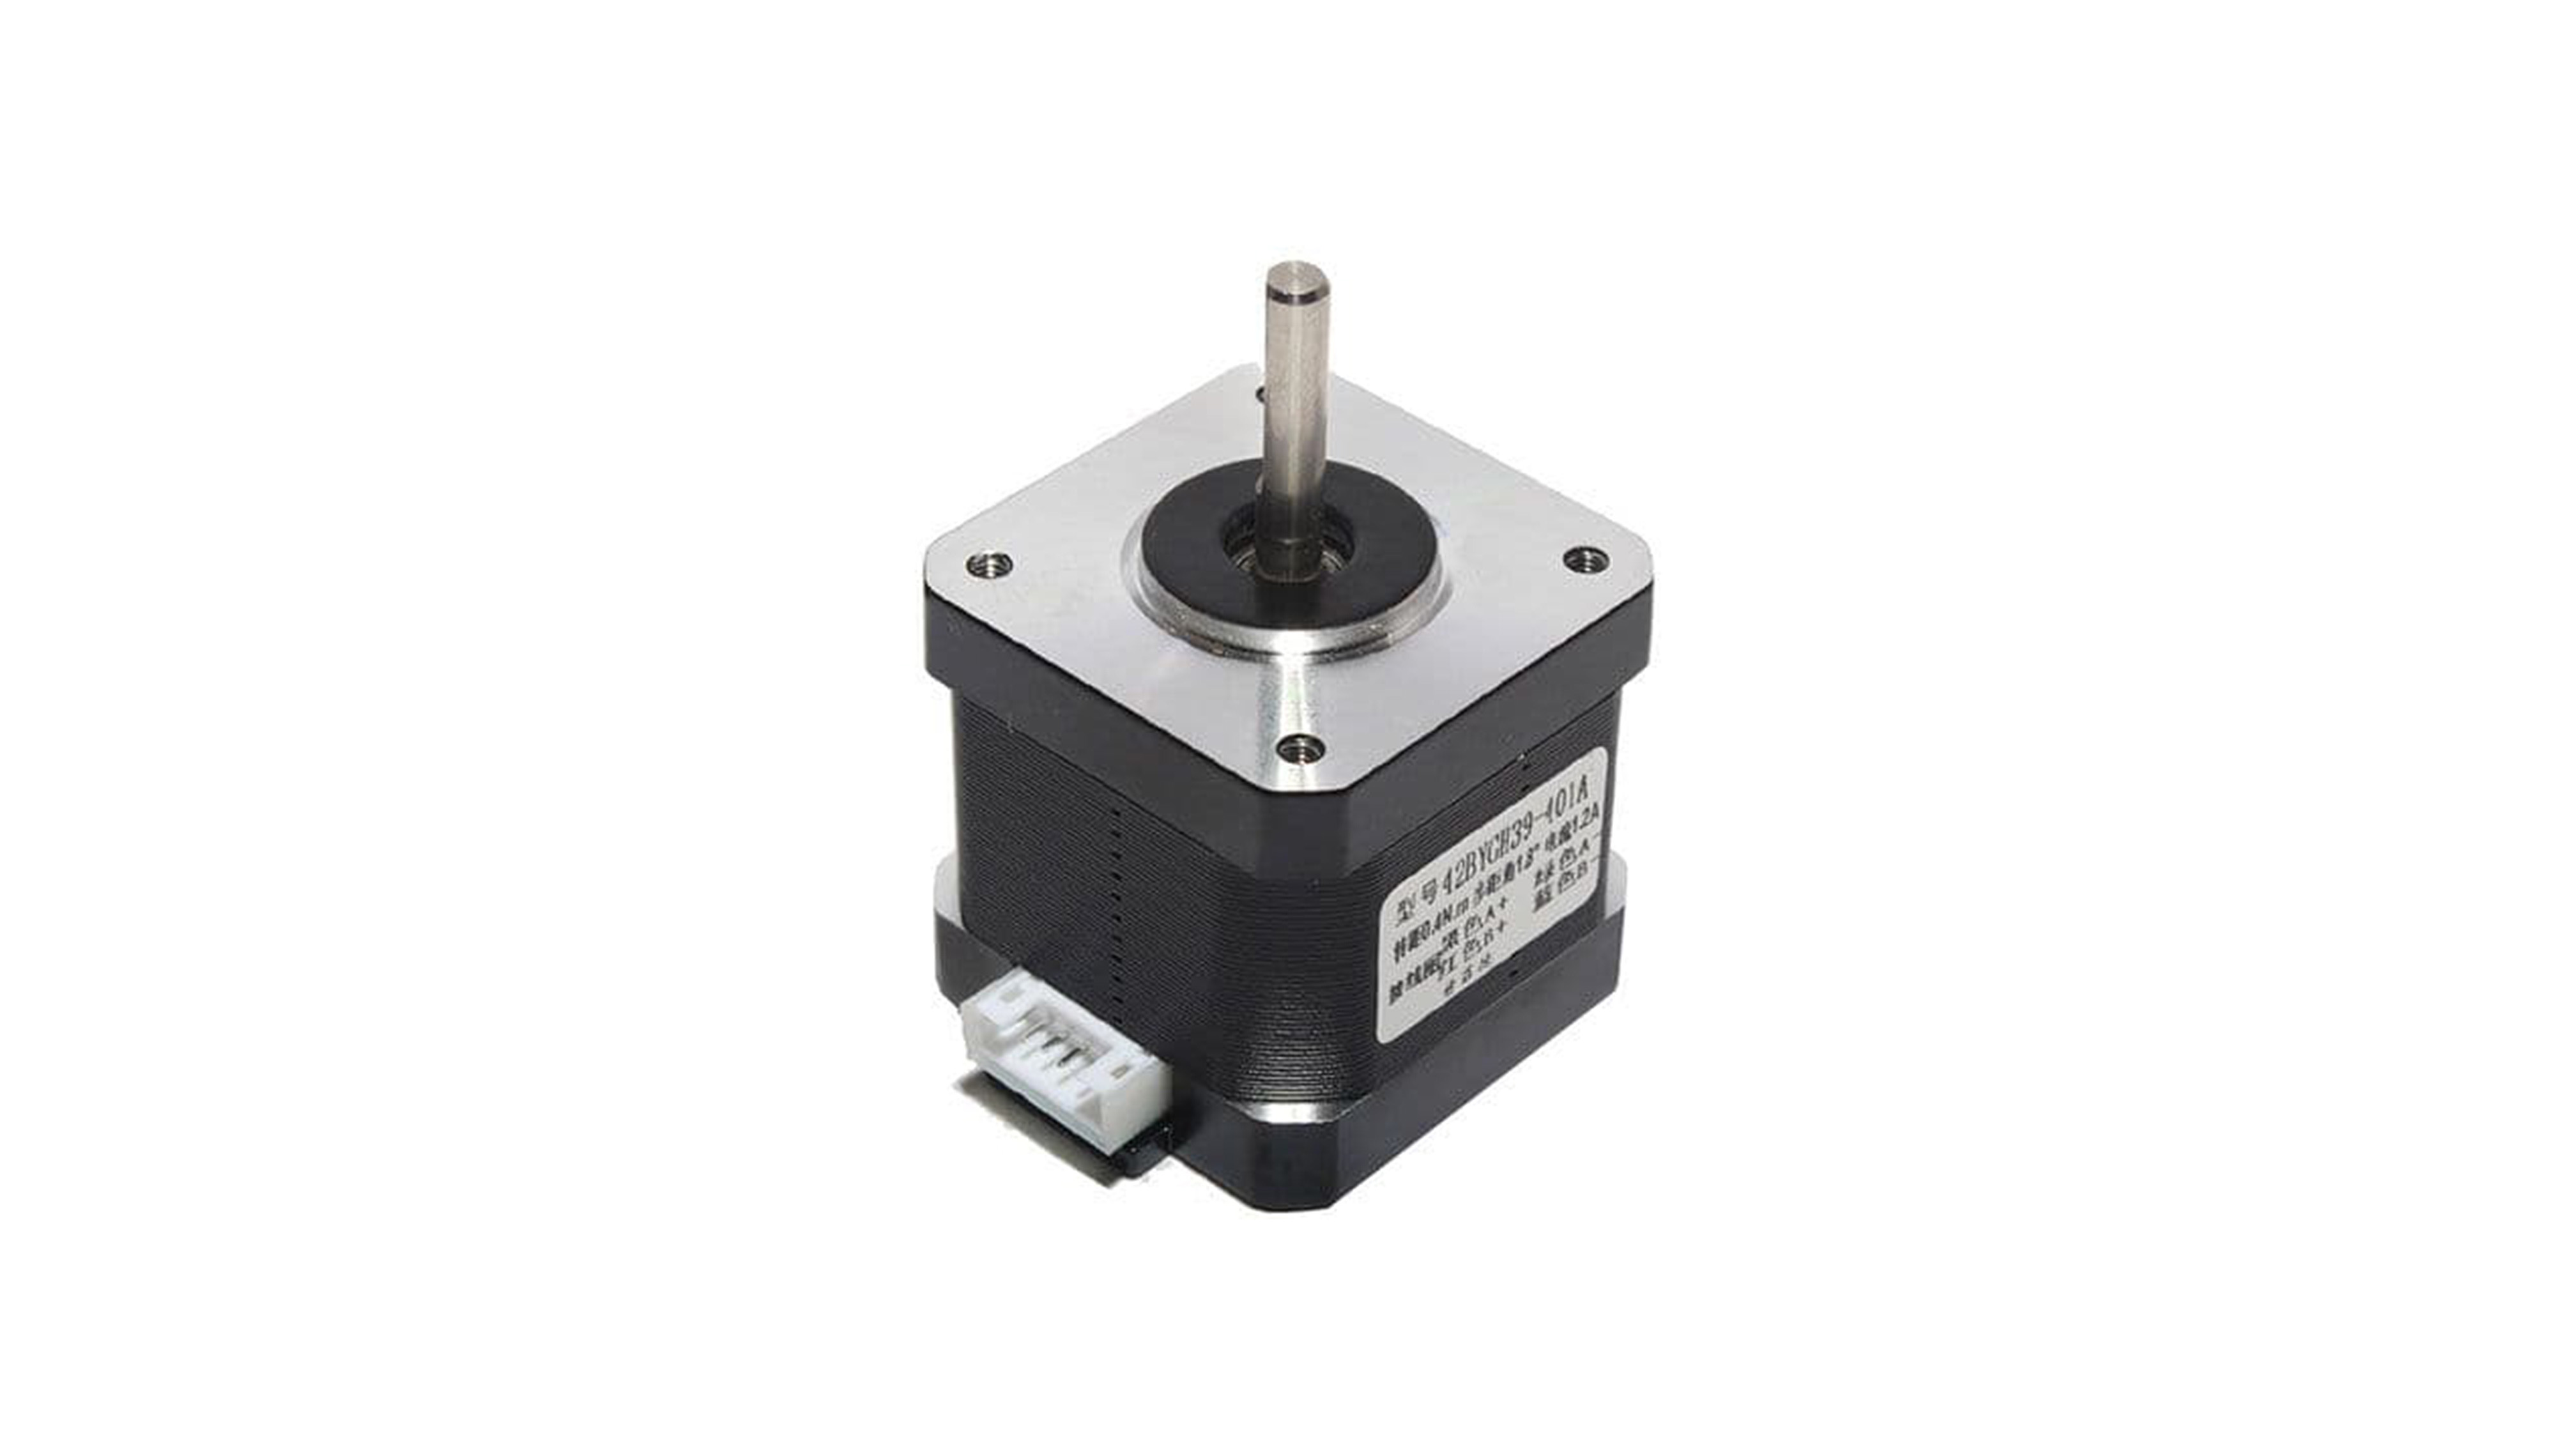
There were a lot of things I needed to do after taking down my display for open studios. I started by going to get a stepper motor. A stepper motor can handle a greater load and achieve highly precise speed and positioning control. The motor is so large and heavy that it seems as though it might function as a stand.
Despite the fact that it might seem as though I simply need to swap out the old DC motor for the new one, in order to integrate the new motor, I actually must rewrite the code. It turns out there were four wires connected to the motor shield rather than the two that were previously there and it was the reason why I had to recode. This took some time additionally, in addition to the game's bug that I had to resolve.
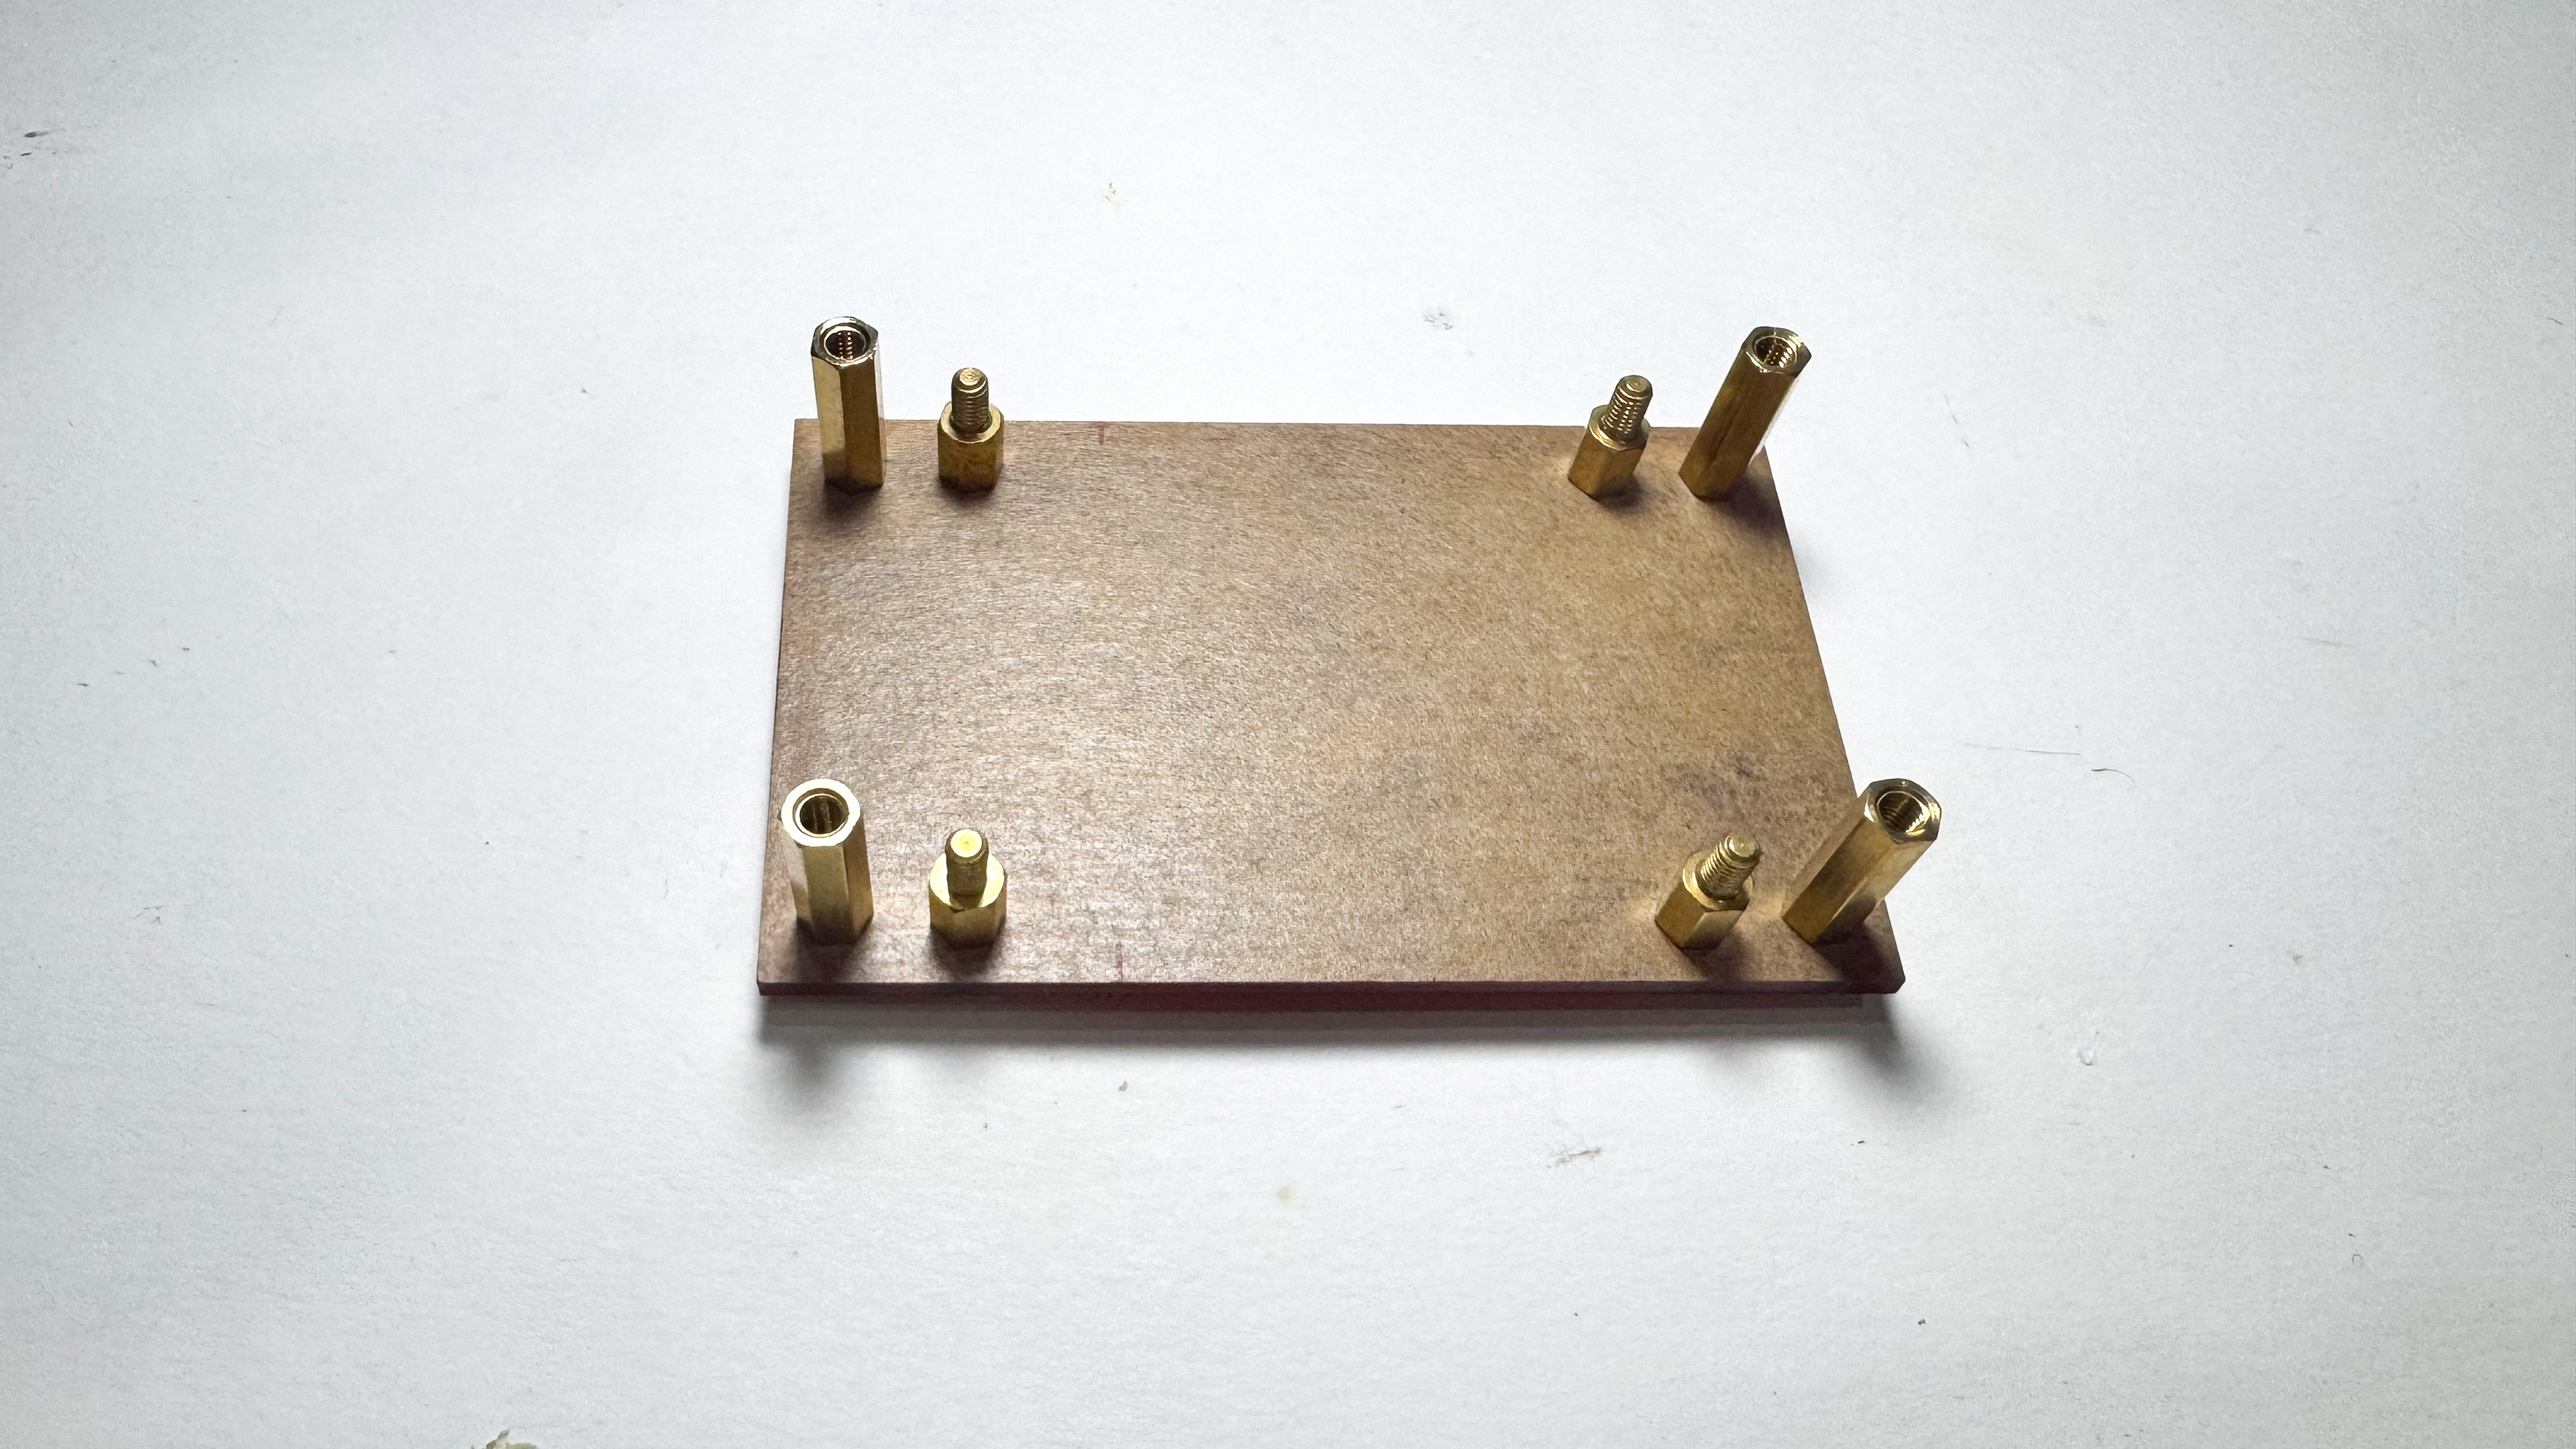
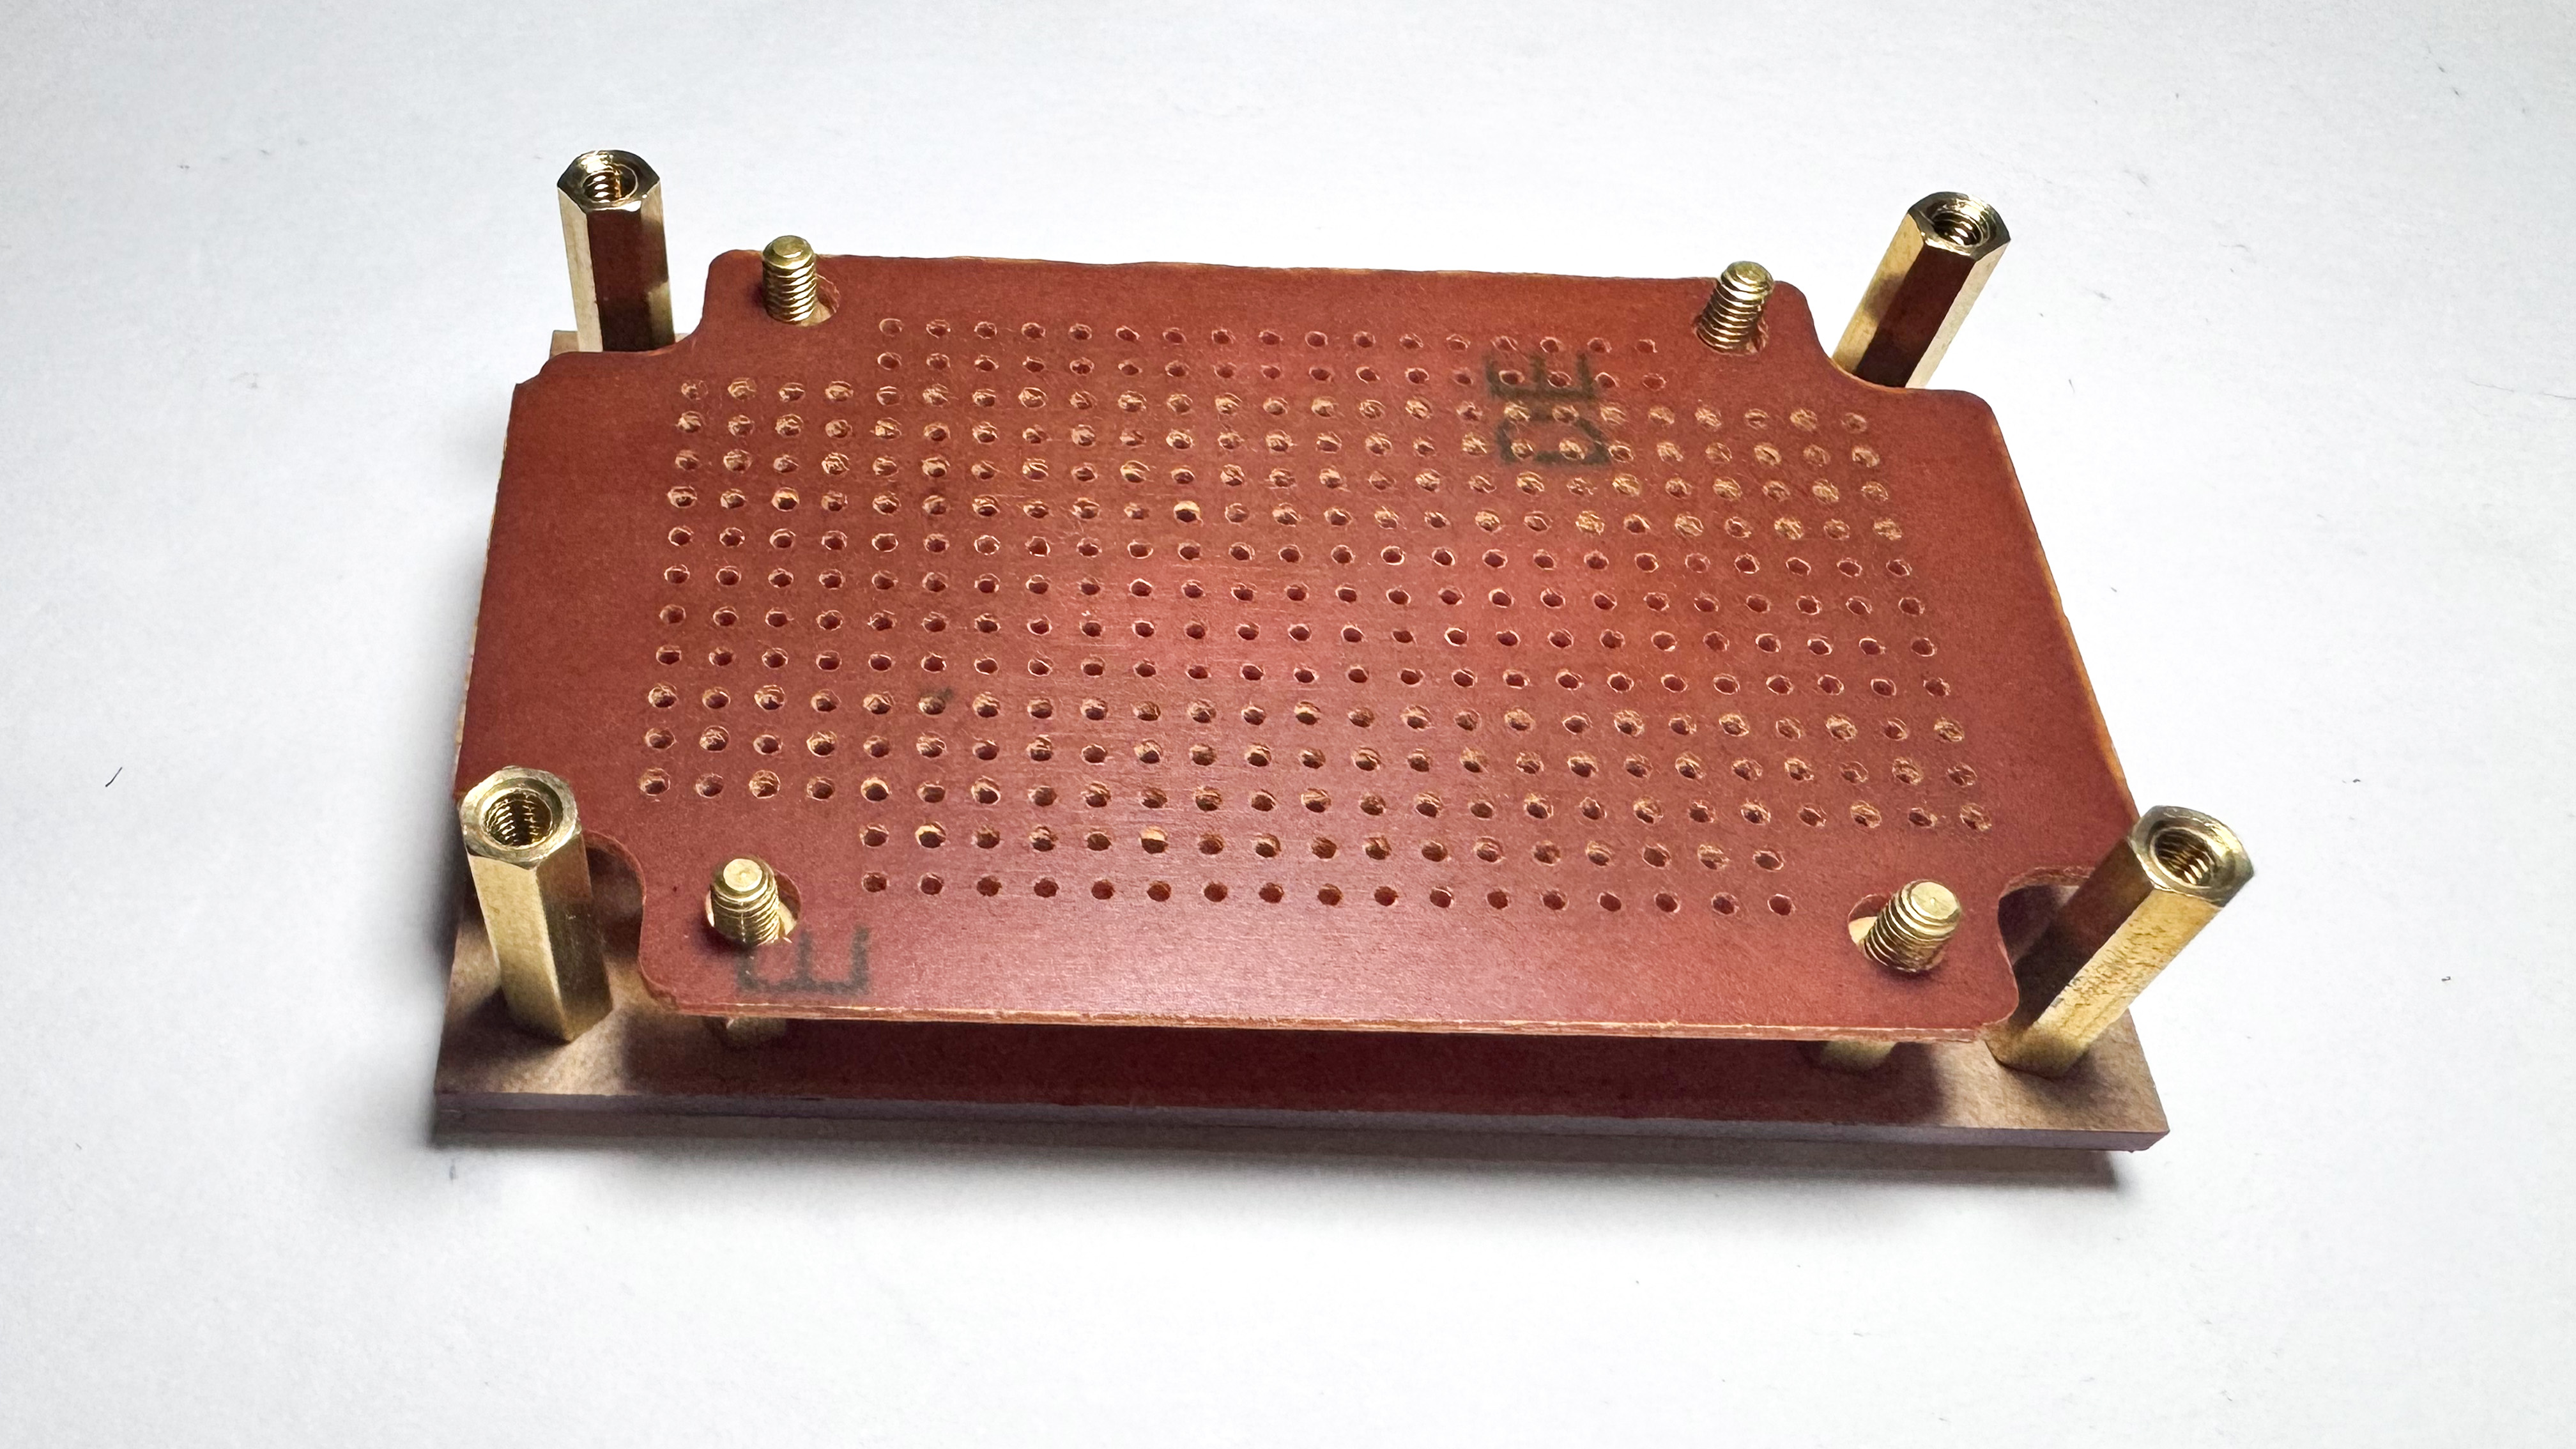
Right now, my prototype appears quite incomplete because every board is essentially visible. I considered making a casing out of acrylic for each of my boards. After that, the acrylic would sandwhich the board, giving it a more polished appearance while also letting a small bit of the boards and wires show through. I had to measure the boards and utilise laser cutting on the acrylic to make the acrylic pieces that would fit the boards. Fortunately, I would be able to utilise the school's laser cutting machine.
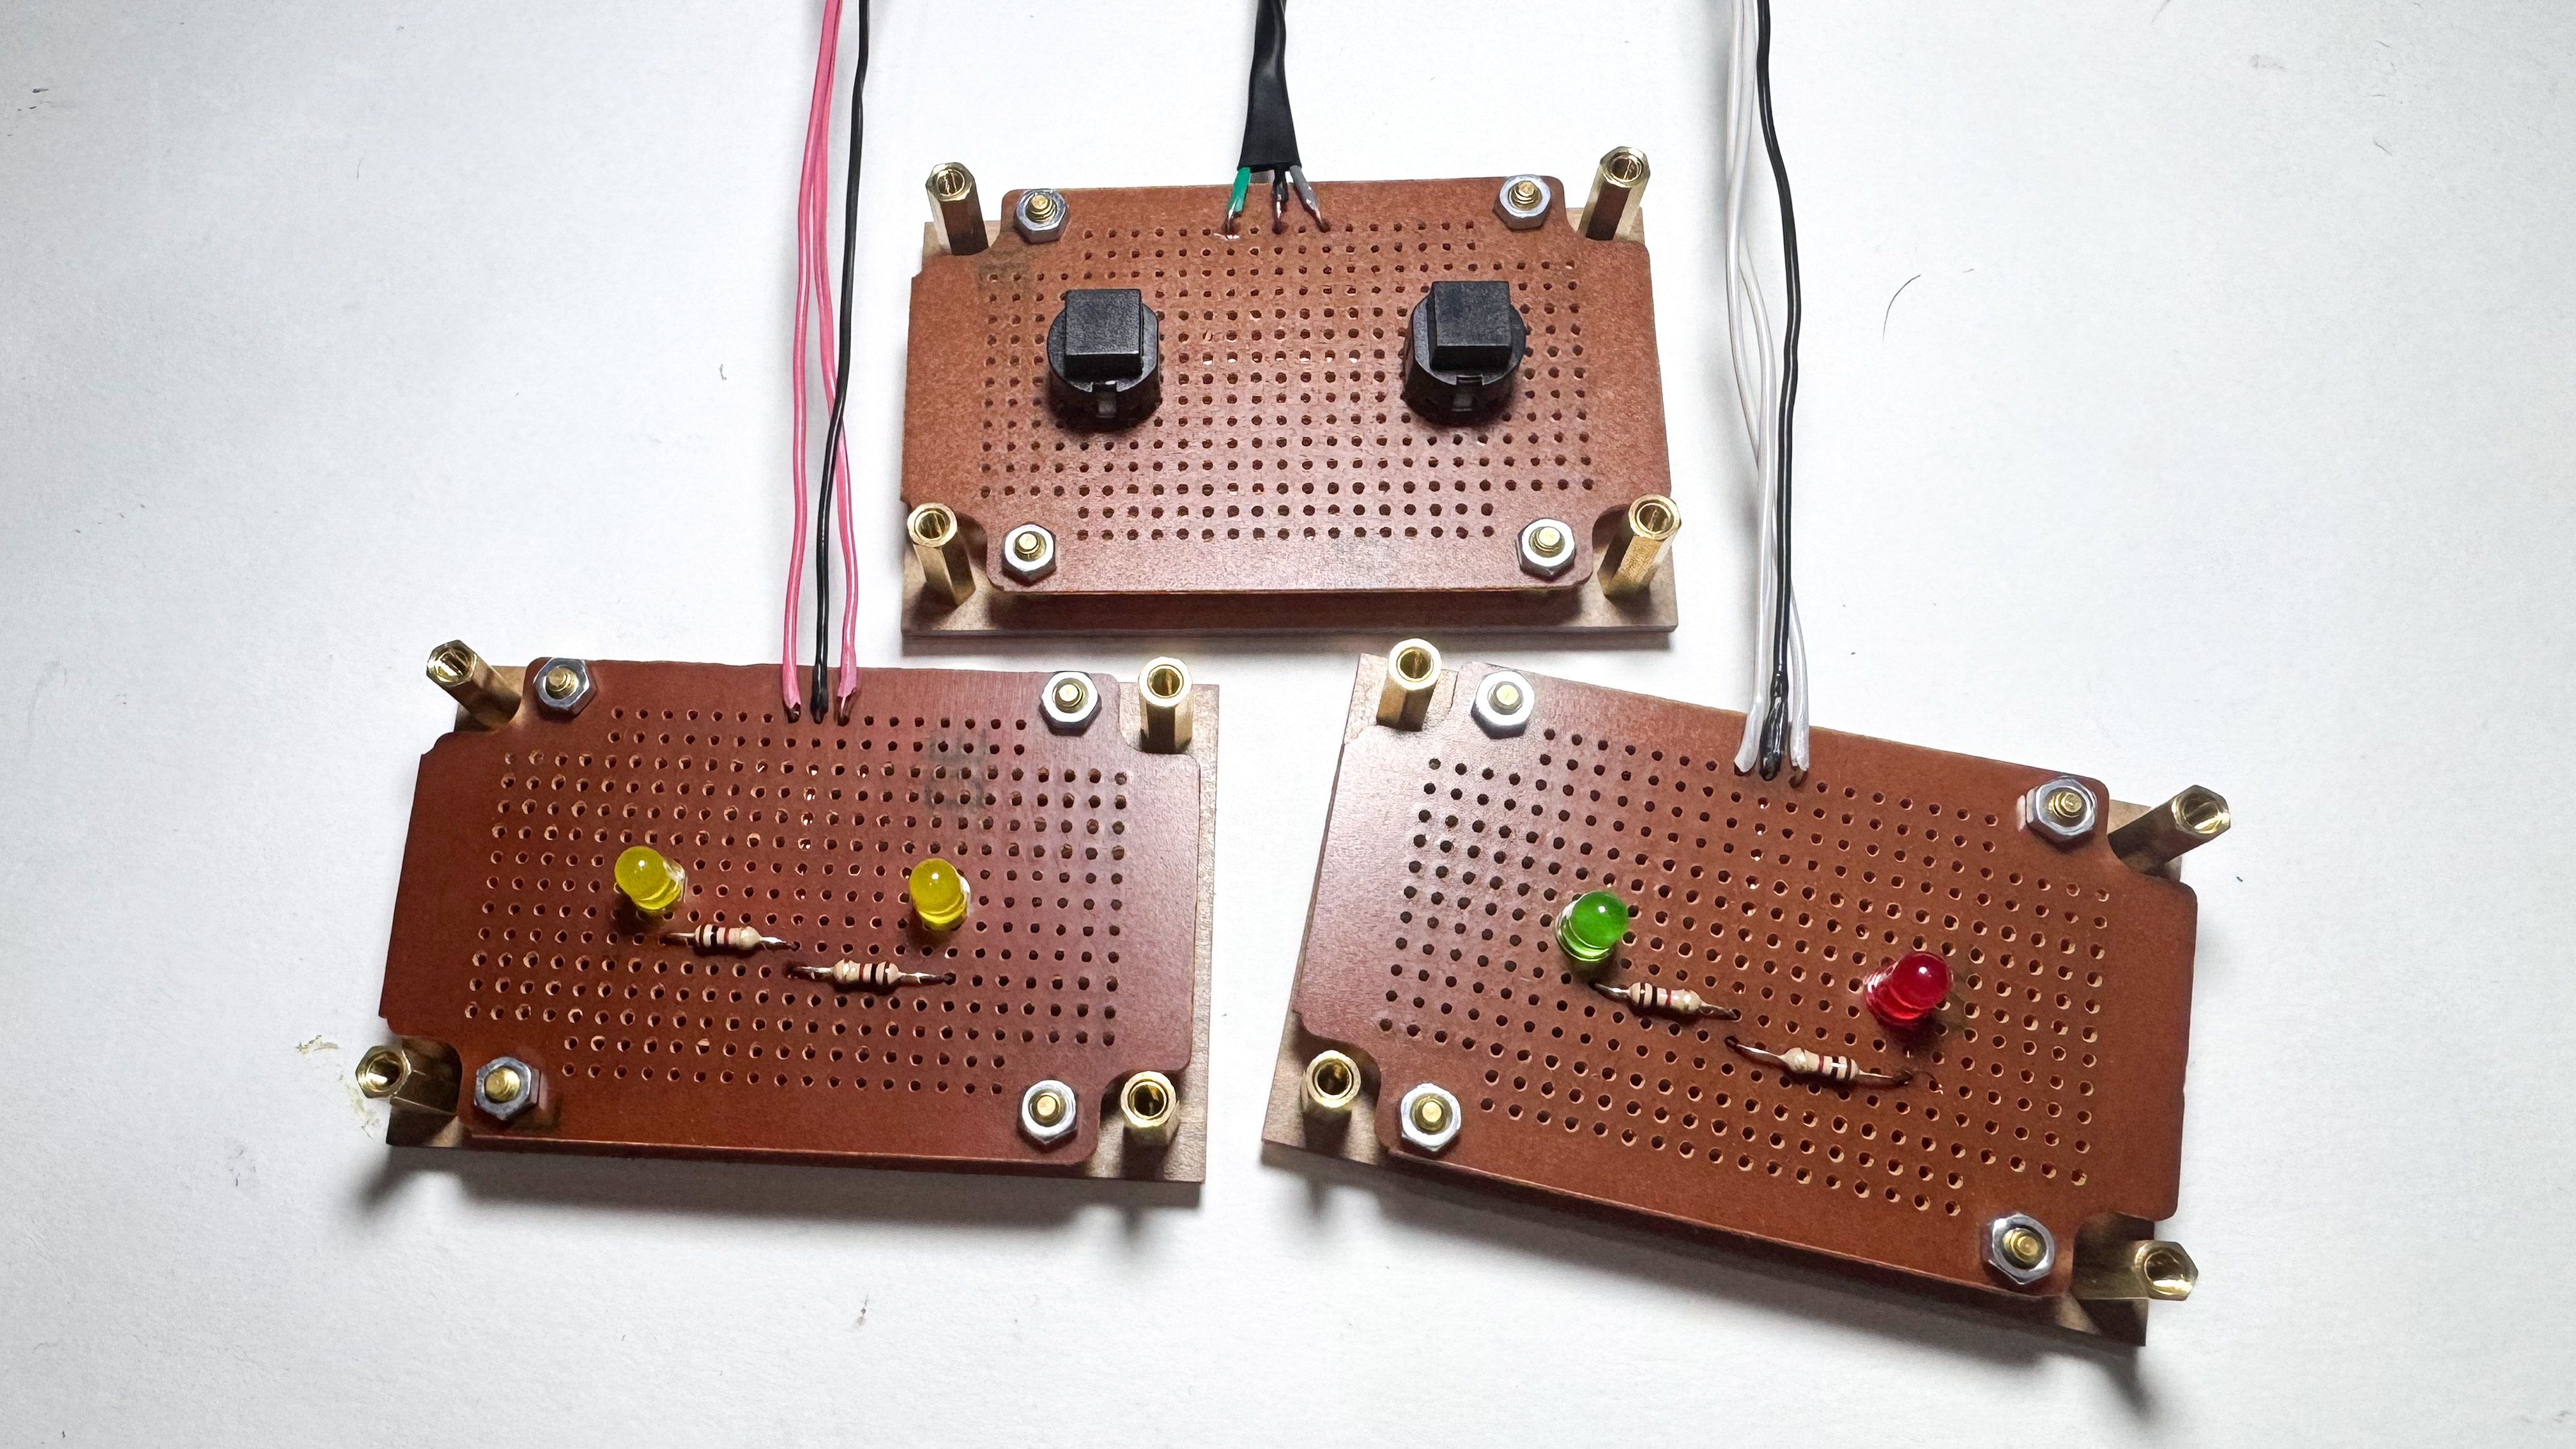
It appears that one of my LEDs had a problem after open studio, therefore I had to resolder everything on a new board. I purchased every board that had holes on it so that I could use spacers to raise it. I started measuring and planning my boards once I had soldered everything to the new boards so that I could laser cut my acrylic. I created the Illustrator template after taking measurements. I intended to cover the motor in an acrylic box that I had from a previous attempt. To make the base for it, I measured it too. In addition, I measured my Arduino and designed a case to house my boards.
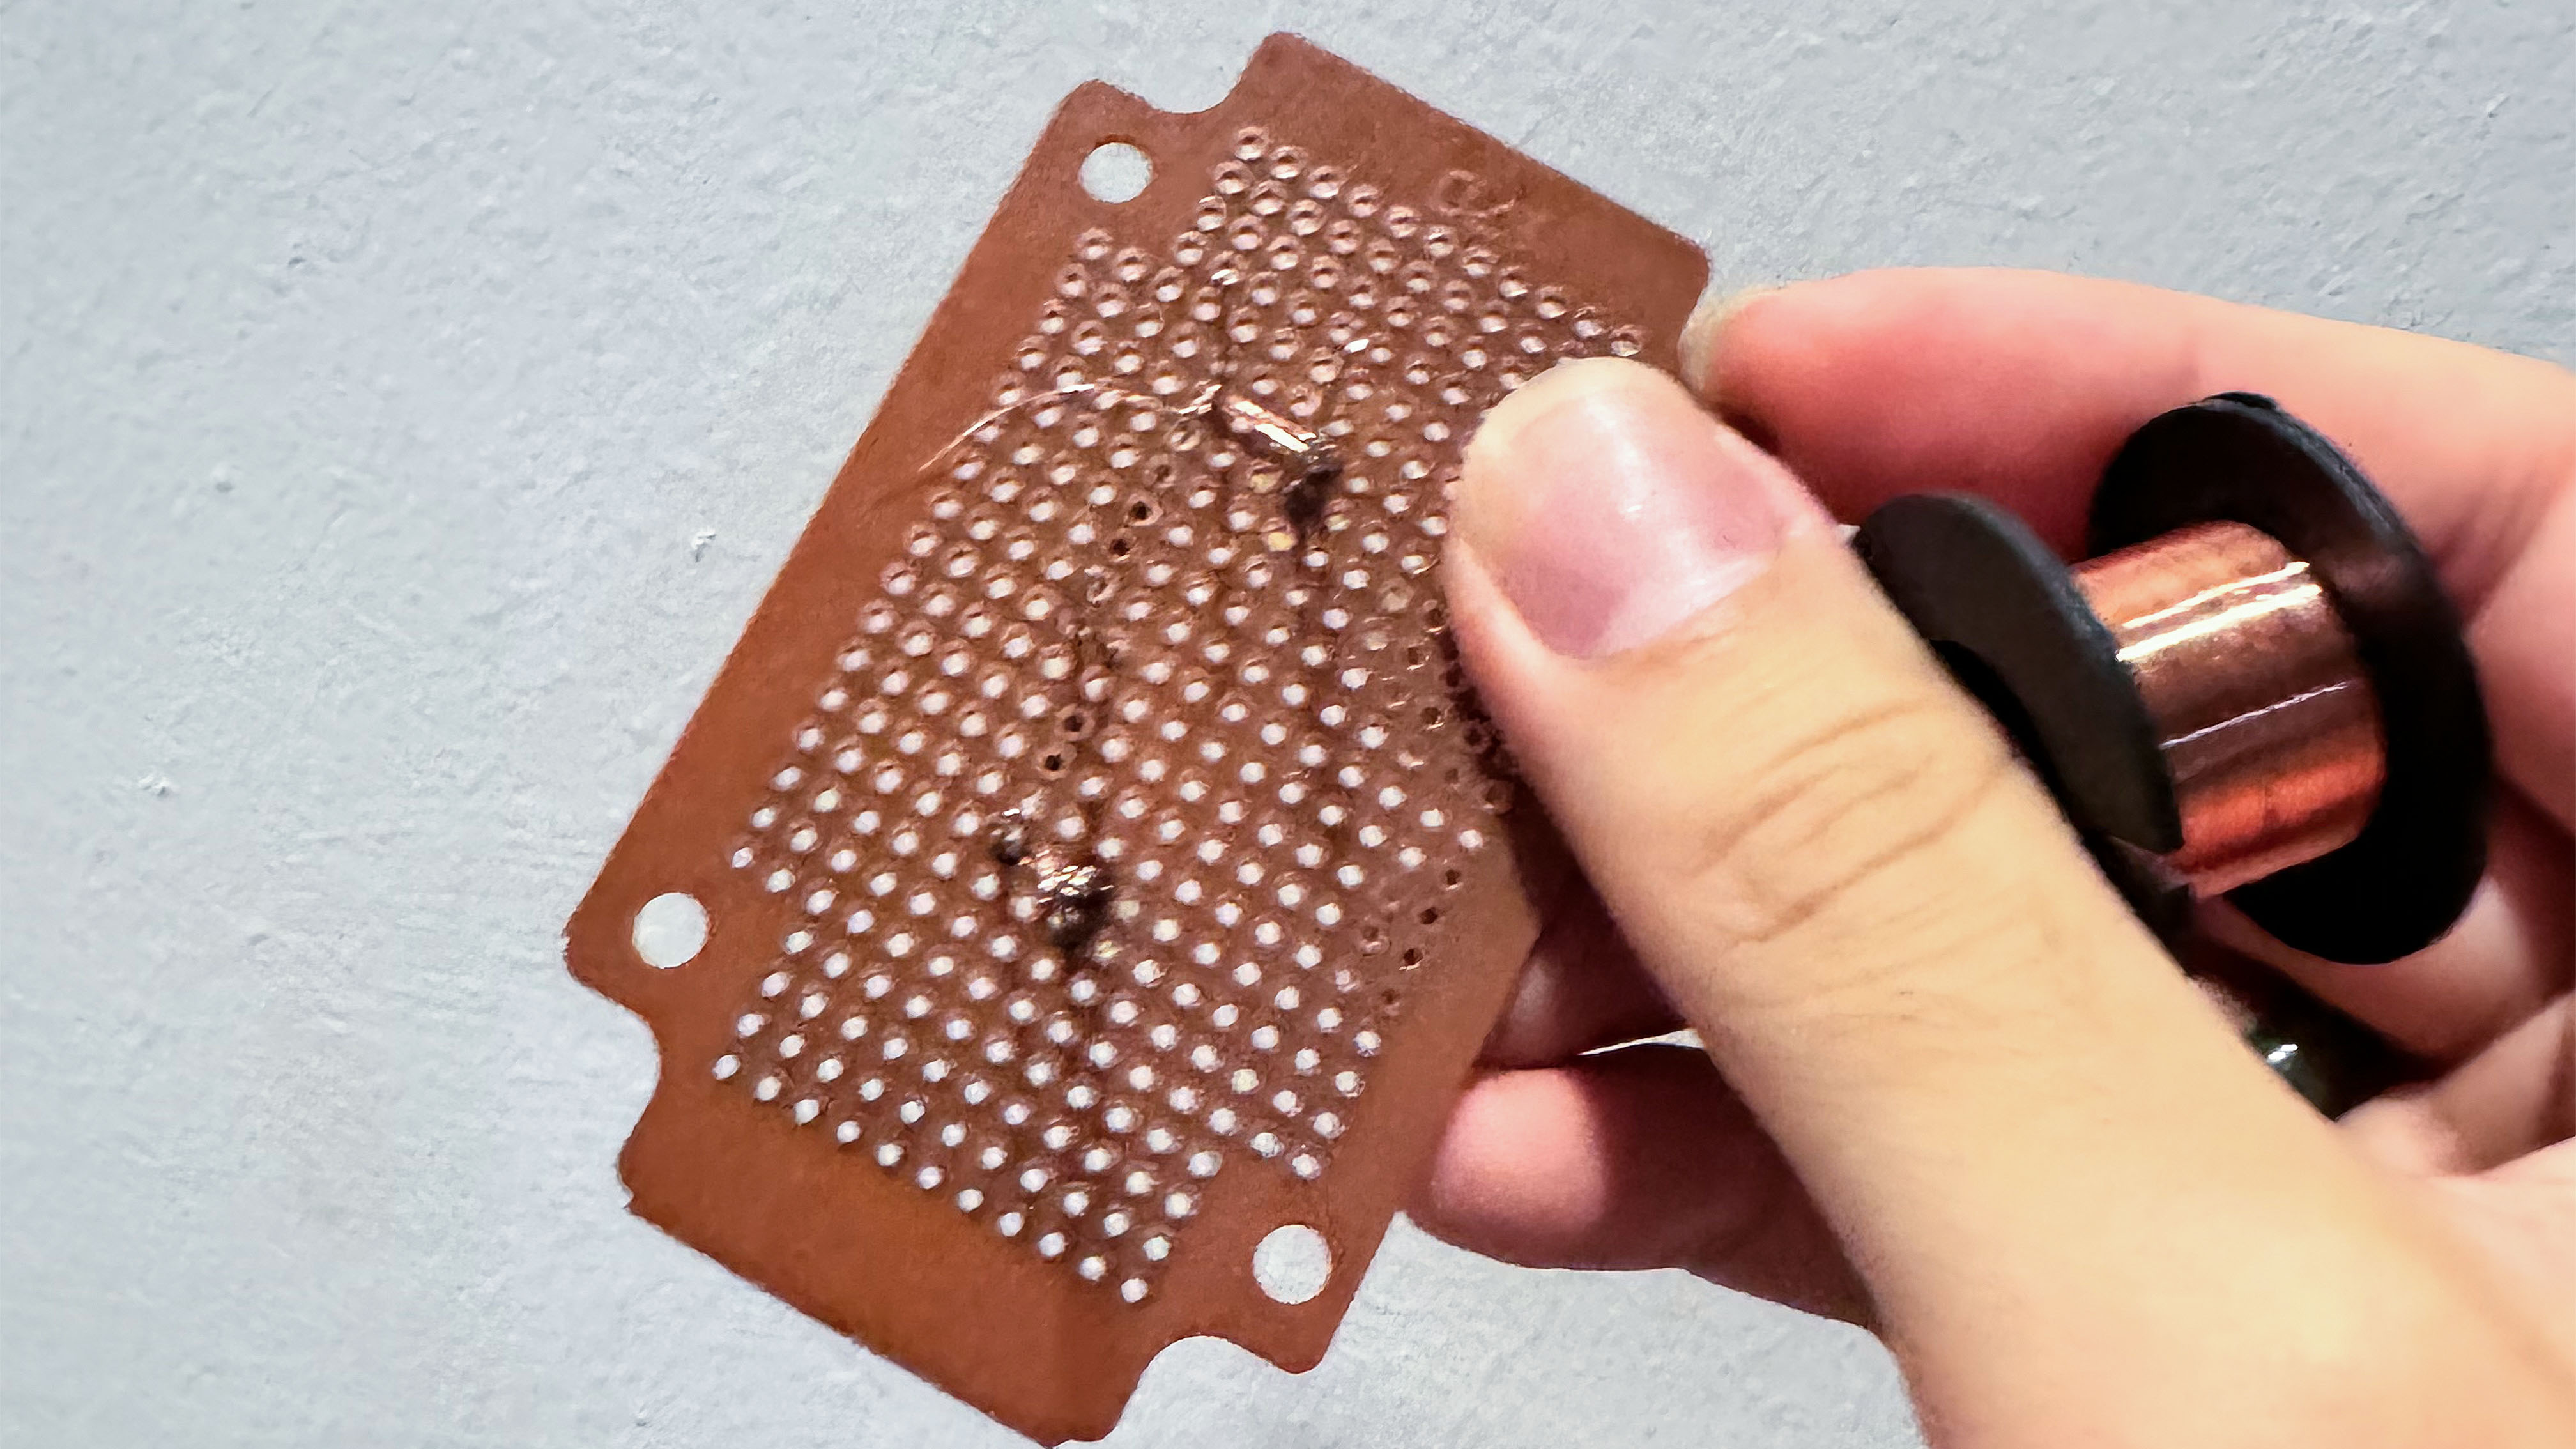
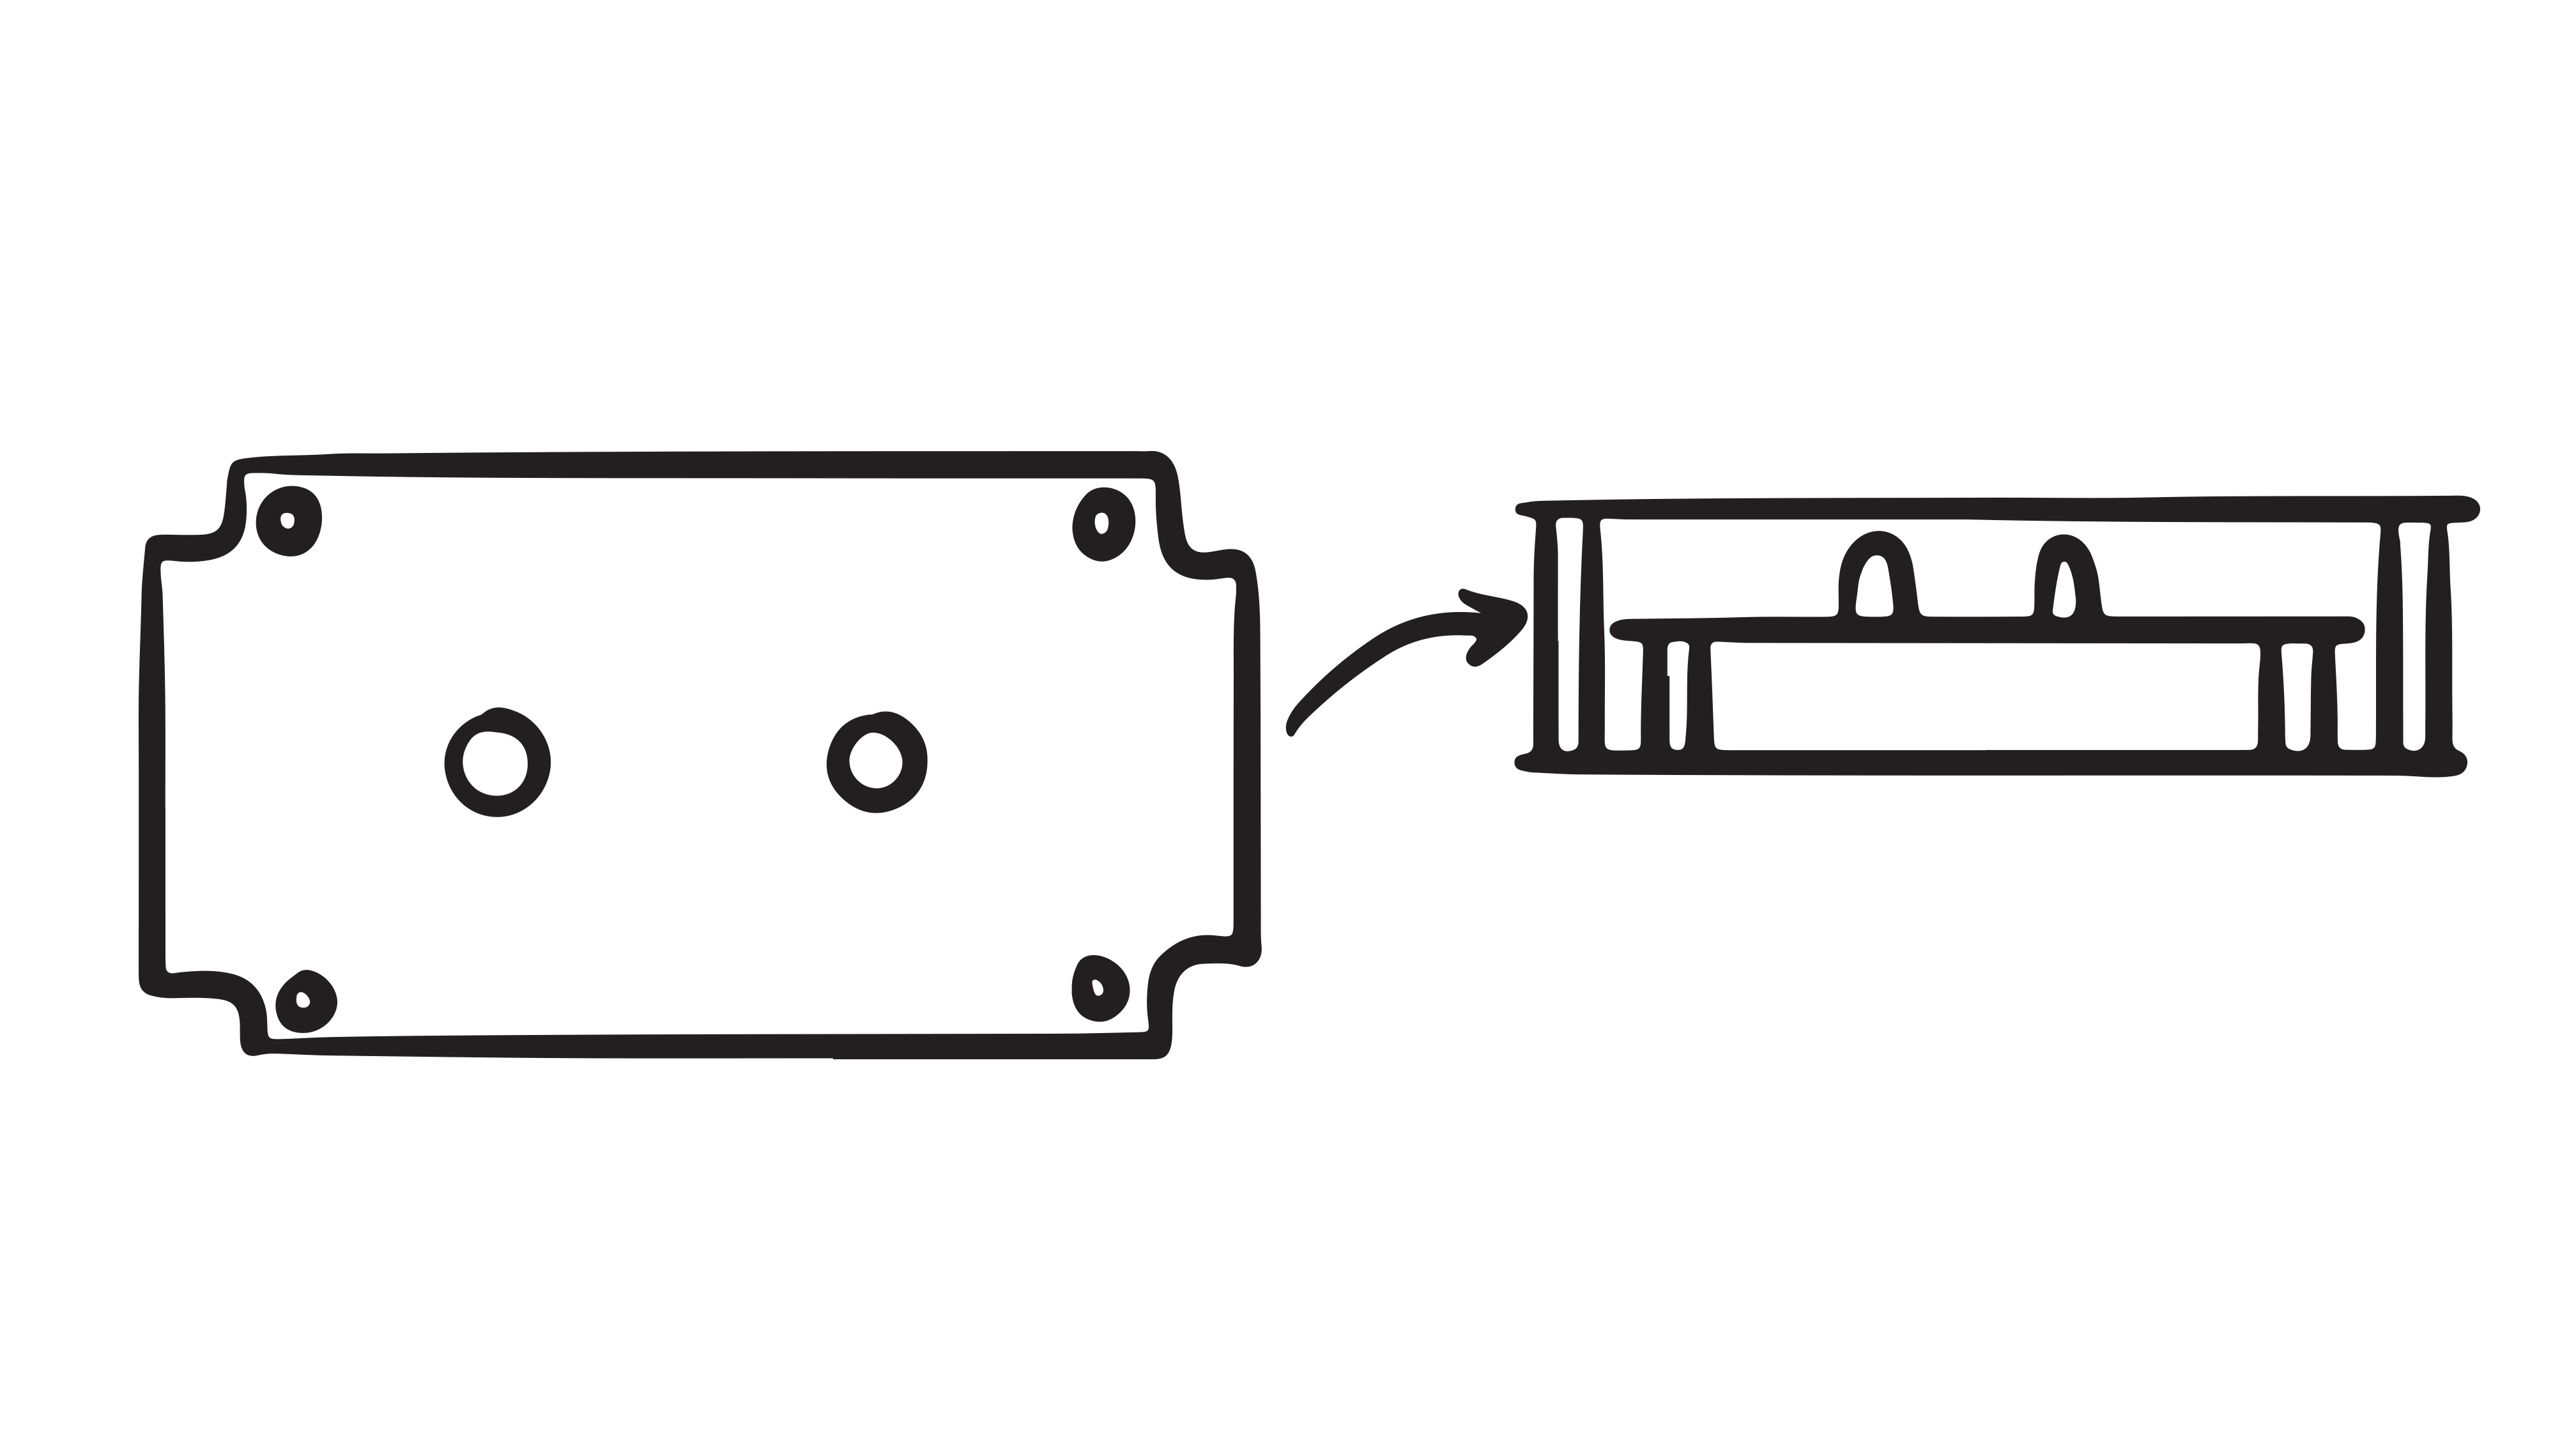
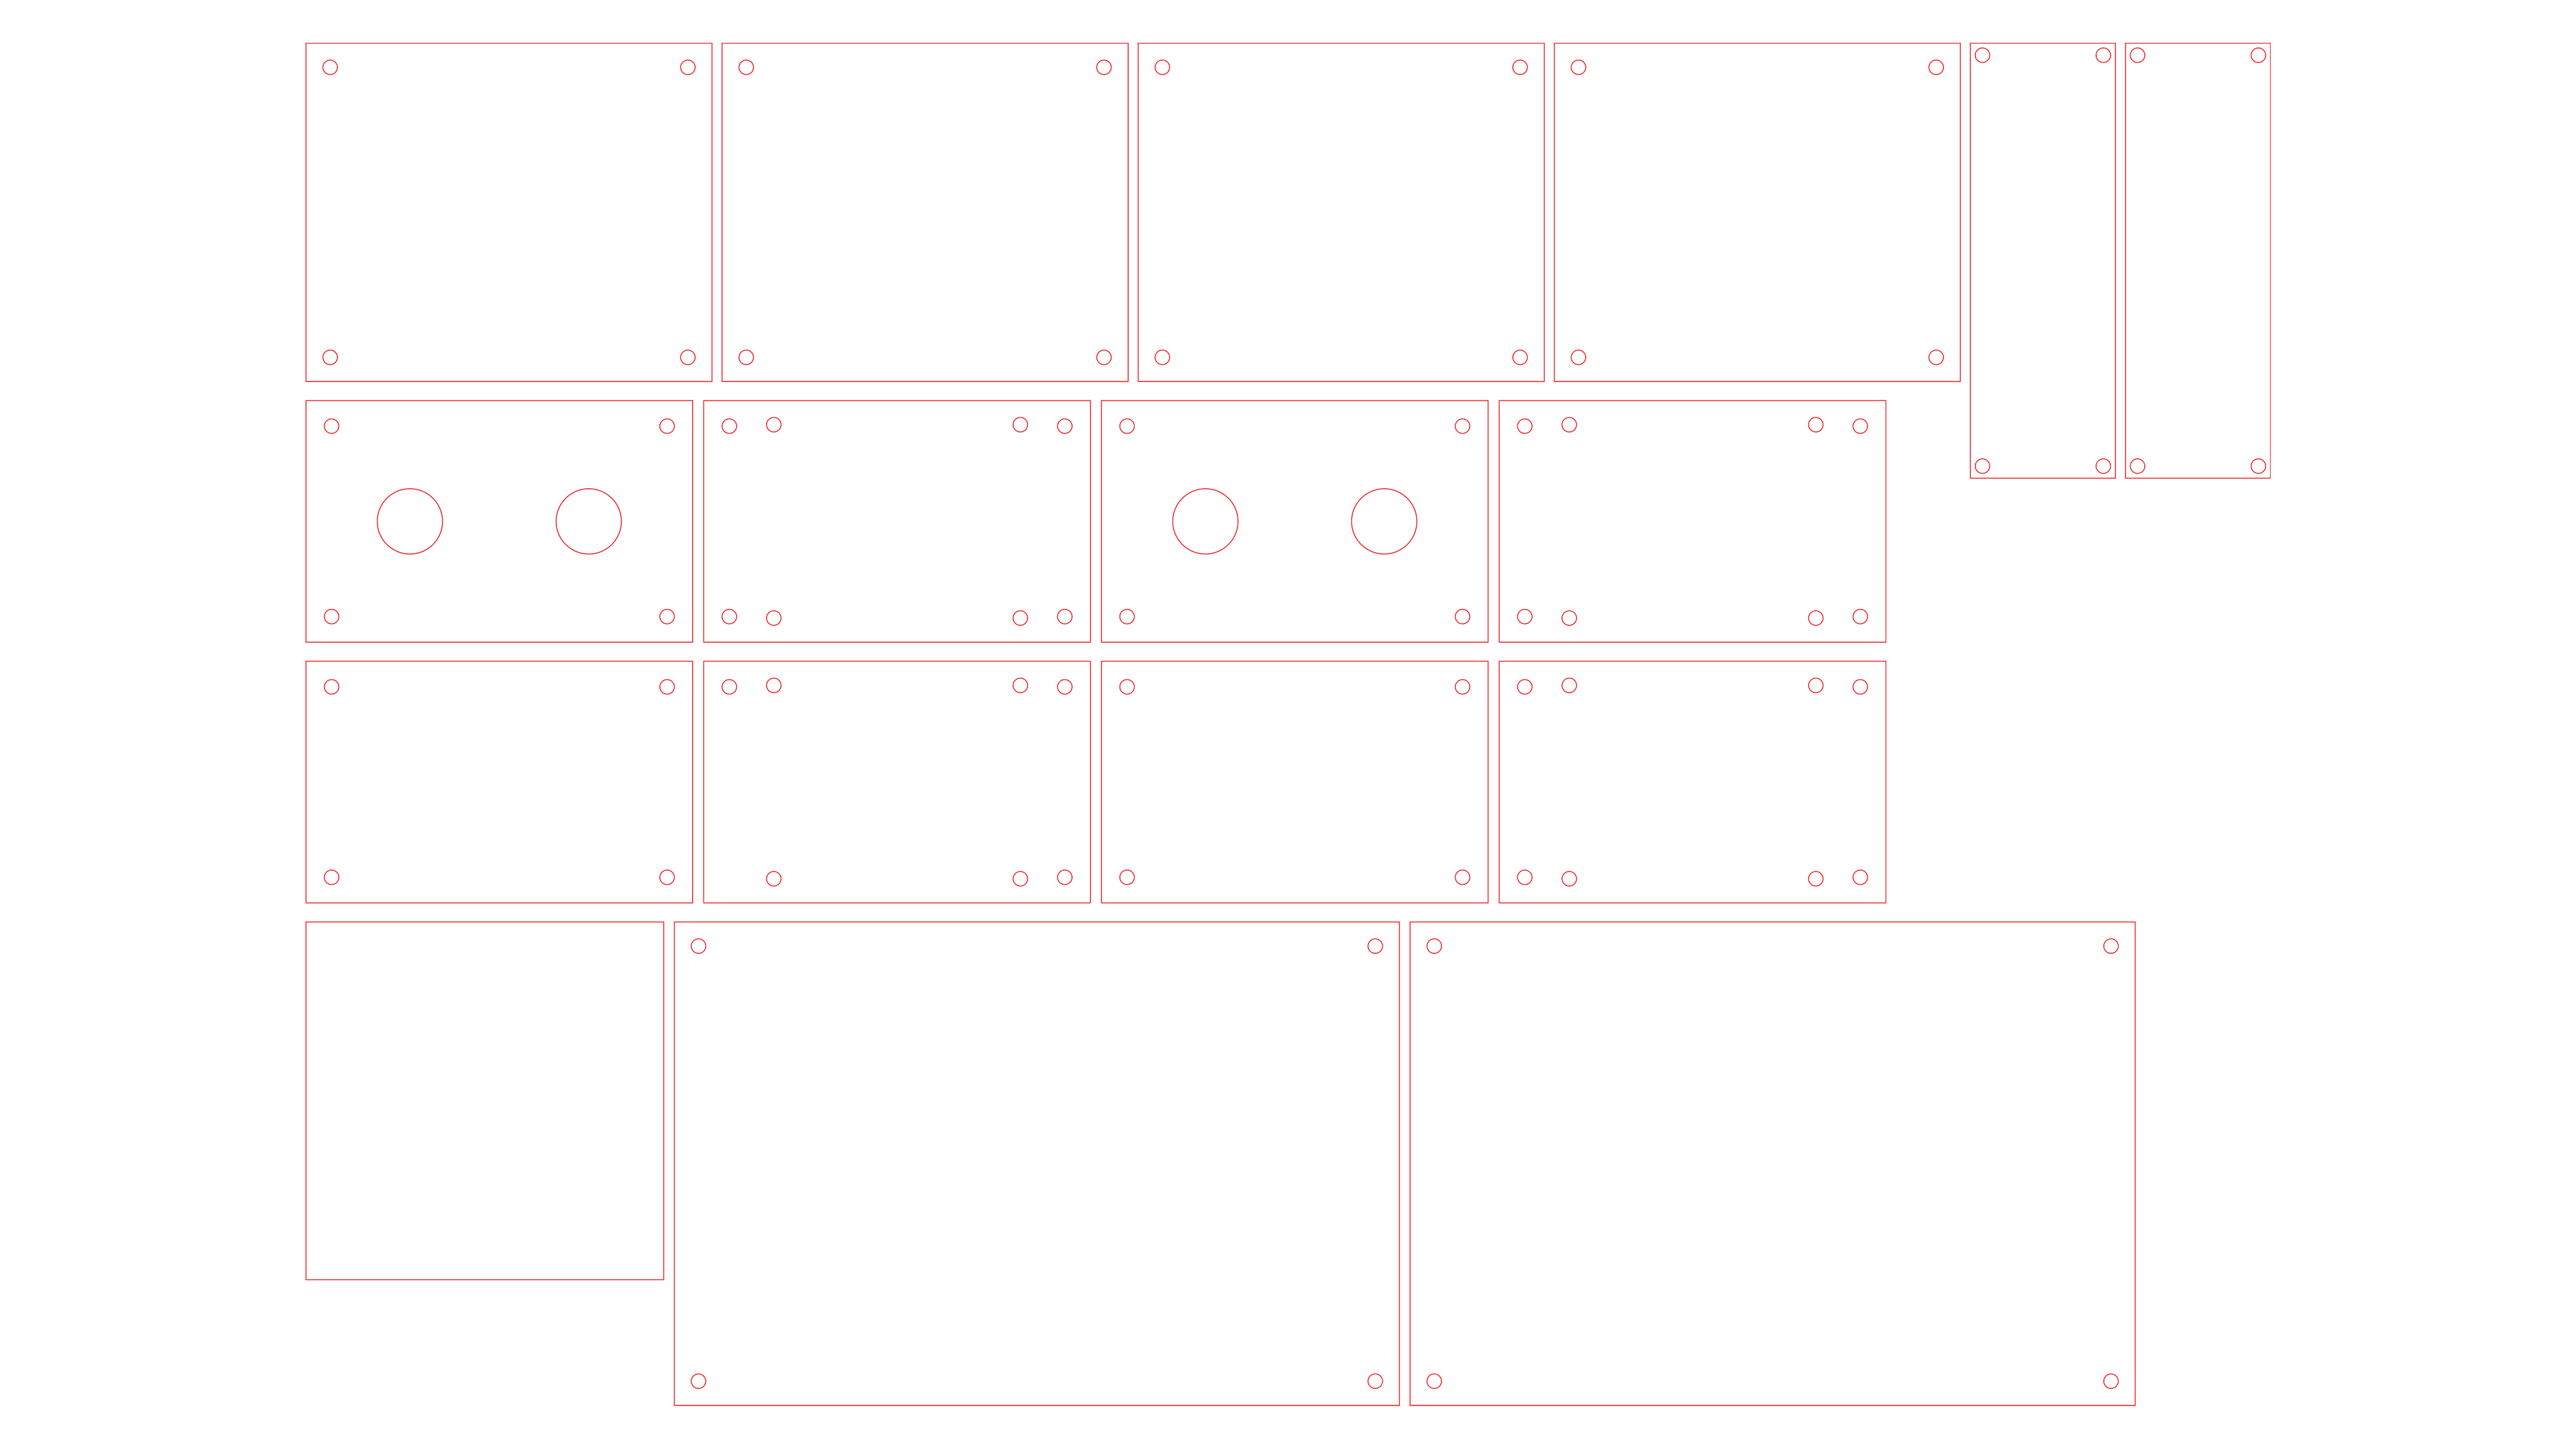
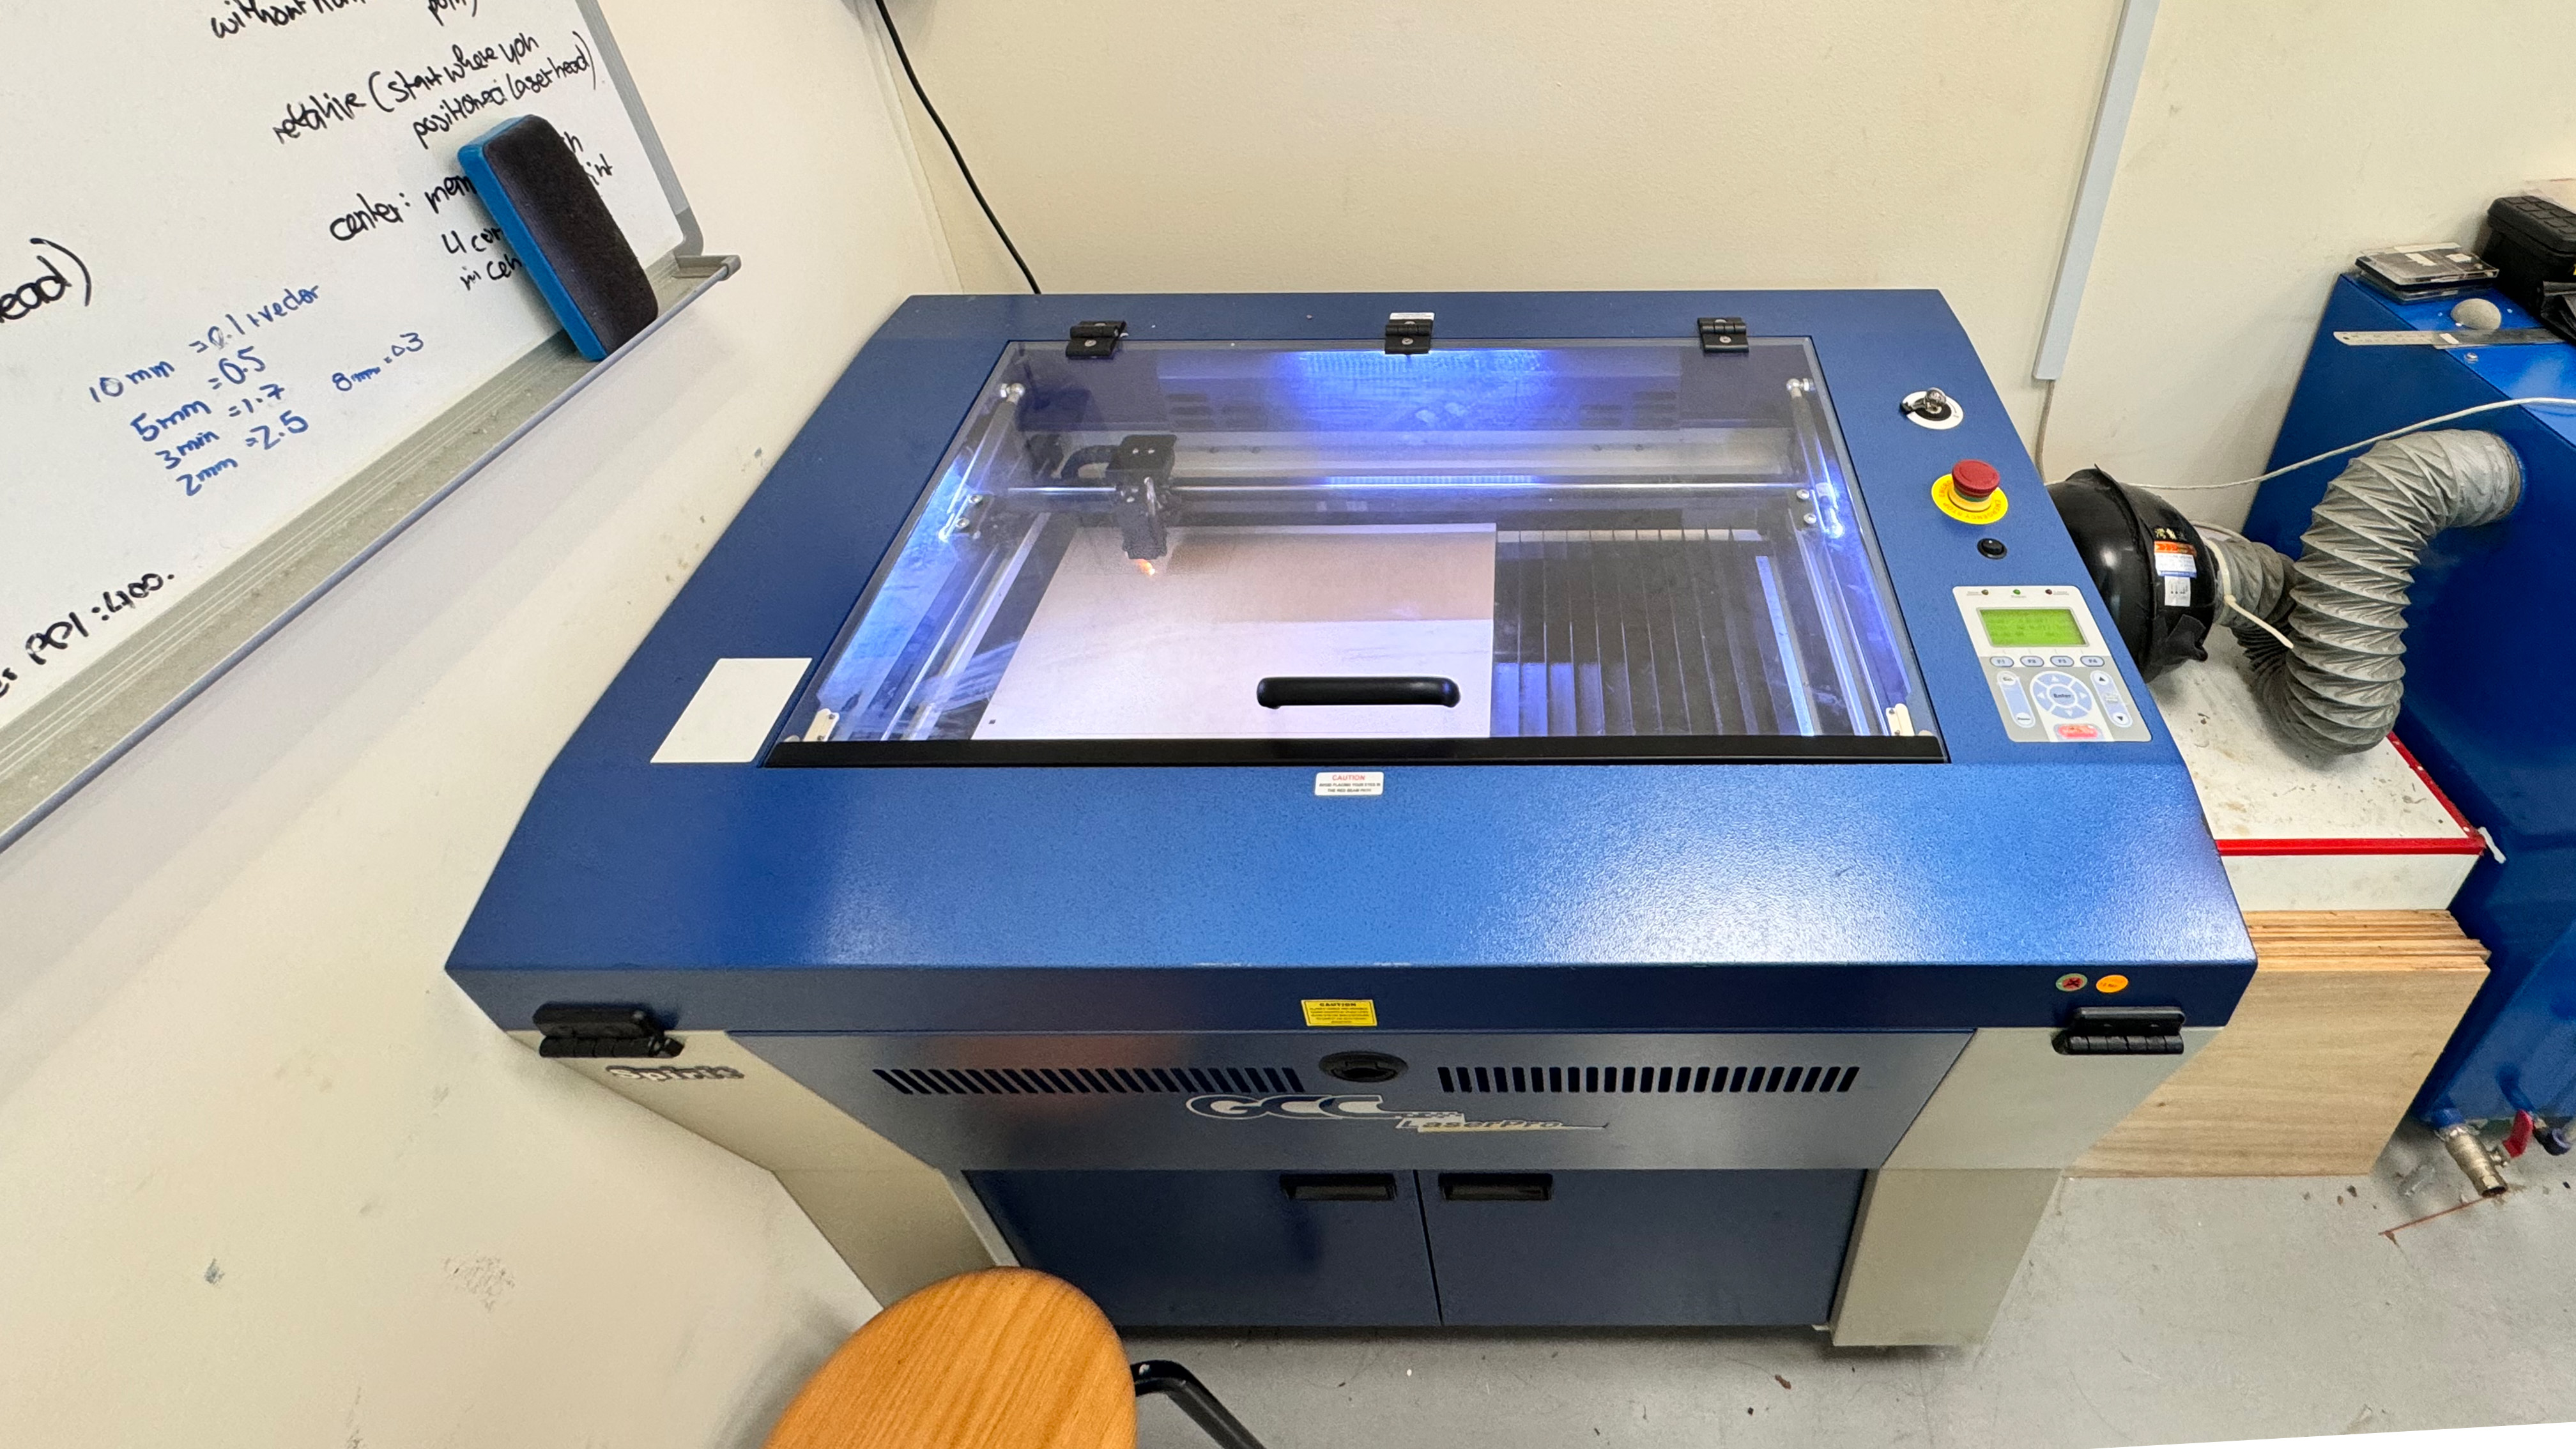
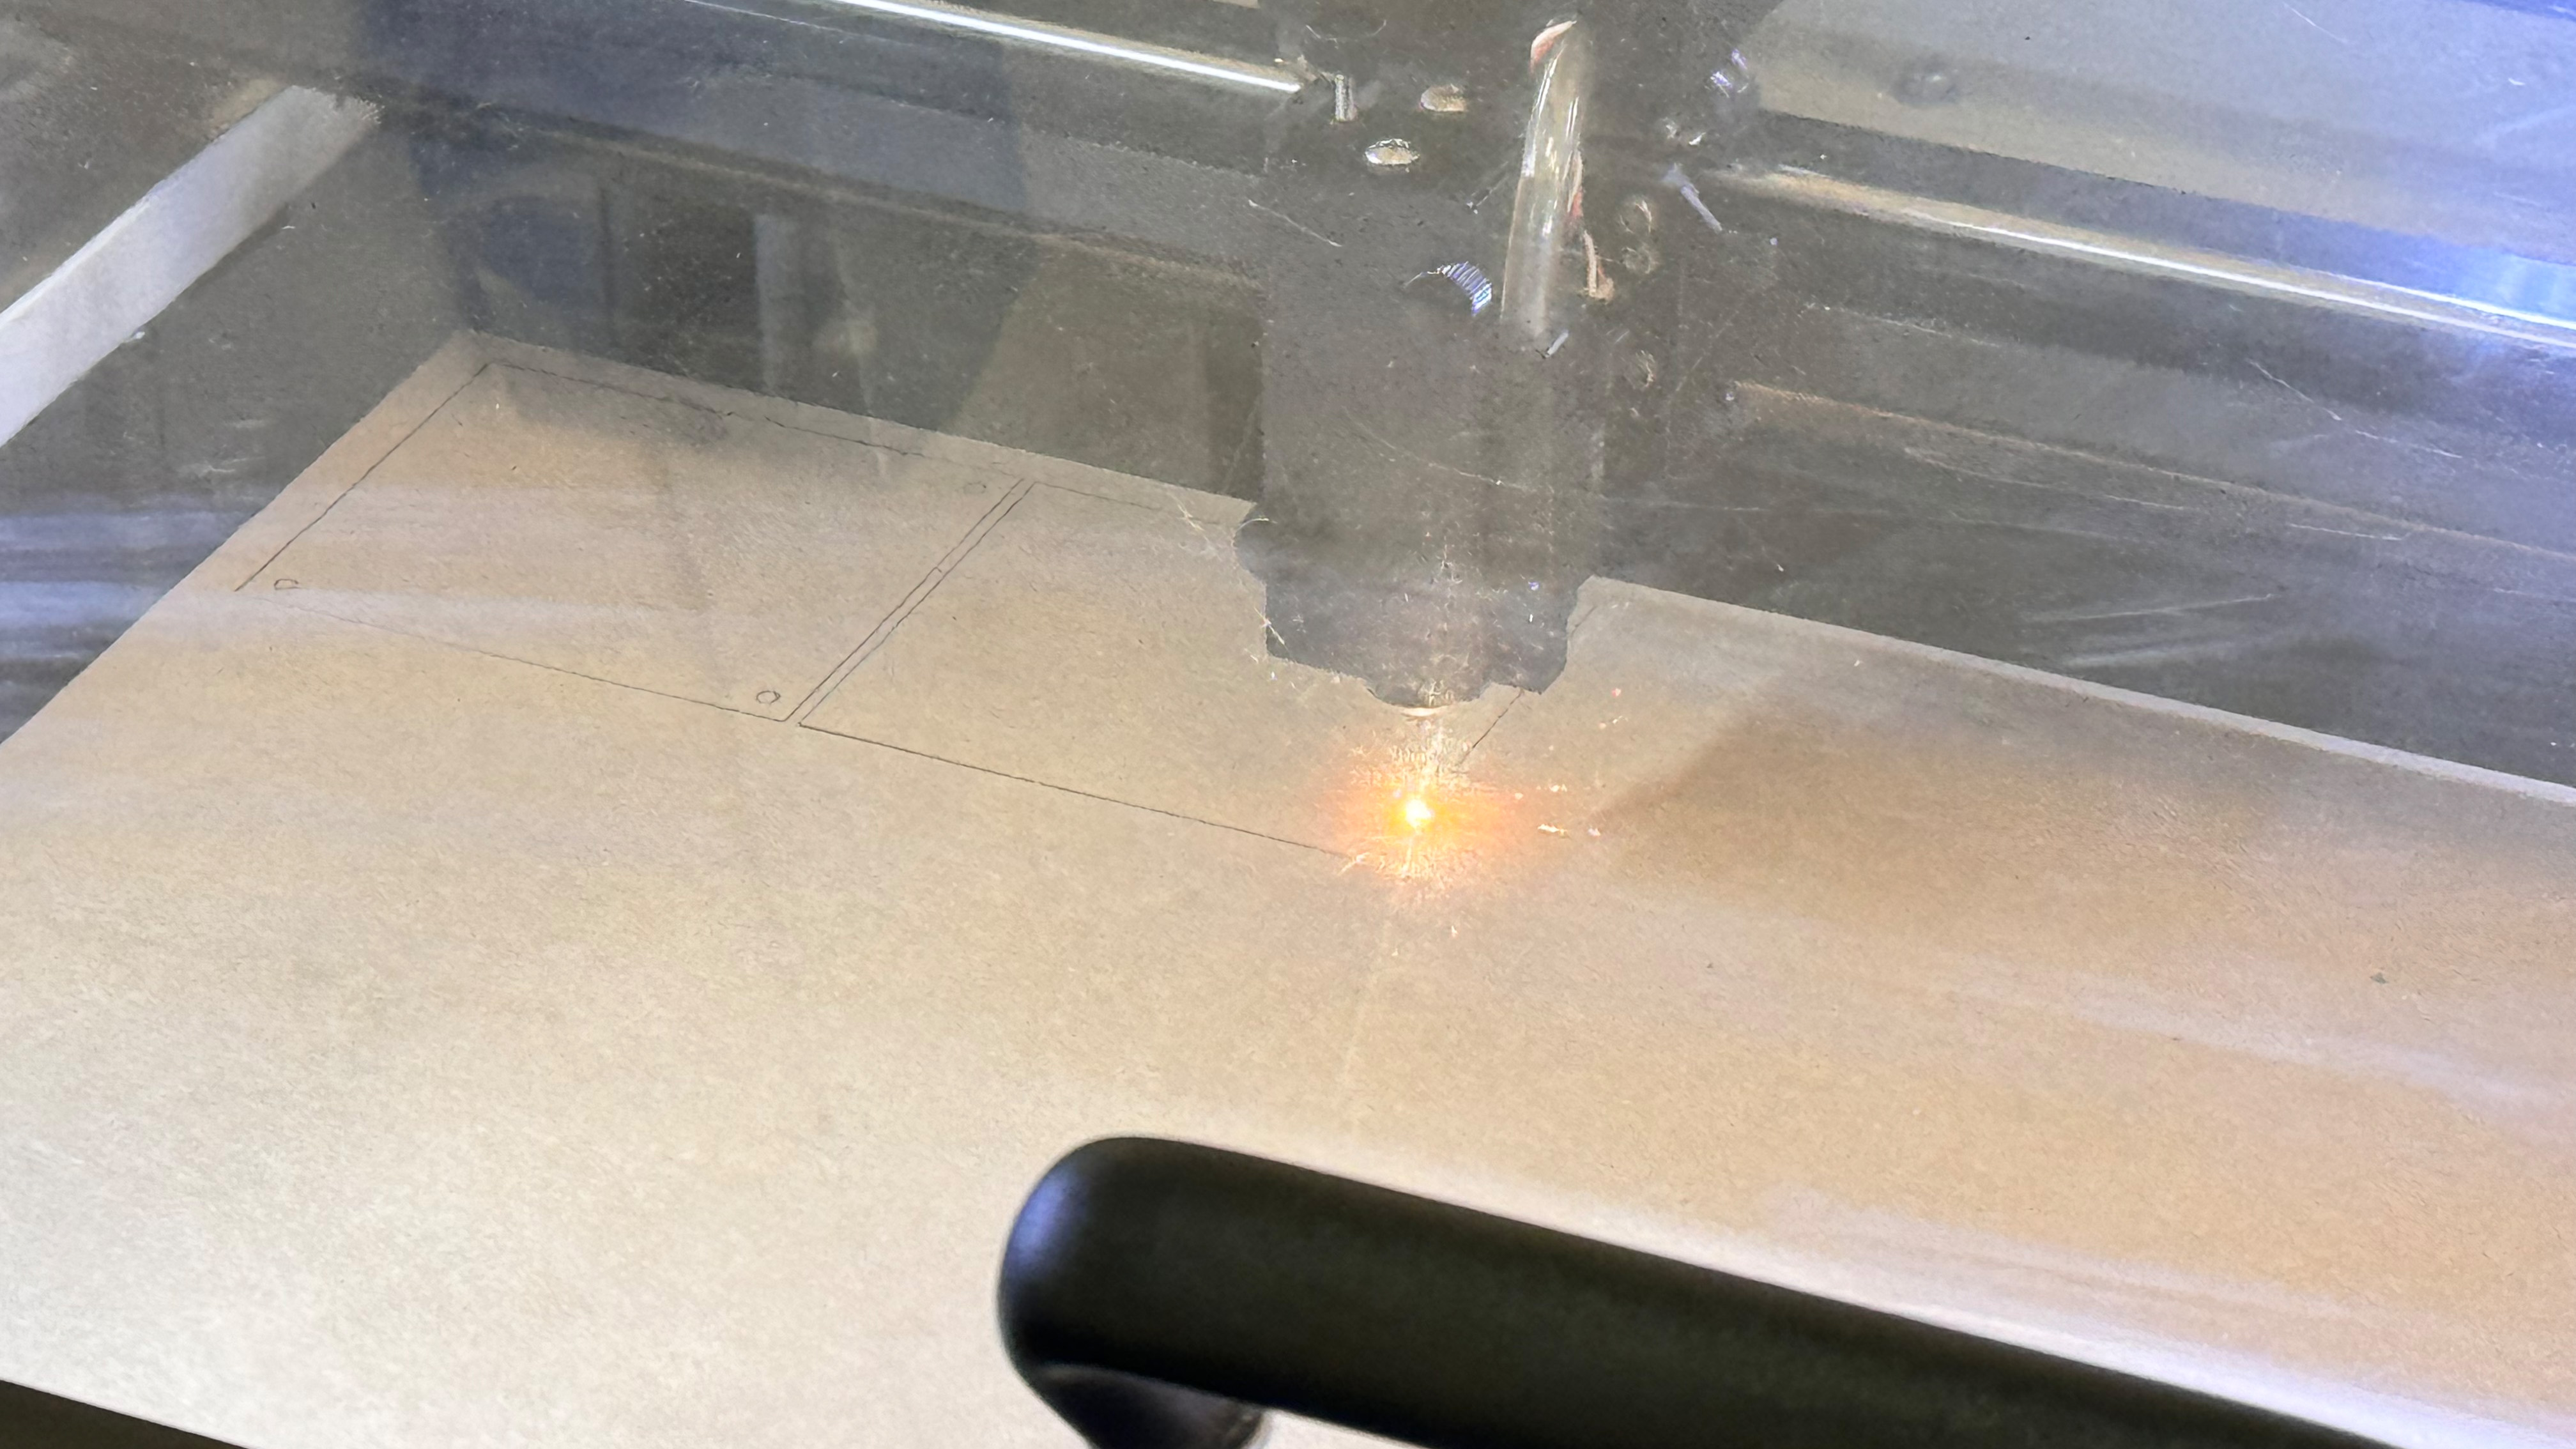
I went to Art Friend to acquire some transparent, red-toned, and grey-toned acrylic before starting the laser cut. With the exception of the grey, which was only available in 1 mm due to stock issues, all of the acrylic I selected was see-through at 2 mm. I also went ahead and purchased nuts, bolts, and spacers. Since I had never seen or used a laser cutting machine before, Andreas gave me a quick orientation before I uploaded my code to the machine. Seeing my acrylic sheet cut with a laser into a specific form and size was a fairly fascinating experience.
I proceeded to insert my board and screw in my spacers after cutting all of my acrylic. I had a lot of concerns before I actually tried to fit my board into the acrylic. I used only my dimensions to create a design for the board. I opted to proceed with the laser cutting without first creating a trial prototype on paper. I was really hoping it would fit exactly because I didn't want to go buy more acrylic and rework the board. It actually fits surprisingly well—exactly how I wanted it to, so that's good.
Since I was constantly rearranging my circuits, I made the decision to keep the protection paper on the acrylic to avoid scratches.
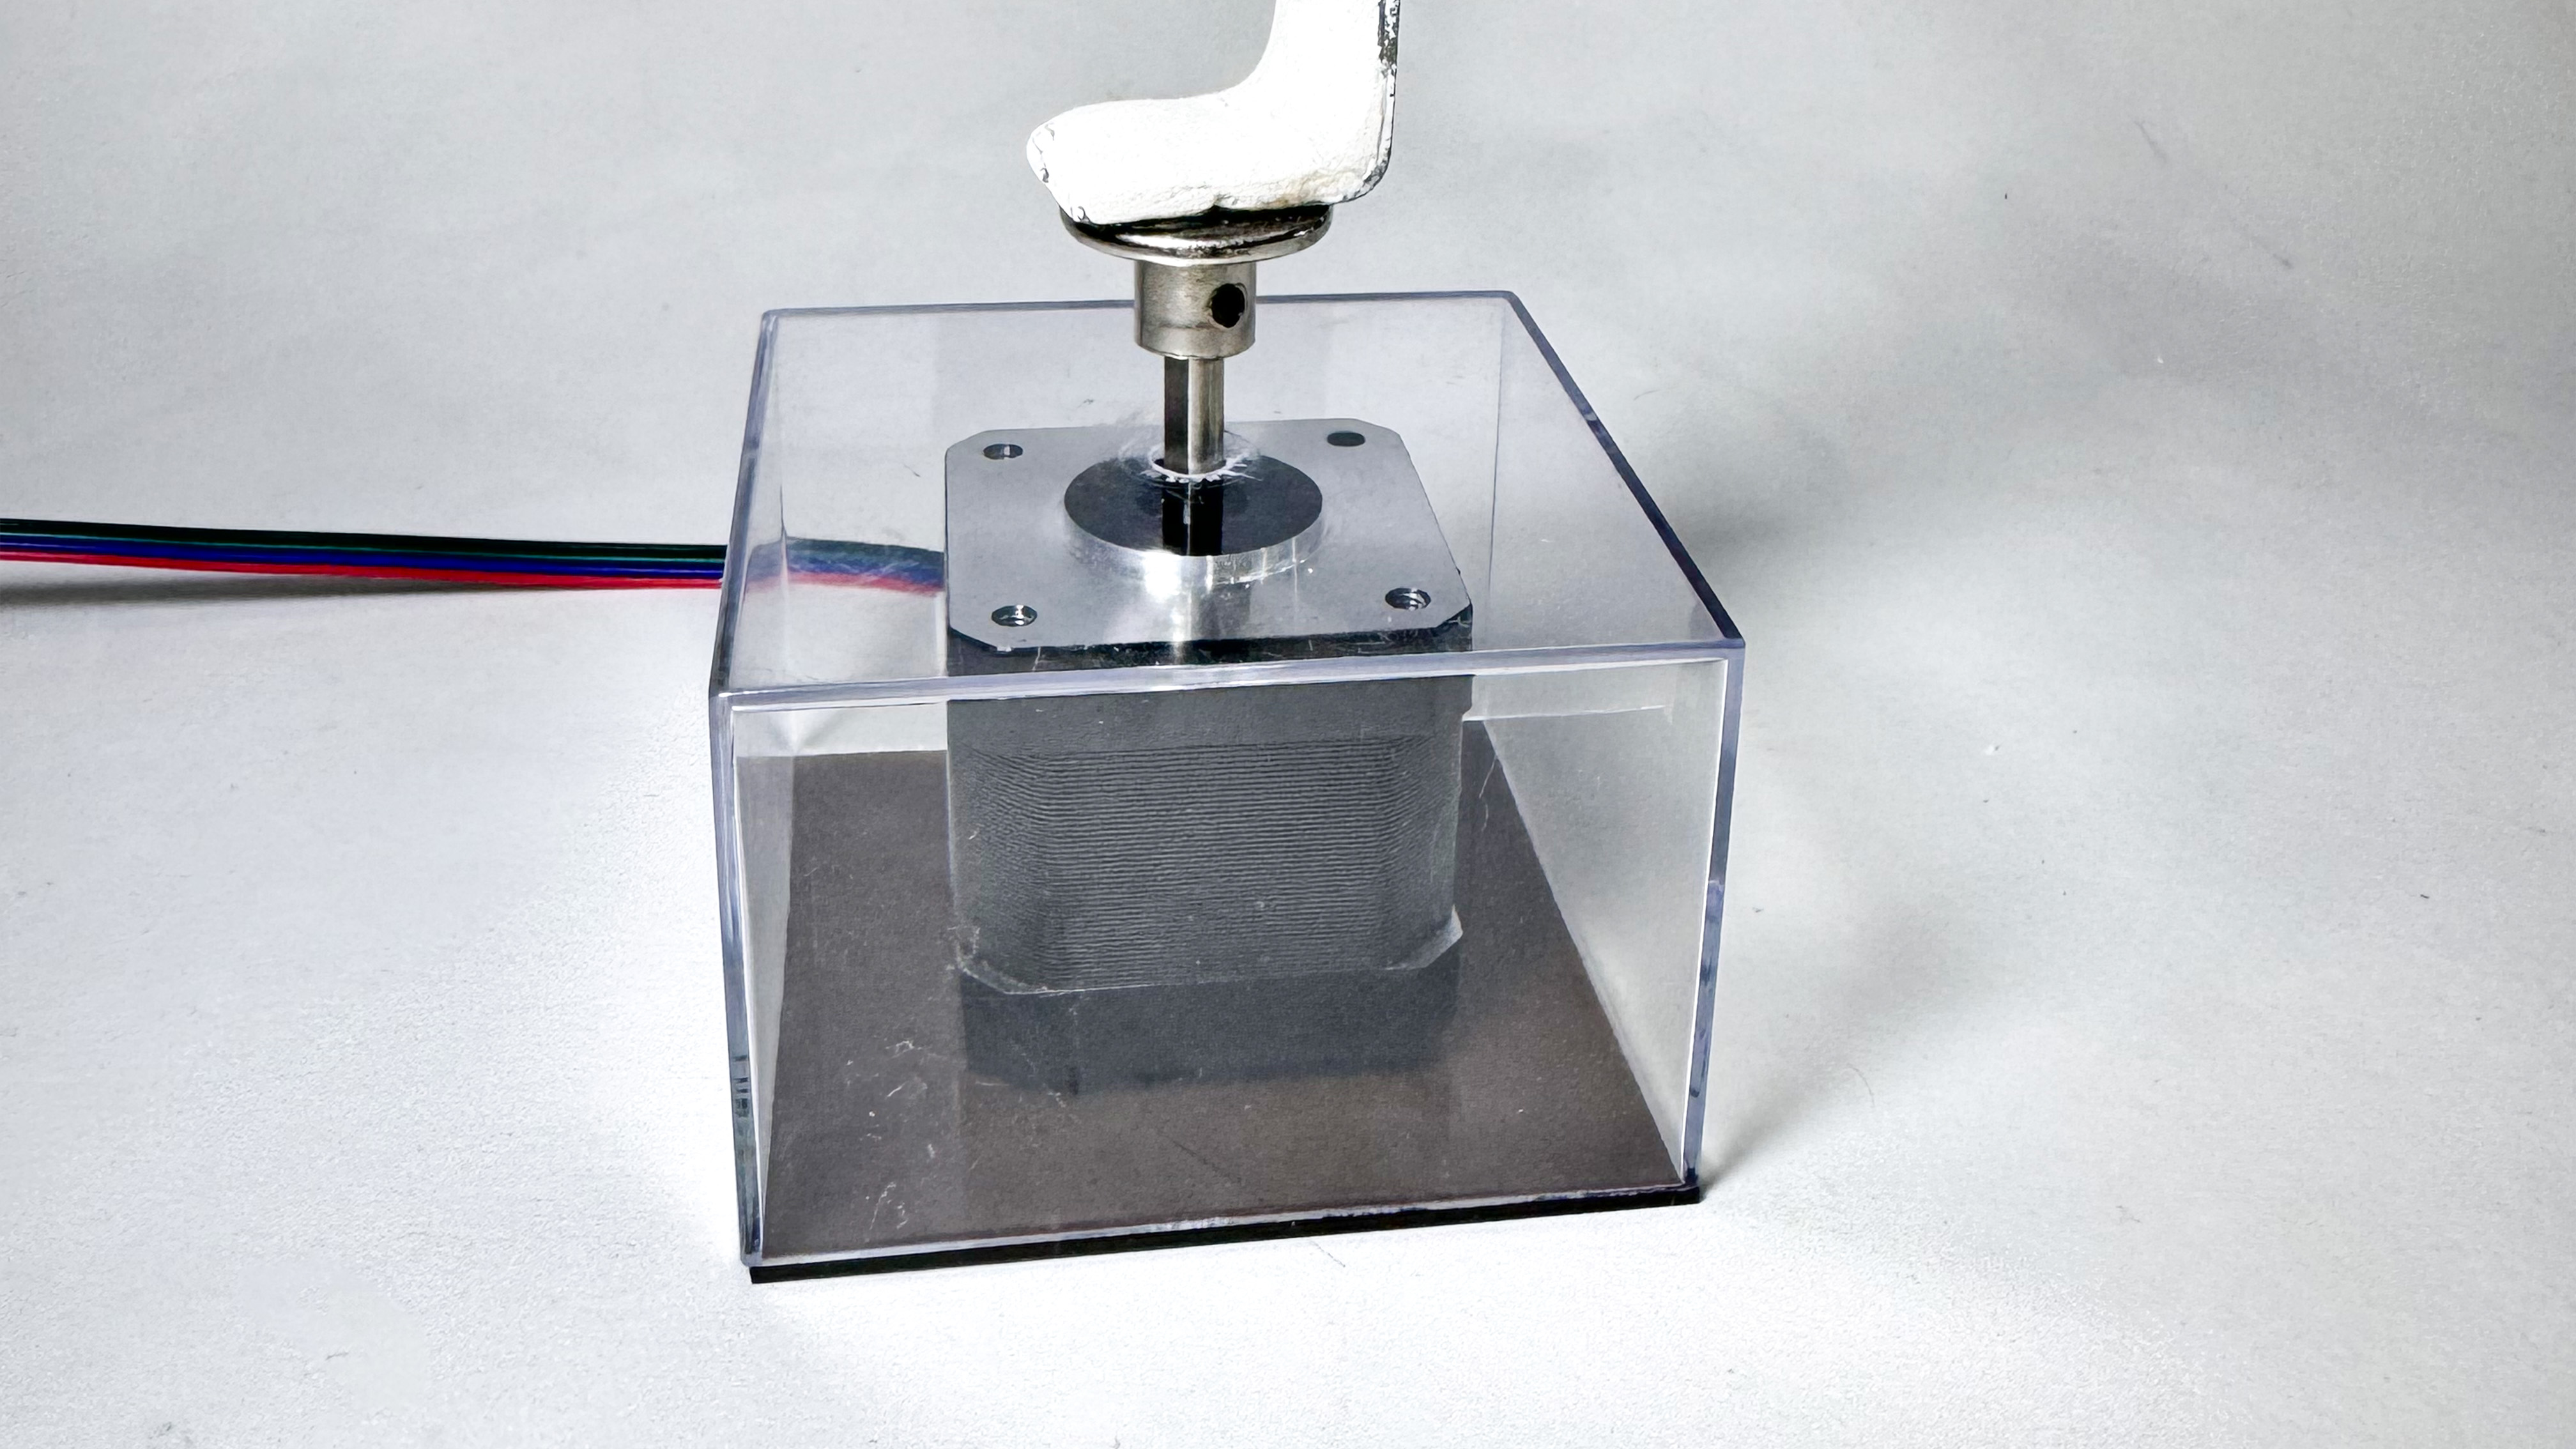
Additionally, I put my motor together by drilling a hole in the acrylic container's base, turning it over, and adhering it to a laser-cut square piece of acrylic. I made a little incision in the acrylic to allow the motor wires to pass through. In order to stop the motor from moving around after I glue down the base, I taped it down before using cholofoam, a chemical used to glue down acrylic. In order to keep the wires from falling off, I also used superglue to attach them to the motor. I had to make sure nothing would move or come off once I glued down the base shut because if the motor moved or the wires came off, I wouldn't be able to move them any more.
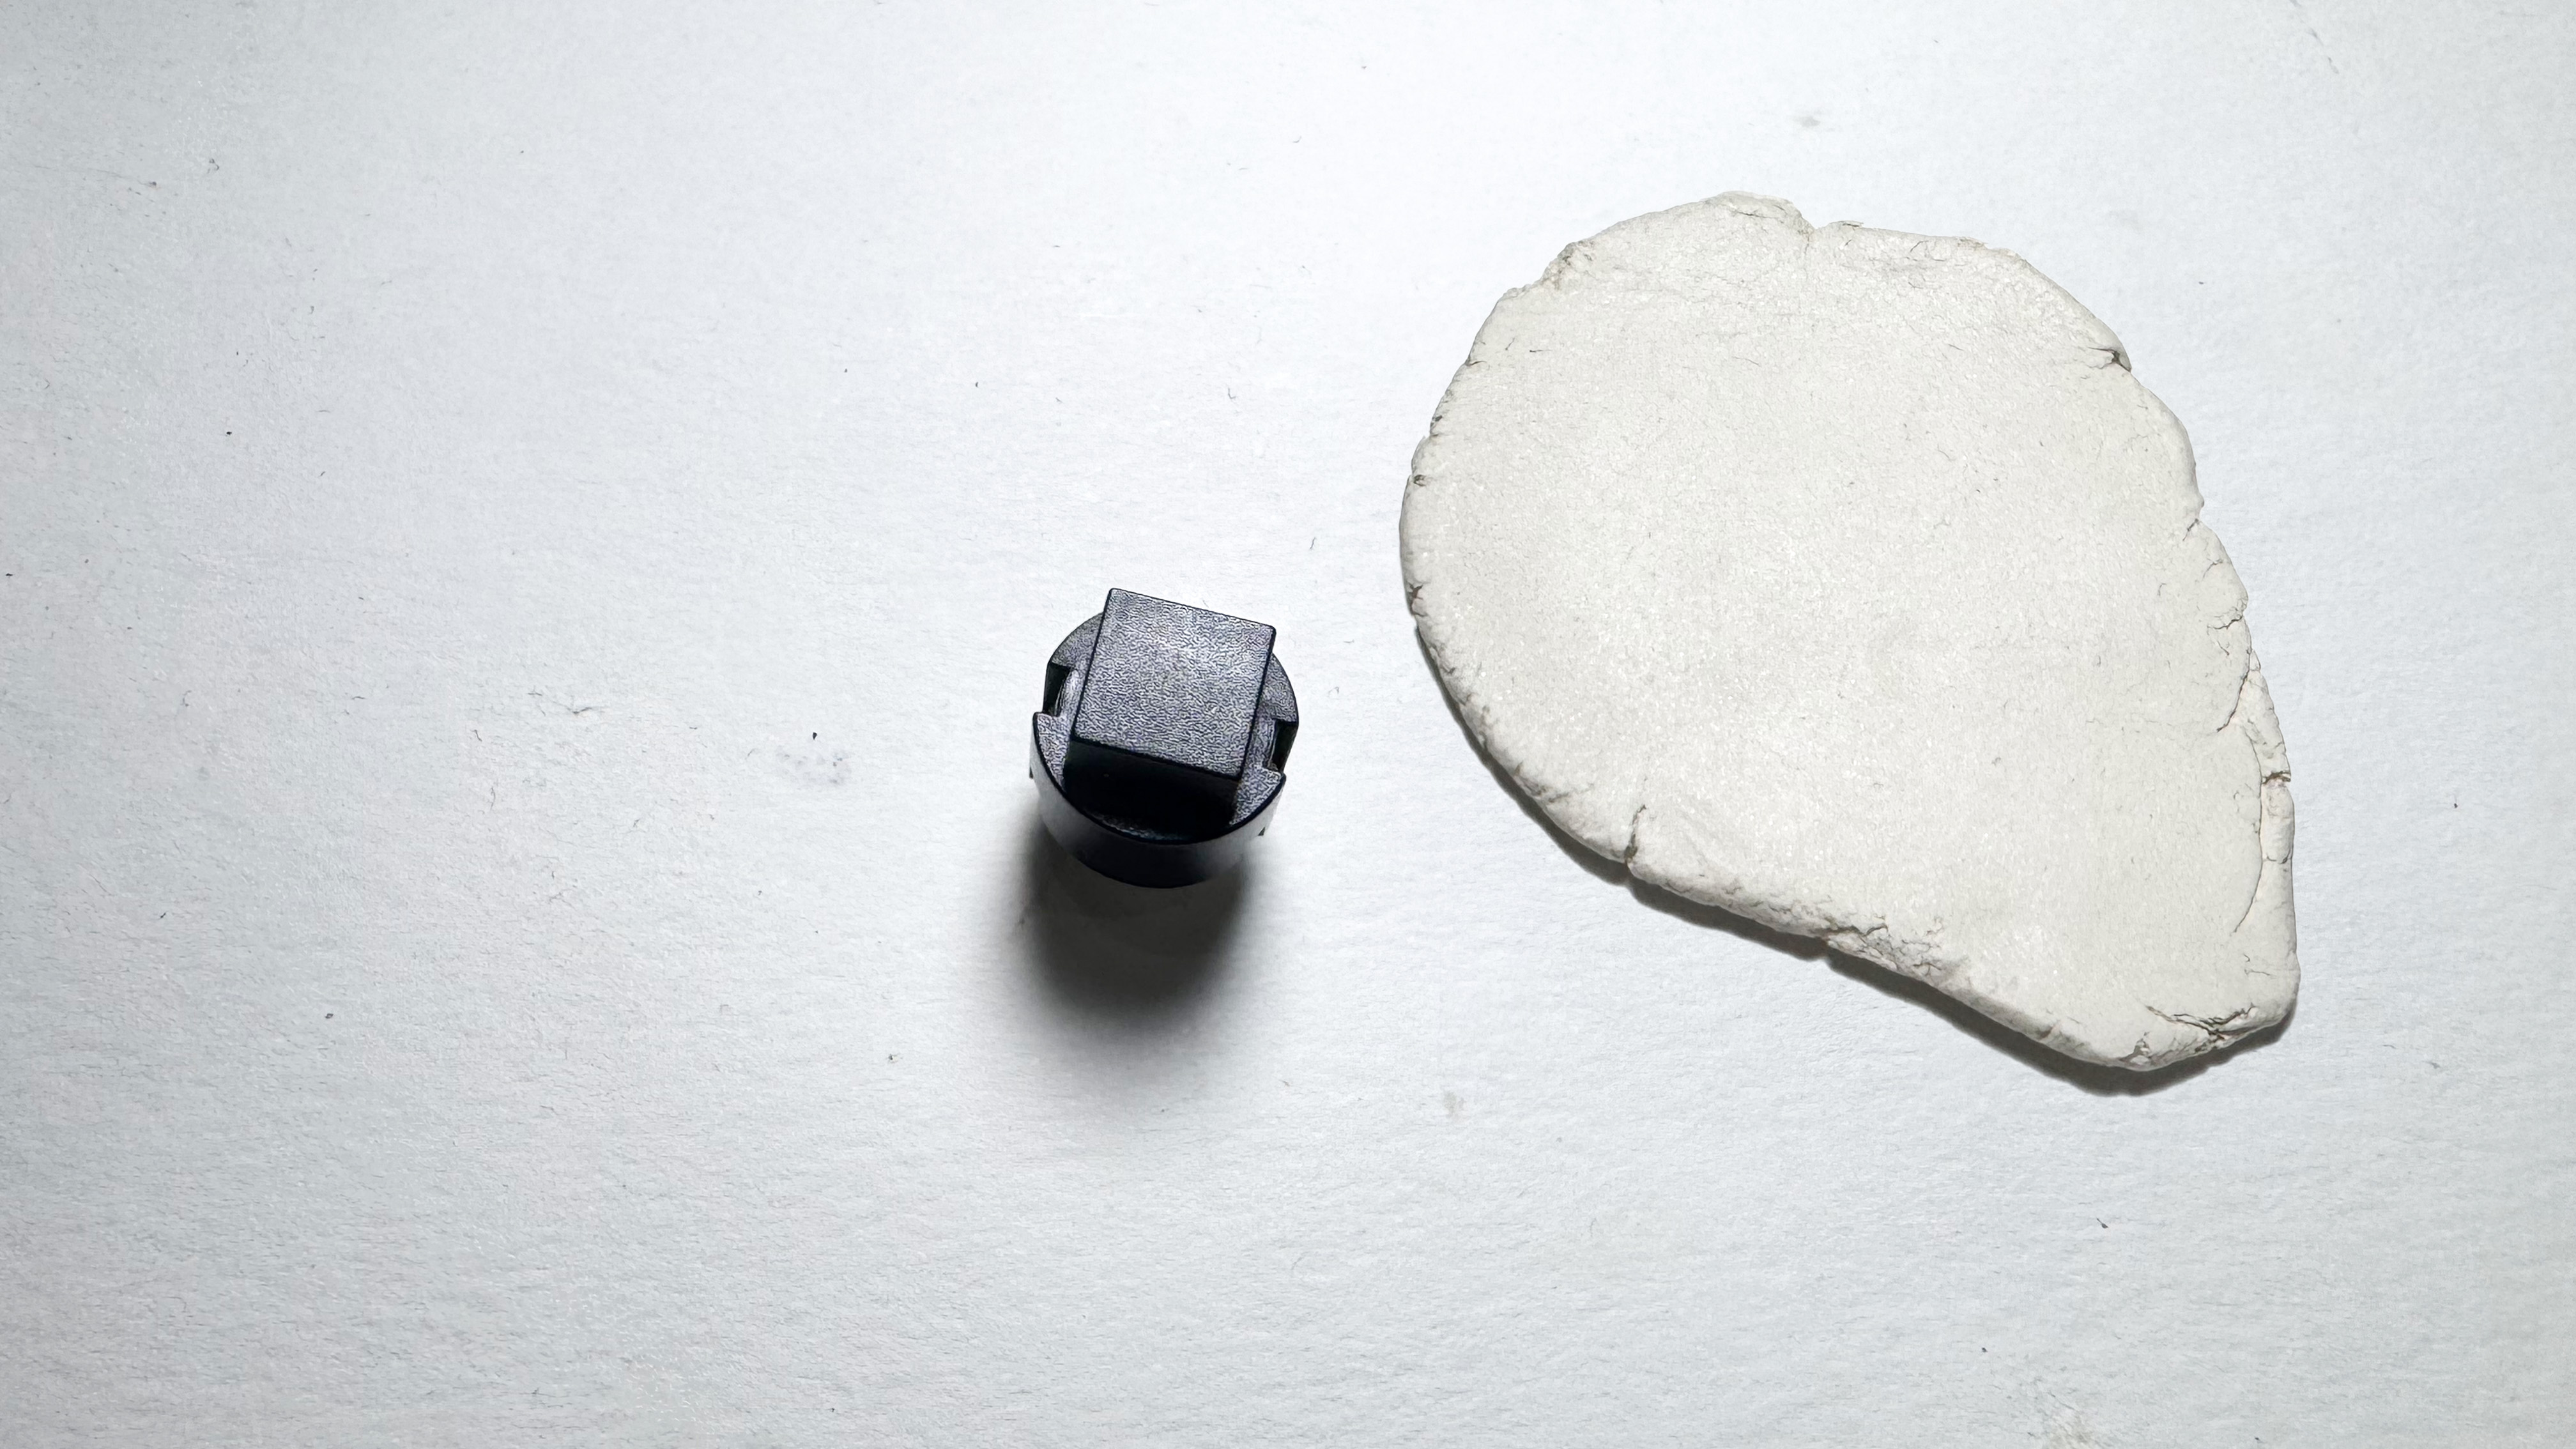
I then got to work on my button designs. Prior to actually beginning the button design, I wanted to make a button that could be removed rather than having the glue applied directly on the button. I considered making a button cap that could be removed after drying out using airdry clay. I spread my clay thinly and around the button with it. I wrap it around, trim off the excess, and smooth out as much as can. I left my cap there to dry entirely after I was done. The clay was really thin, so it dried very quickly and peeled easily off the button it was drying on.
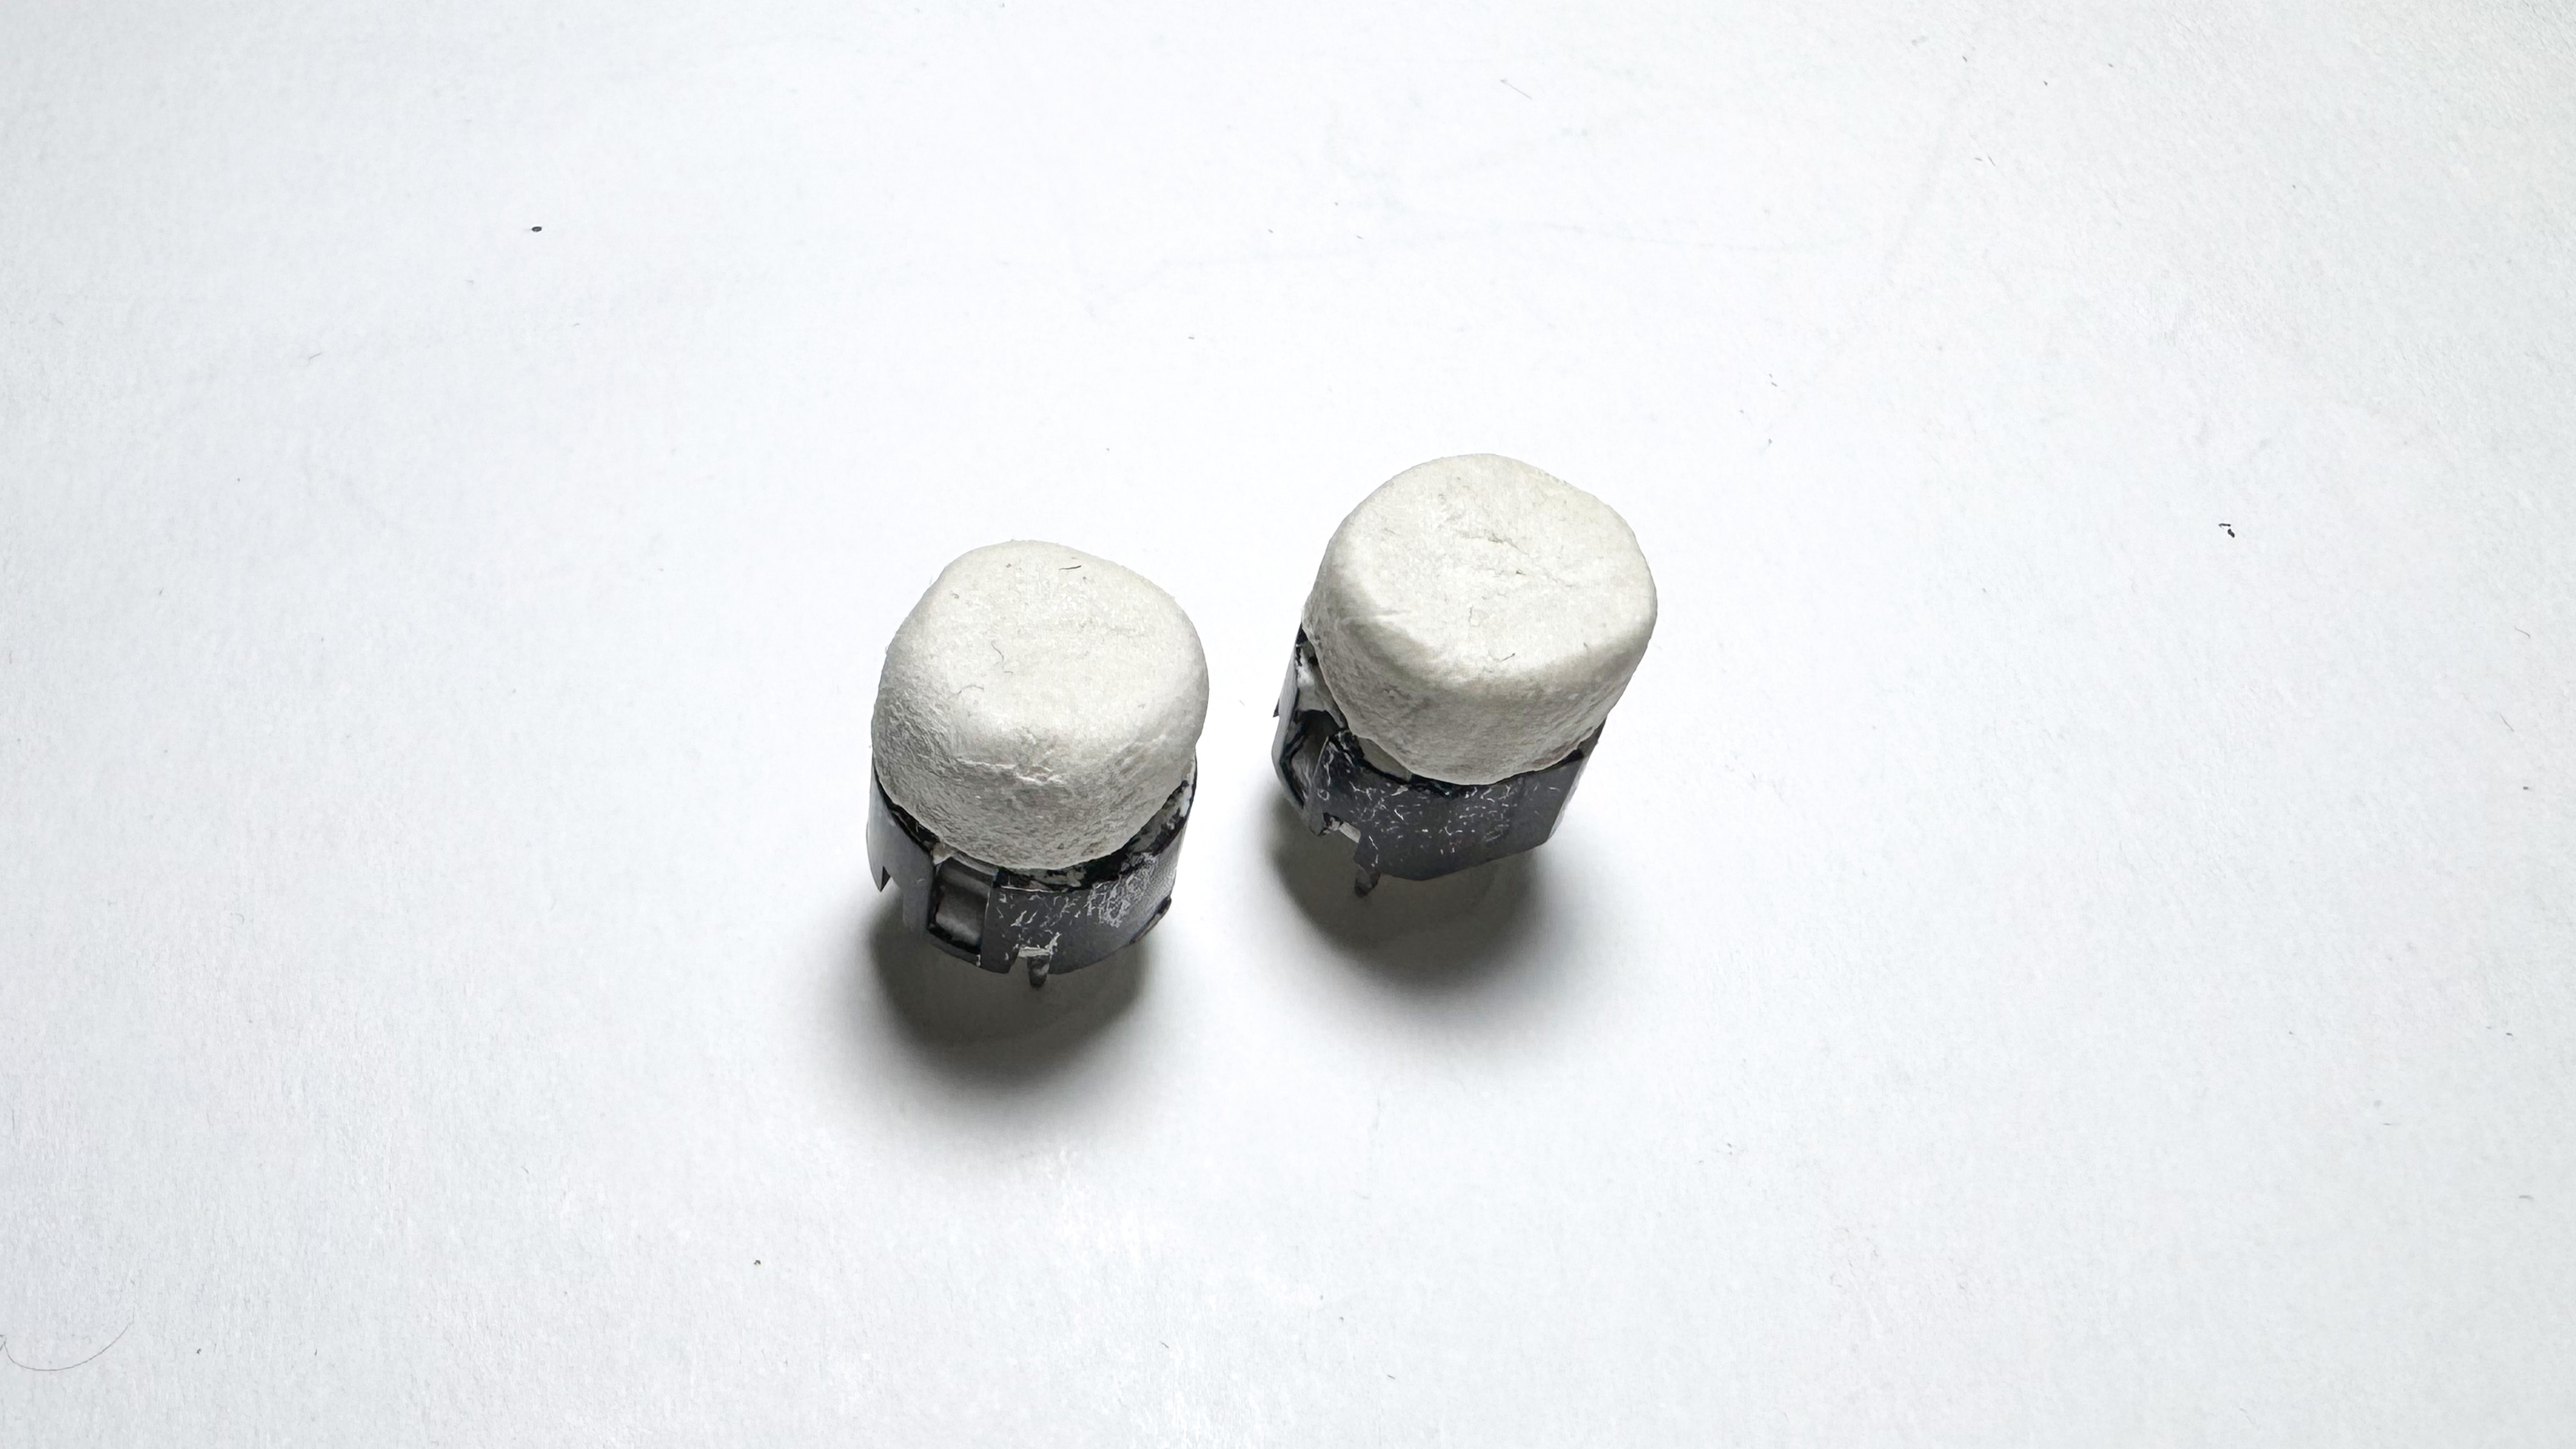
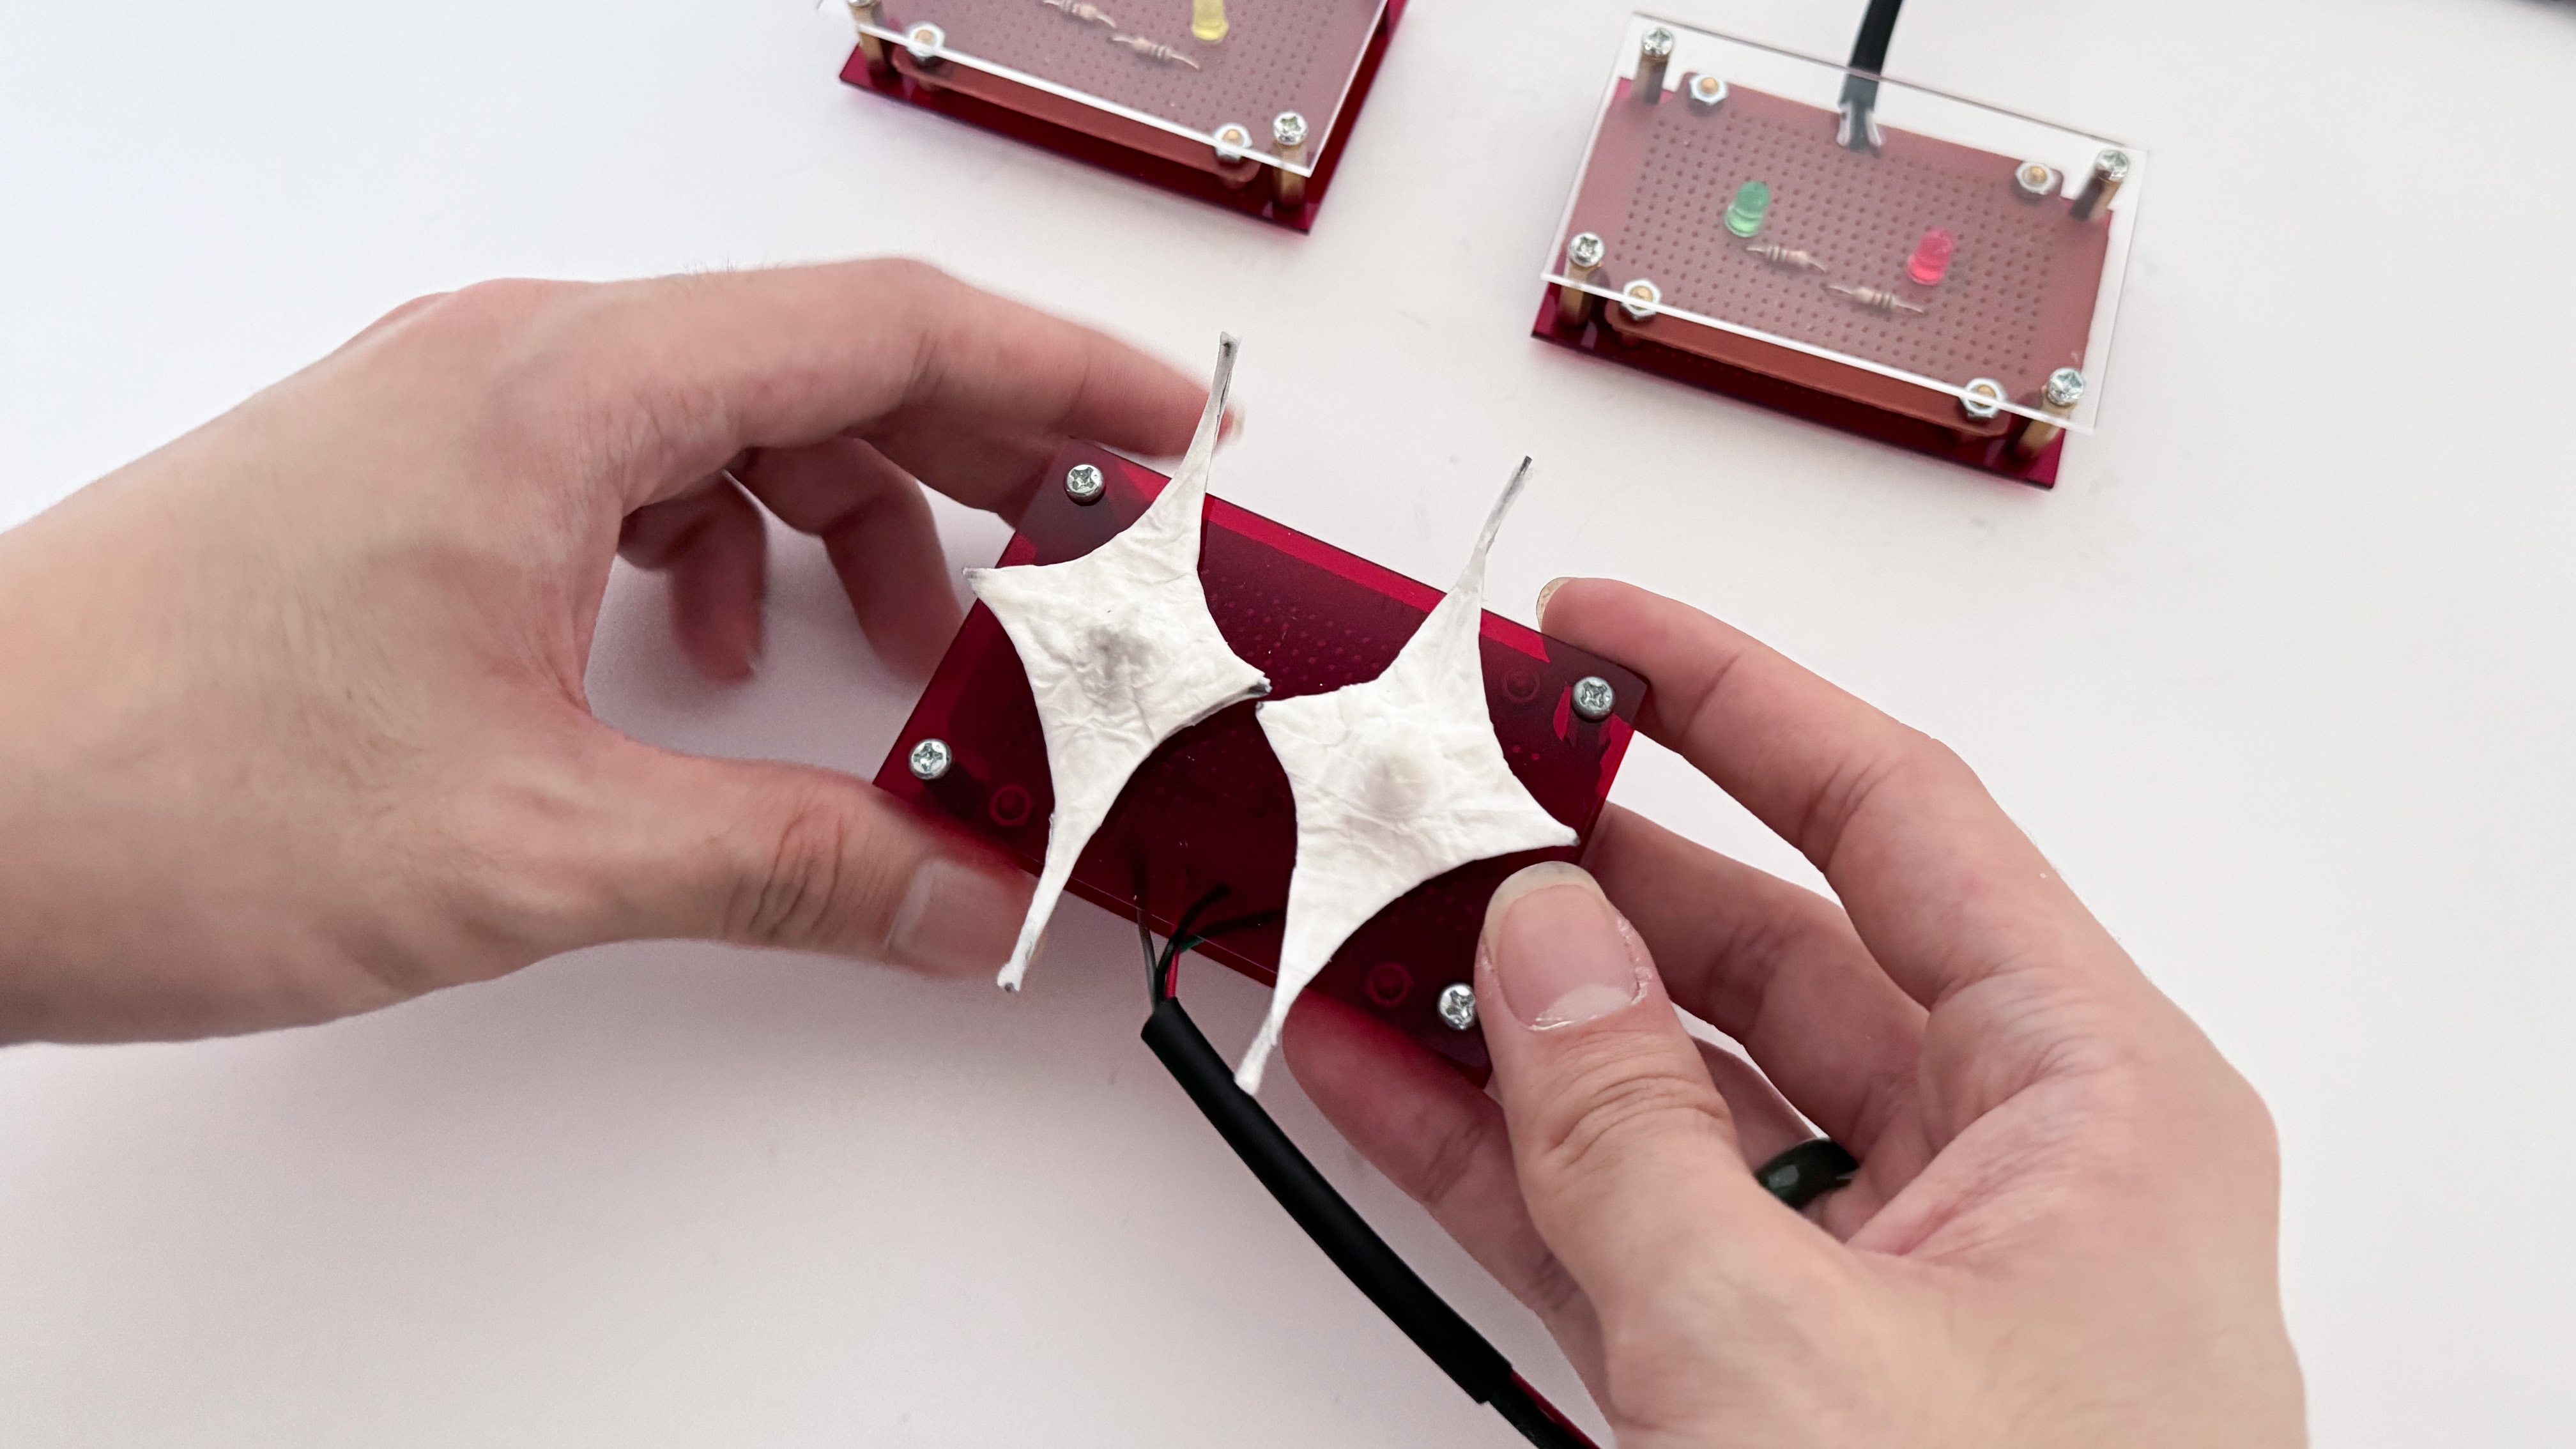
I made my button using my structure's form as a guide to ensure it matched the overall style and feel. I applied the same methods that I did with structure. After glueing the wires together, I laid down paper towels dipped in a glue and water mixture. Since it was going to be a button and would therefore be handled and touched more frequently, I thought about adding additional tissue over time, even though the wires did not show through as much as I would have liked. A thicker layer would also make it more robust. I let the button to completely dry.
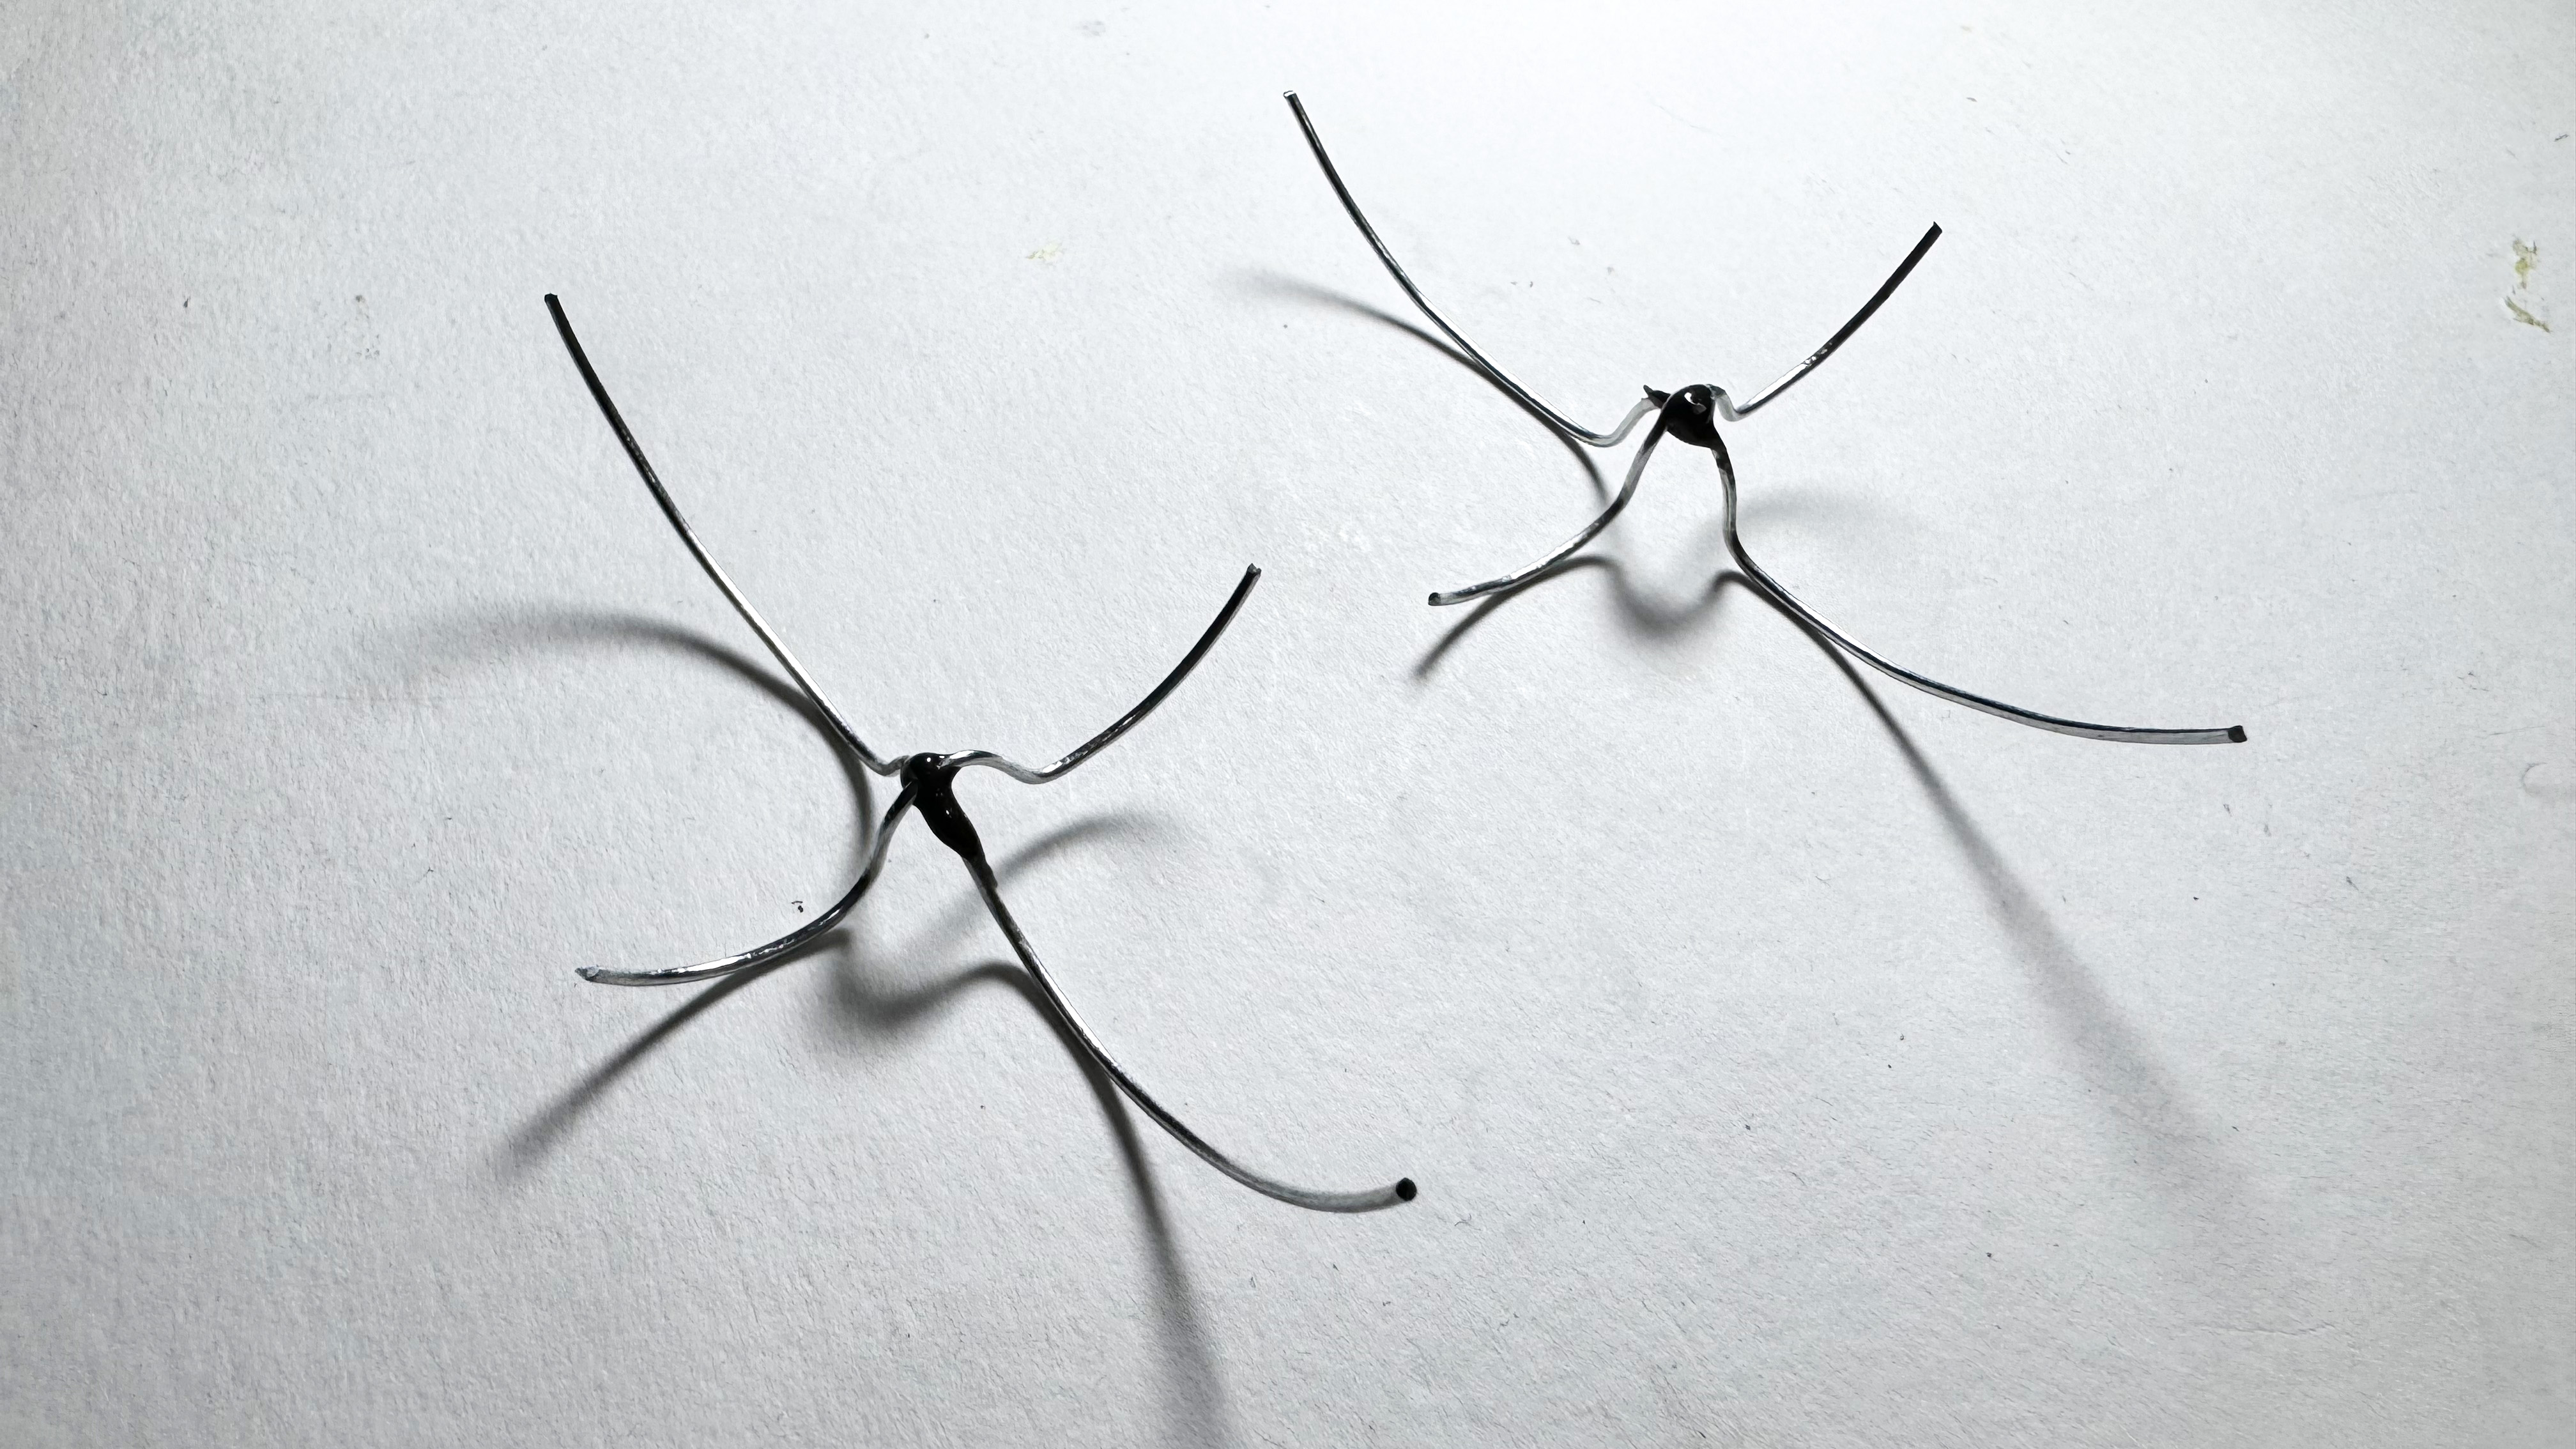
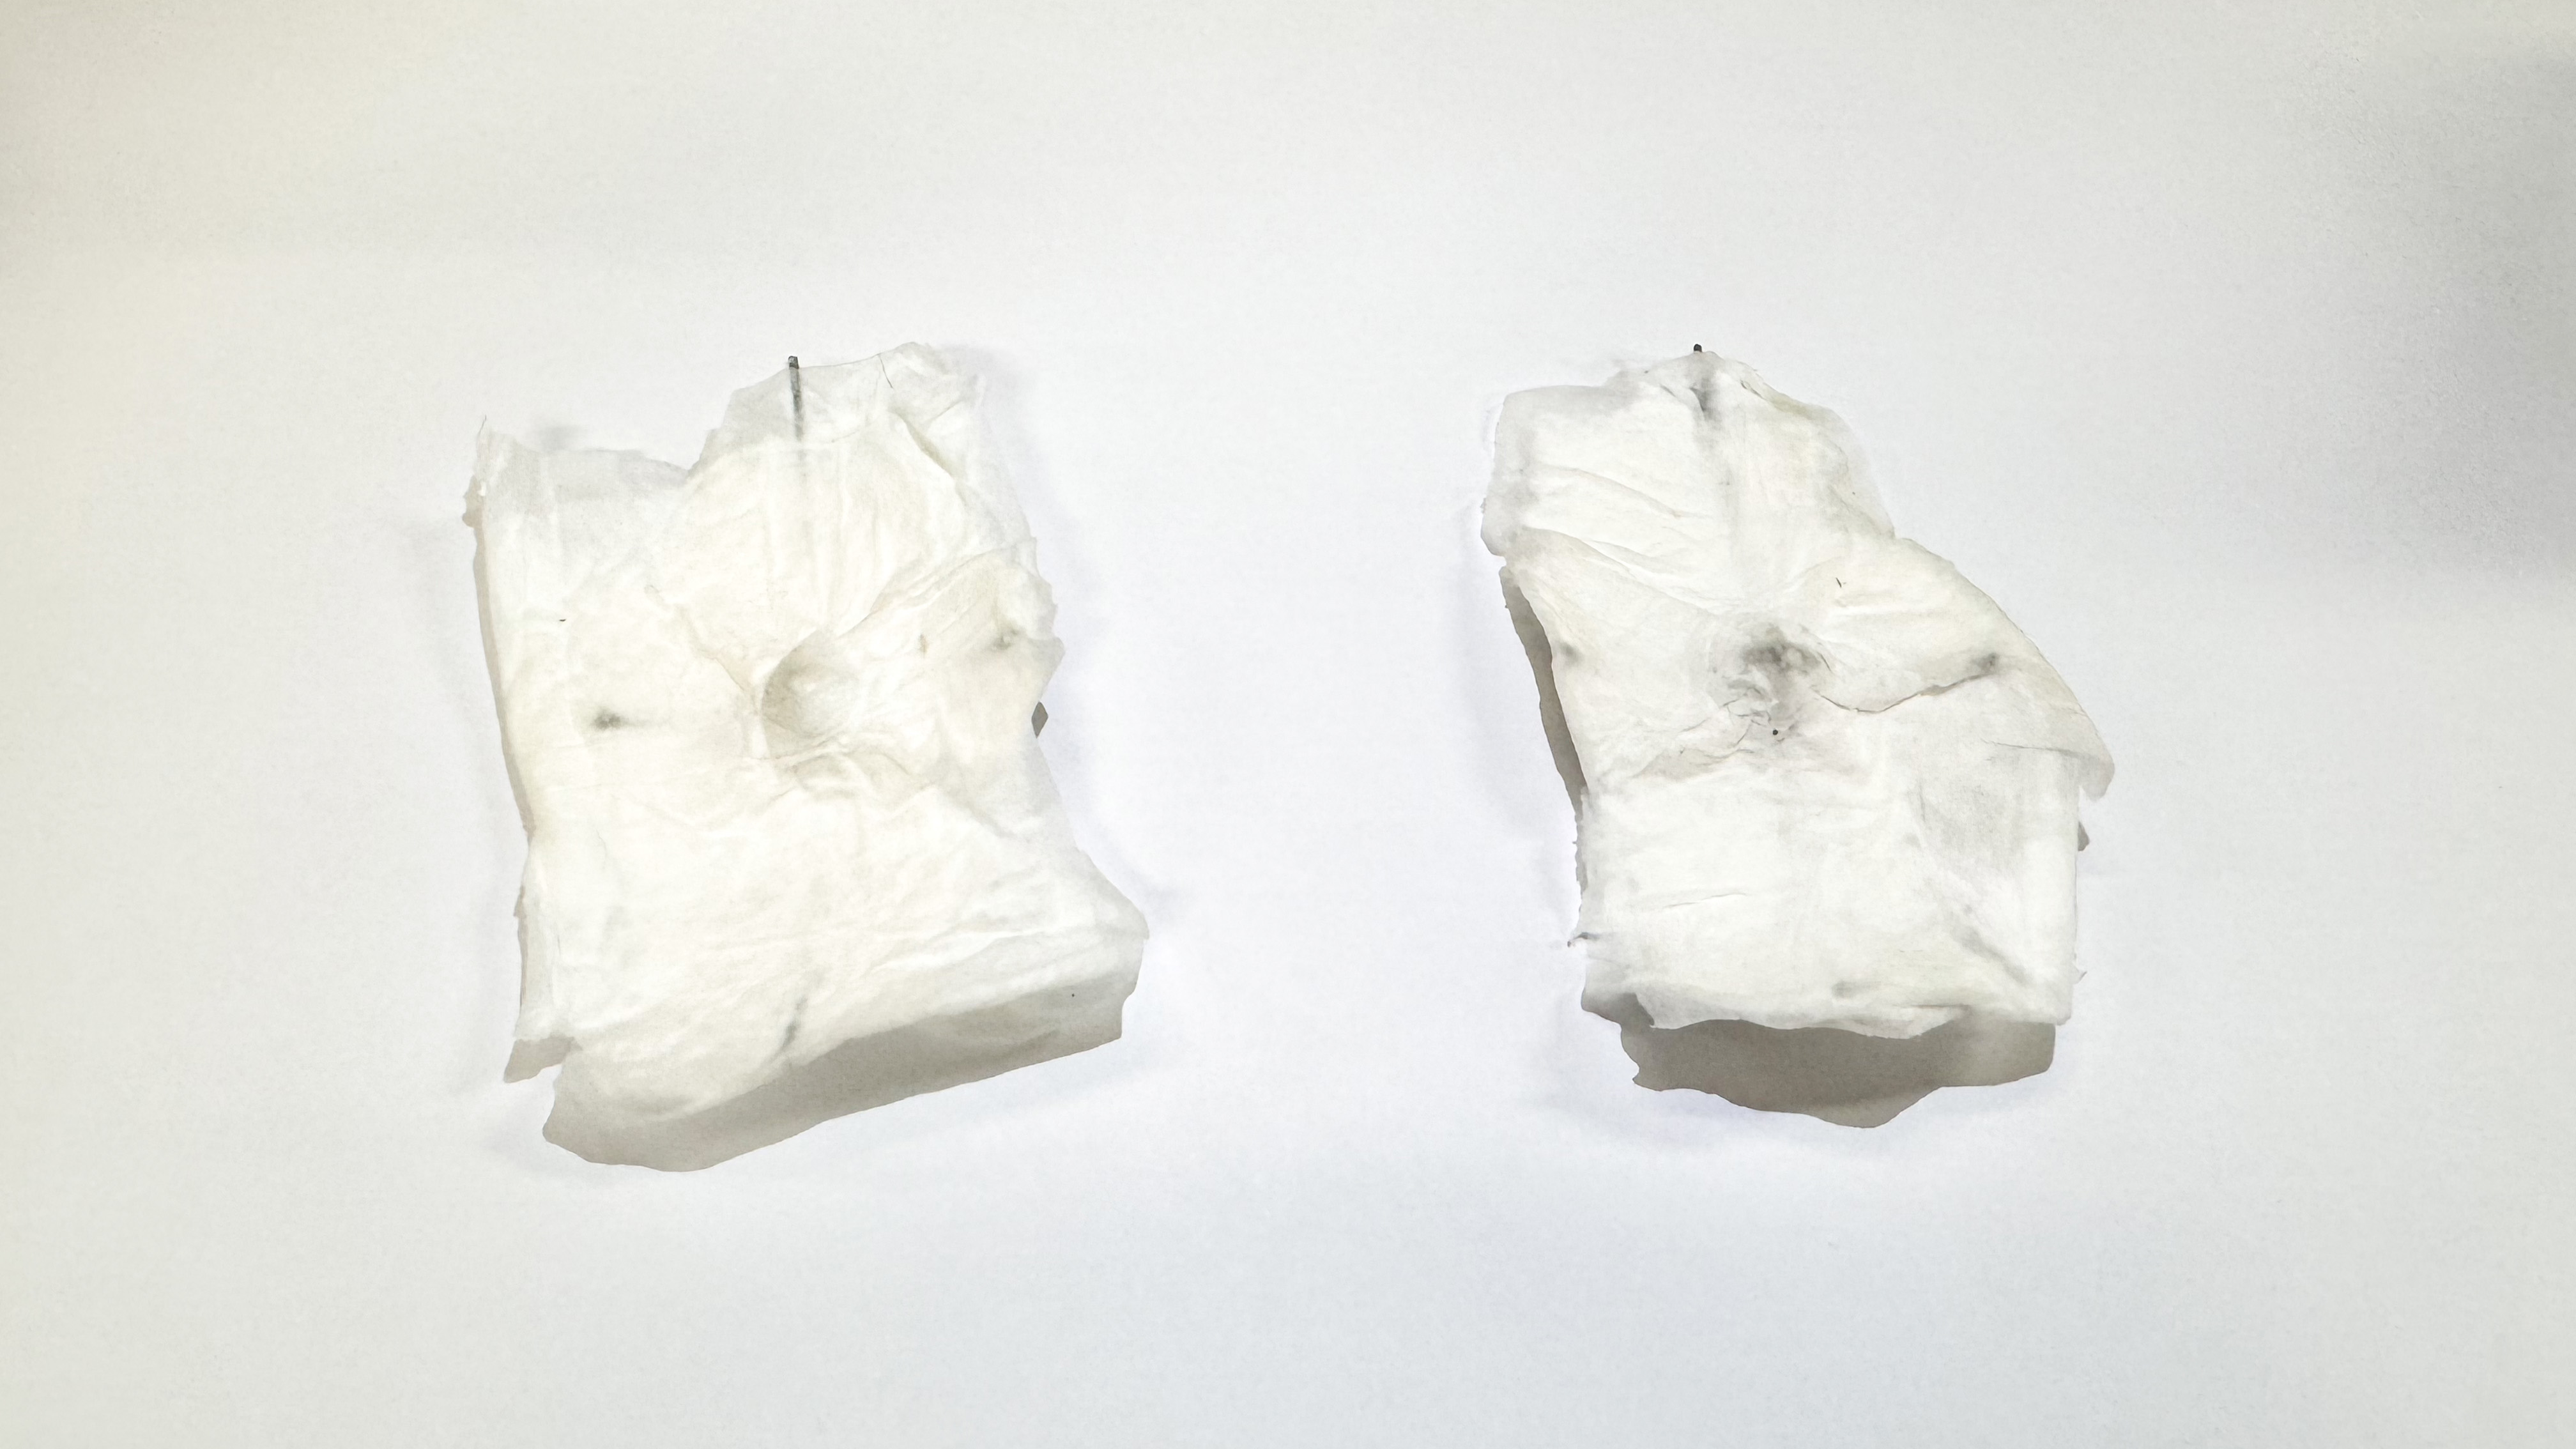
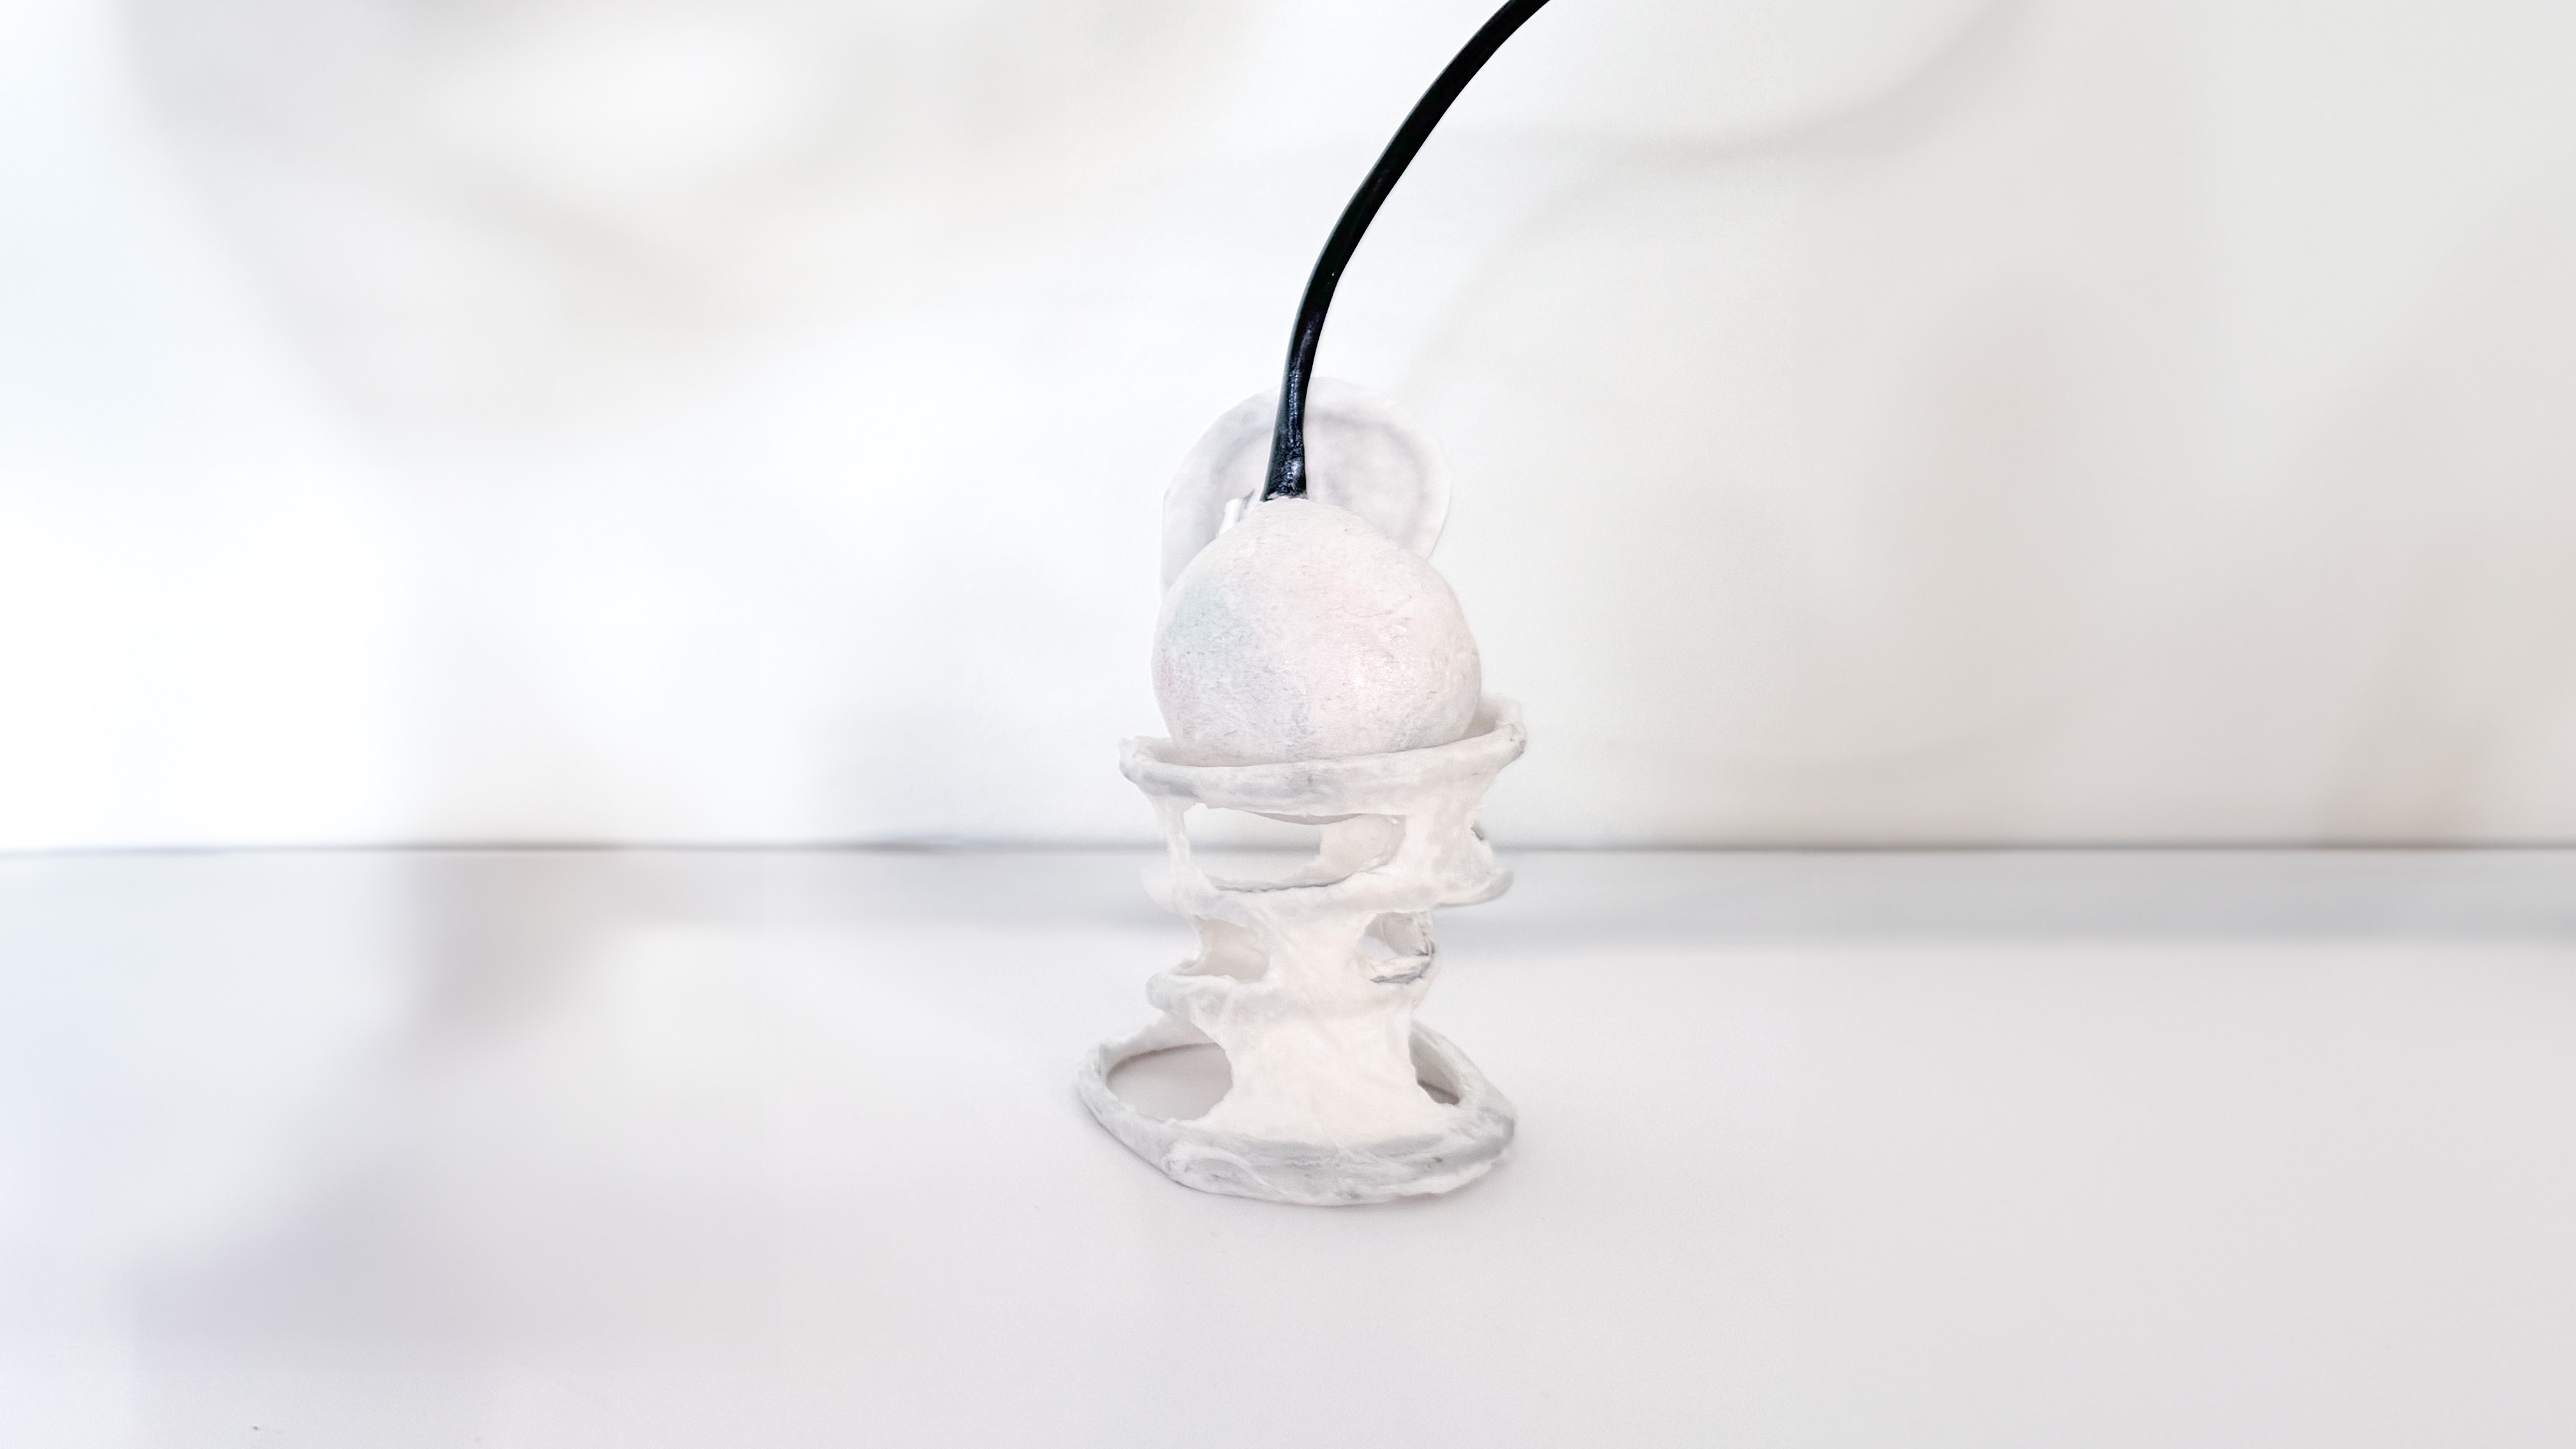
I wanted to create my own rendition of the tilt sensor/pearl holder after finding some really intriguing inspiration images on Pinterest. Since the structure is made of wires and has a skin-like feel, I felt that the aesthetic would go really nicely with both the button and the structure. I made something resembling an egg holder out of leftover wires I had from building the structure. In a similar manner, I completely covered the metal structure with the paper towel and glue mixture and let it dry completely before proceeding.
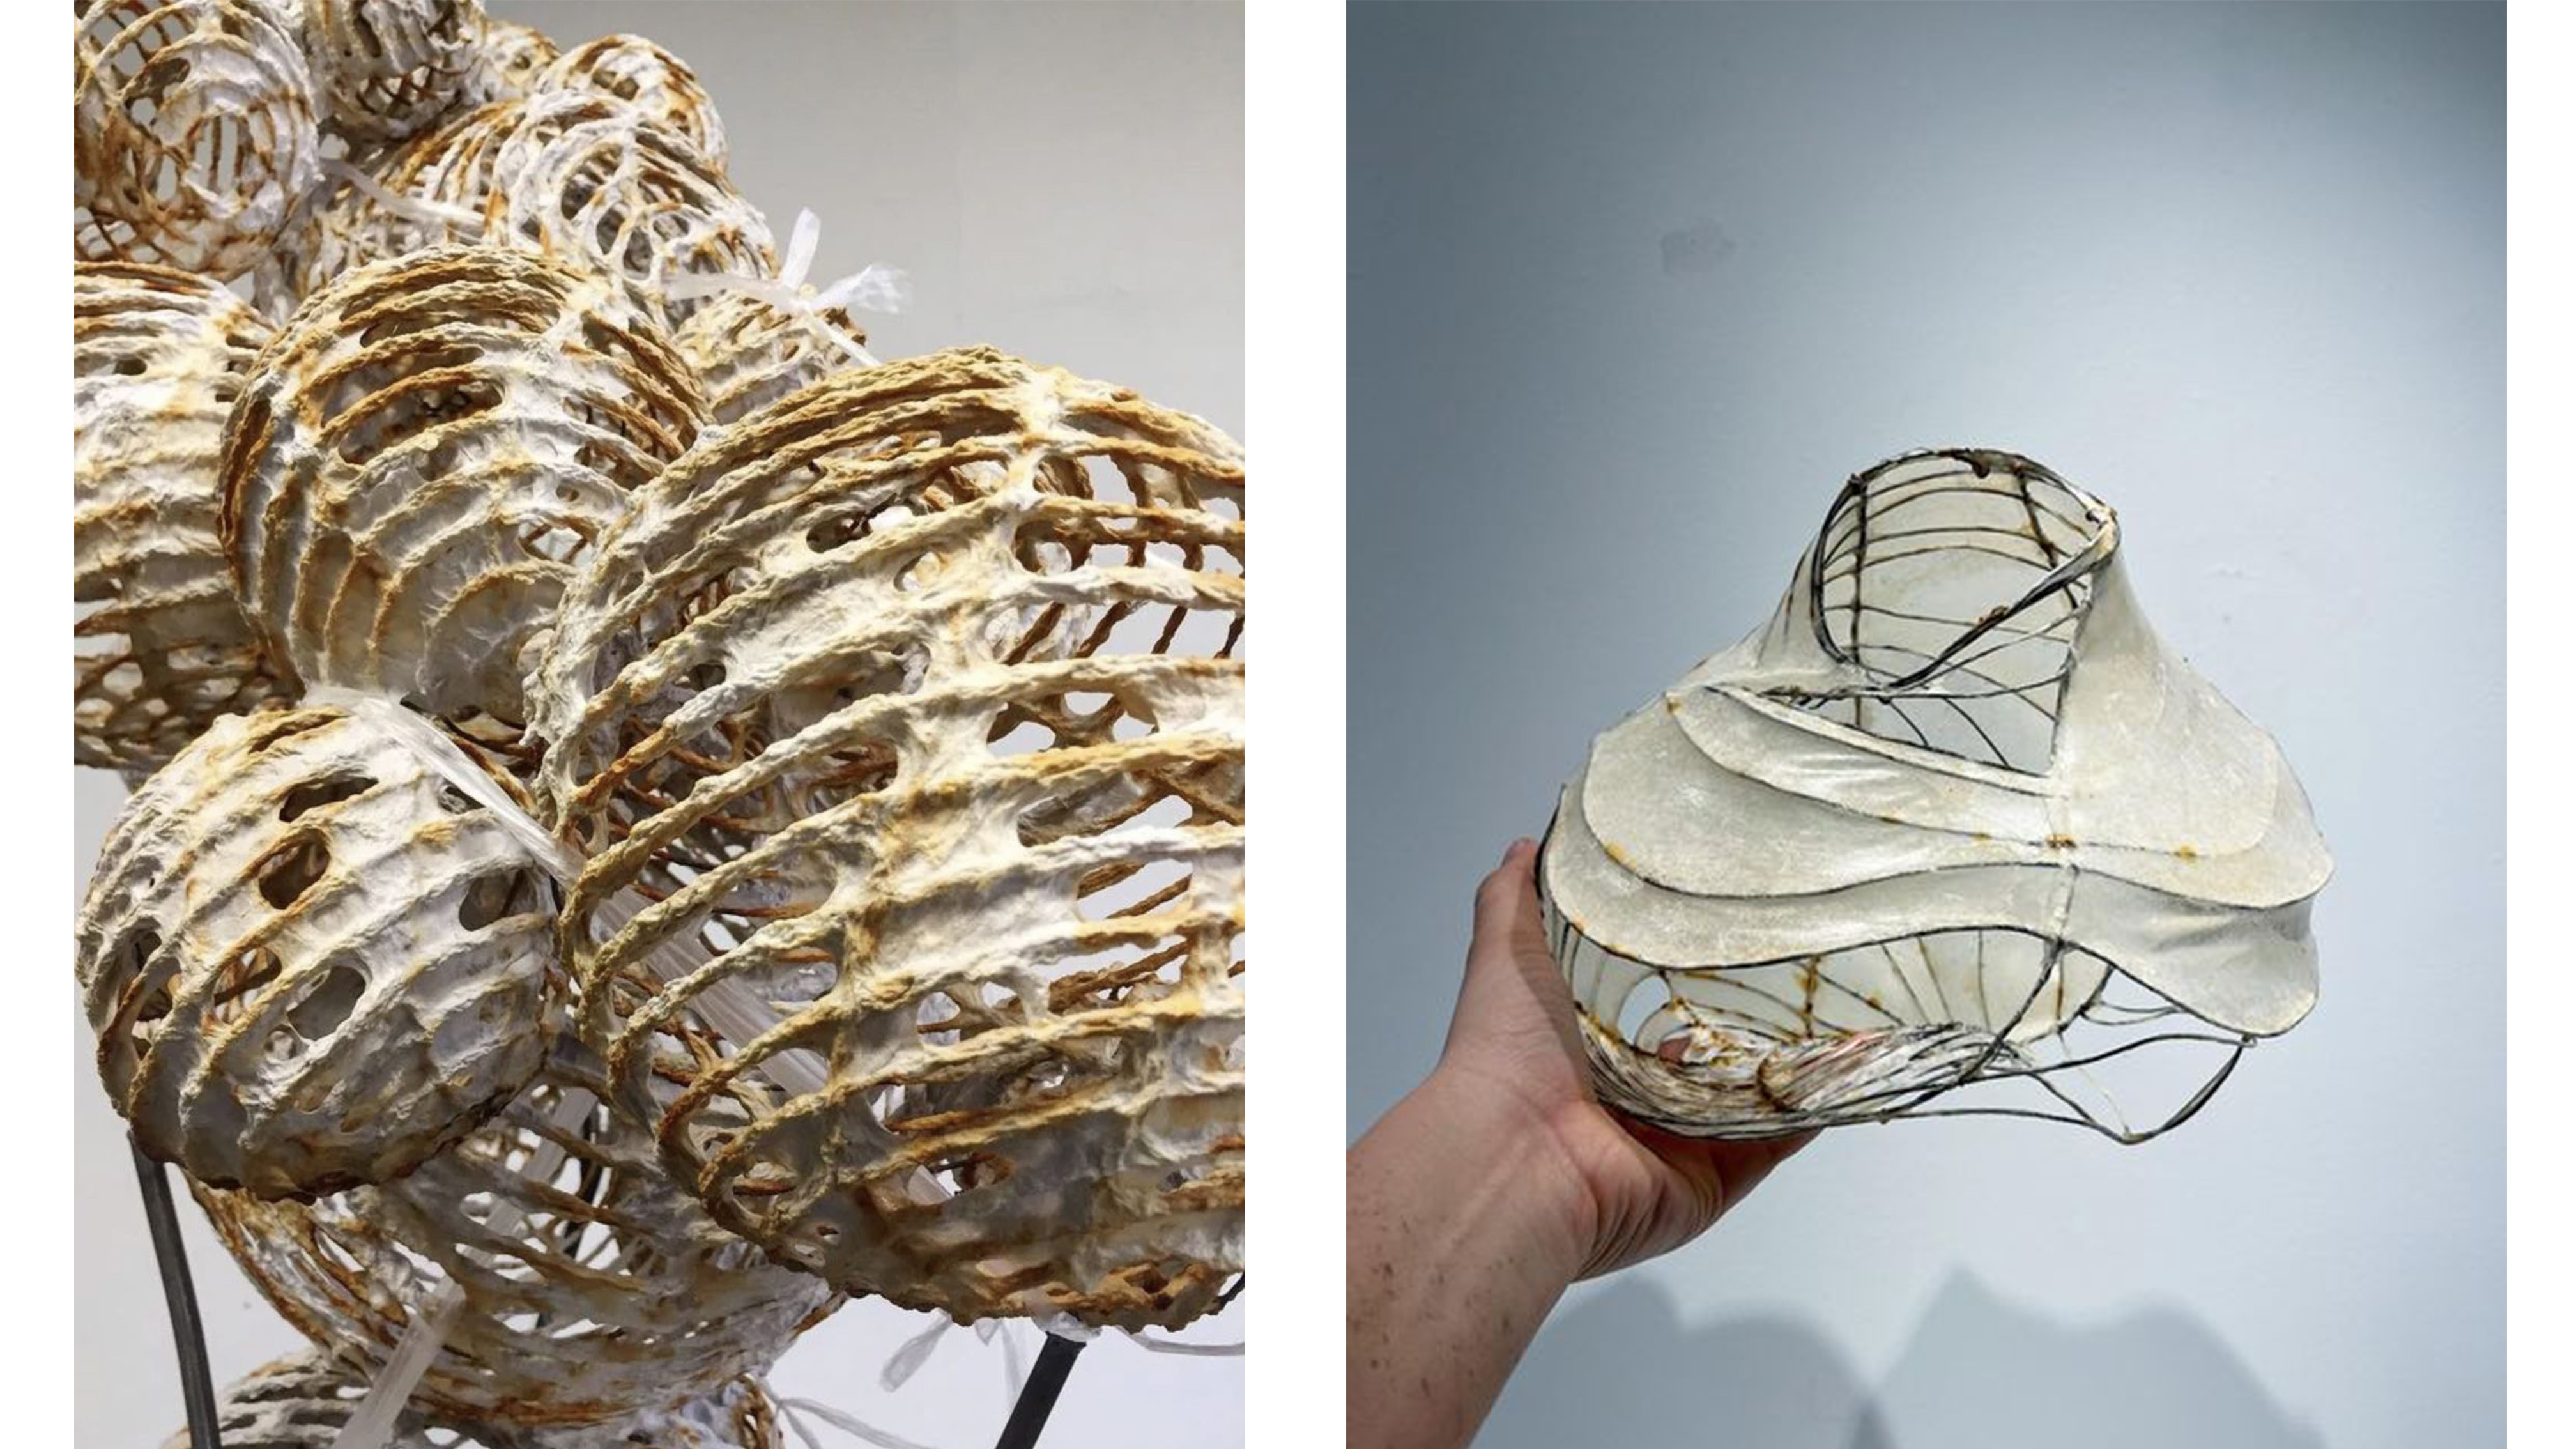
Source Pinterest
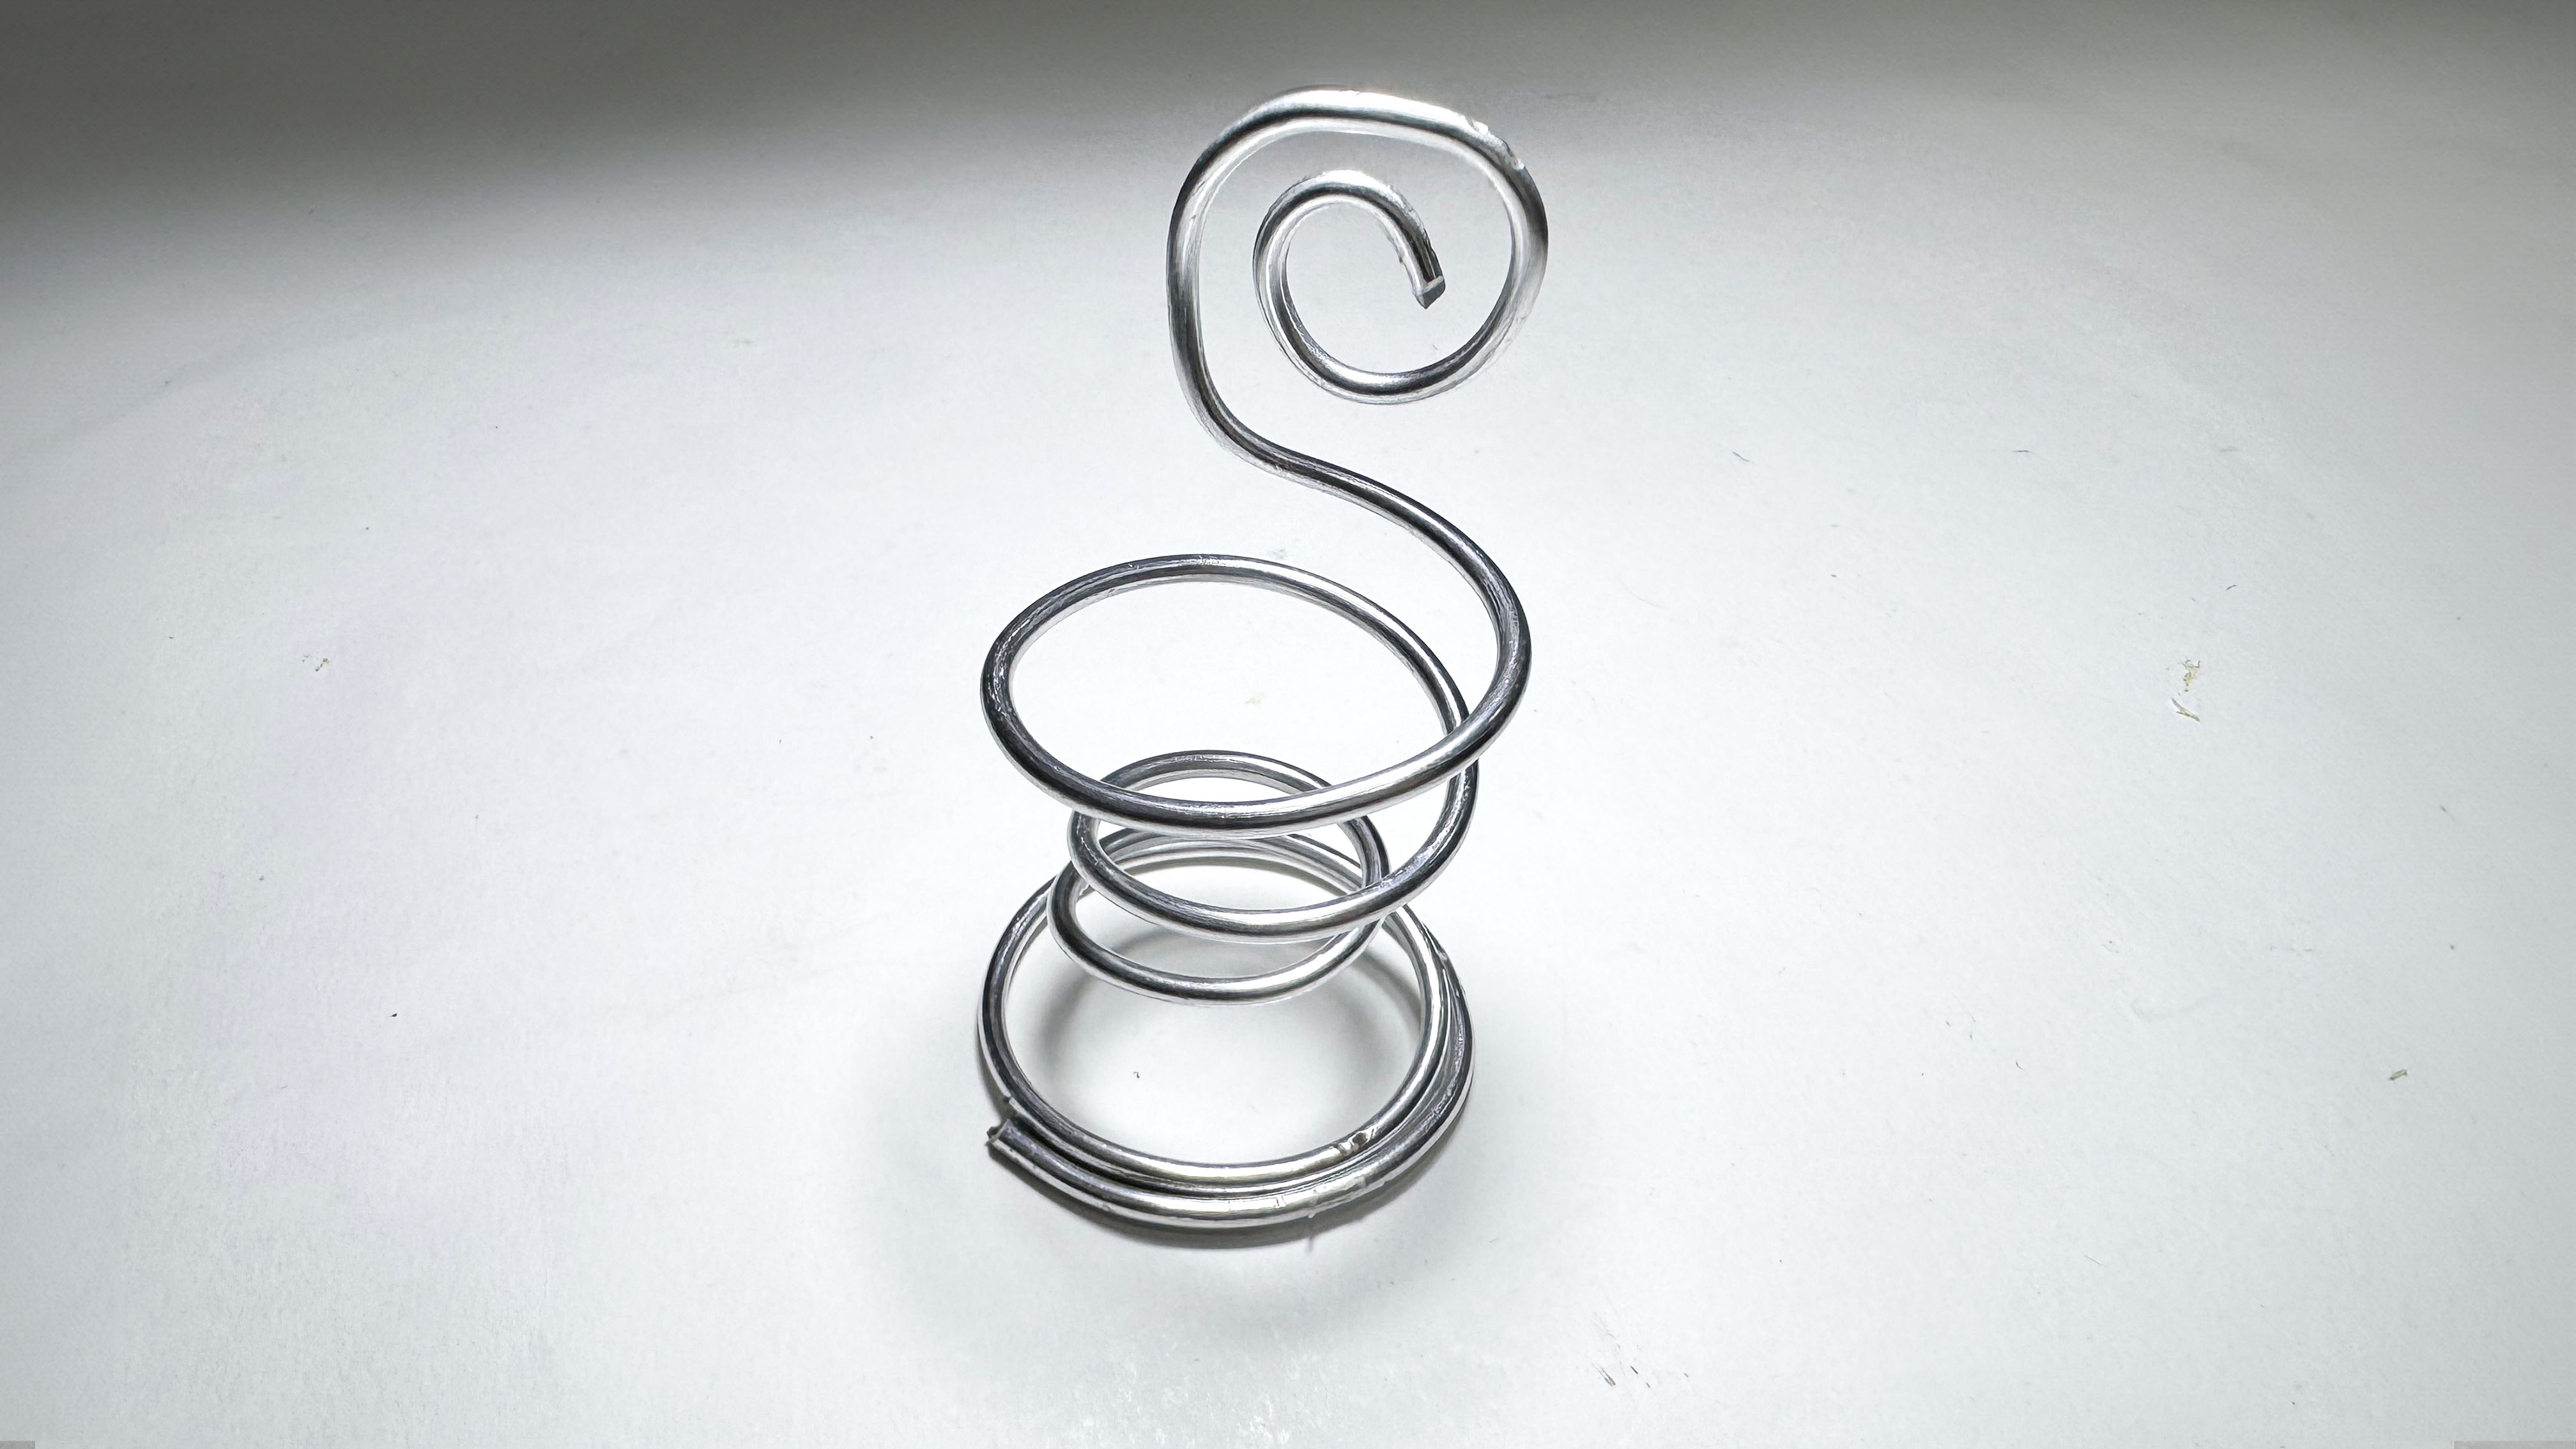
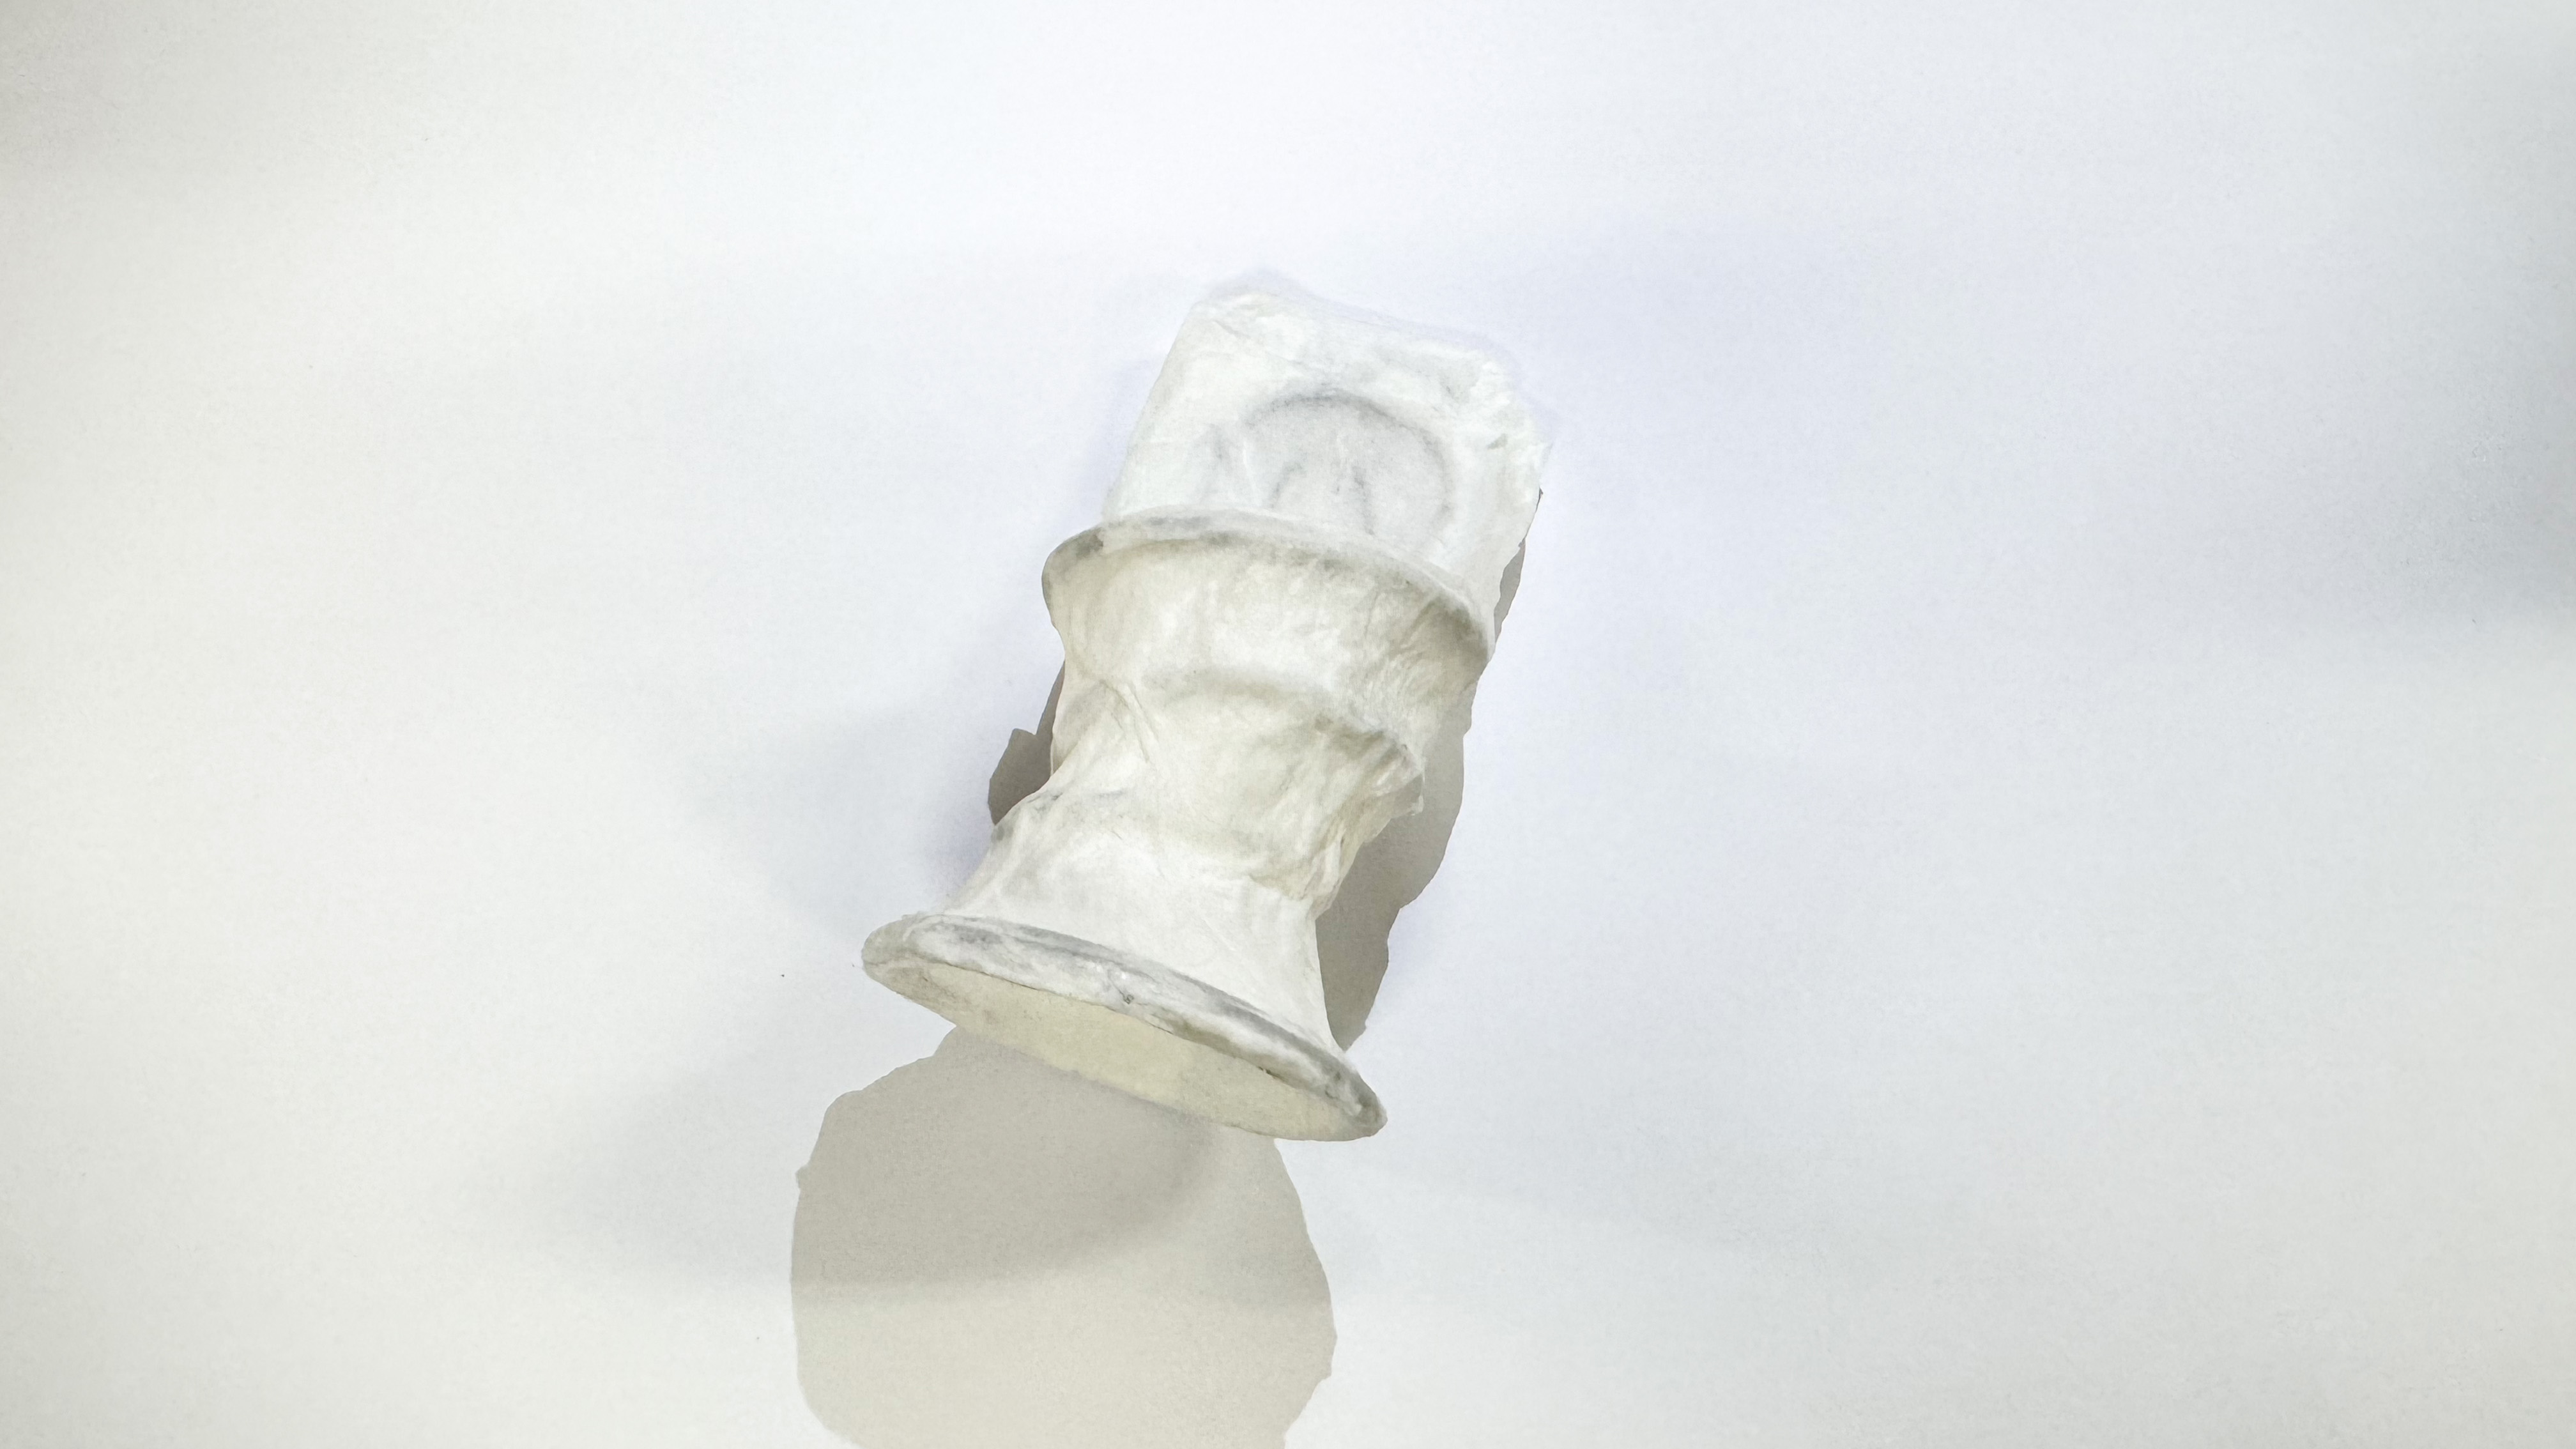
After it was completely dried, i cut off the excess papers so that the shape was what I wanted. It came out just like how I imagined.
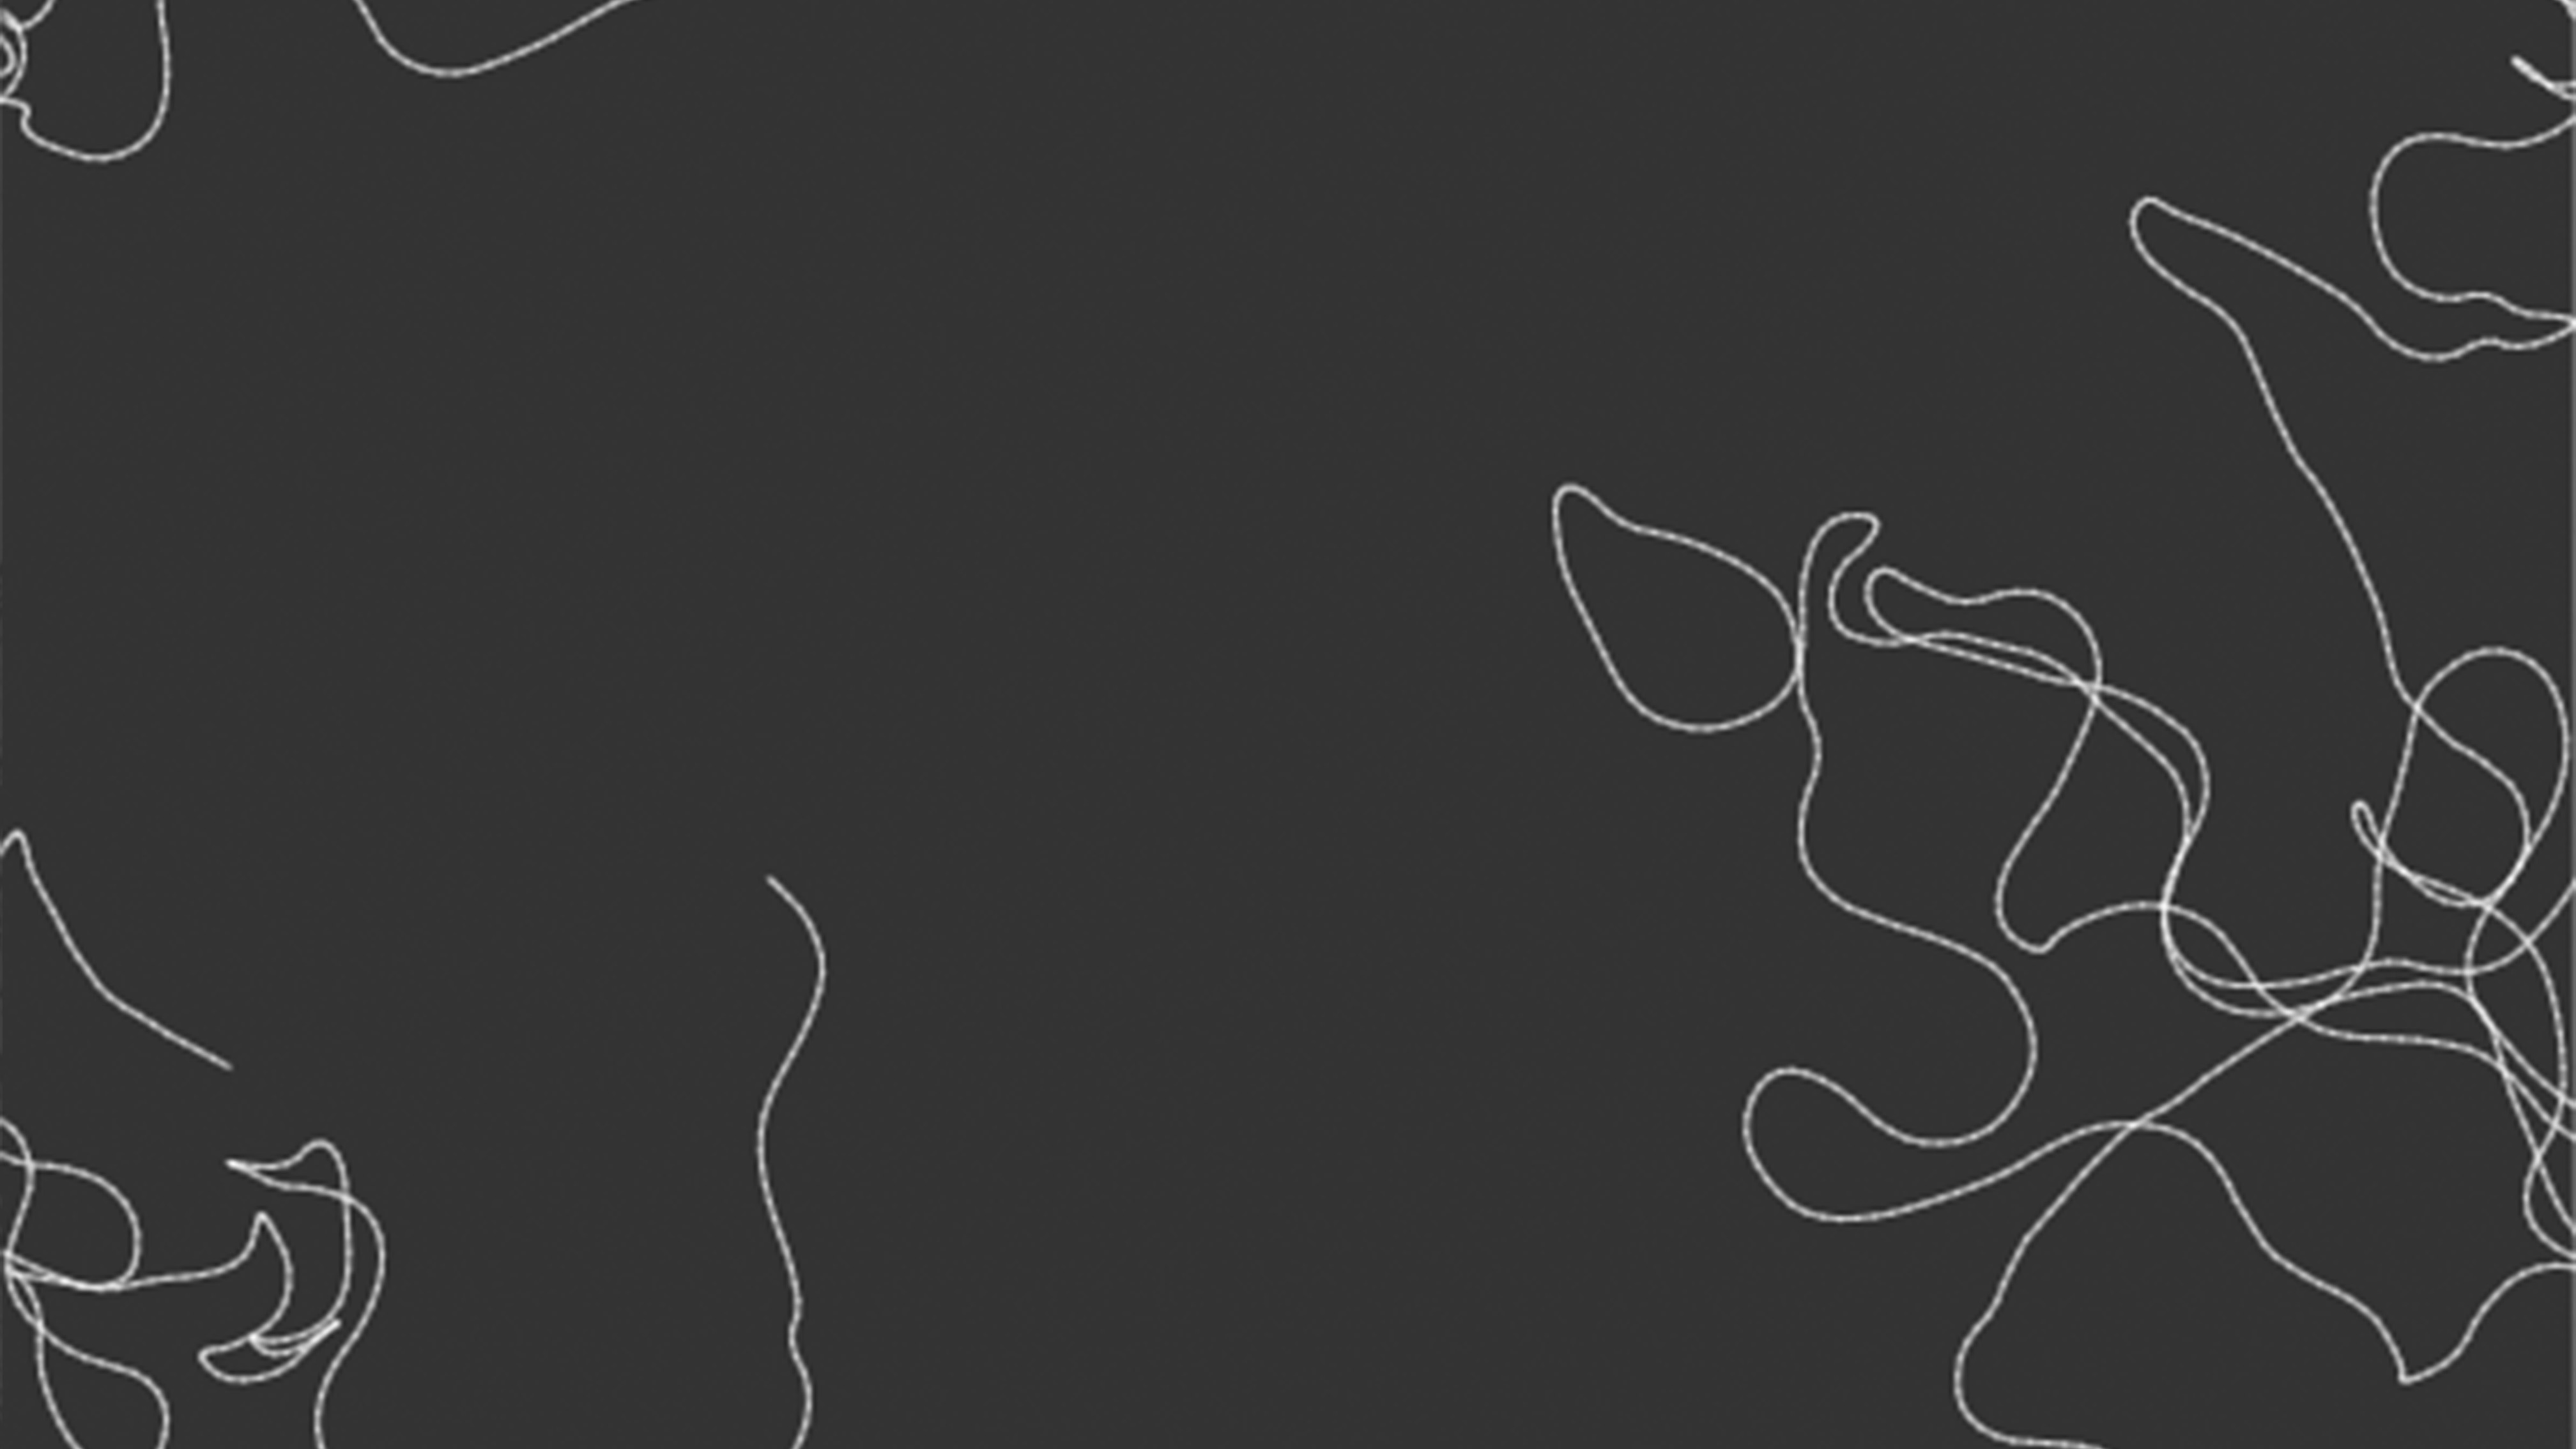
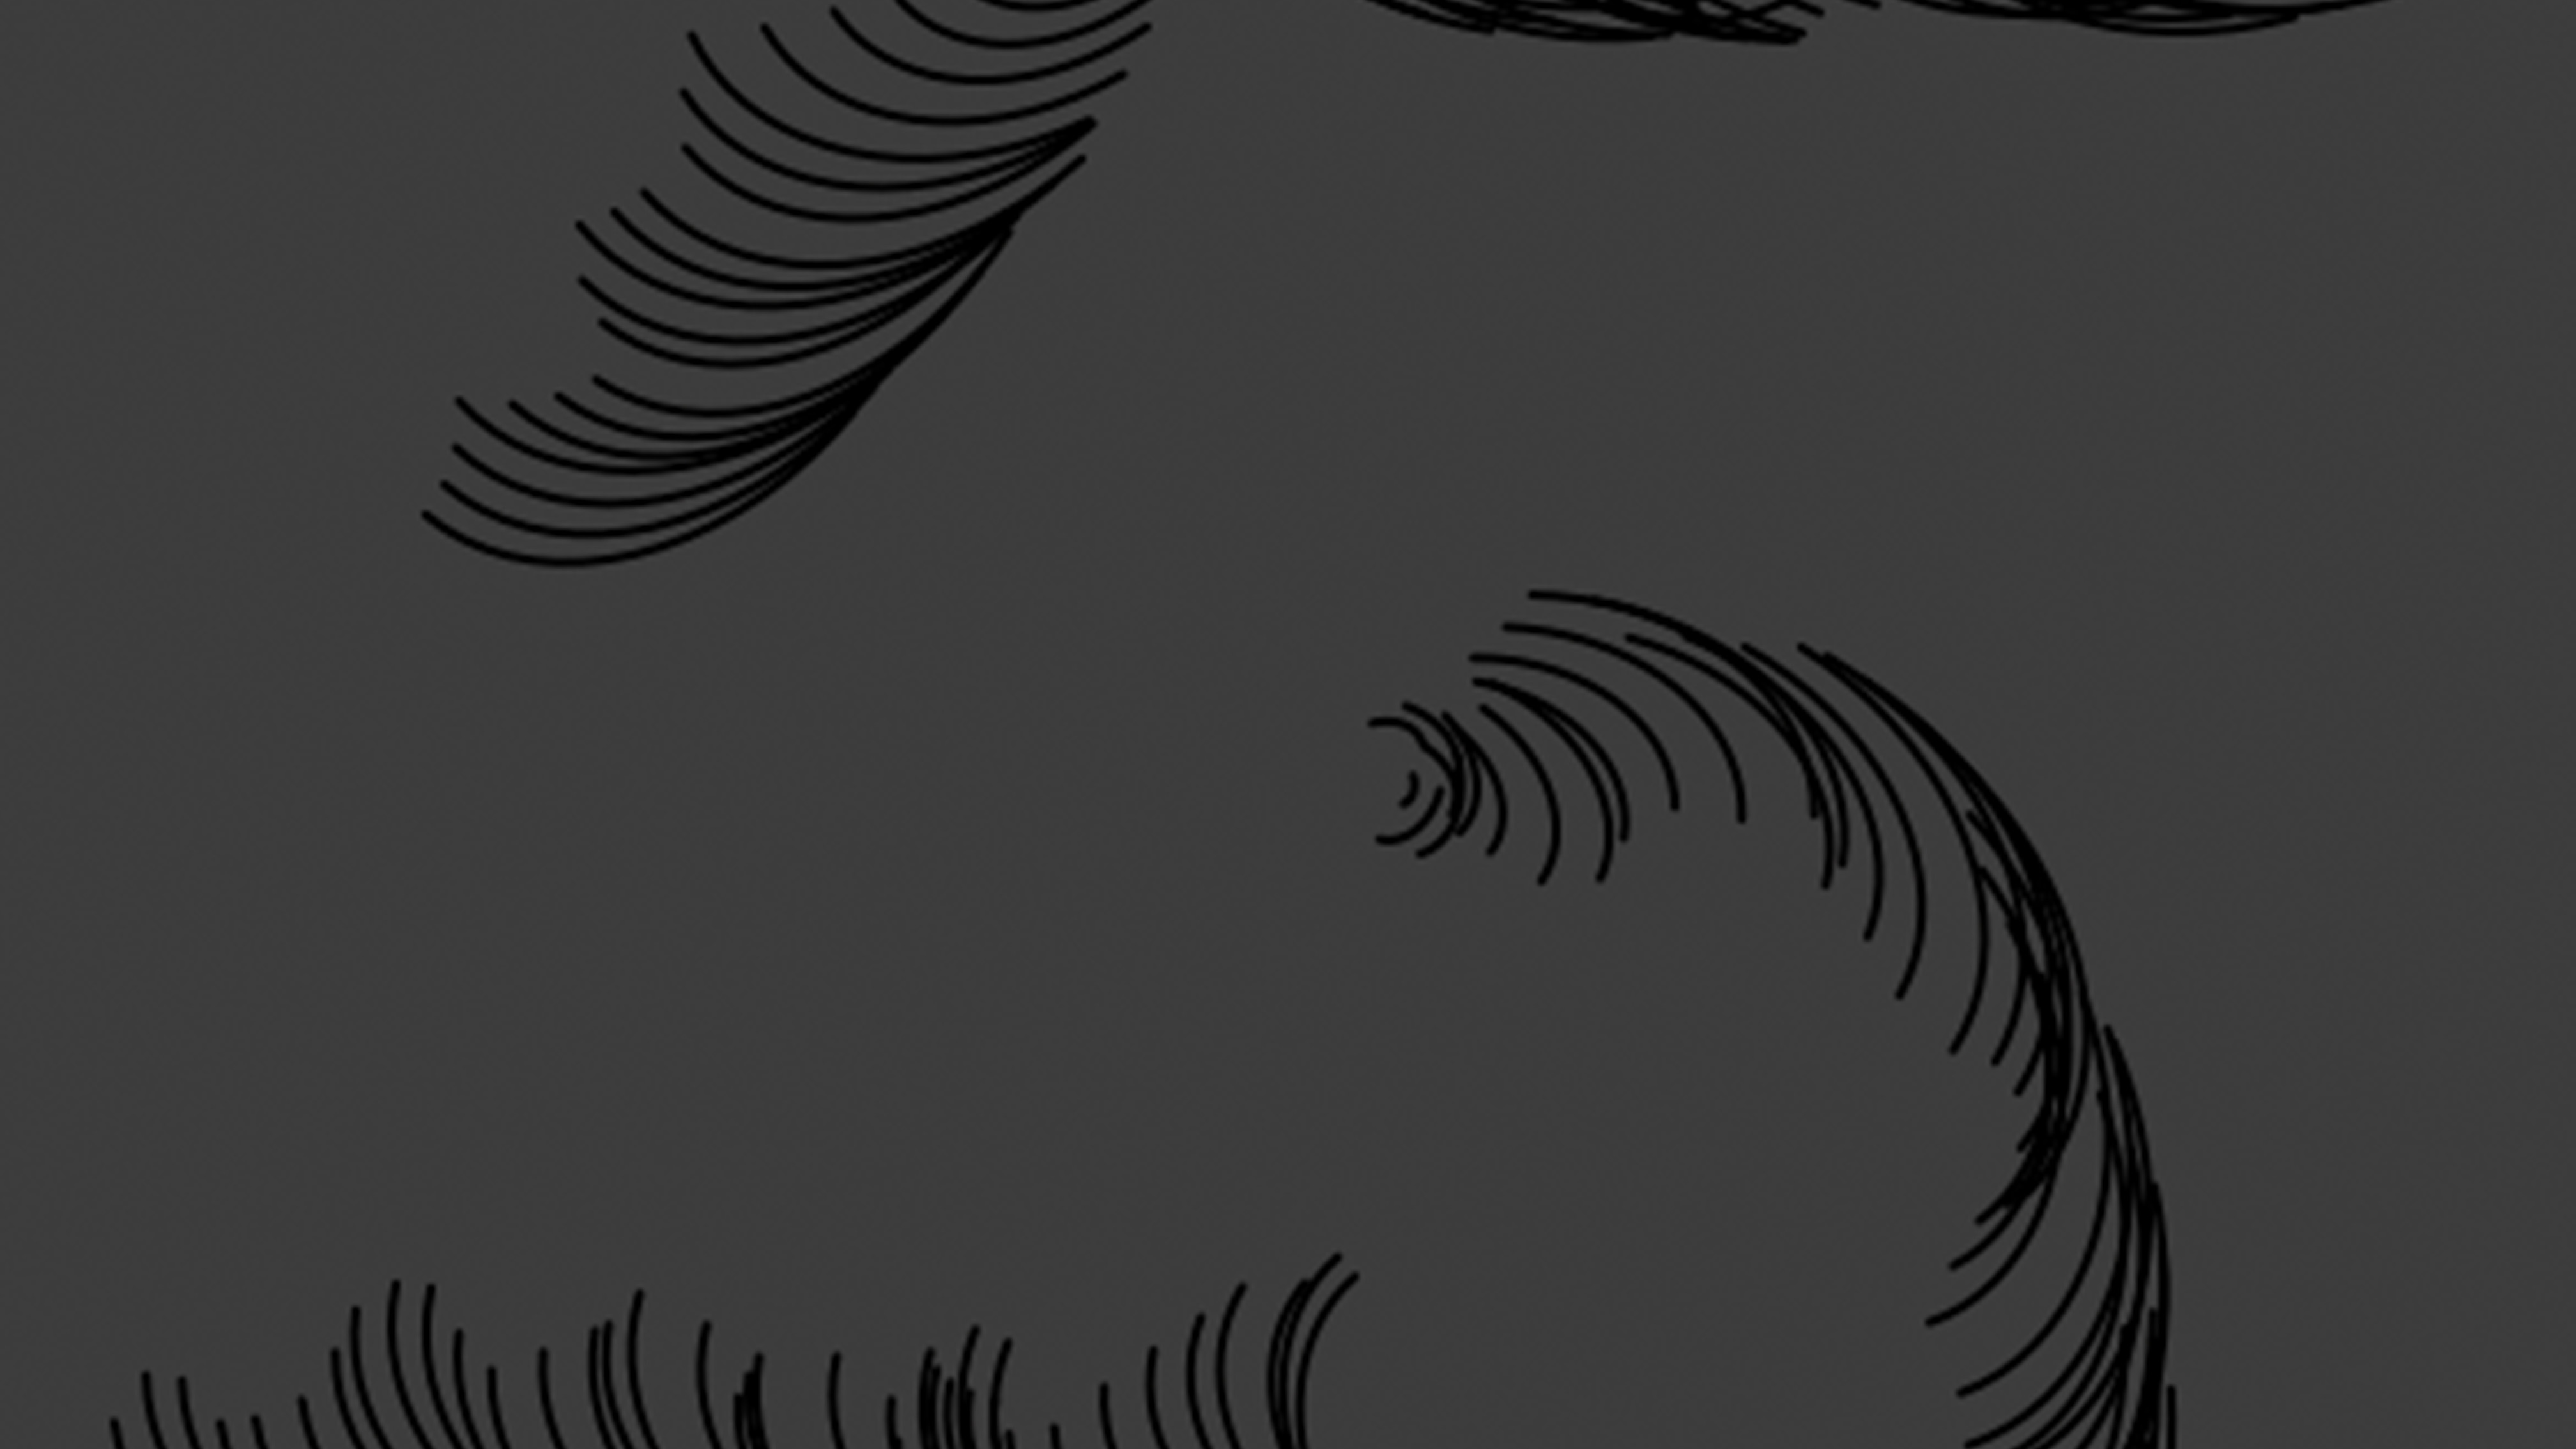
I choose to utilise p5js to produce the graphics that I plan to display after the game is finished. I wasn't sure what I wanted to produce at first. After doing some web research, I decided to base my design on perlin noise. I visualised the movement of a single detail as a dragon's path based on a reference code I discovered. I attempted to eliminate it until there was just one particle remaining. I then experimented with presenting the particle in various ways. I experimented with one that had many lines and another that had 'C' shapes to resemble my dragon.
Since it was my first time, I had to contact Andreas for assistance in integrating my p5js code with my Arduino. At this point, there were additional problems with my button not accepting input correctly and my game not restarting when it should have. I was able to resolve every problem with his help, and my project was ready for documentation.
