Week 11
Although I was aware that I wanted to include dragon aspects into my design, I was
unsure of the best course of action. I noticed that I was drawn to wires and metals as I
looked at the reference photos. I reasoned that I should try to make a flexible wire
dragon to attach to the wooden peck mechanism I made for my motion experiment.
I
began by researching various techniques for making chains, and I stumbled into a
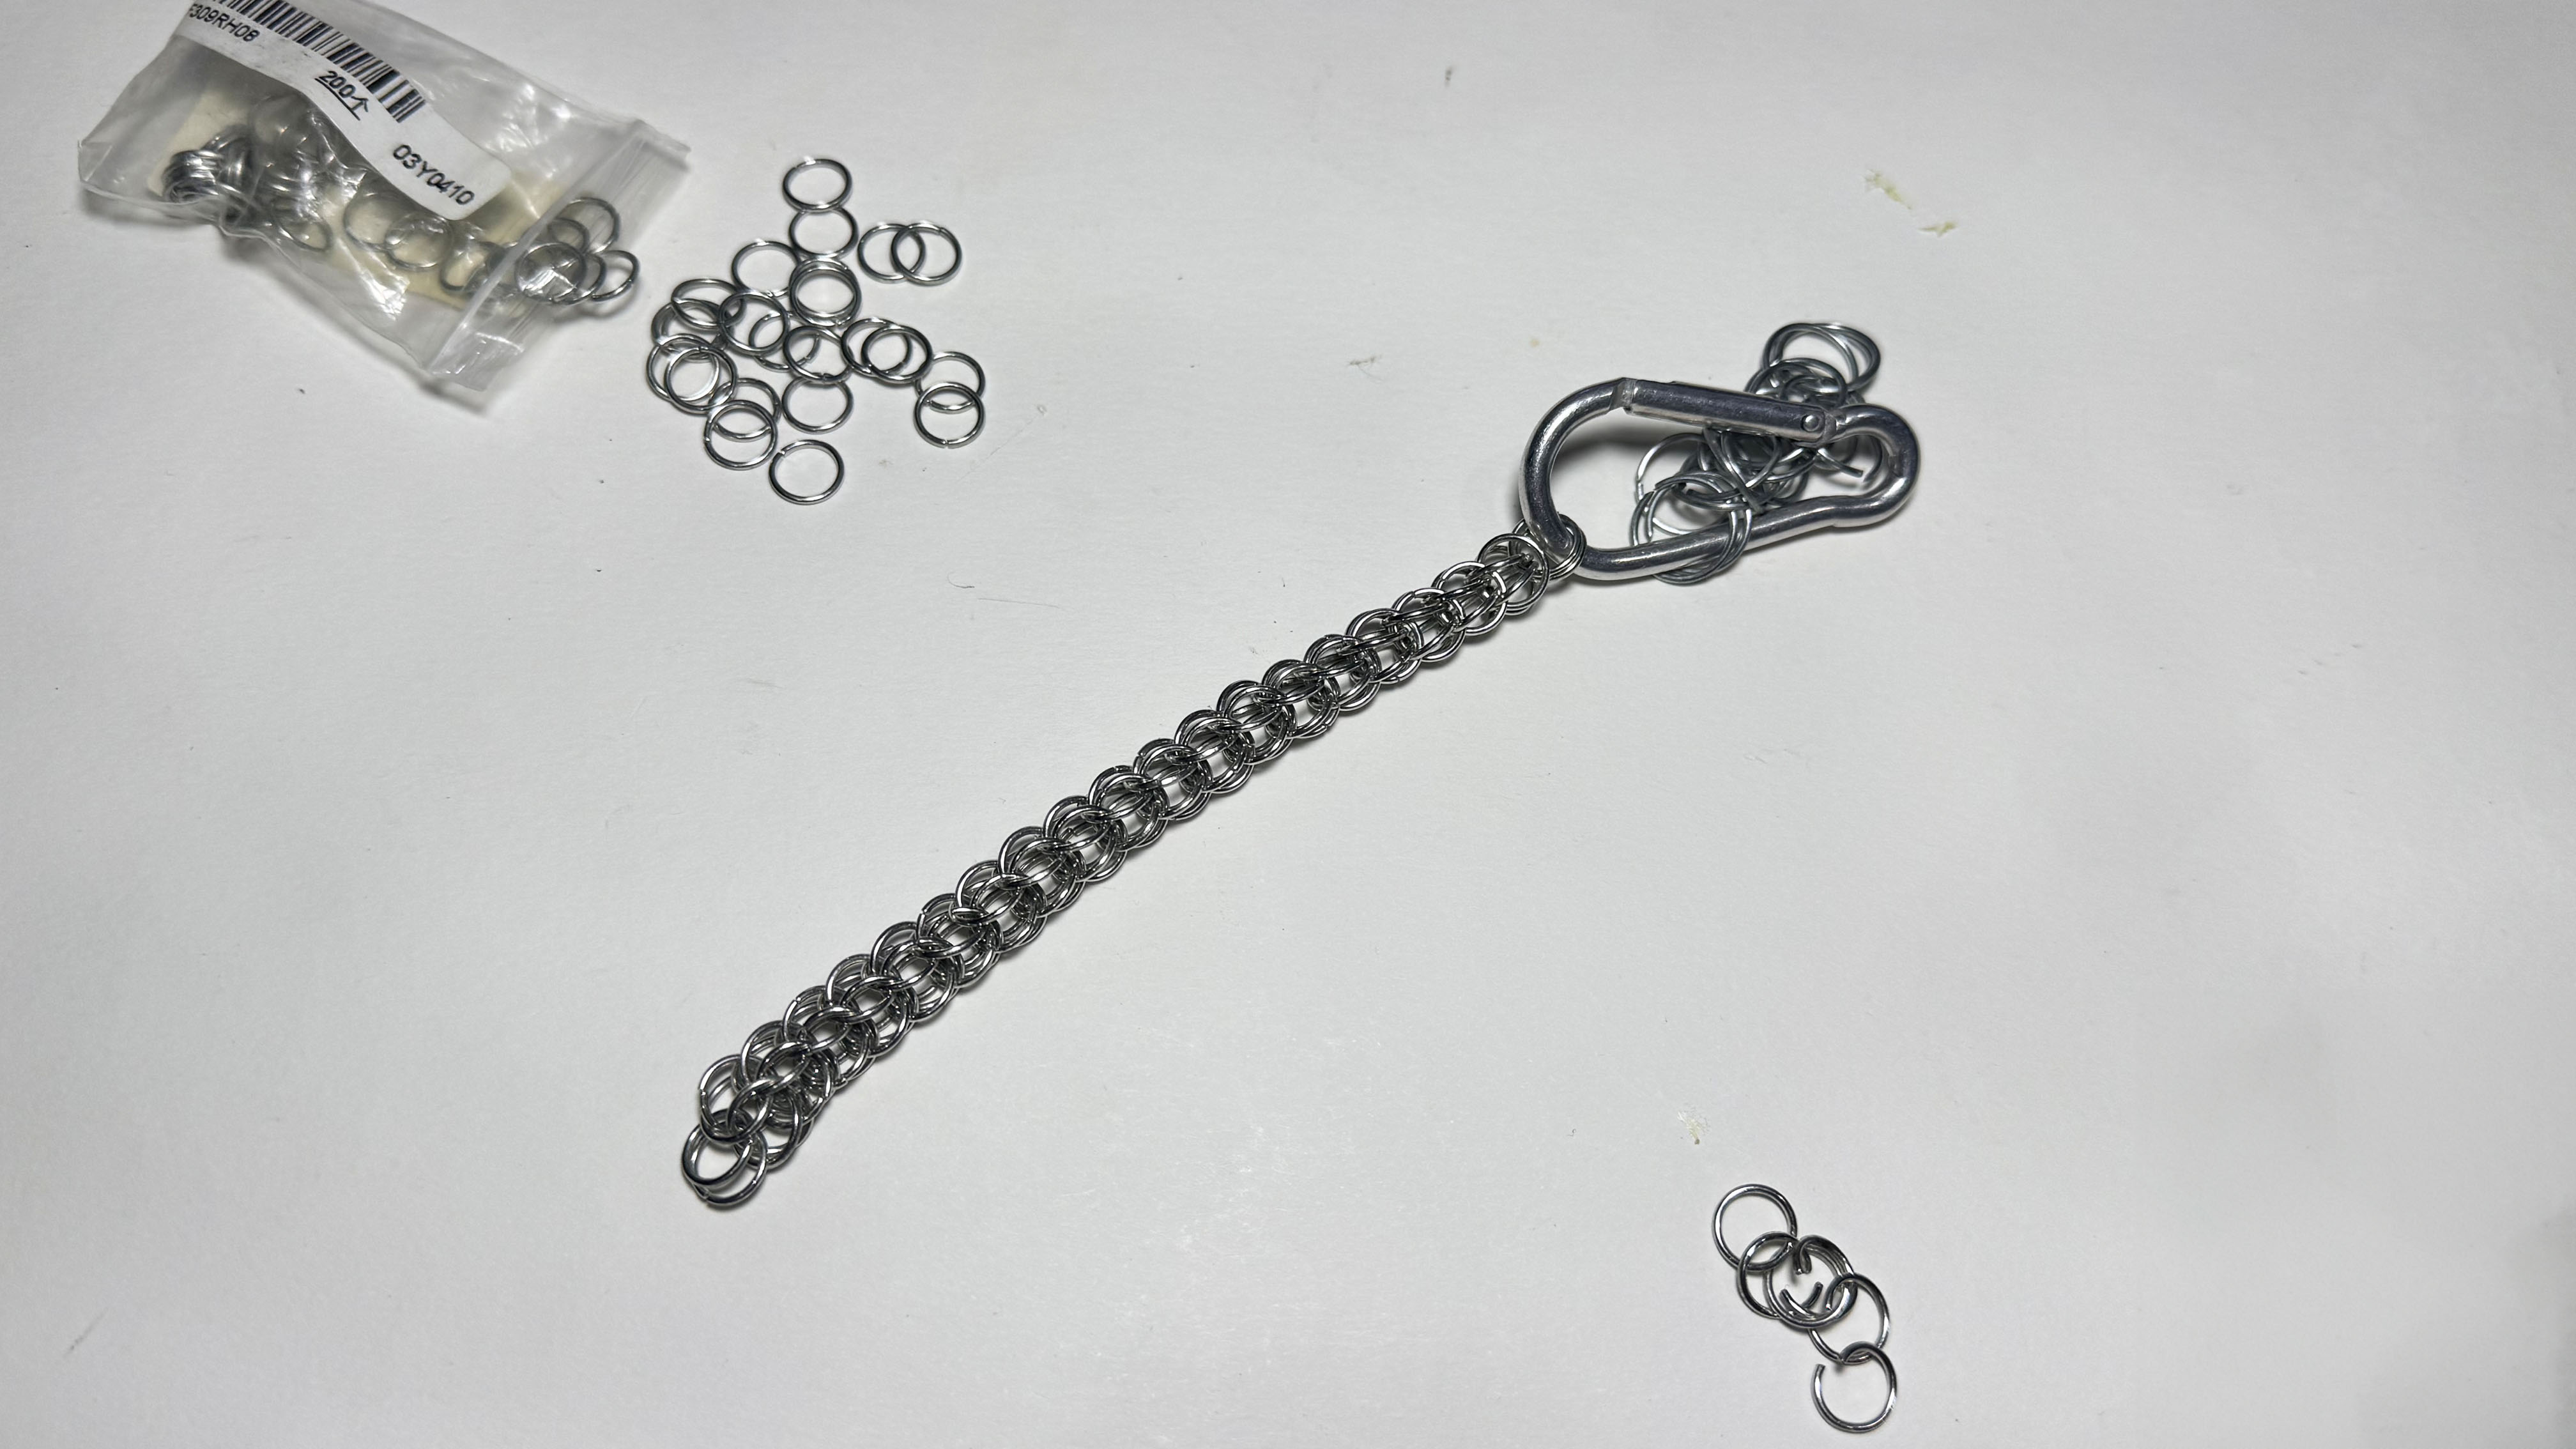
tutorial that showed me how to make a circle chain using metal rings. I began by making
the chain out of rings, carefully following the YouTube tutorial, because I believed the
design of the chain would work well for the dragon's body.
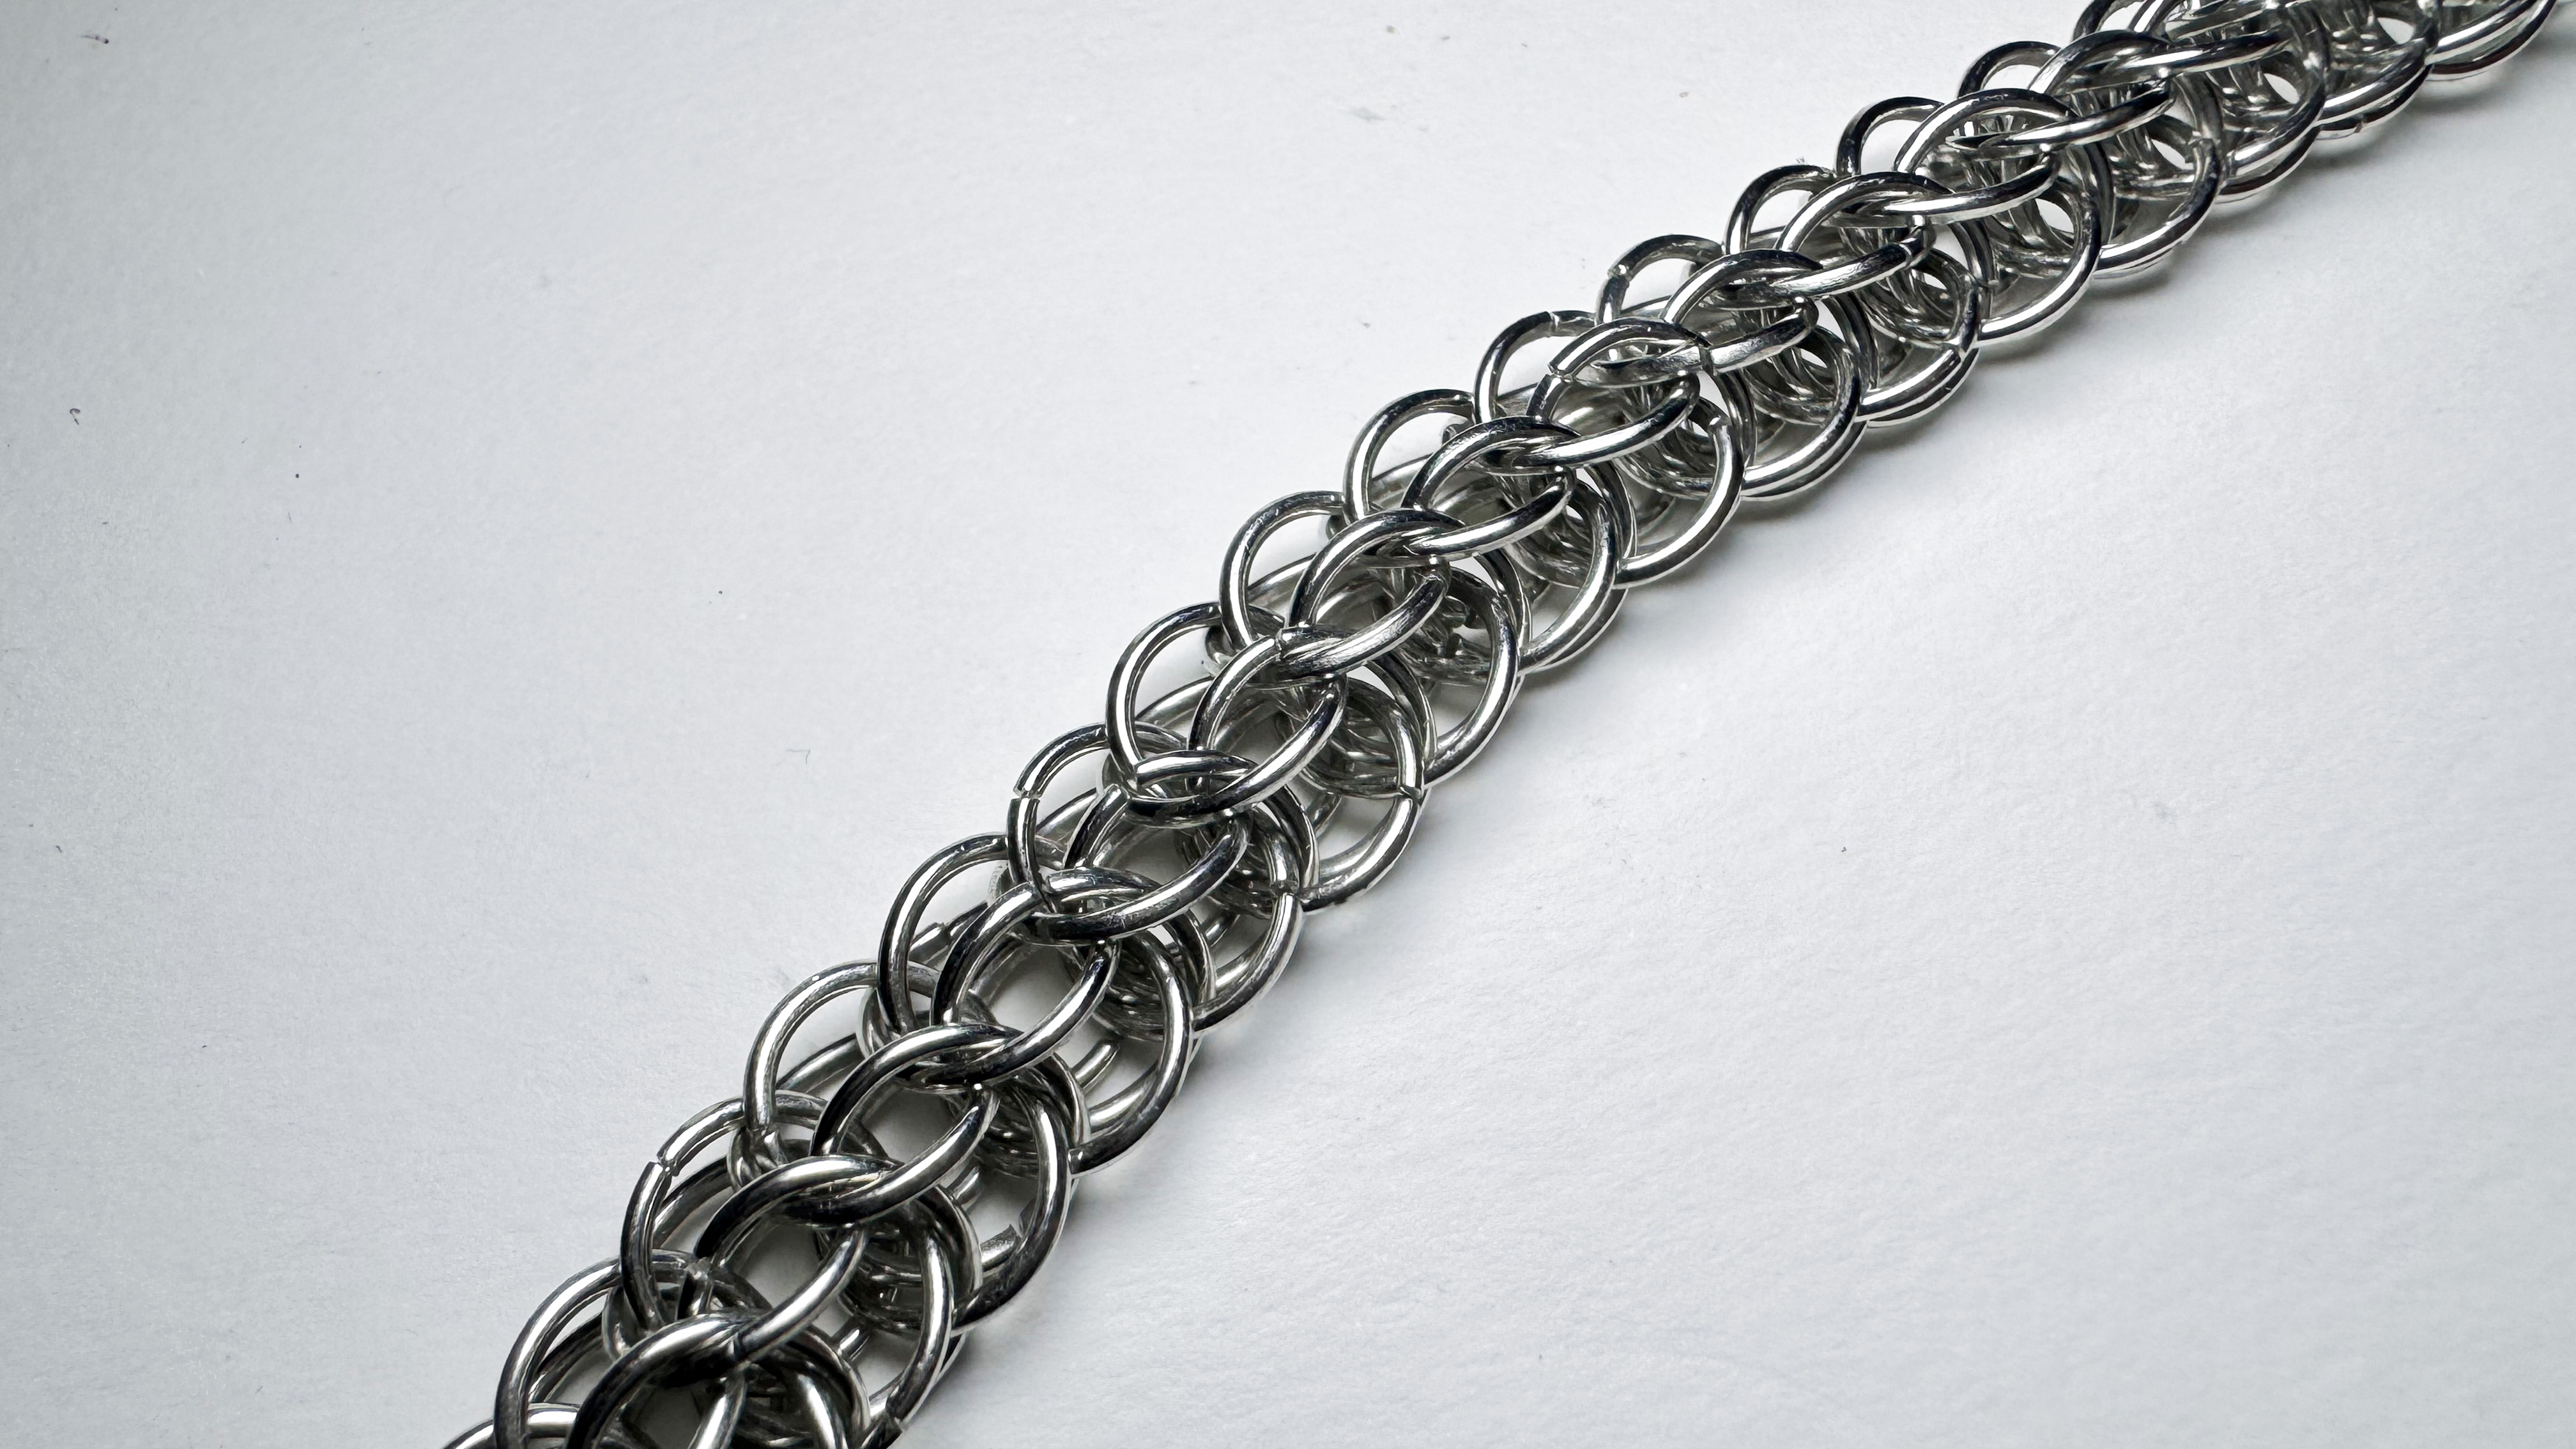
The chain works by
combining 4 rings together by looping over each other and repeating the same process
over and over till it reaches the length you want. This was a simple task but it was
tedious so it took me quite some time to reach the length I wanted.
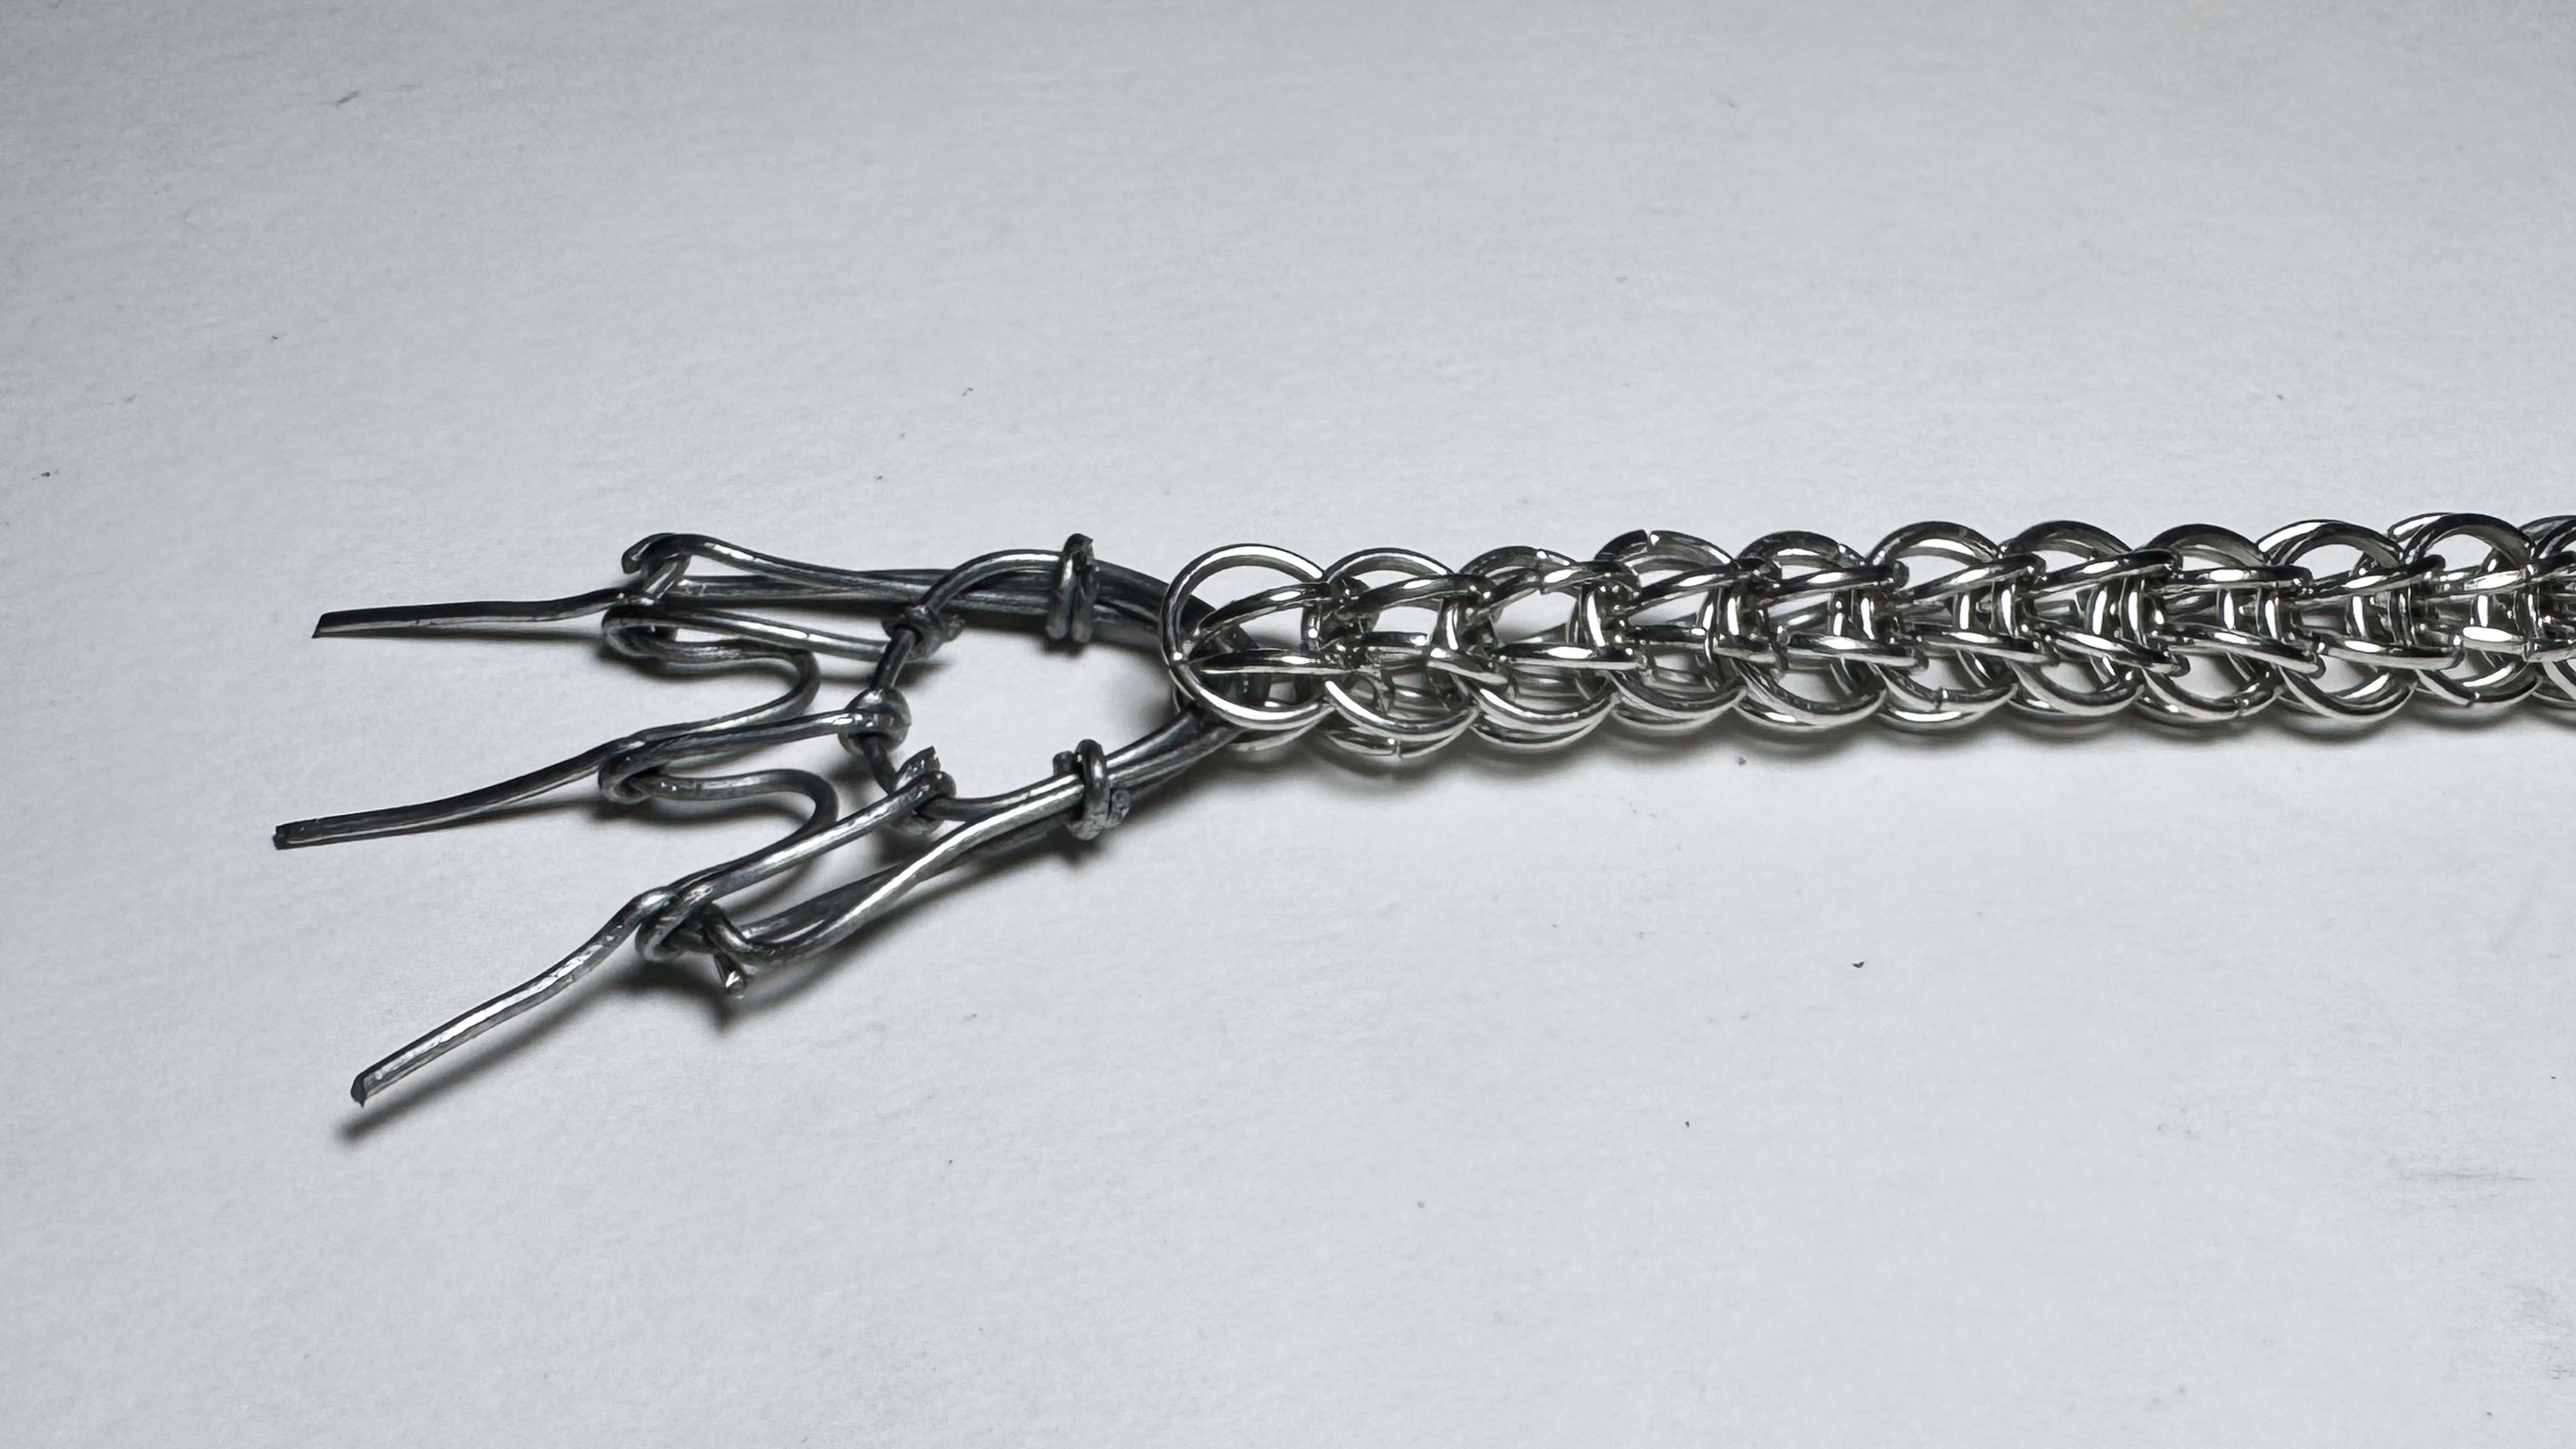
I
constructed the dragon's tail out of wires, and then I roughly fastened the completed
tail and body to the mechanism. But the body was unstructured, with the remaining
portions sagging downward and only the places supported by the mechanism standing
upright. This forced me to halt what I was doing because it doesn't seem like it would
work, and I chose to come up with a new plan.
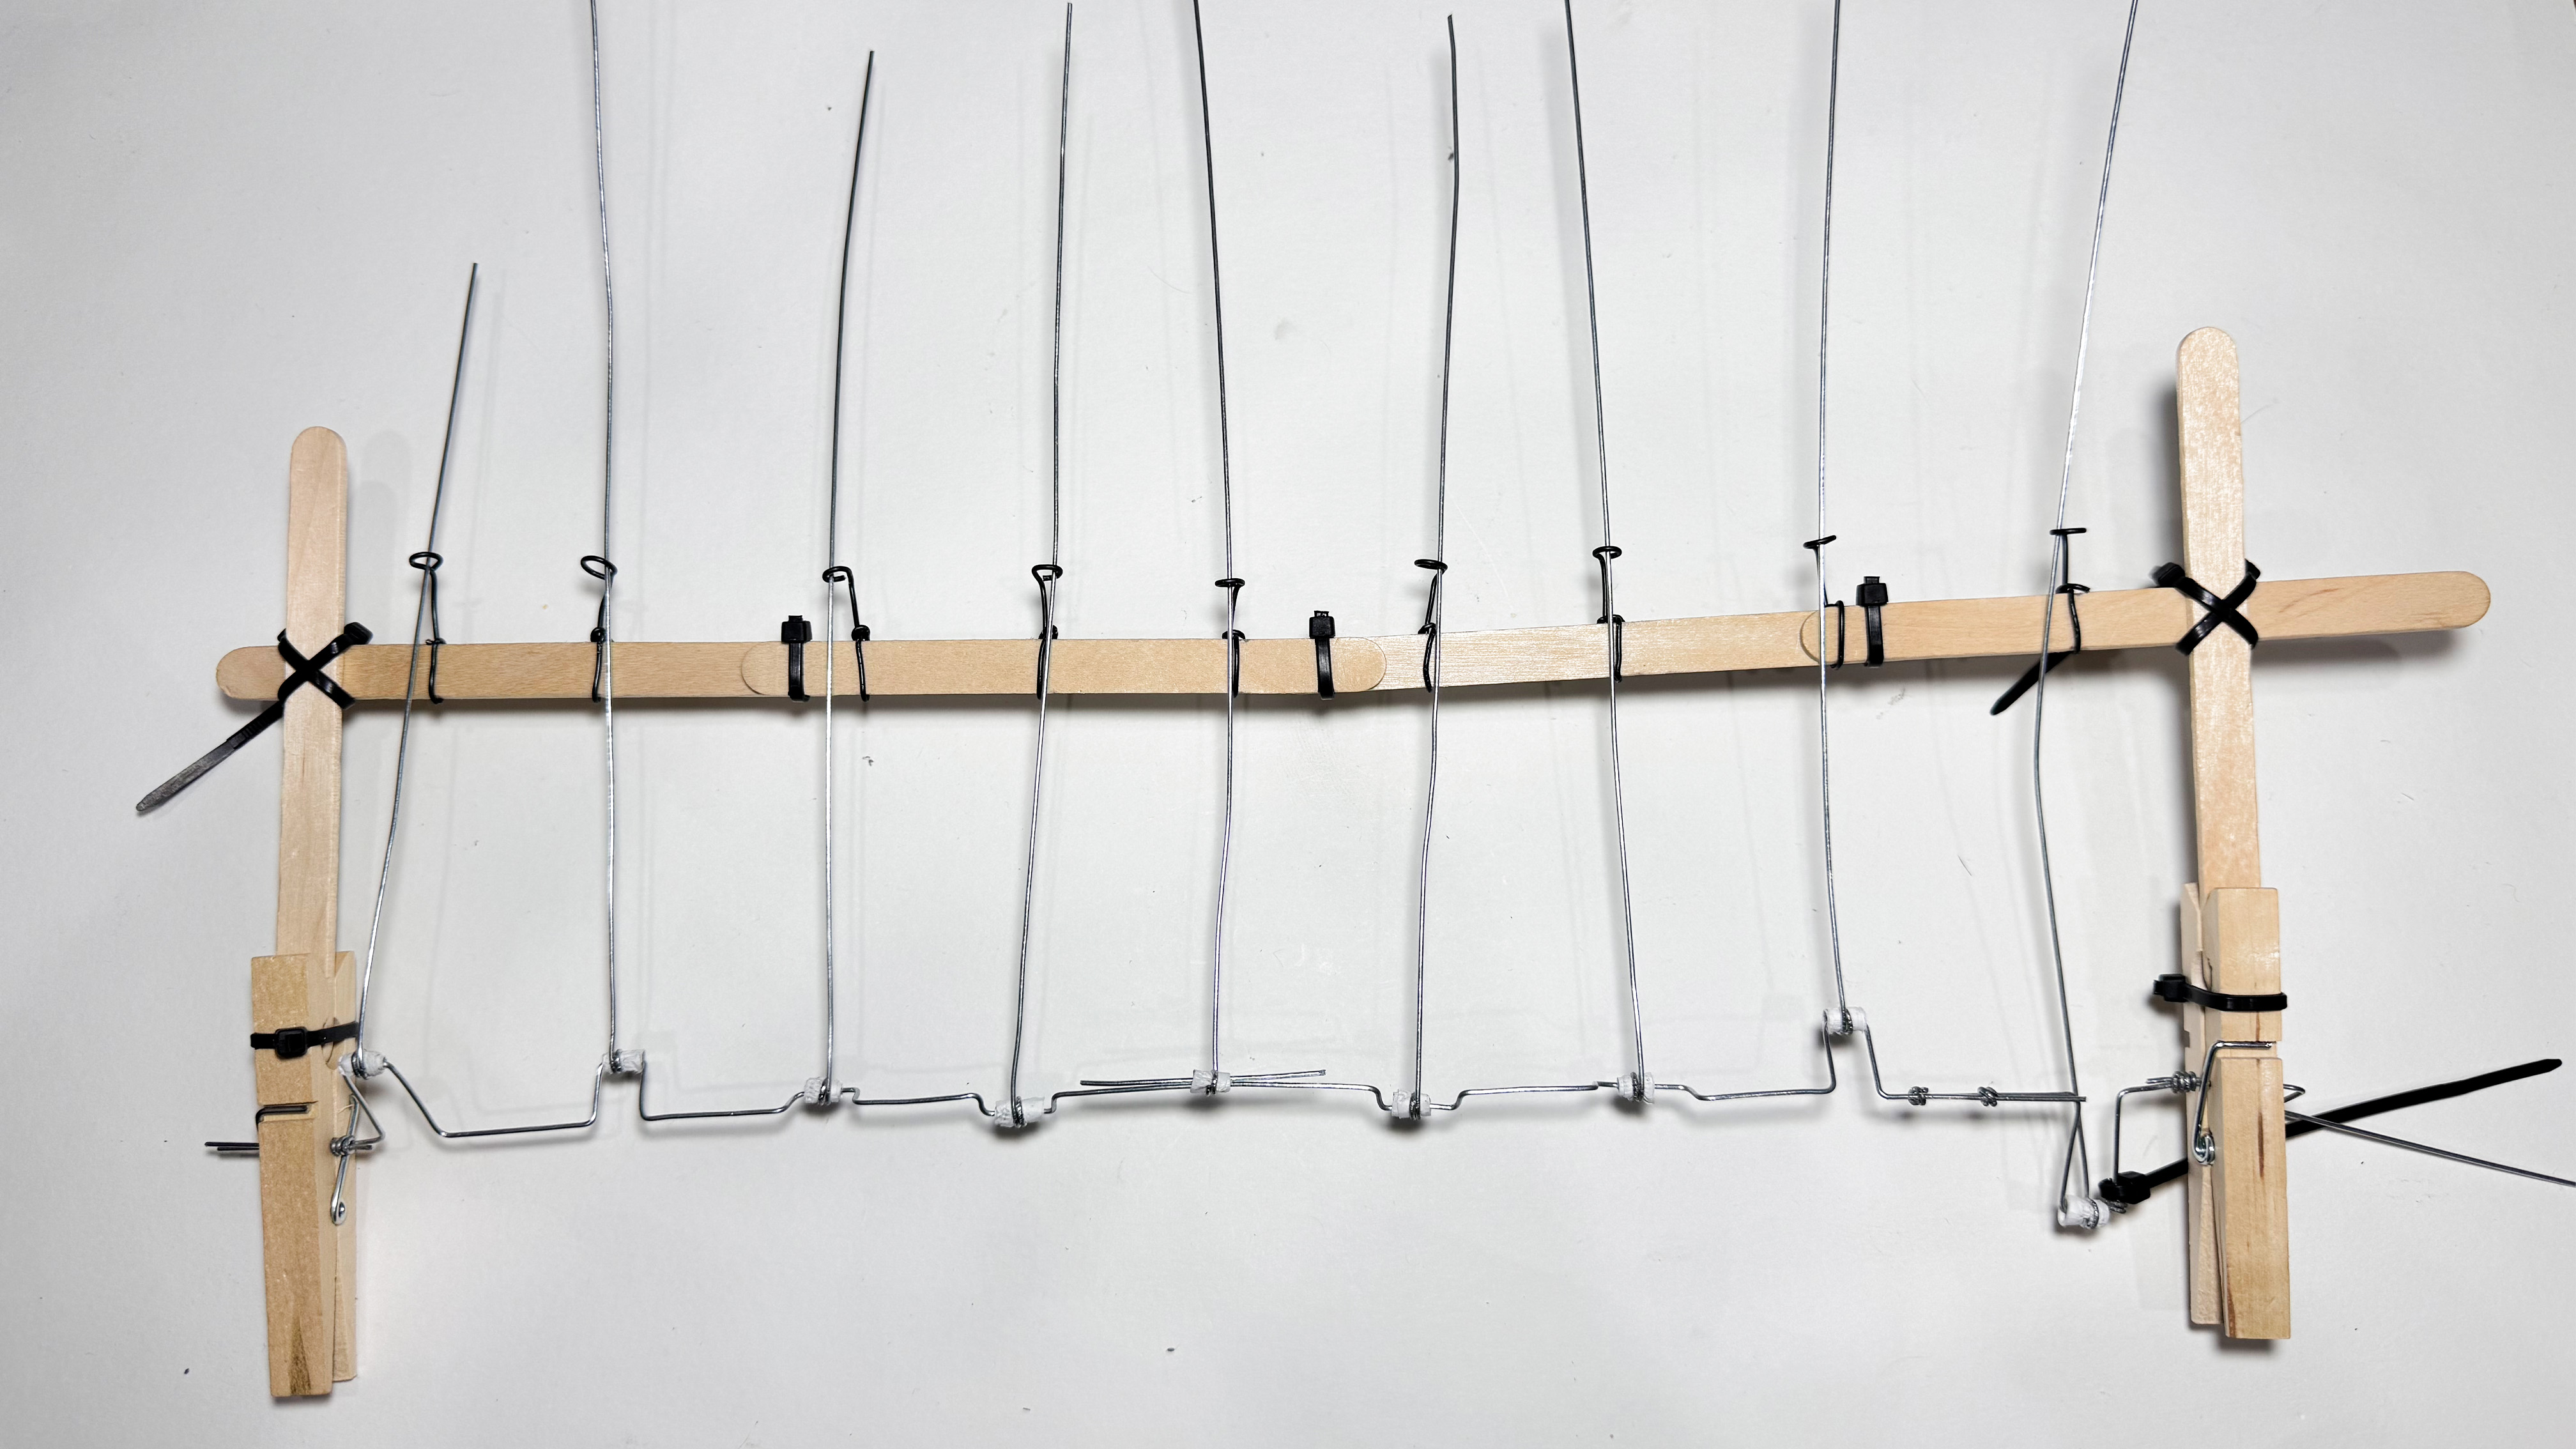
My classmate Dennis showed me a 3D printed dragon while I was in school for a
consultation, and I thought it was cool. I intended to attempt moving it using the same
method I had previously employed. Using wires, wooden pecks, and ice cream sticks, I
assemble the building just like I did with my earlier models.
Working on it, I found that the size of the mechanism to make it function looked really
off-putting, and using a dragon model felt really tacky, even though the framework was
very frail and could not hold up the dragon adequately. Additionally, the mechanism was
unable to turn as intended because of the flimsy cables and structures. I made the
decision to drop the concept and give it a go.

Now that I'm starting over, I continue to come up with ideas for things that I could
fasten to the motor and mechanism. I thought it was an interesting idea when I saw an
artist utilising the same process to make a shadow puppet, so I decided to give it a go
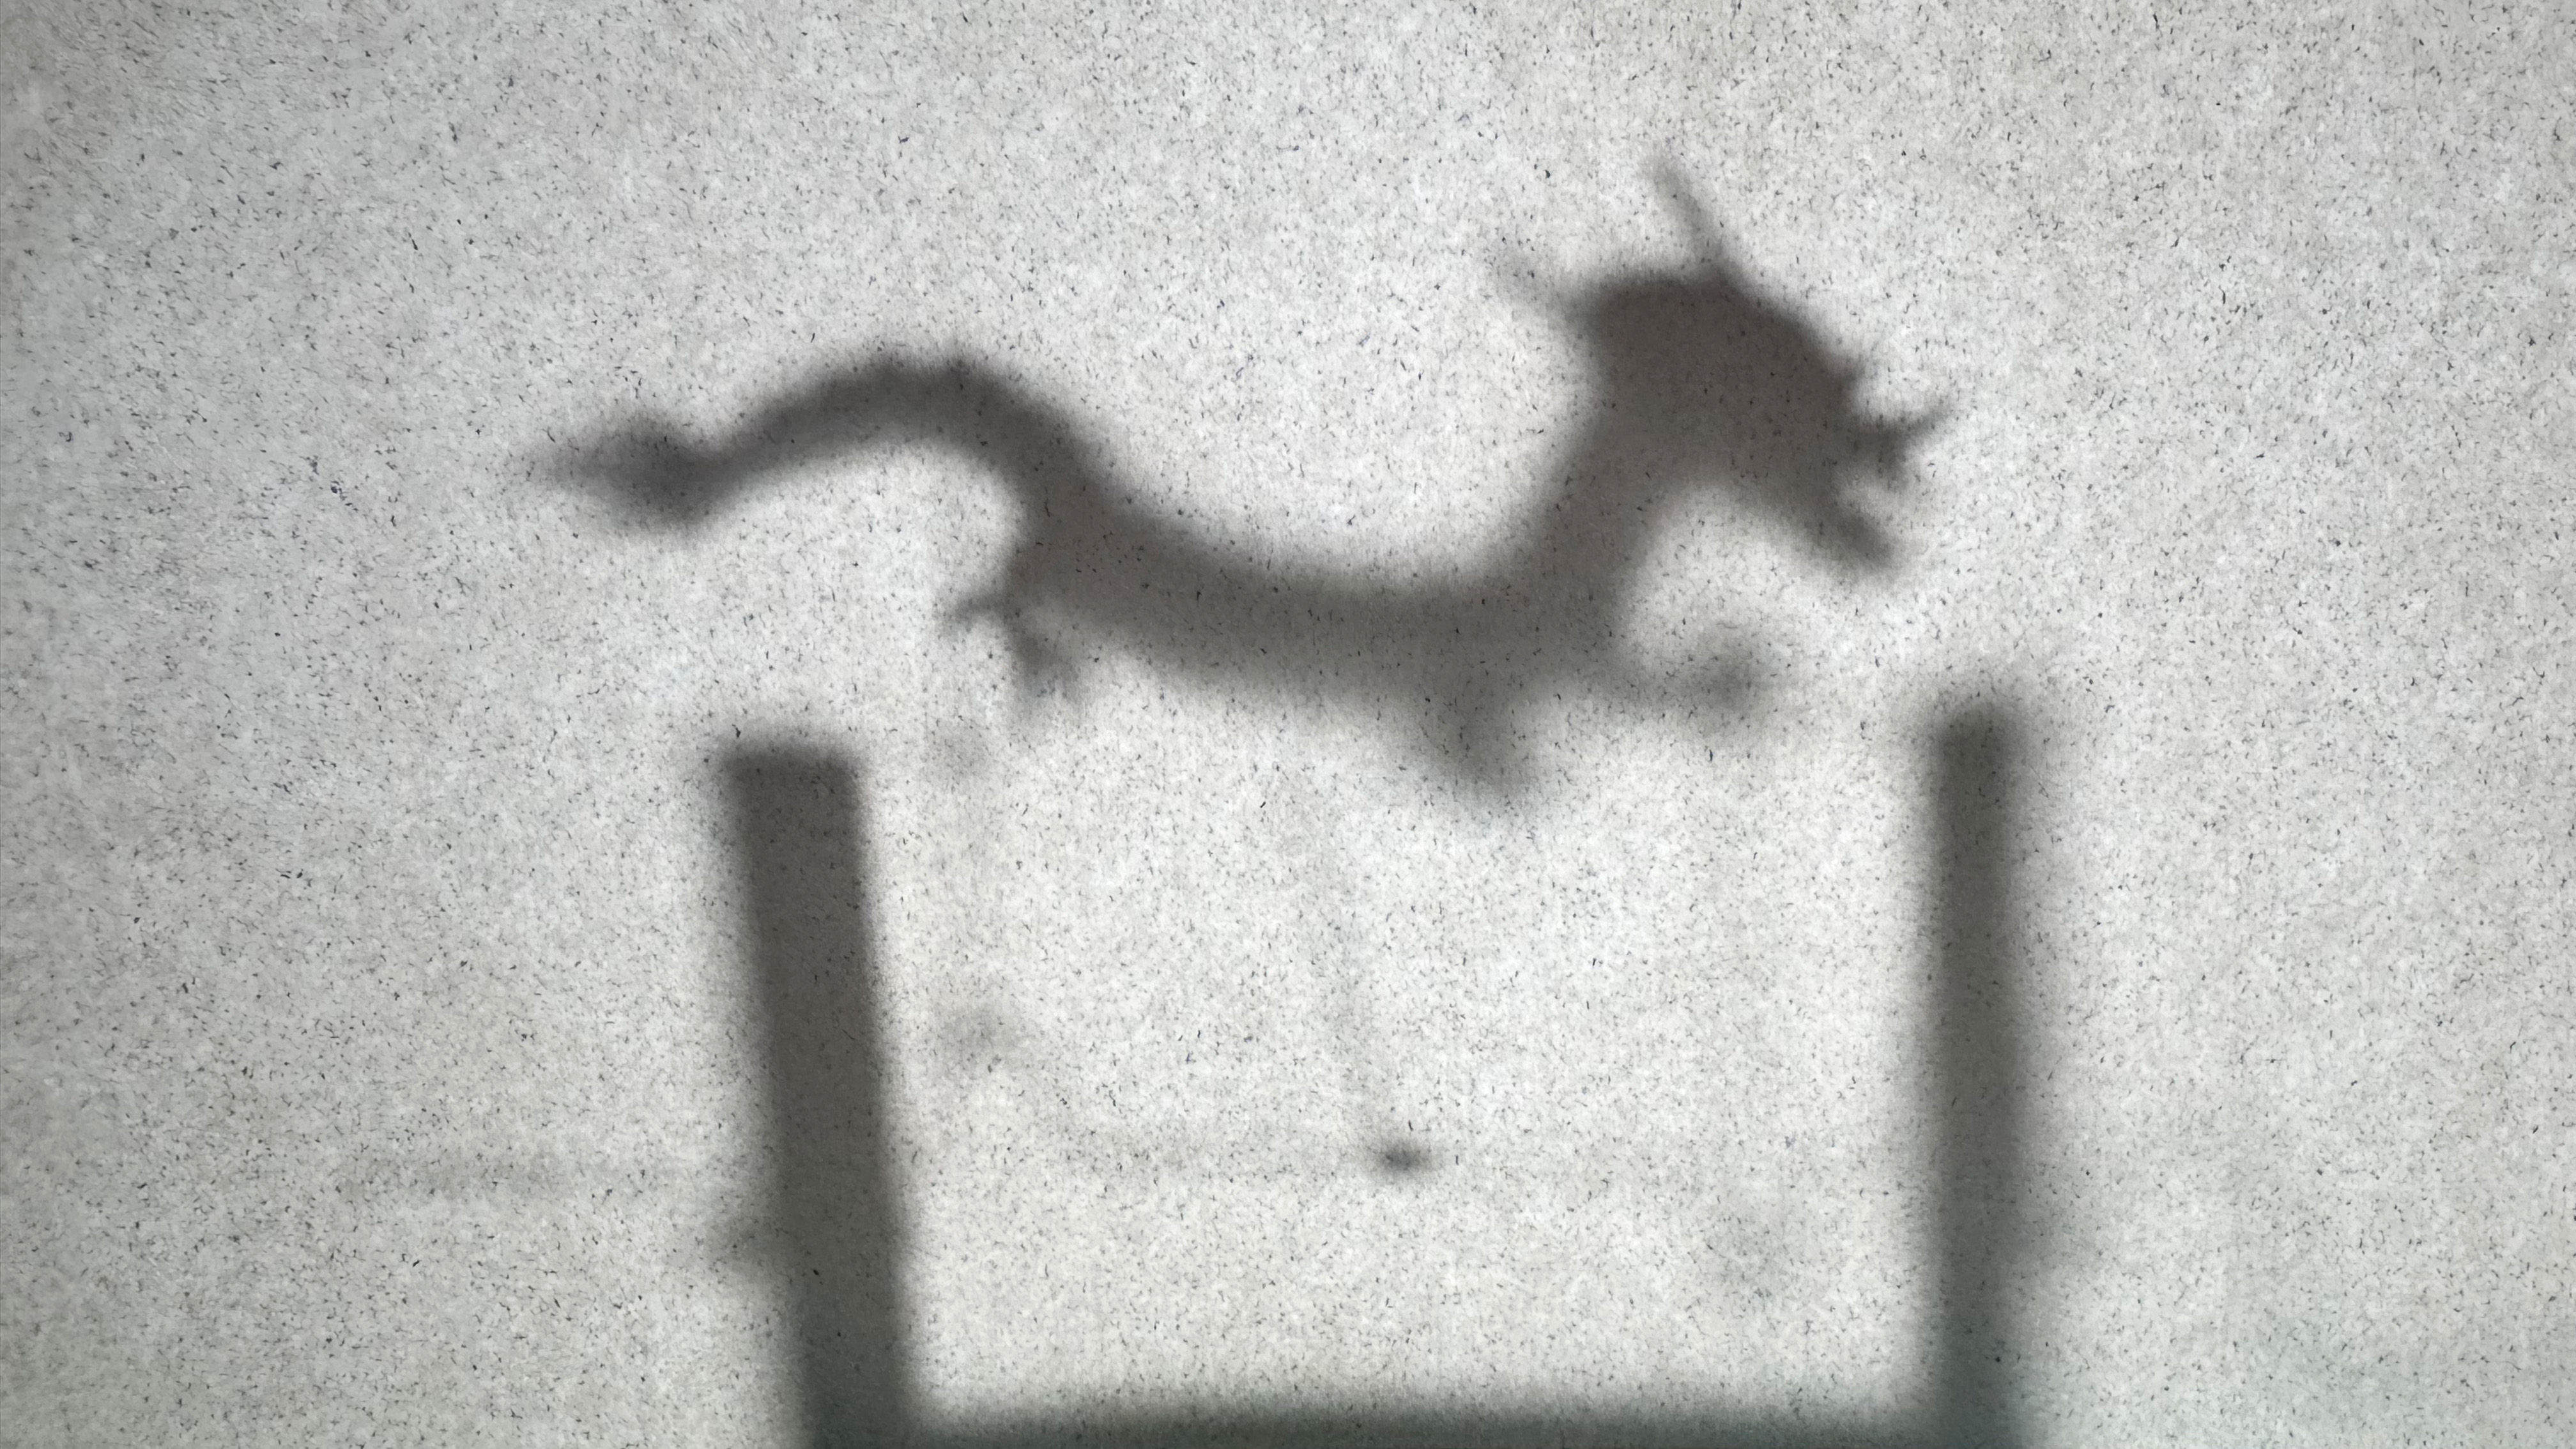
and use technology to make it move. I chose to cut my dragon after sketching and
printing it, then pasting it onto plastic cardboard. In order for the silhouette to cast
a shadow while the light source is behind it, the cardboard was used to make it
opaque.

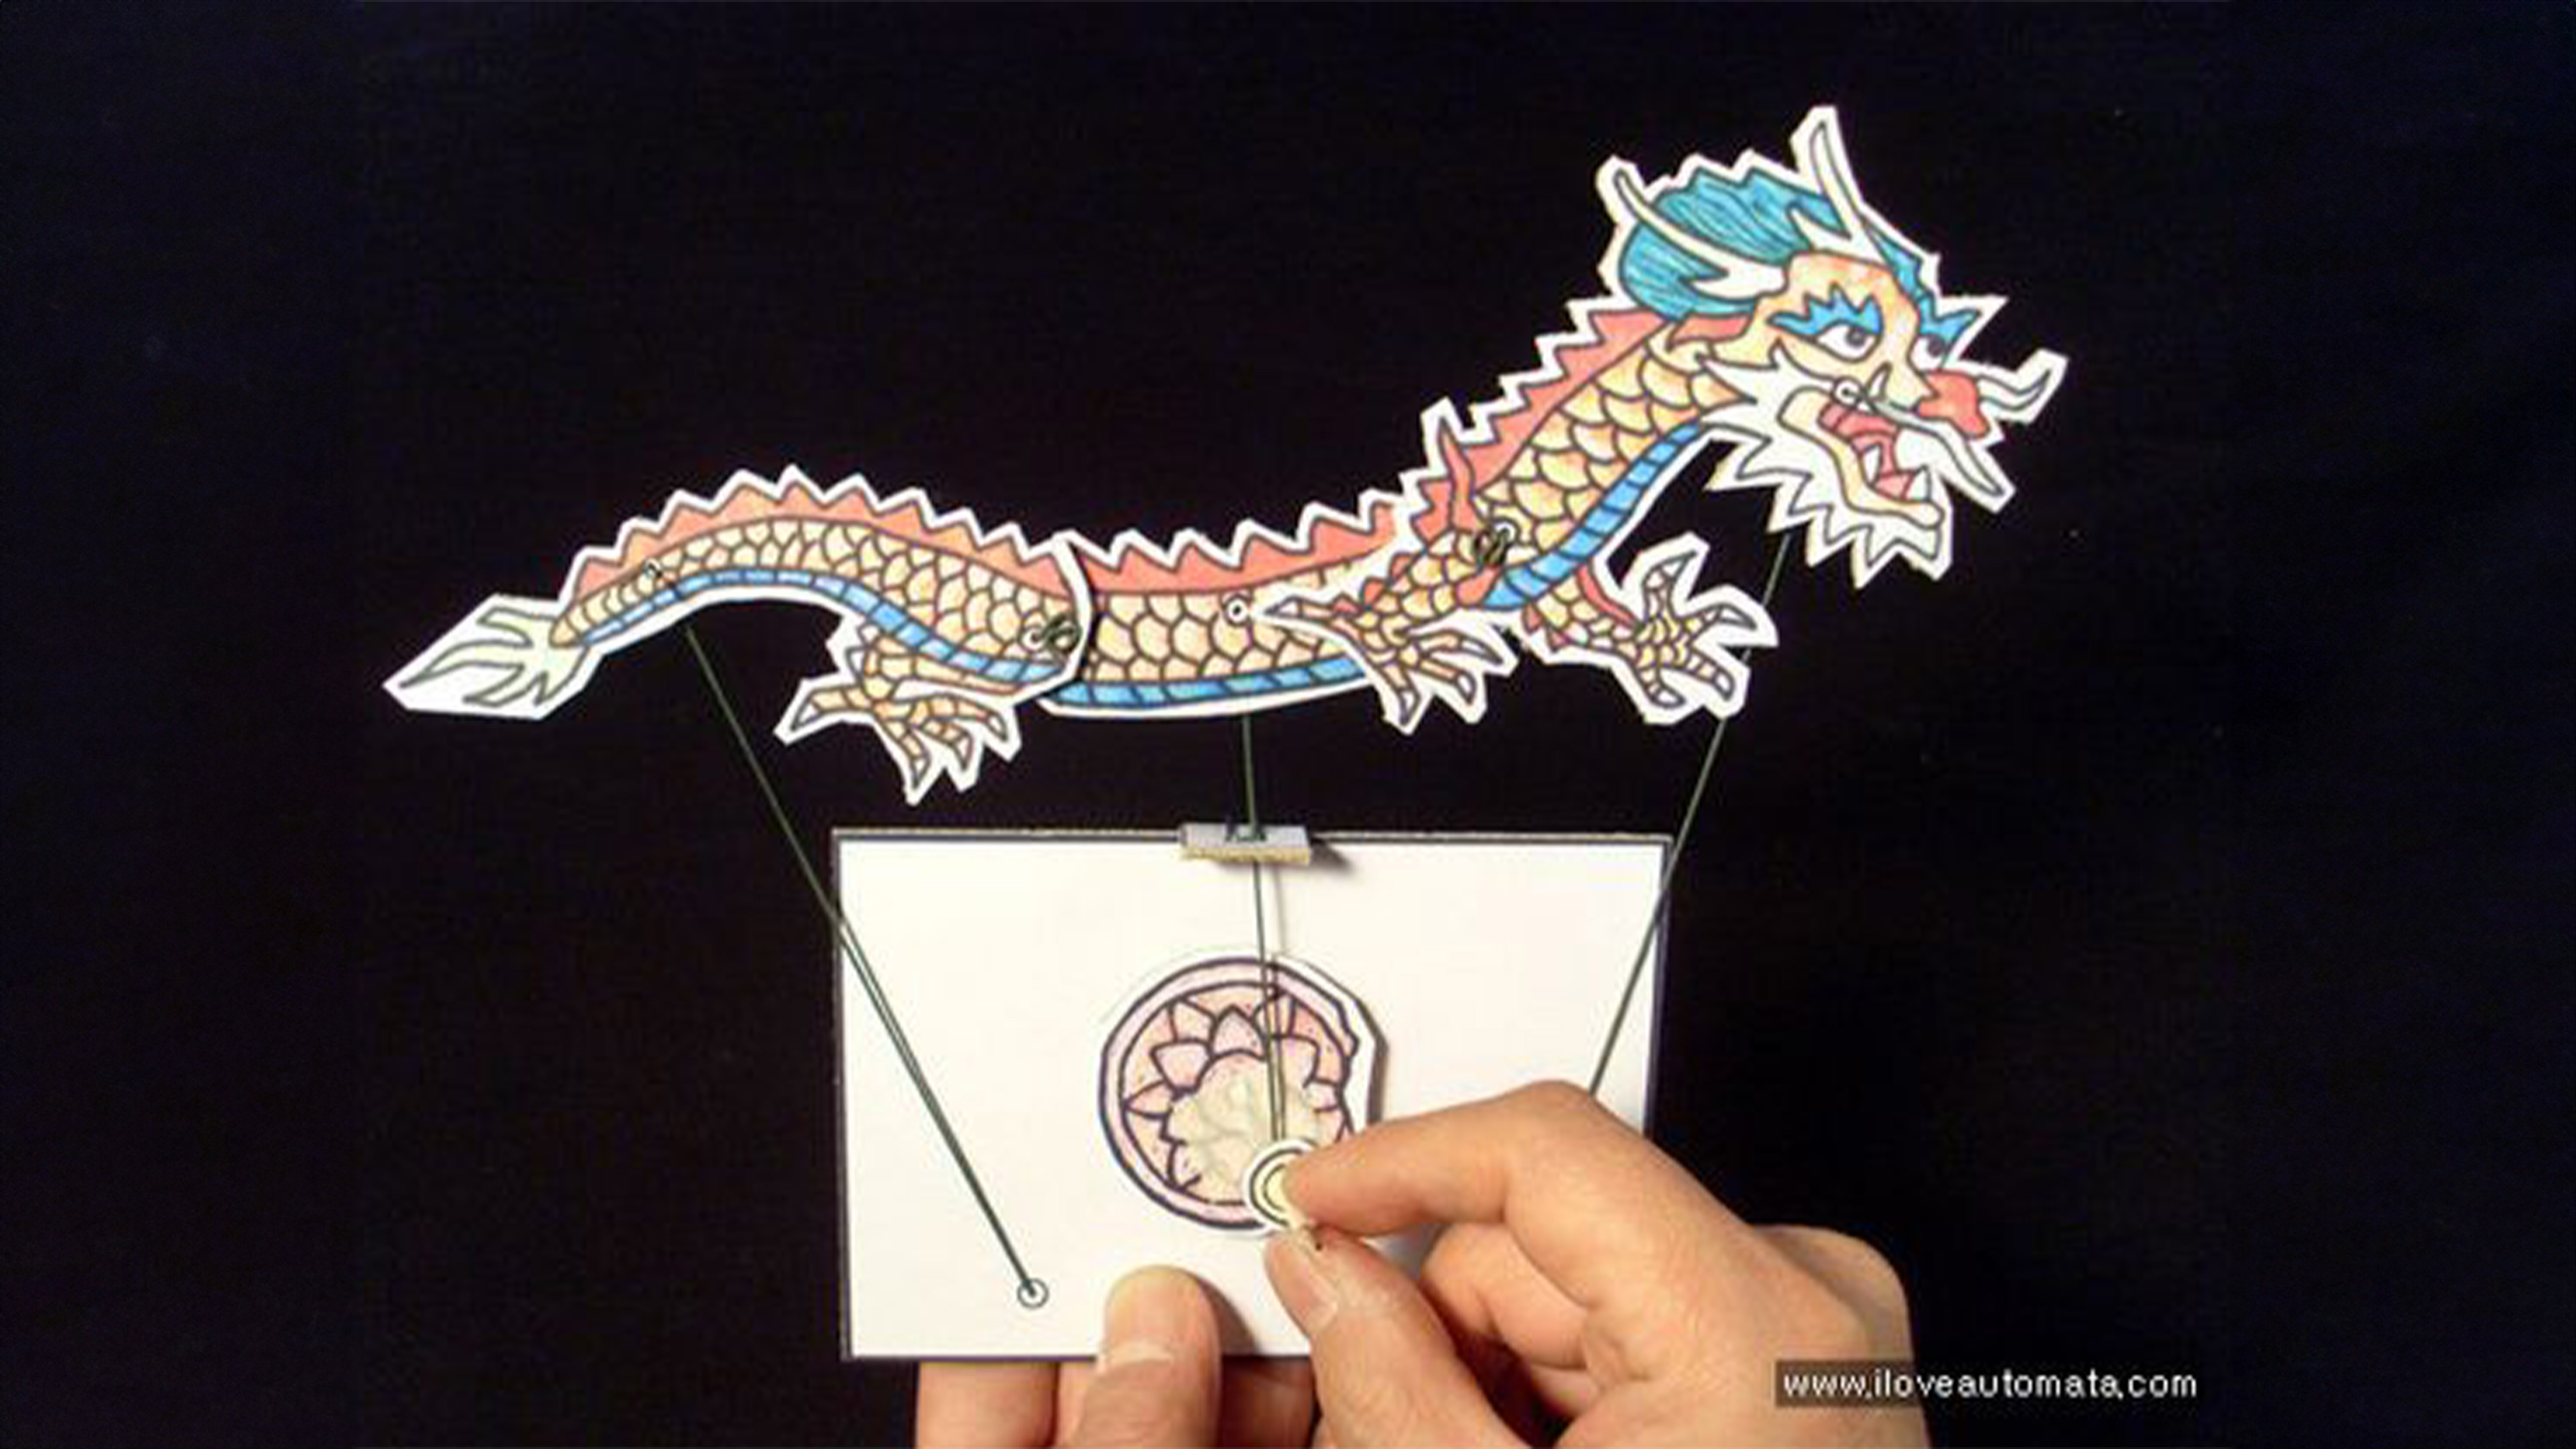
Source https://www.iloveautomata.com/m/49

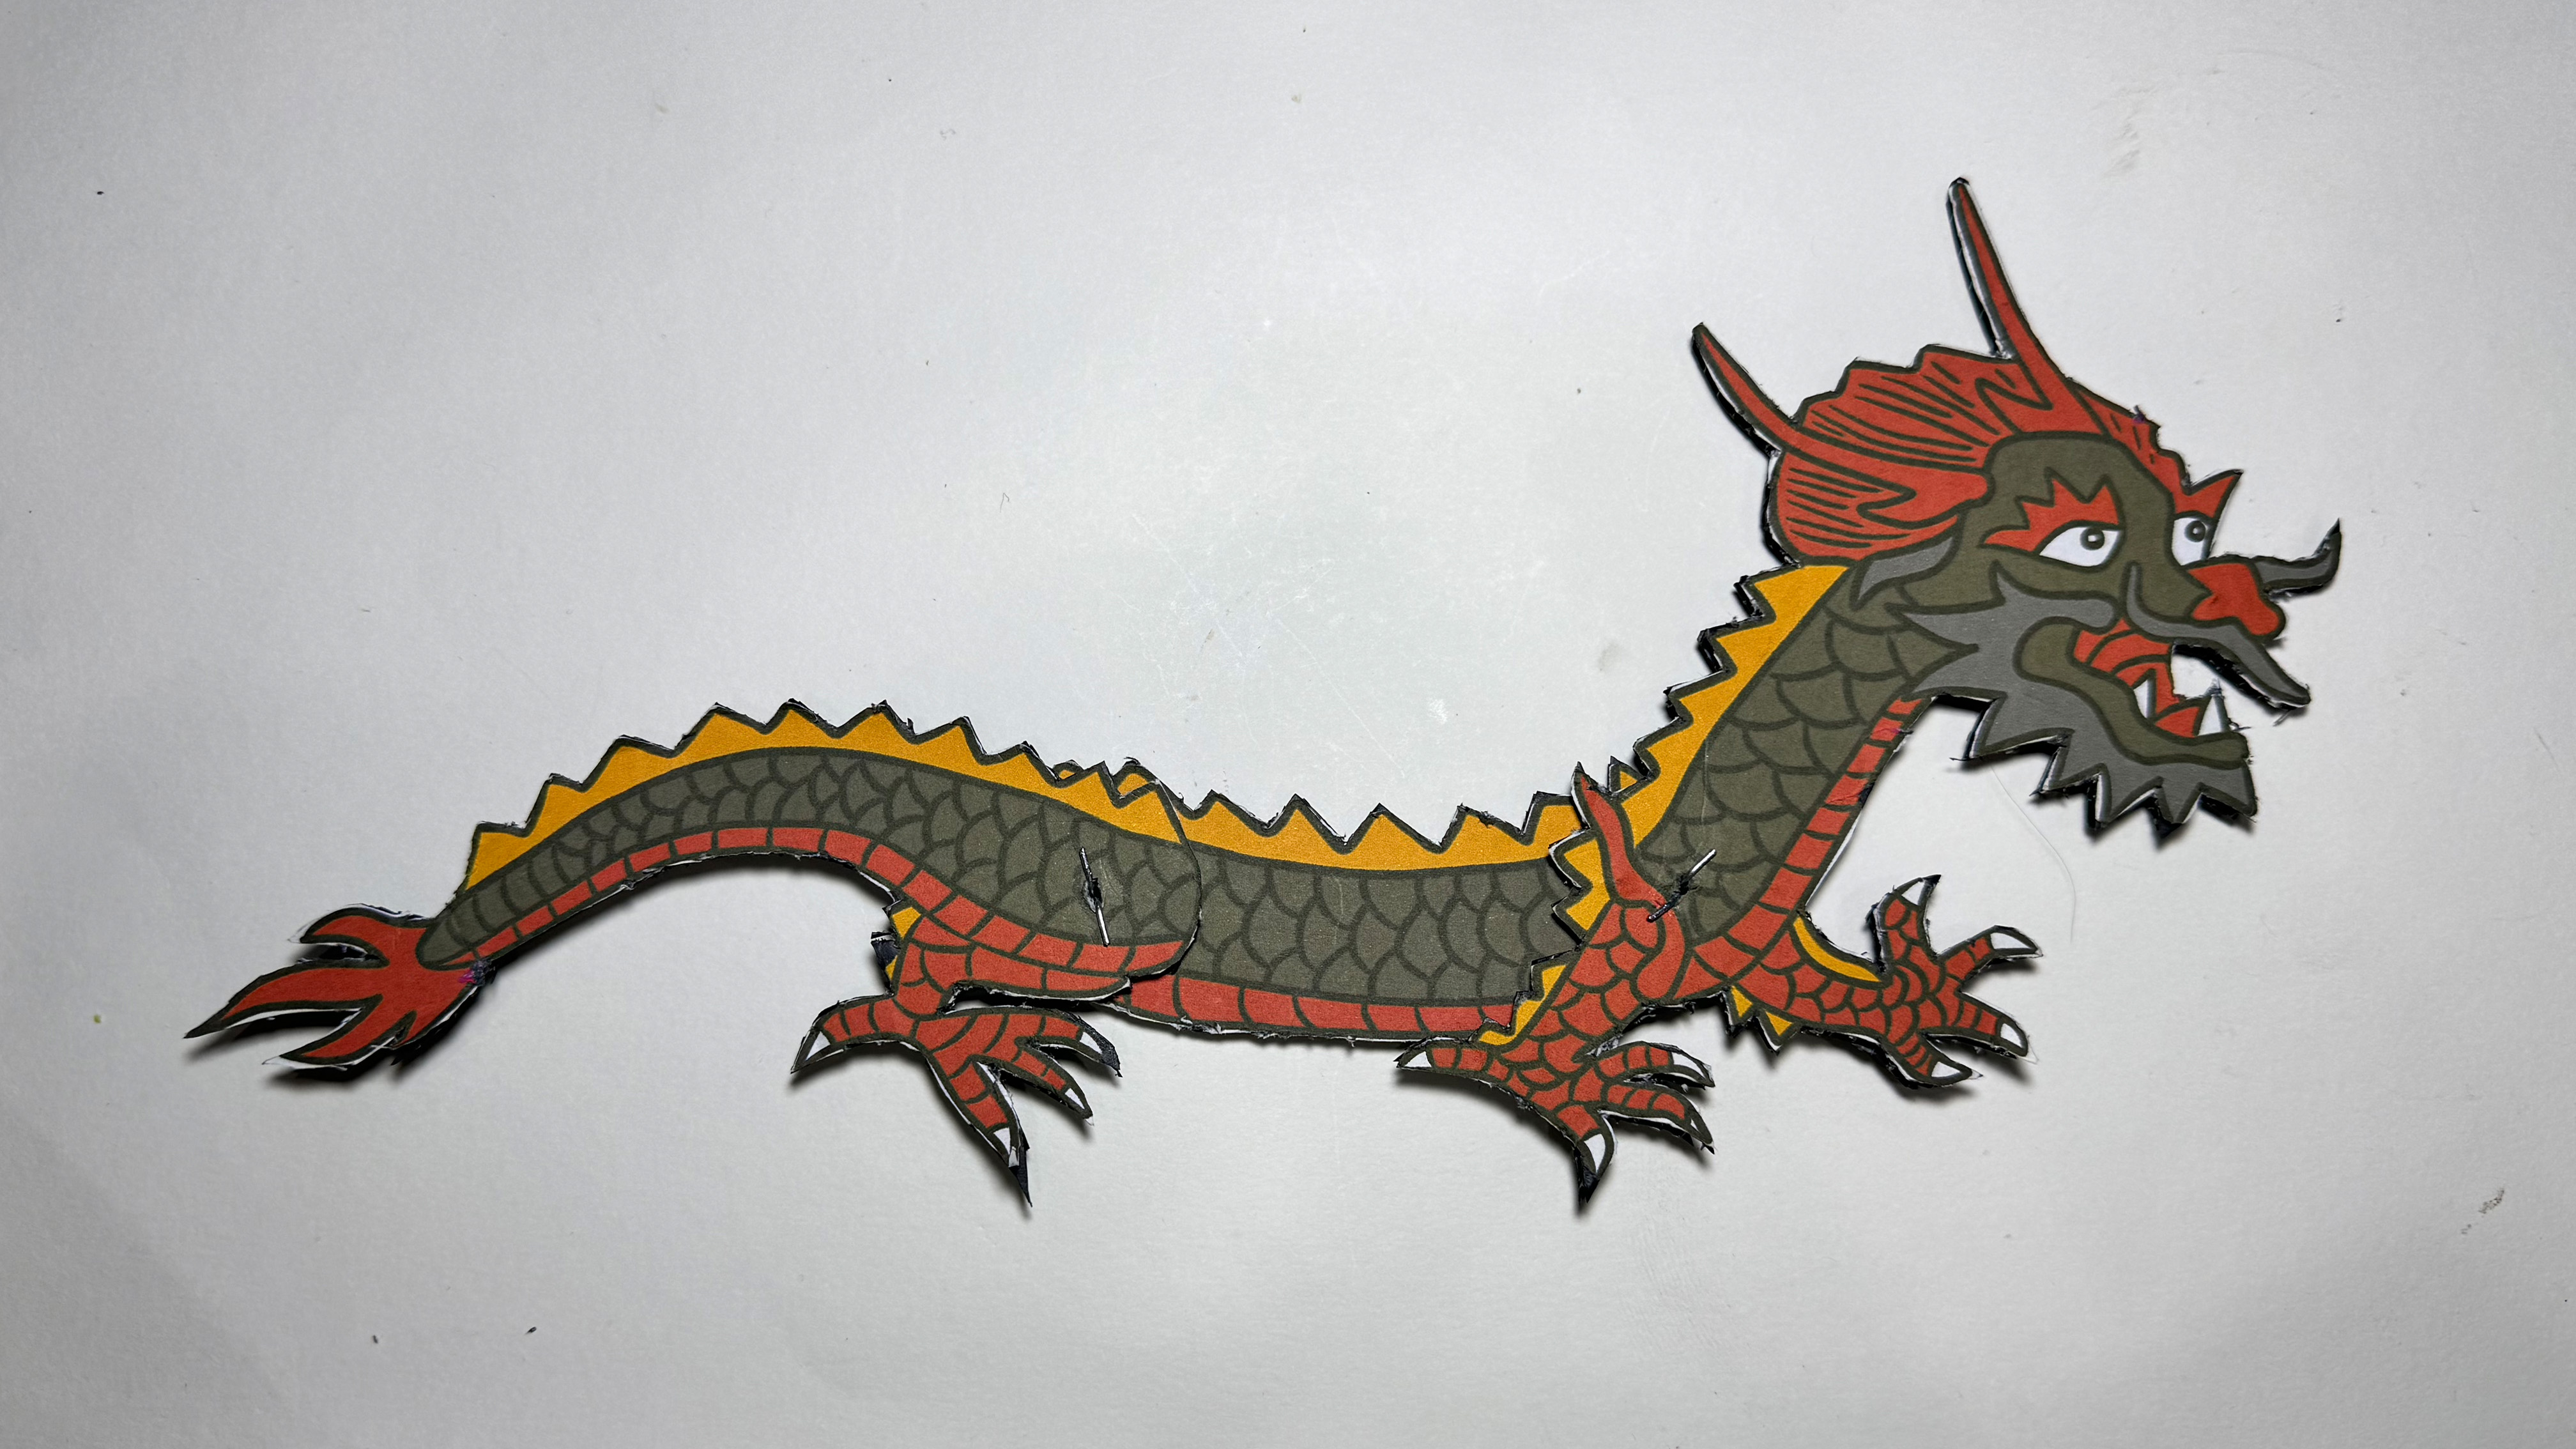
The three separate pieces that make up the dragon are connected via pins. Its
flexibility and ability to move are attributed to its joints. It took me a while to cut
all three of the dragon's components because of the intricate details and the tough
material. After cutting the parts and assembling it, I discovered that the size was too
large, so I had to reduce it and recut.
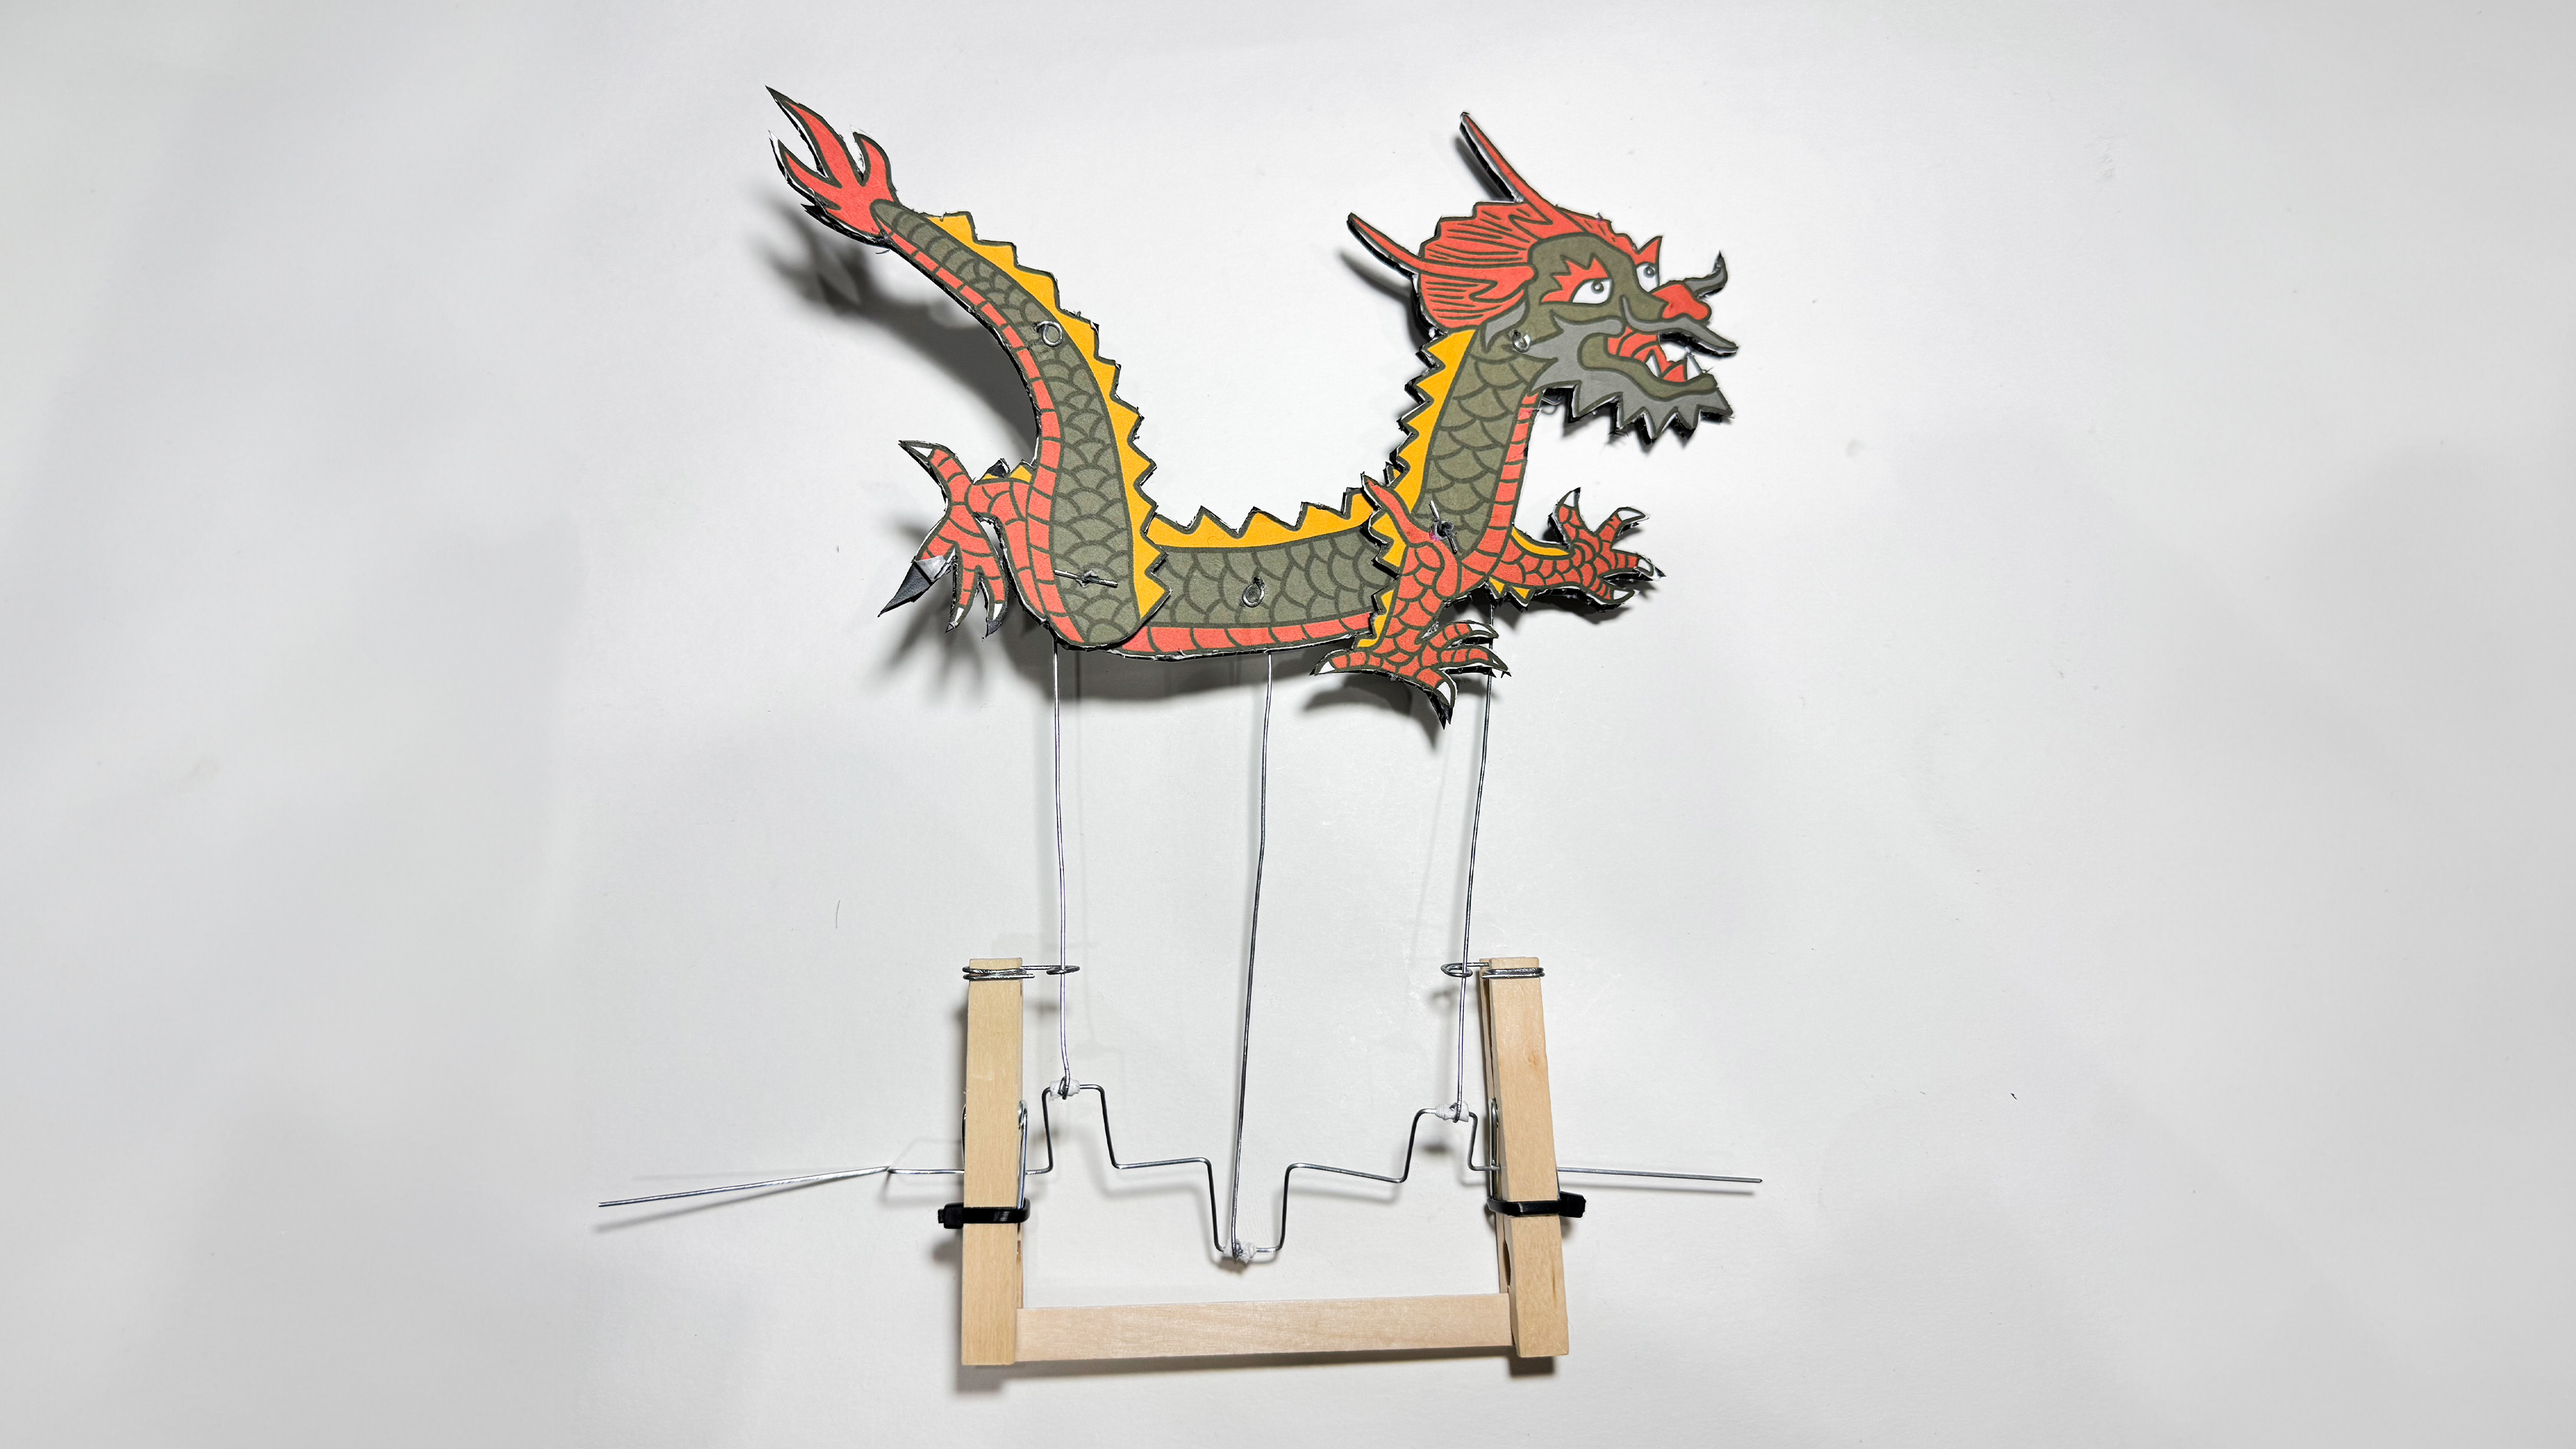
Once the dragon's size was reduced, I fastened it to both the mechanism and the motor.
However, the motor did not made it move which I deduced that it was because of missing
components. Nevertheless, even after giving it a try, I wasn't entirely happy with the
way my prototype looked.
I had spent the entire day trying to get the thing to operate, but it was not
functioning the way I had hoped, so at this point I was fairly jaded. I chose to put
down what I was doing and continued searching the internet for ideas. I became aware of
my tendency to stray from my original desired outcomes. I was taking the entire
procedure of building my prototype too literally, which was not my original goal. I
decided to link a wire in a spiral pattern to the motor instead of attempting to operate
the device, and I thought the motion it made looked like a dragon soaring upwards in
circles.
I made the decision to research building a dragon structure on the wire.
I located a reference photo that I thought looked really great because I knew I would
always want to produce something abstract rather than literal. This week, during our
meeting, I told Andreas about my progress and my plans, and he expressed his preference
for something more abstract.
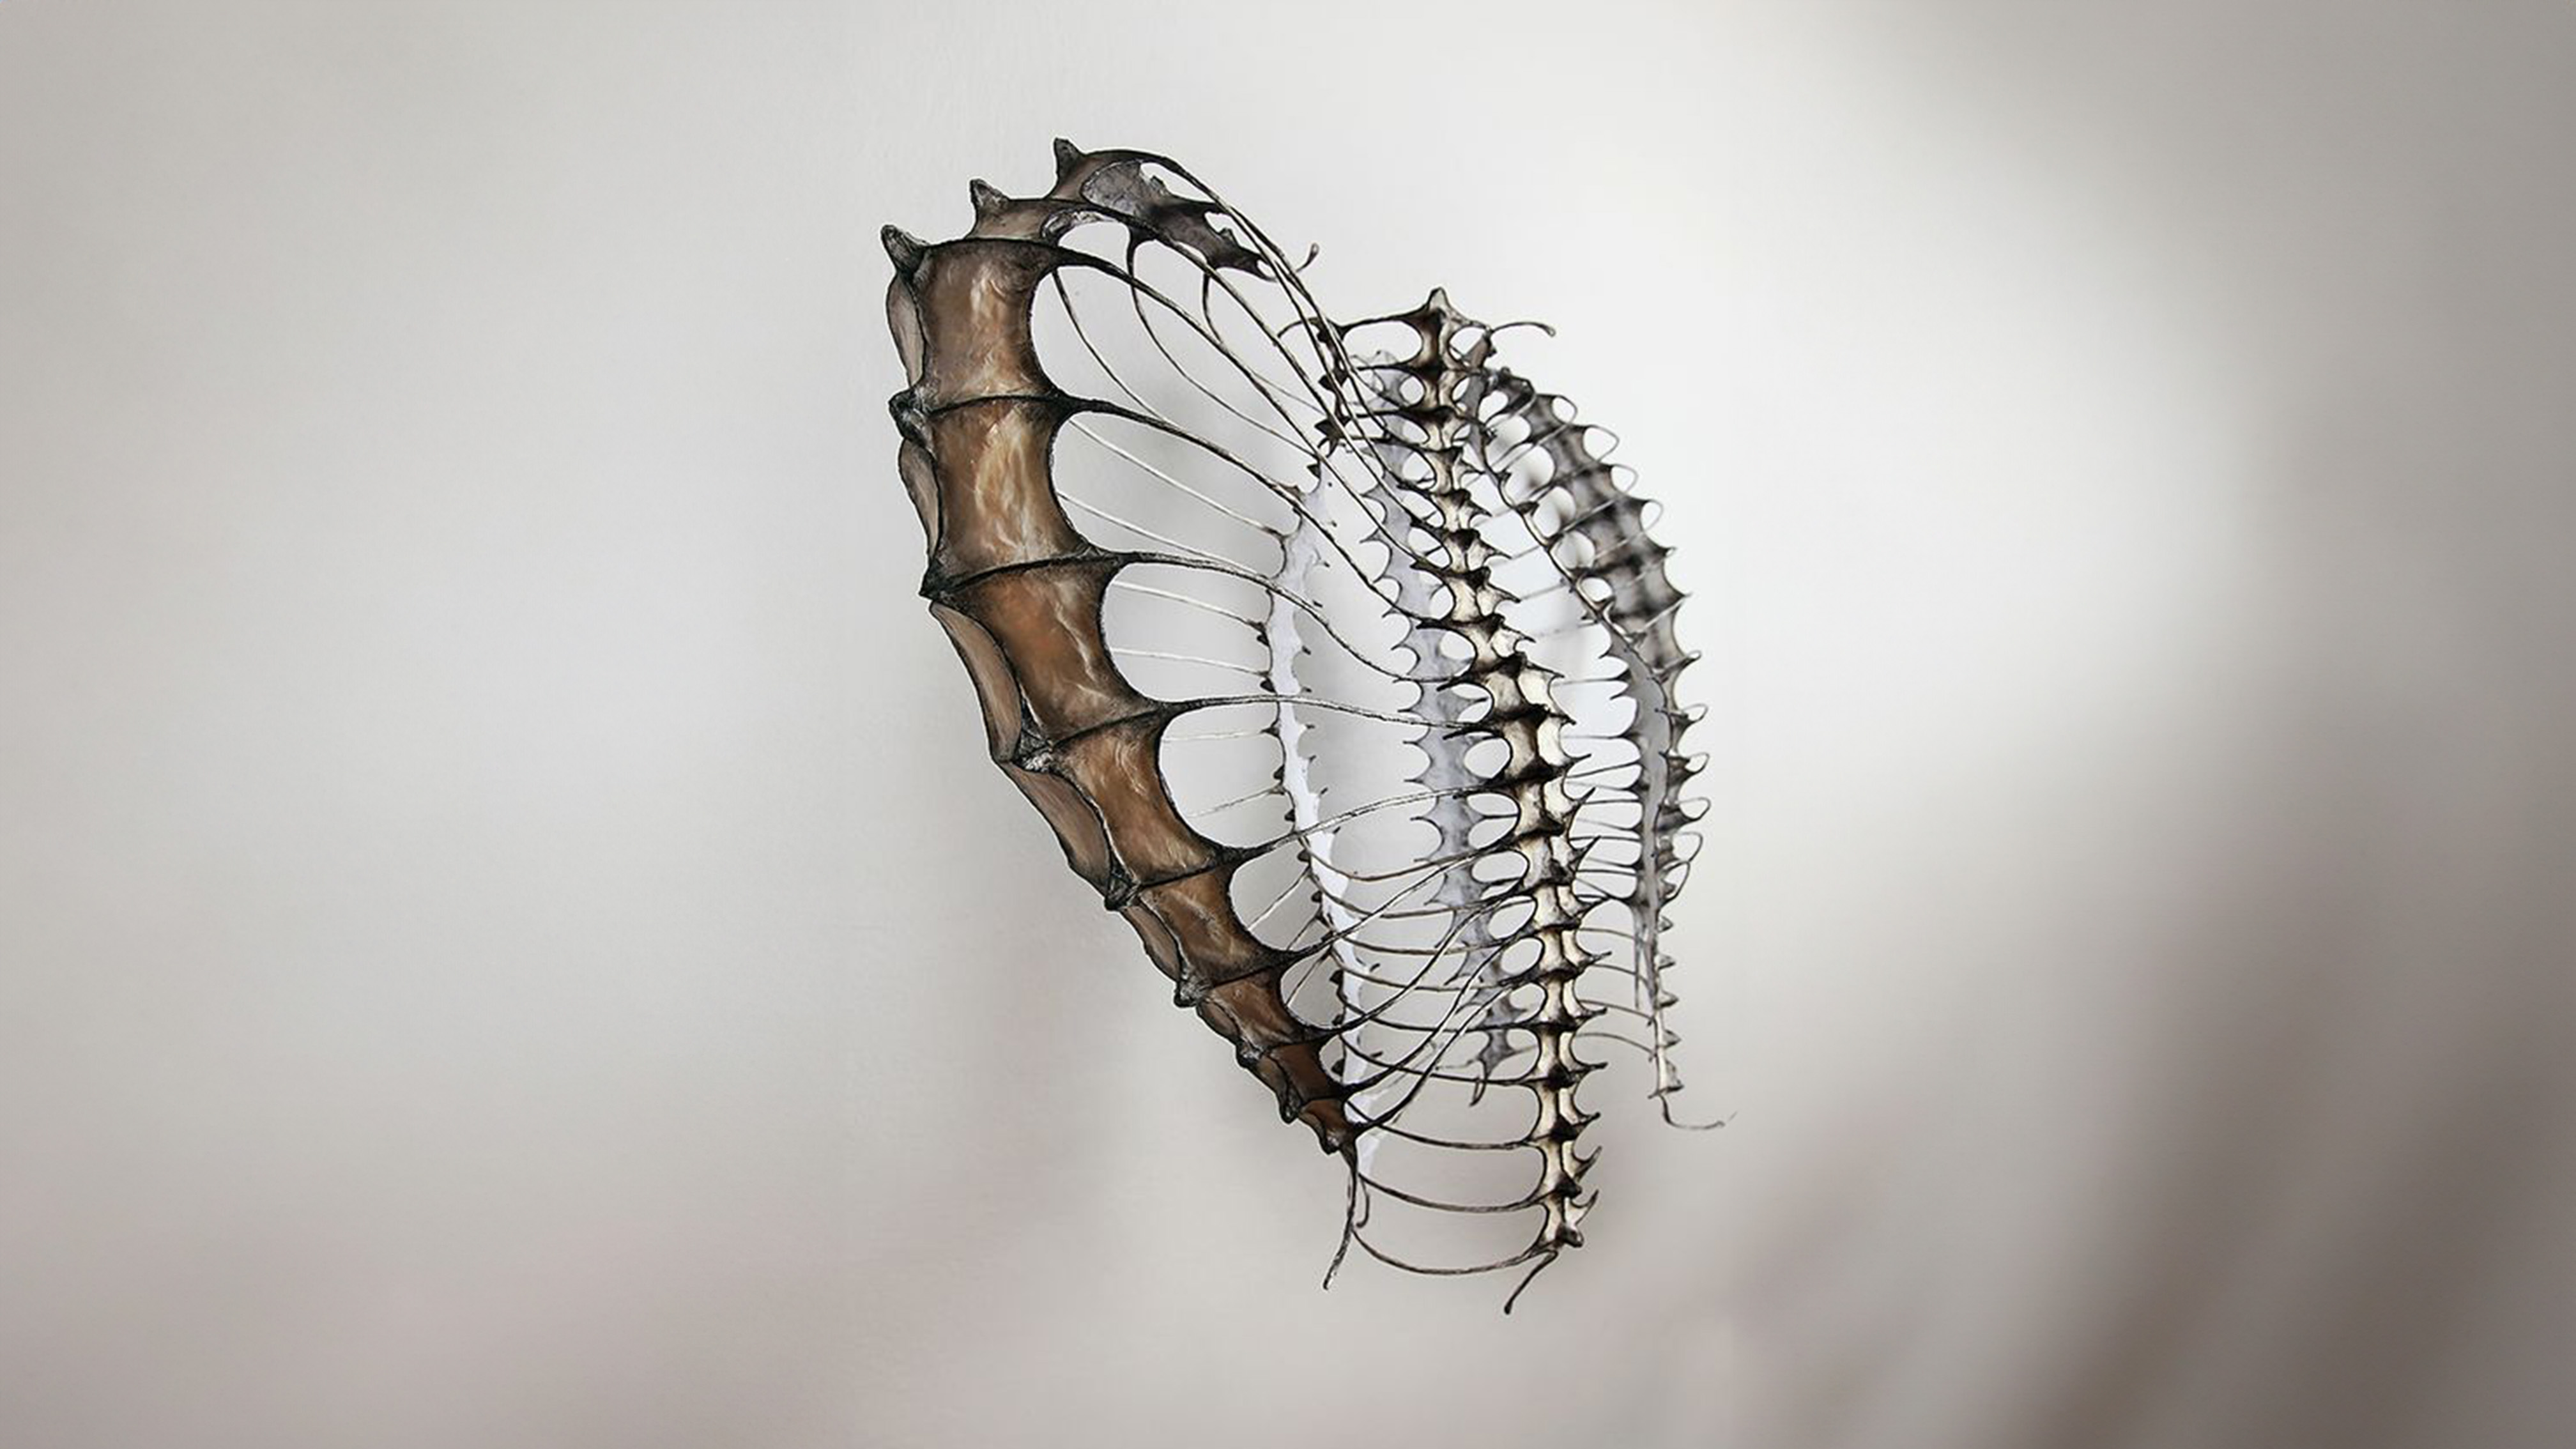

Source Nika Danielska
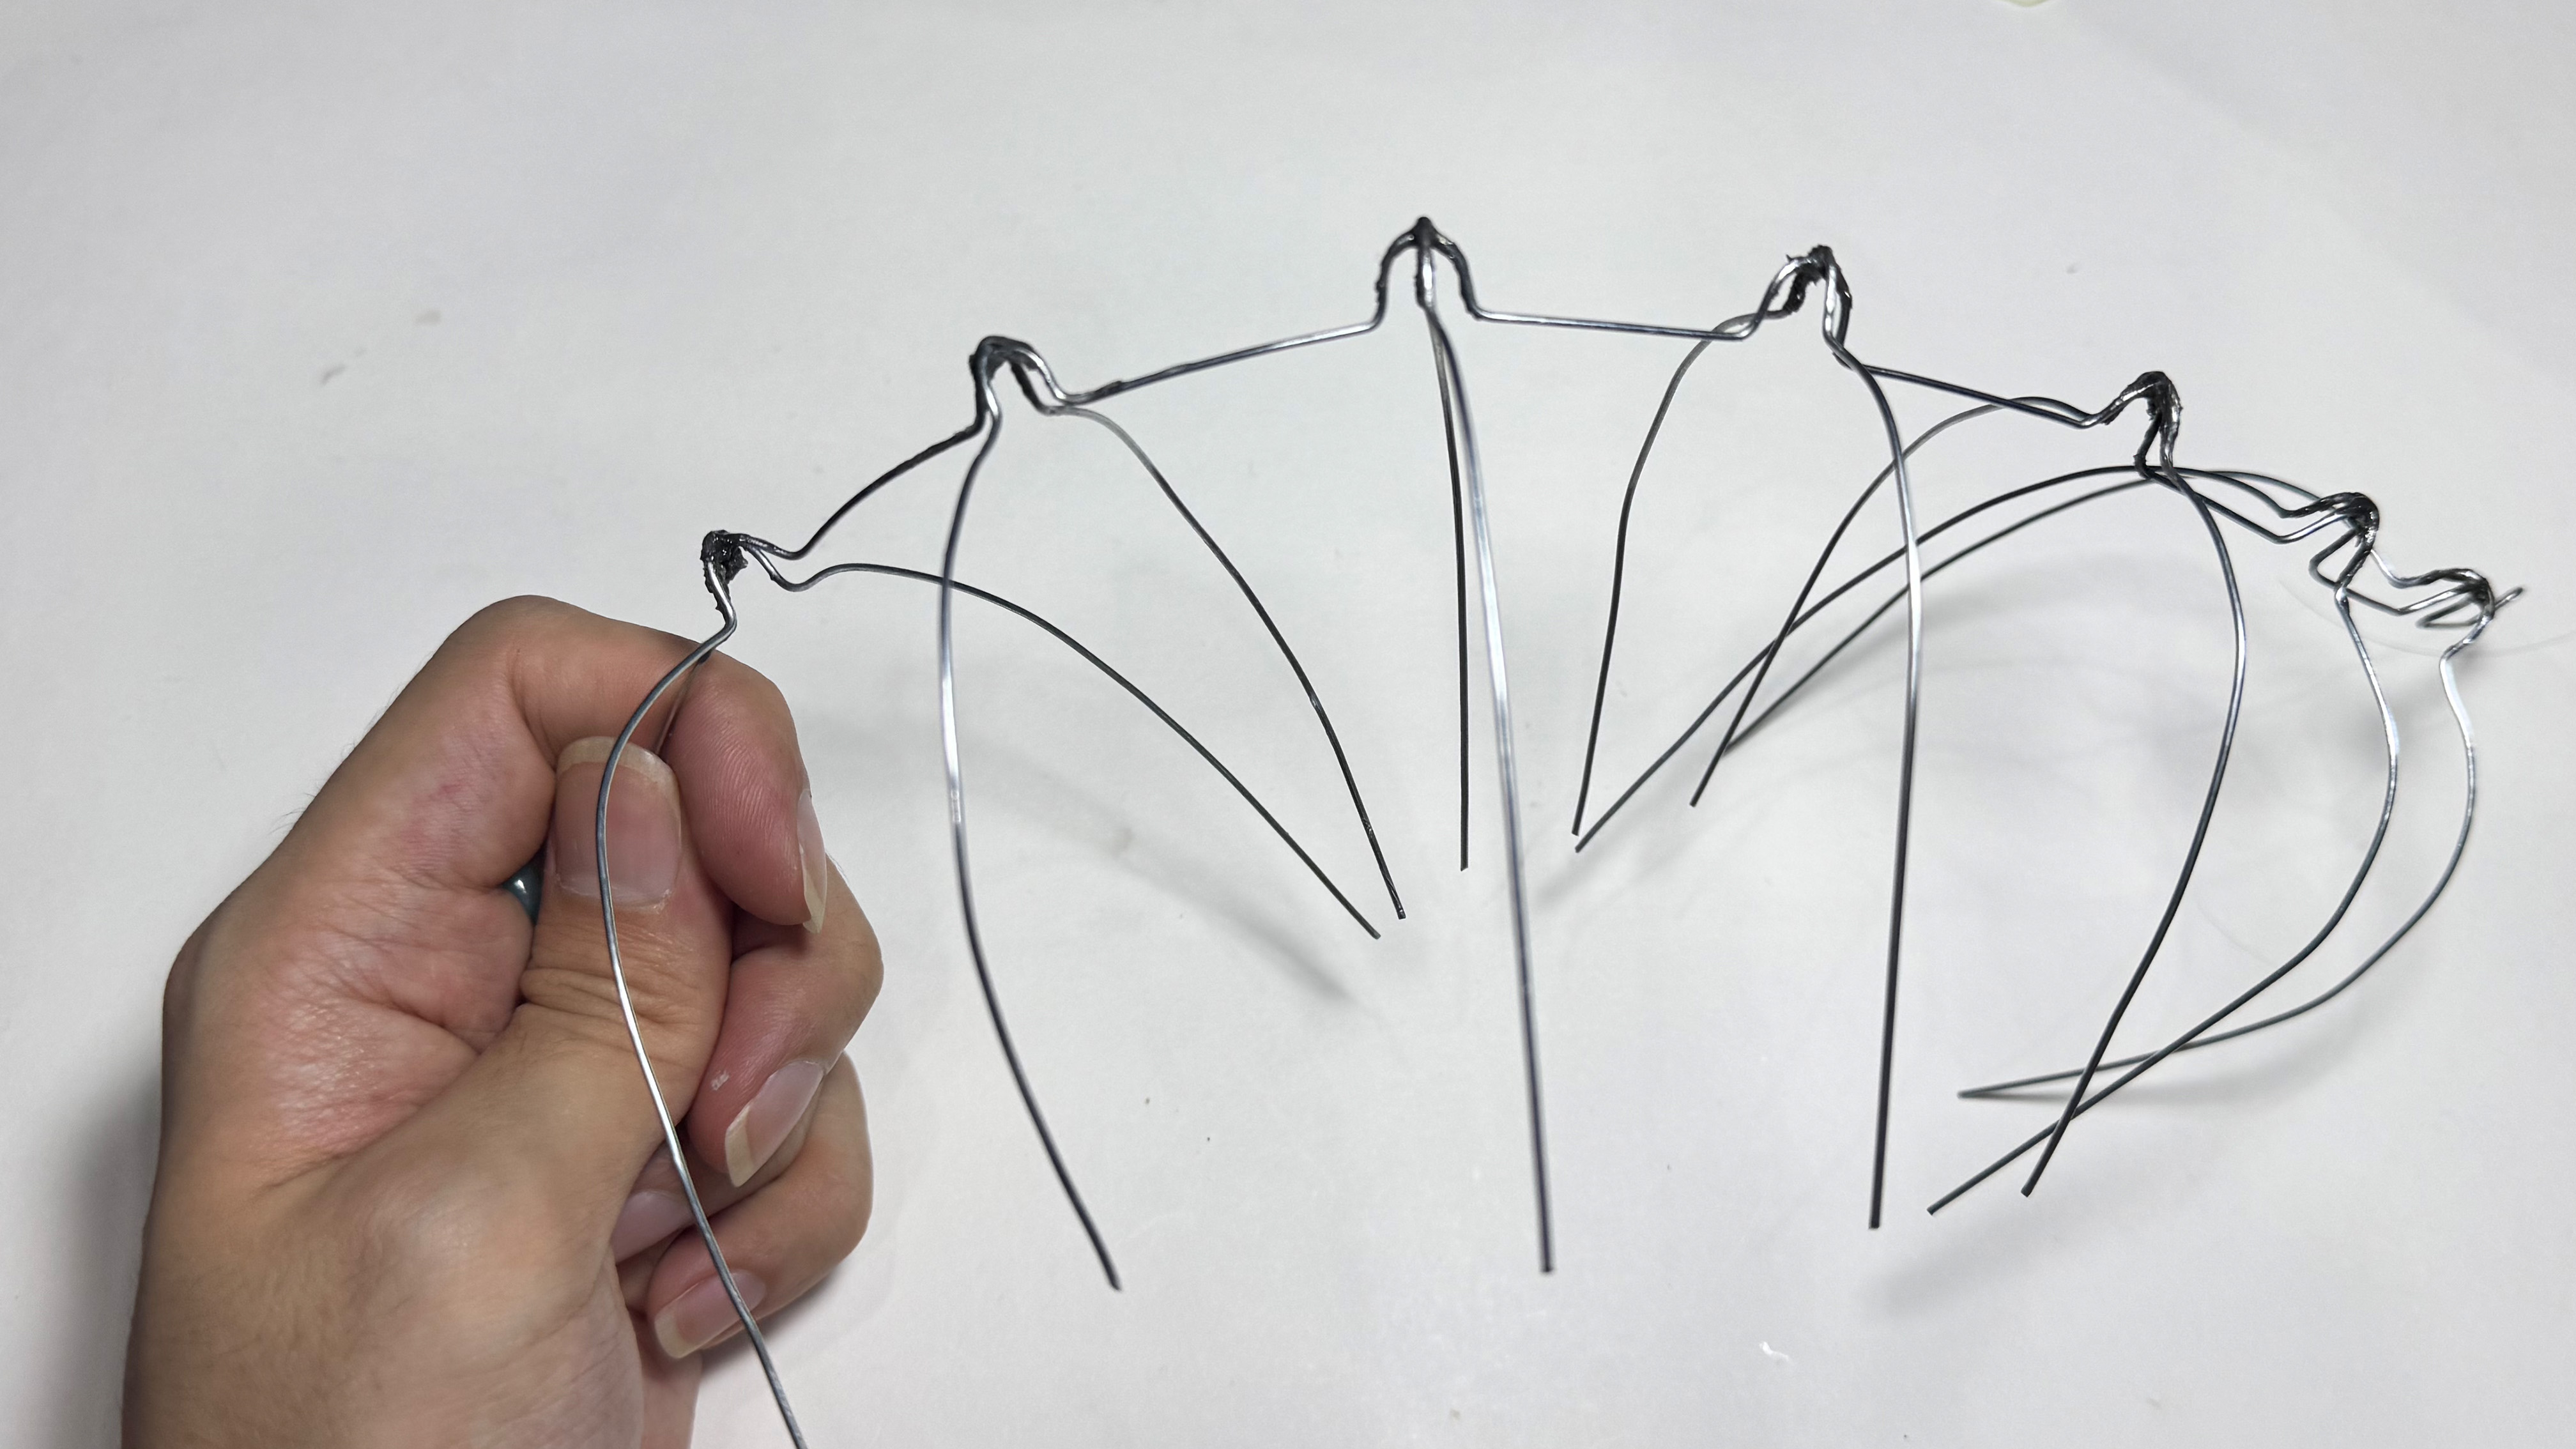
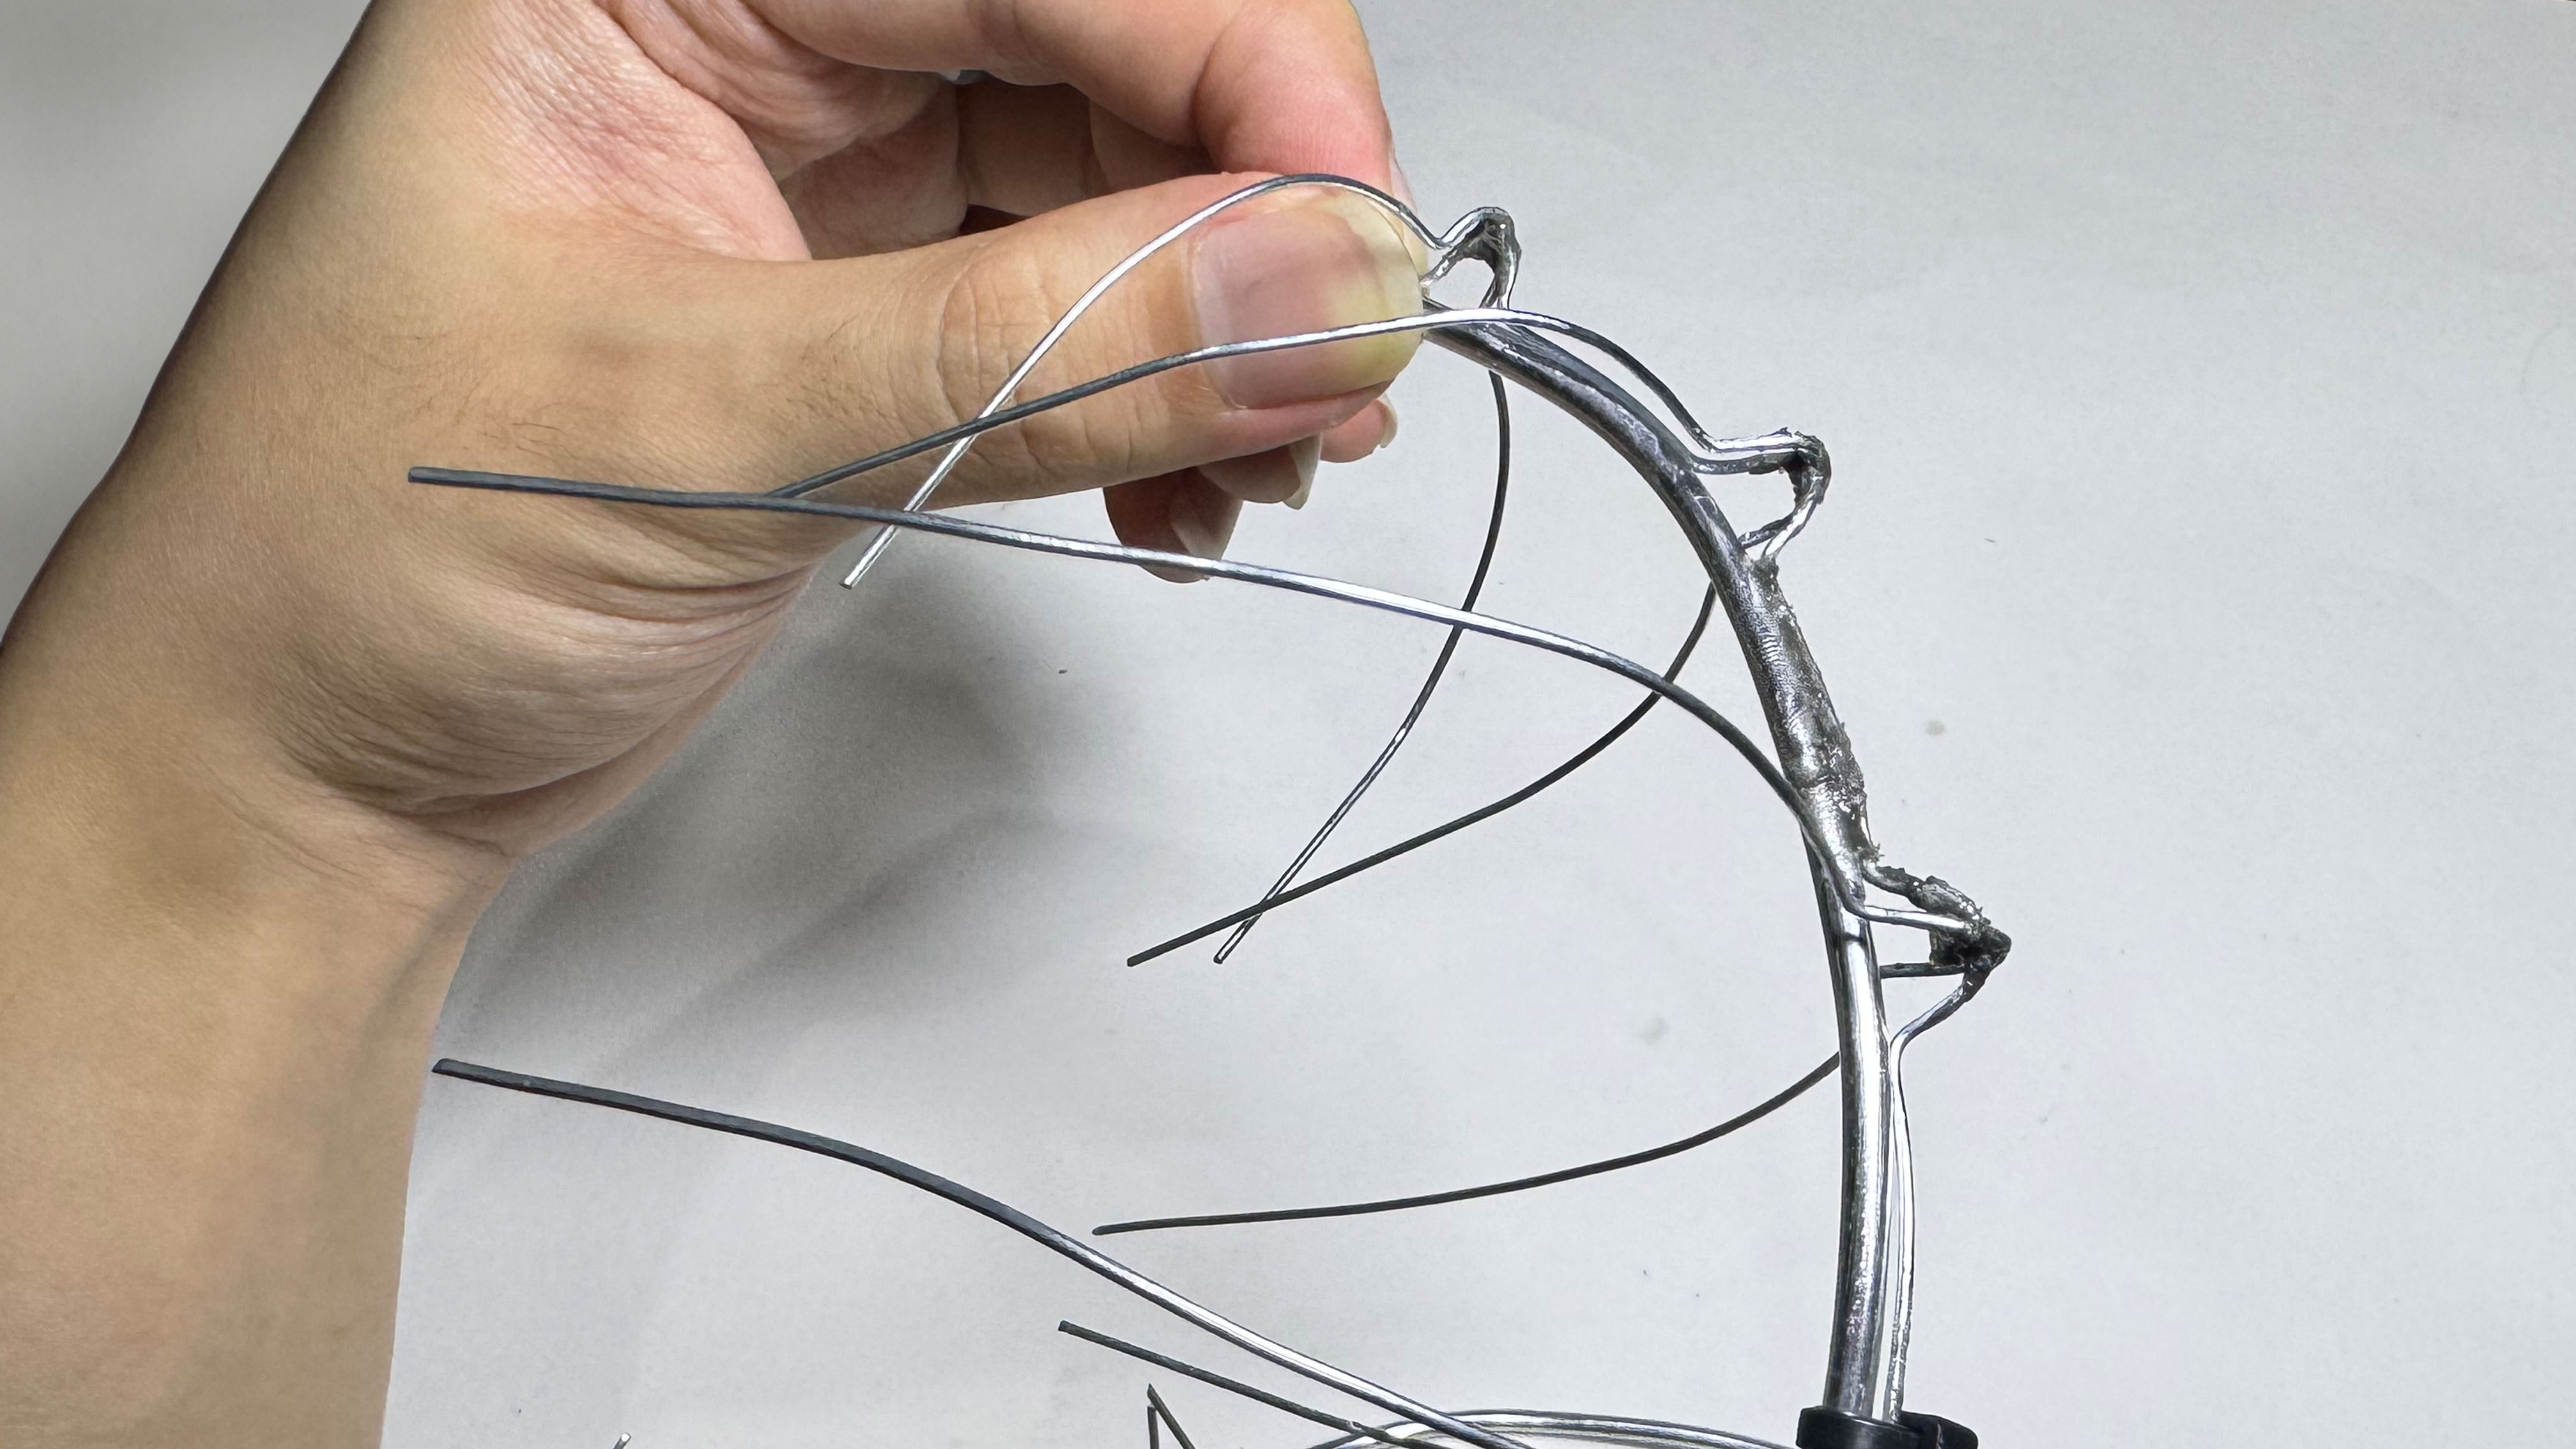
Longnose pliers, glue, and wires were the supplies I required. To keep everything firmly in place, I mostly used two types of super glue. I bend the wires into the necessary forms after making a basic sketch and working out how I want the dragon to be made. I initially used the superglue that dries quickly to hold the wires in place after they had been bent. I used epoxy glue, which solidifies really strongly to ensure the joints don't break apart, to make sure it is secure. Since this is only the skeleton, I could cover all of these sections with glue in a messy manner at this point because it will eventually be covered.
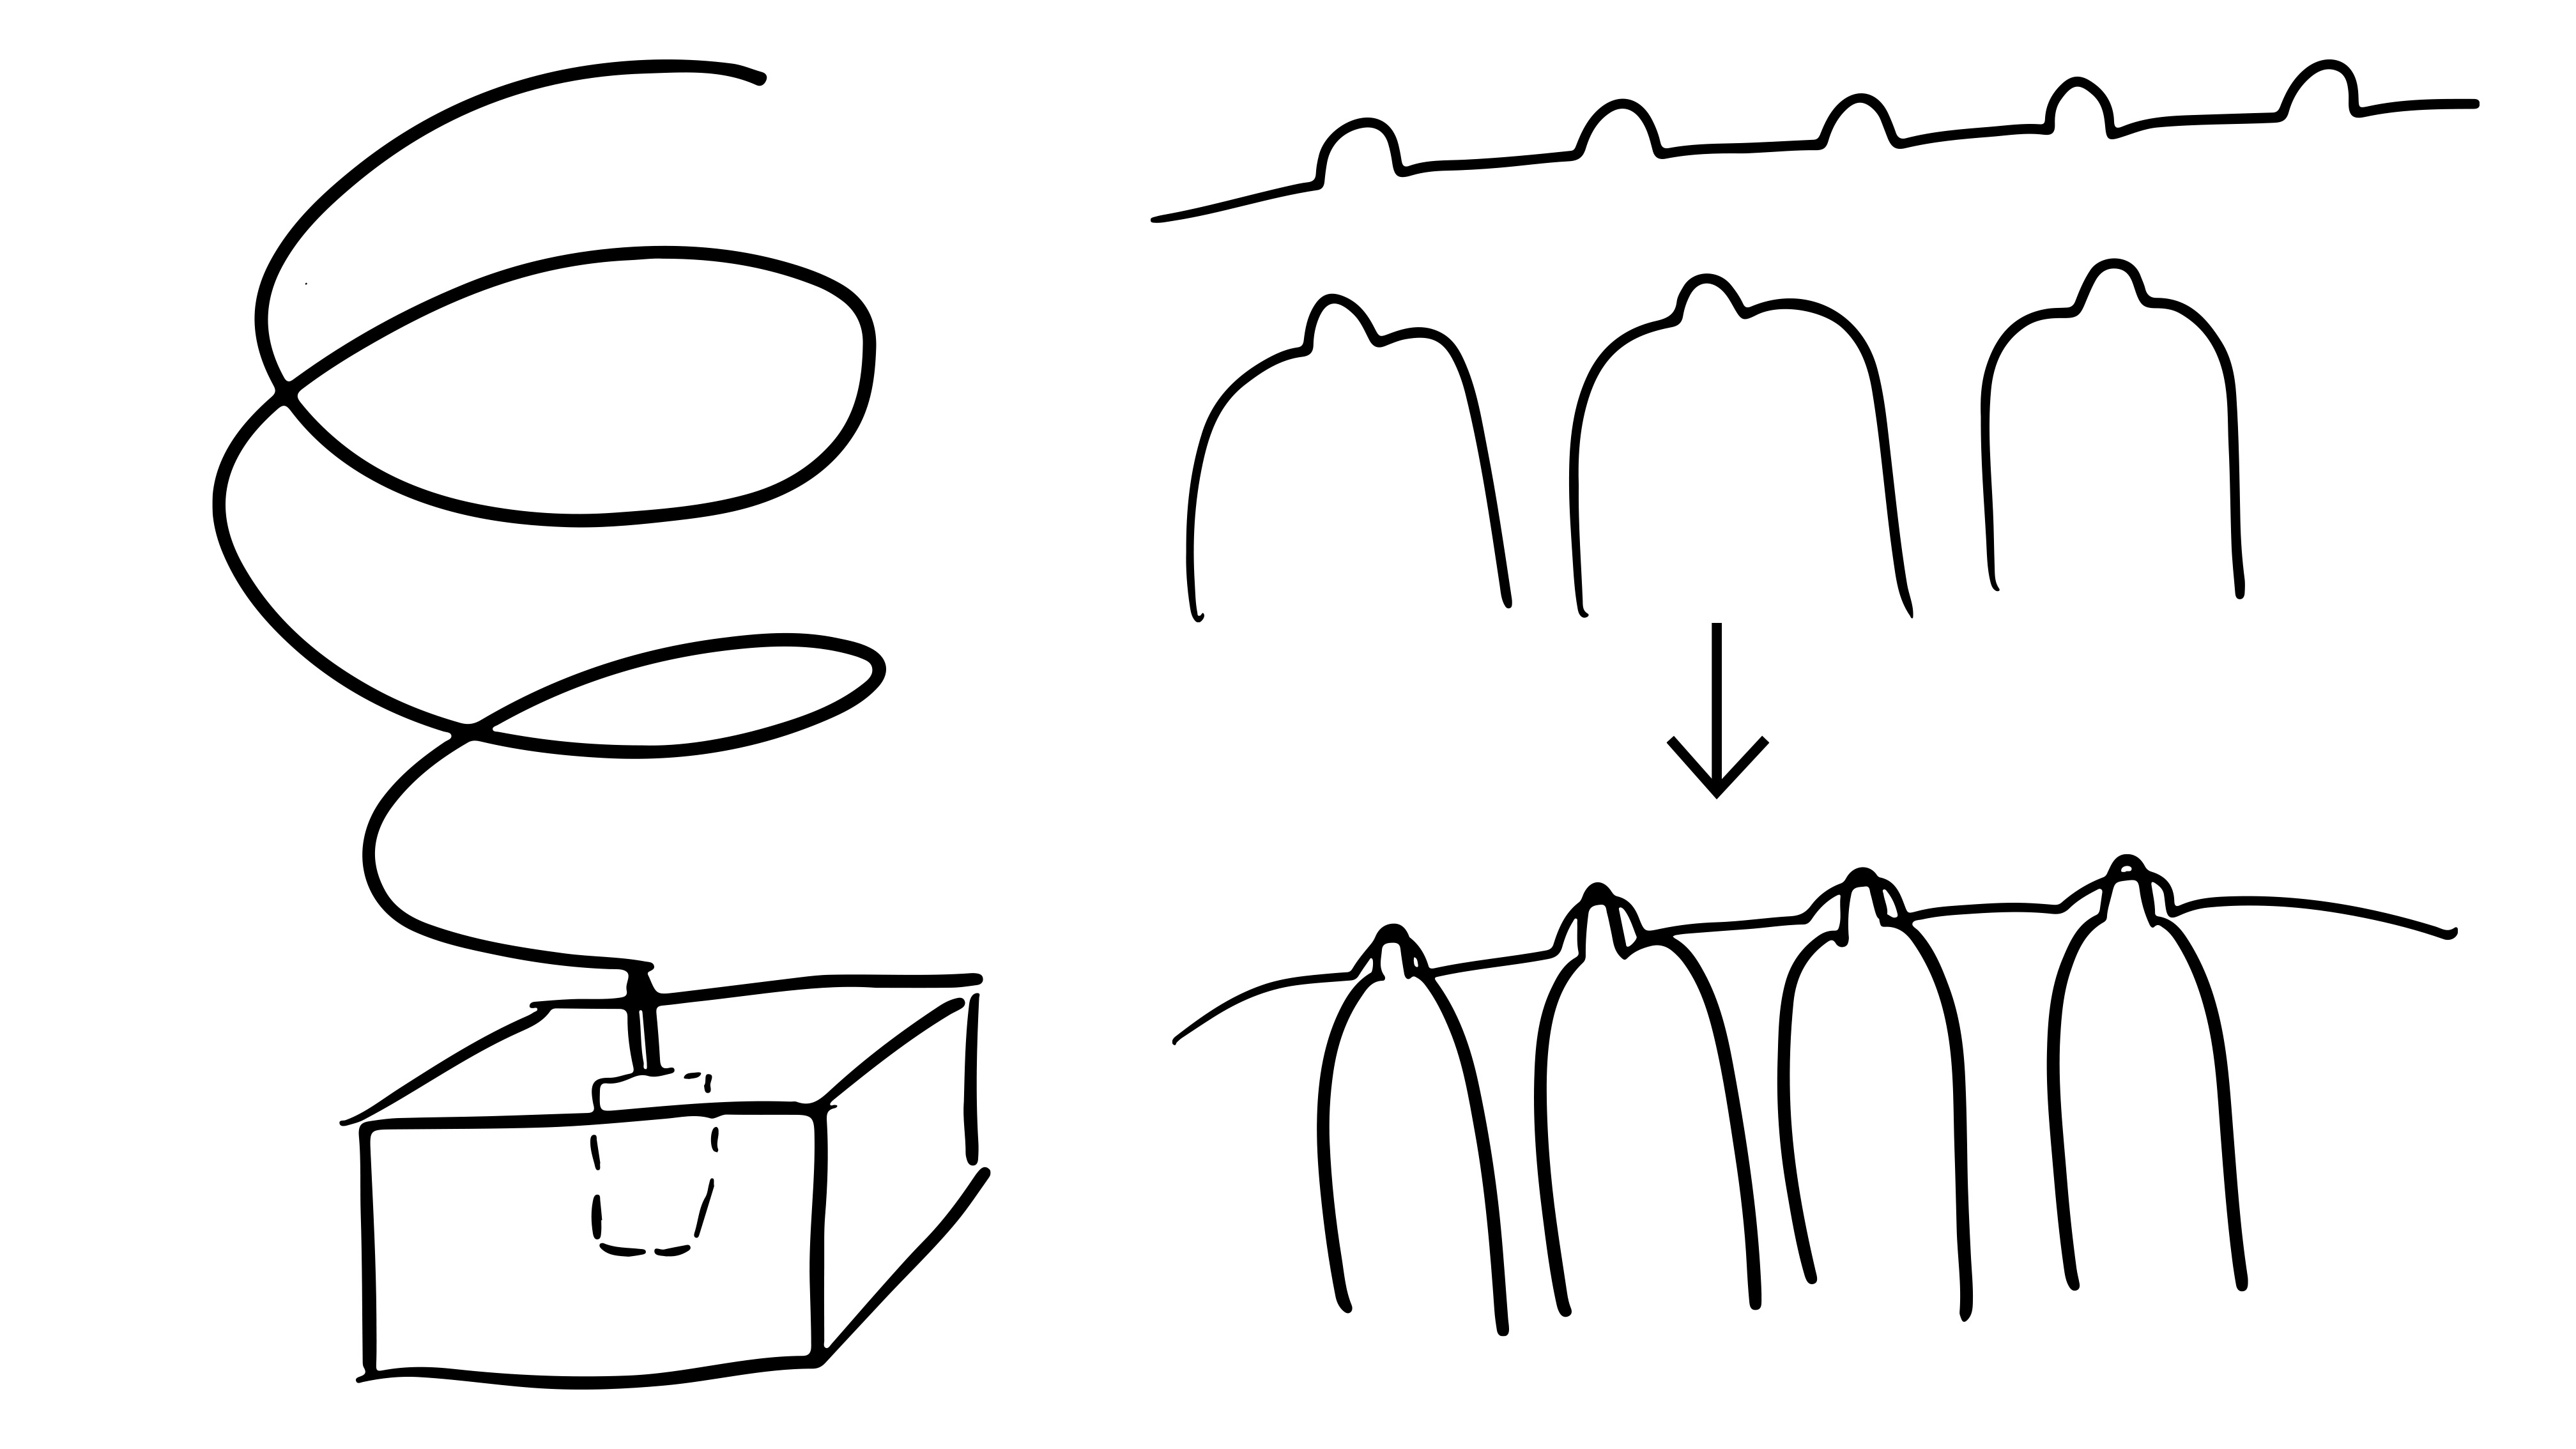

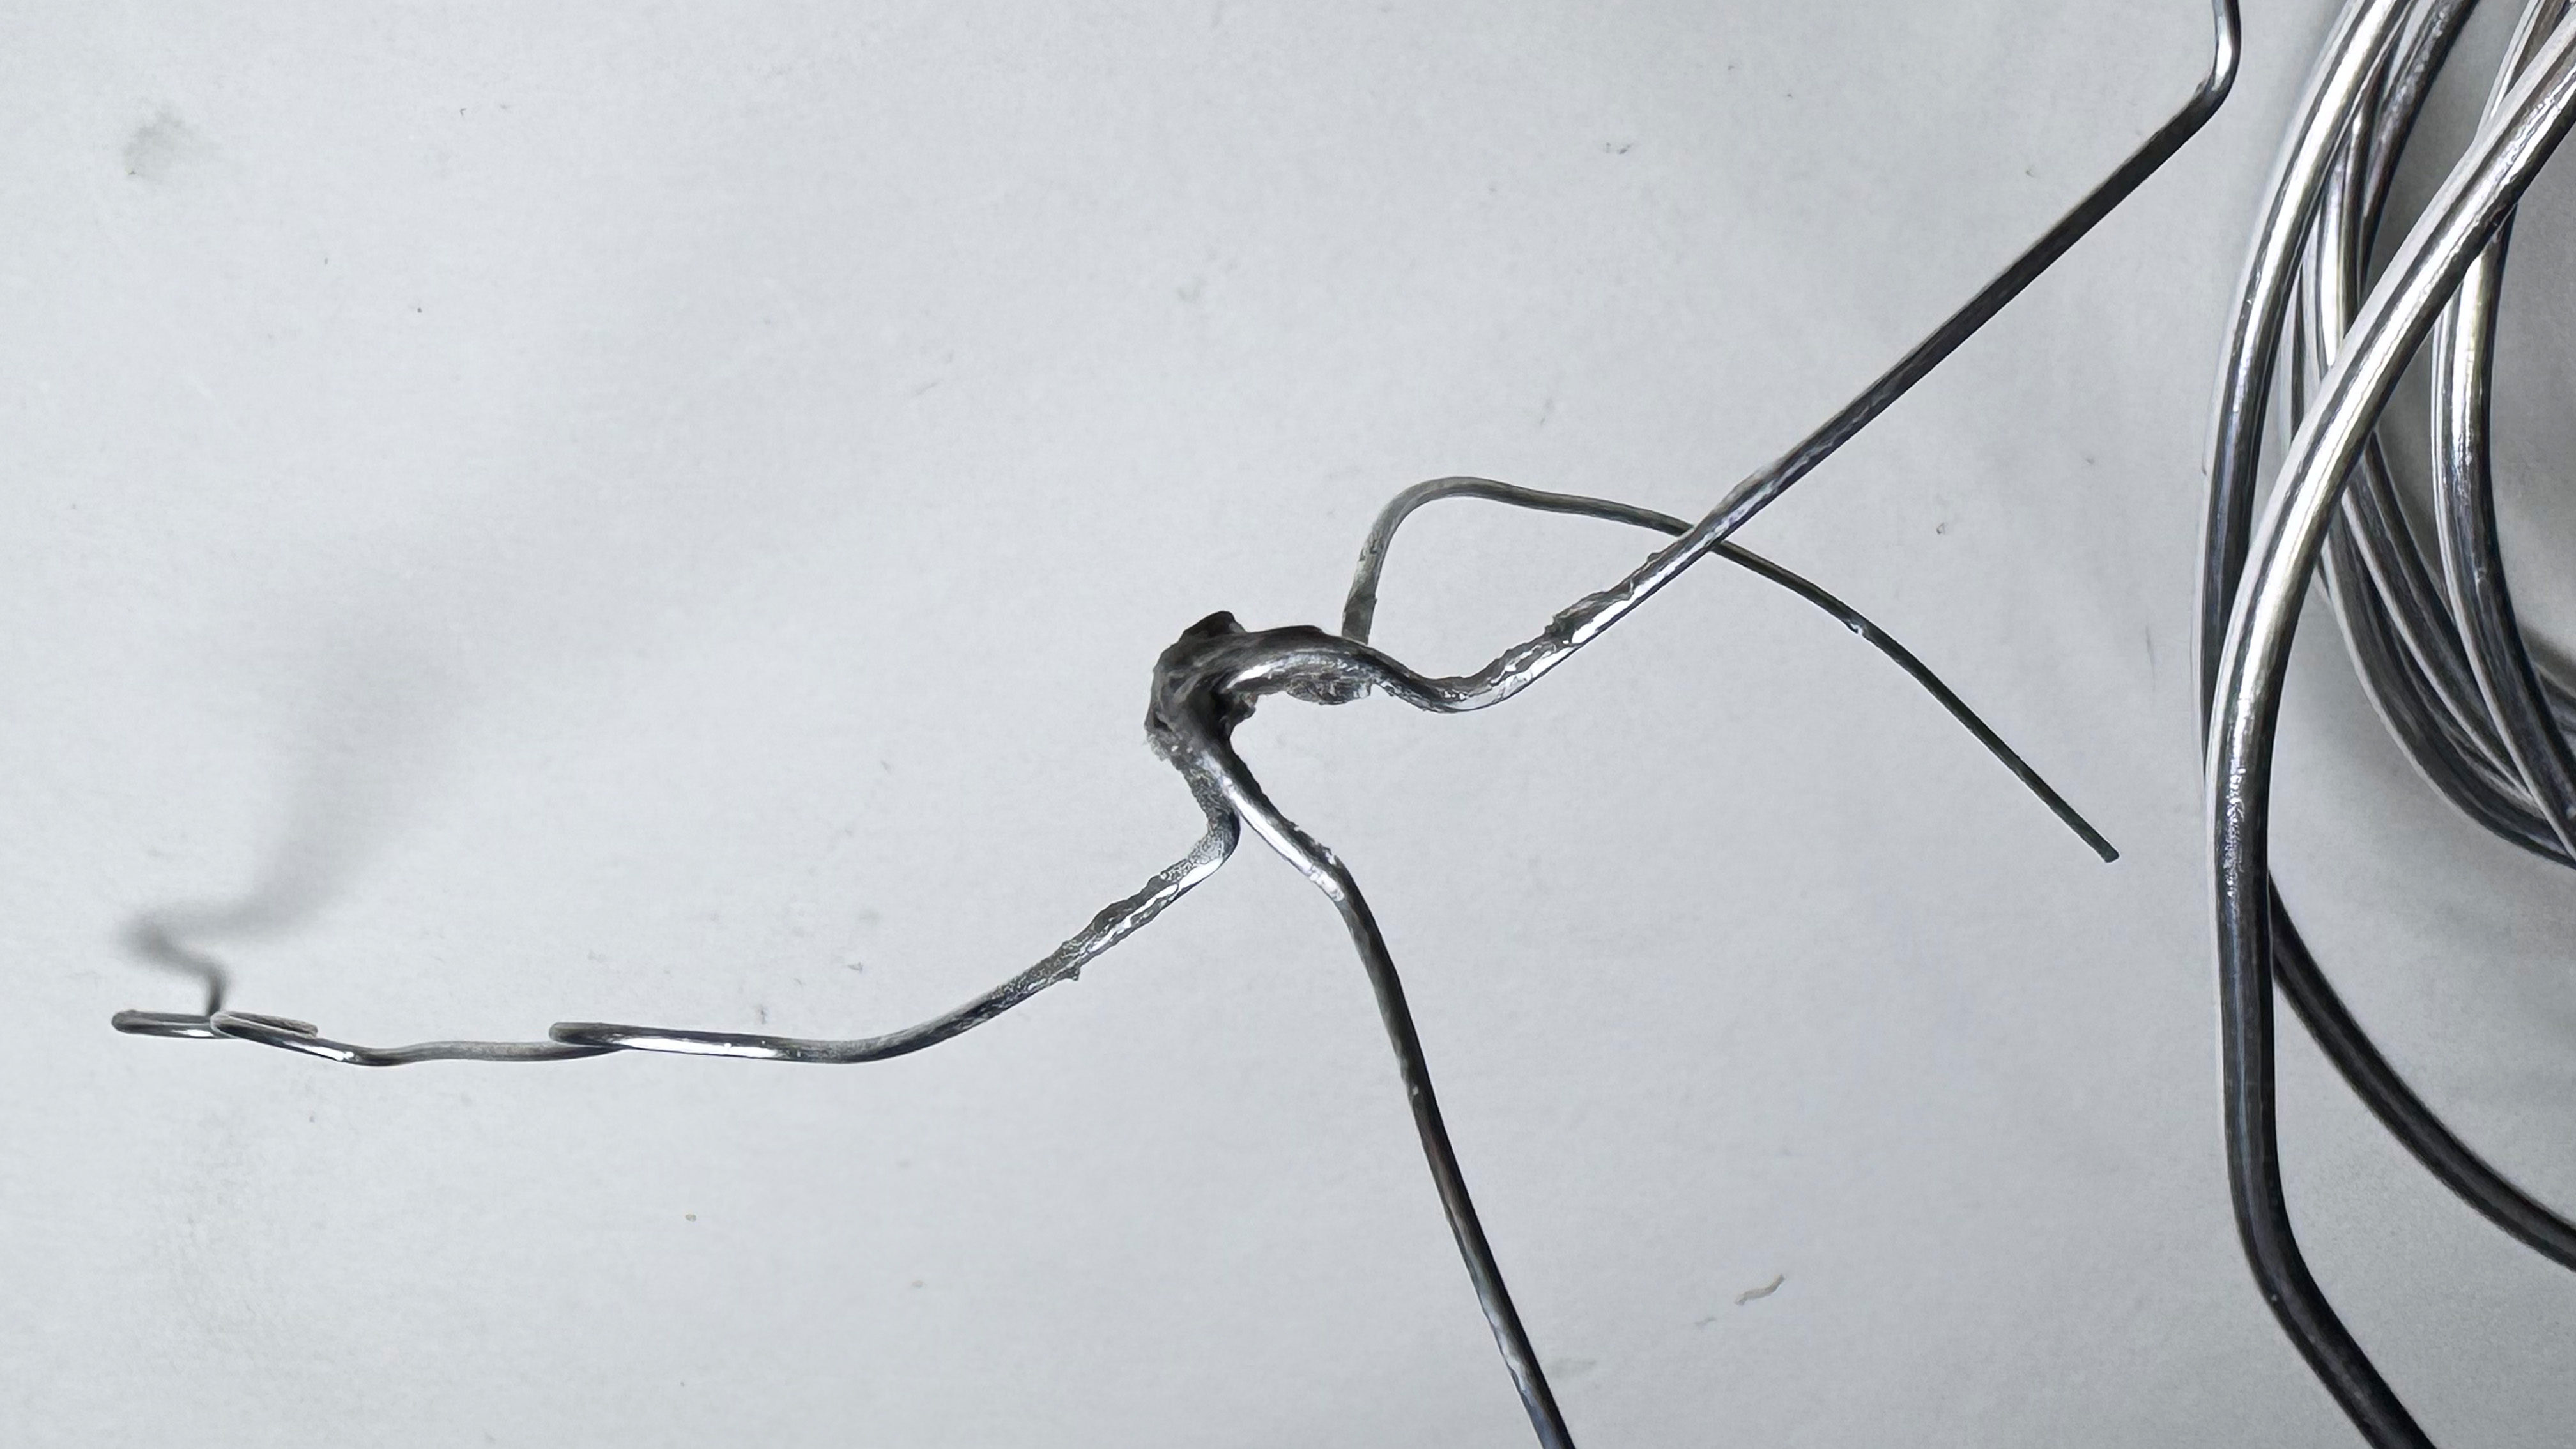
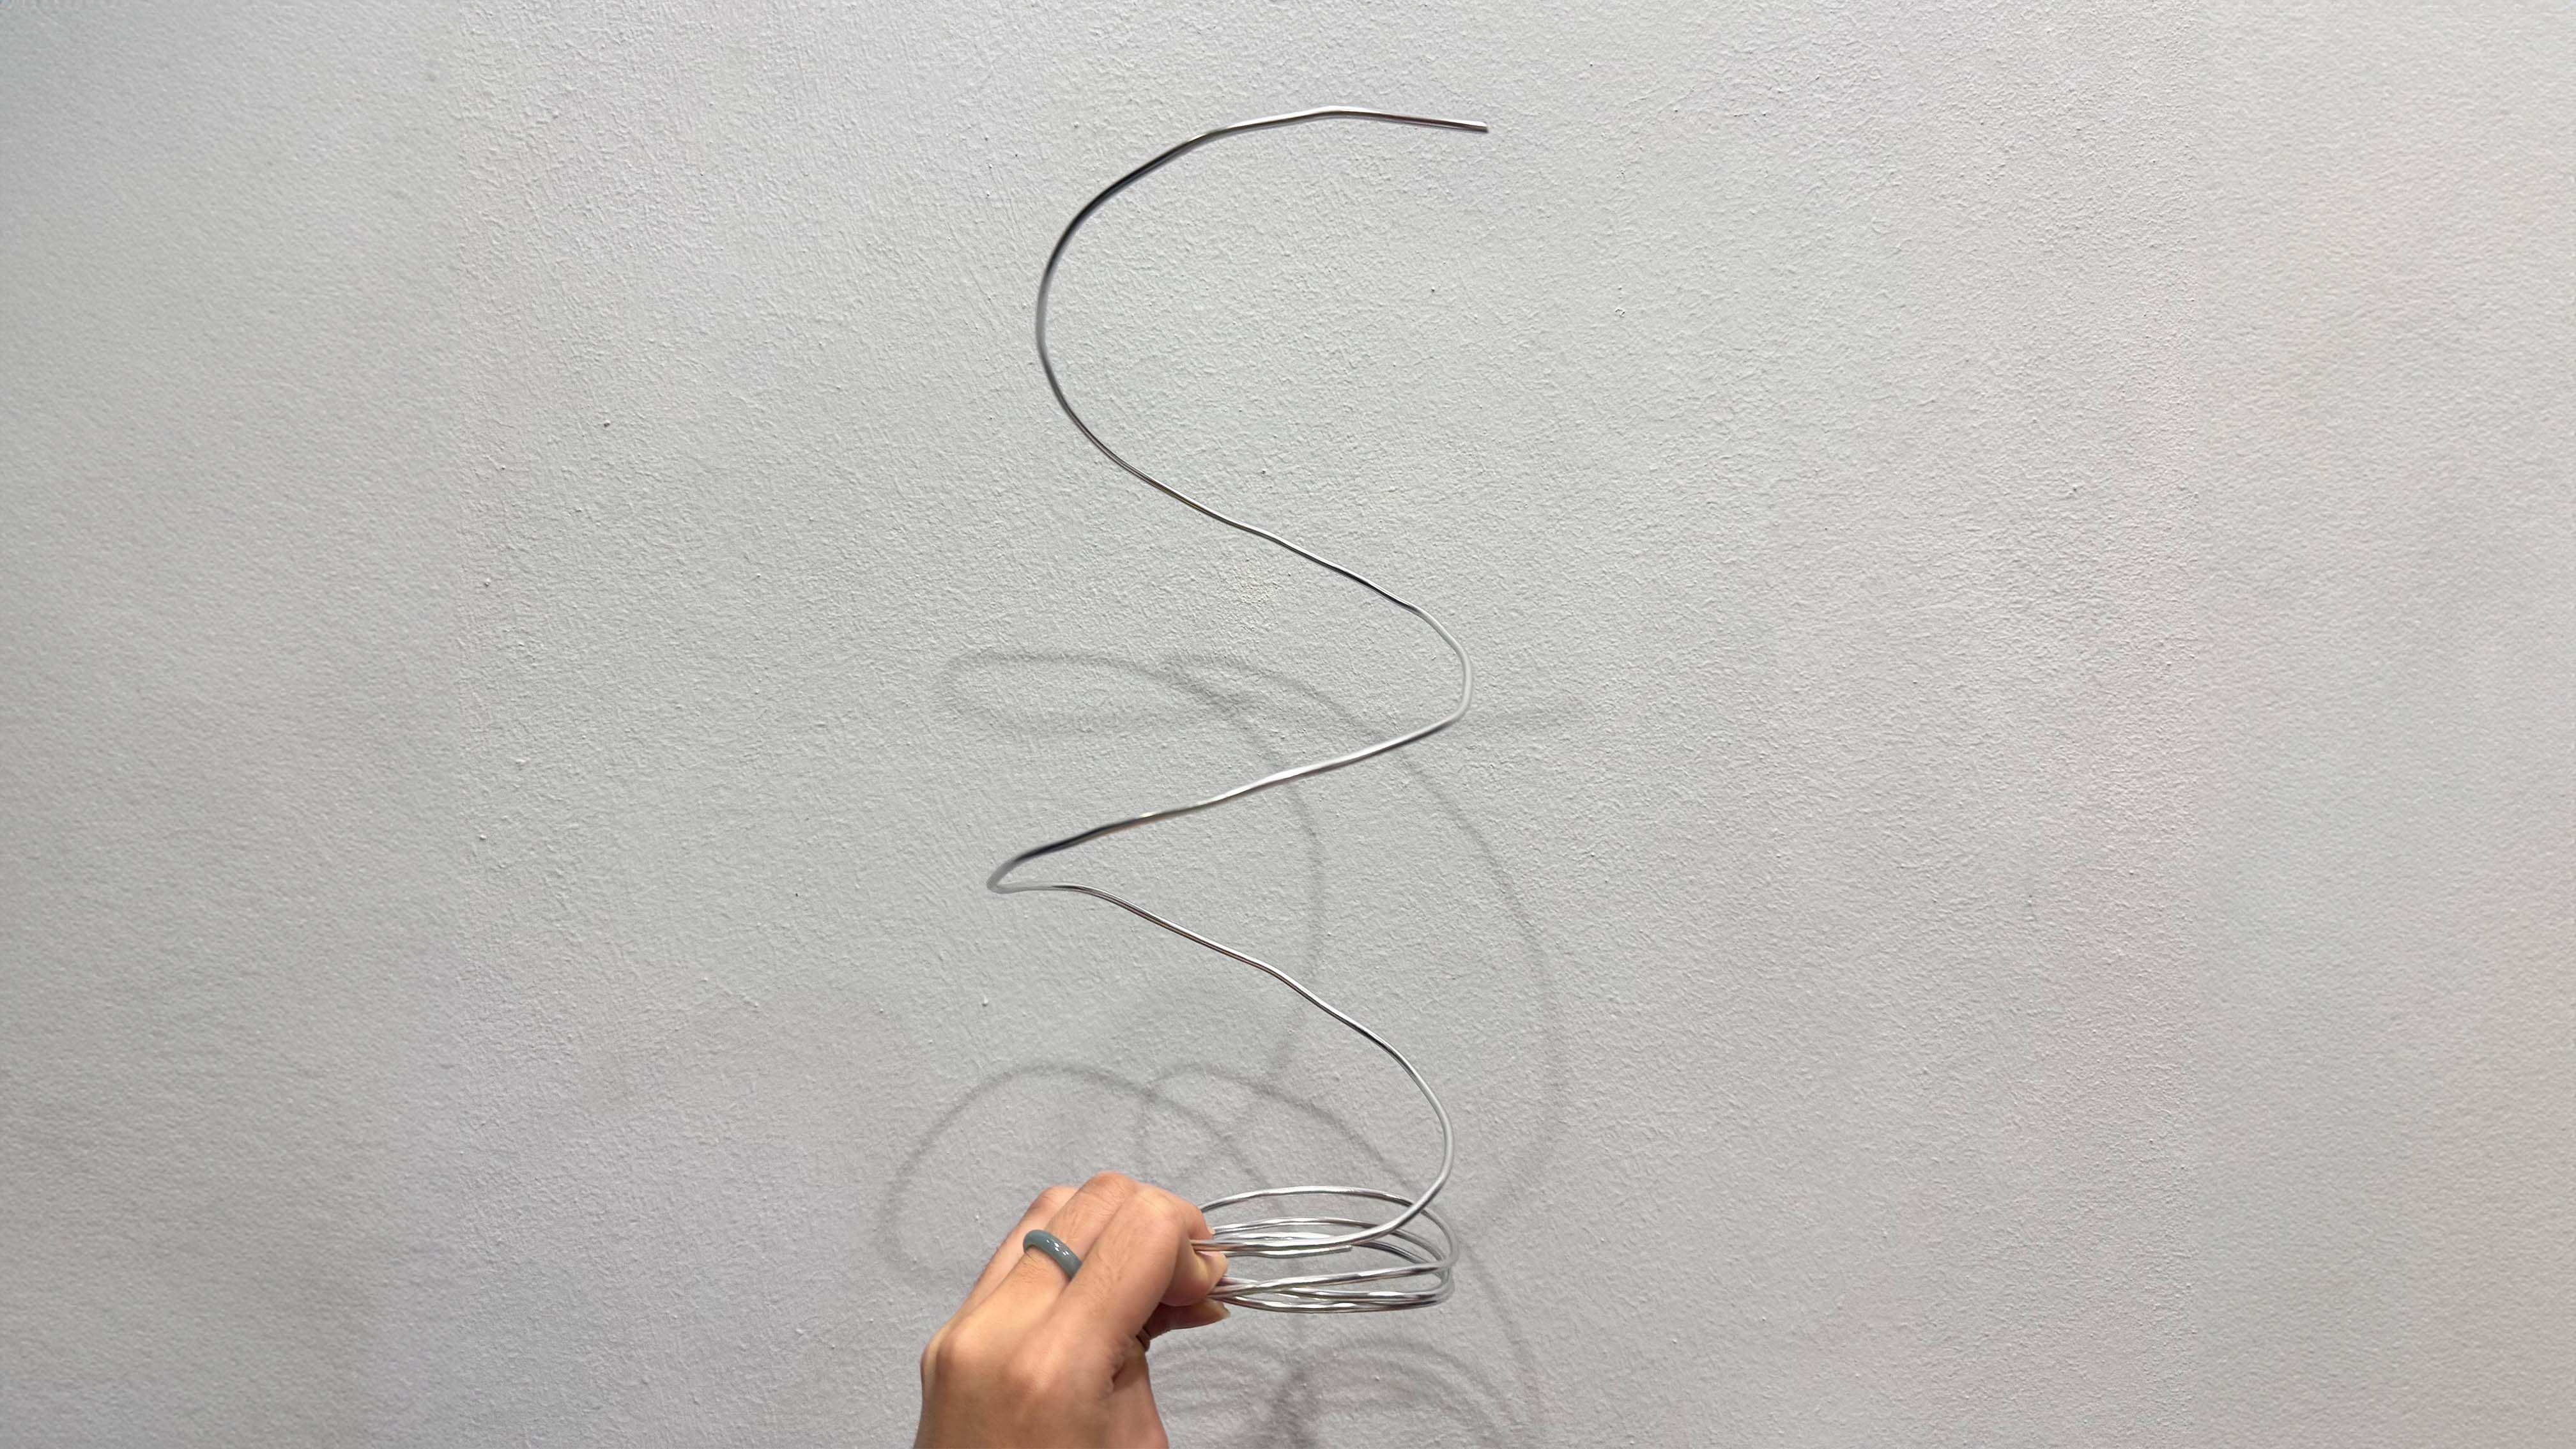
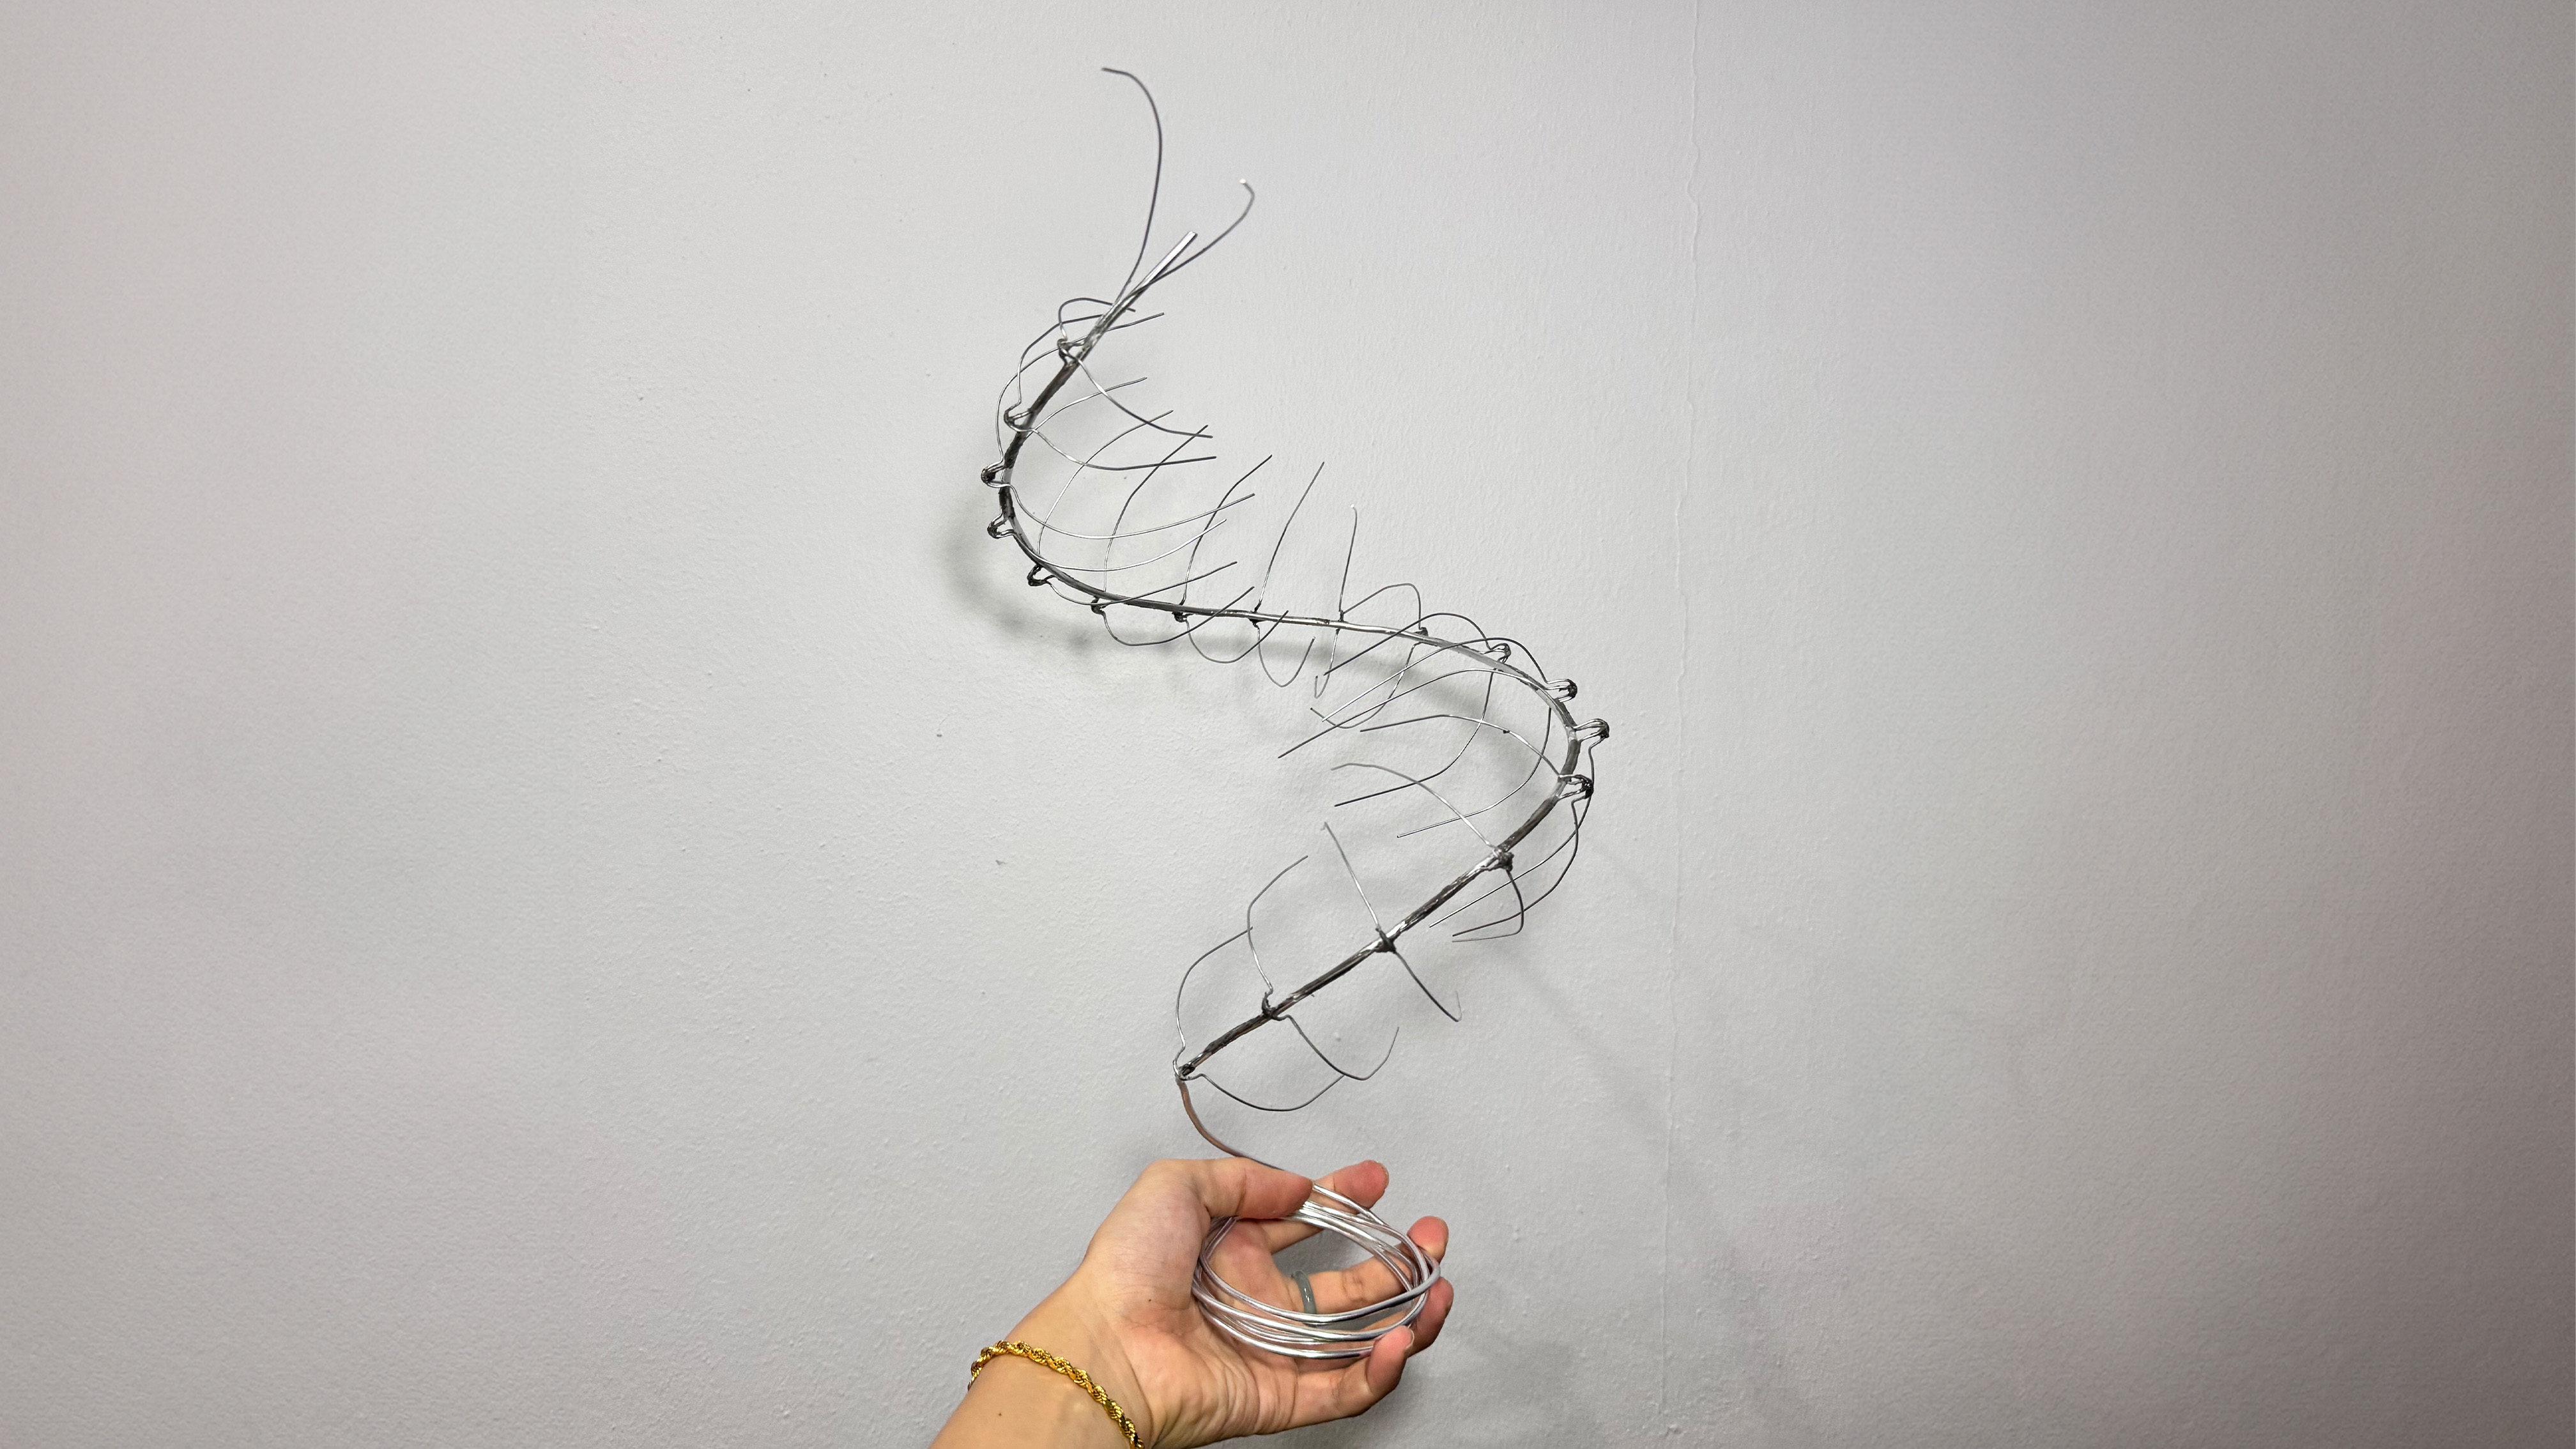
I took a thicker wire that would be utilised as my dragon's main structure and coiled it into shape after going through the same steps again to create the rib-looking structure. I glued down the ribs to the structure using techniques similar to the ones I used earlier to ensure that the entire structure is sturdy and will maintain its shape.
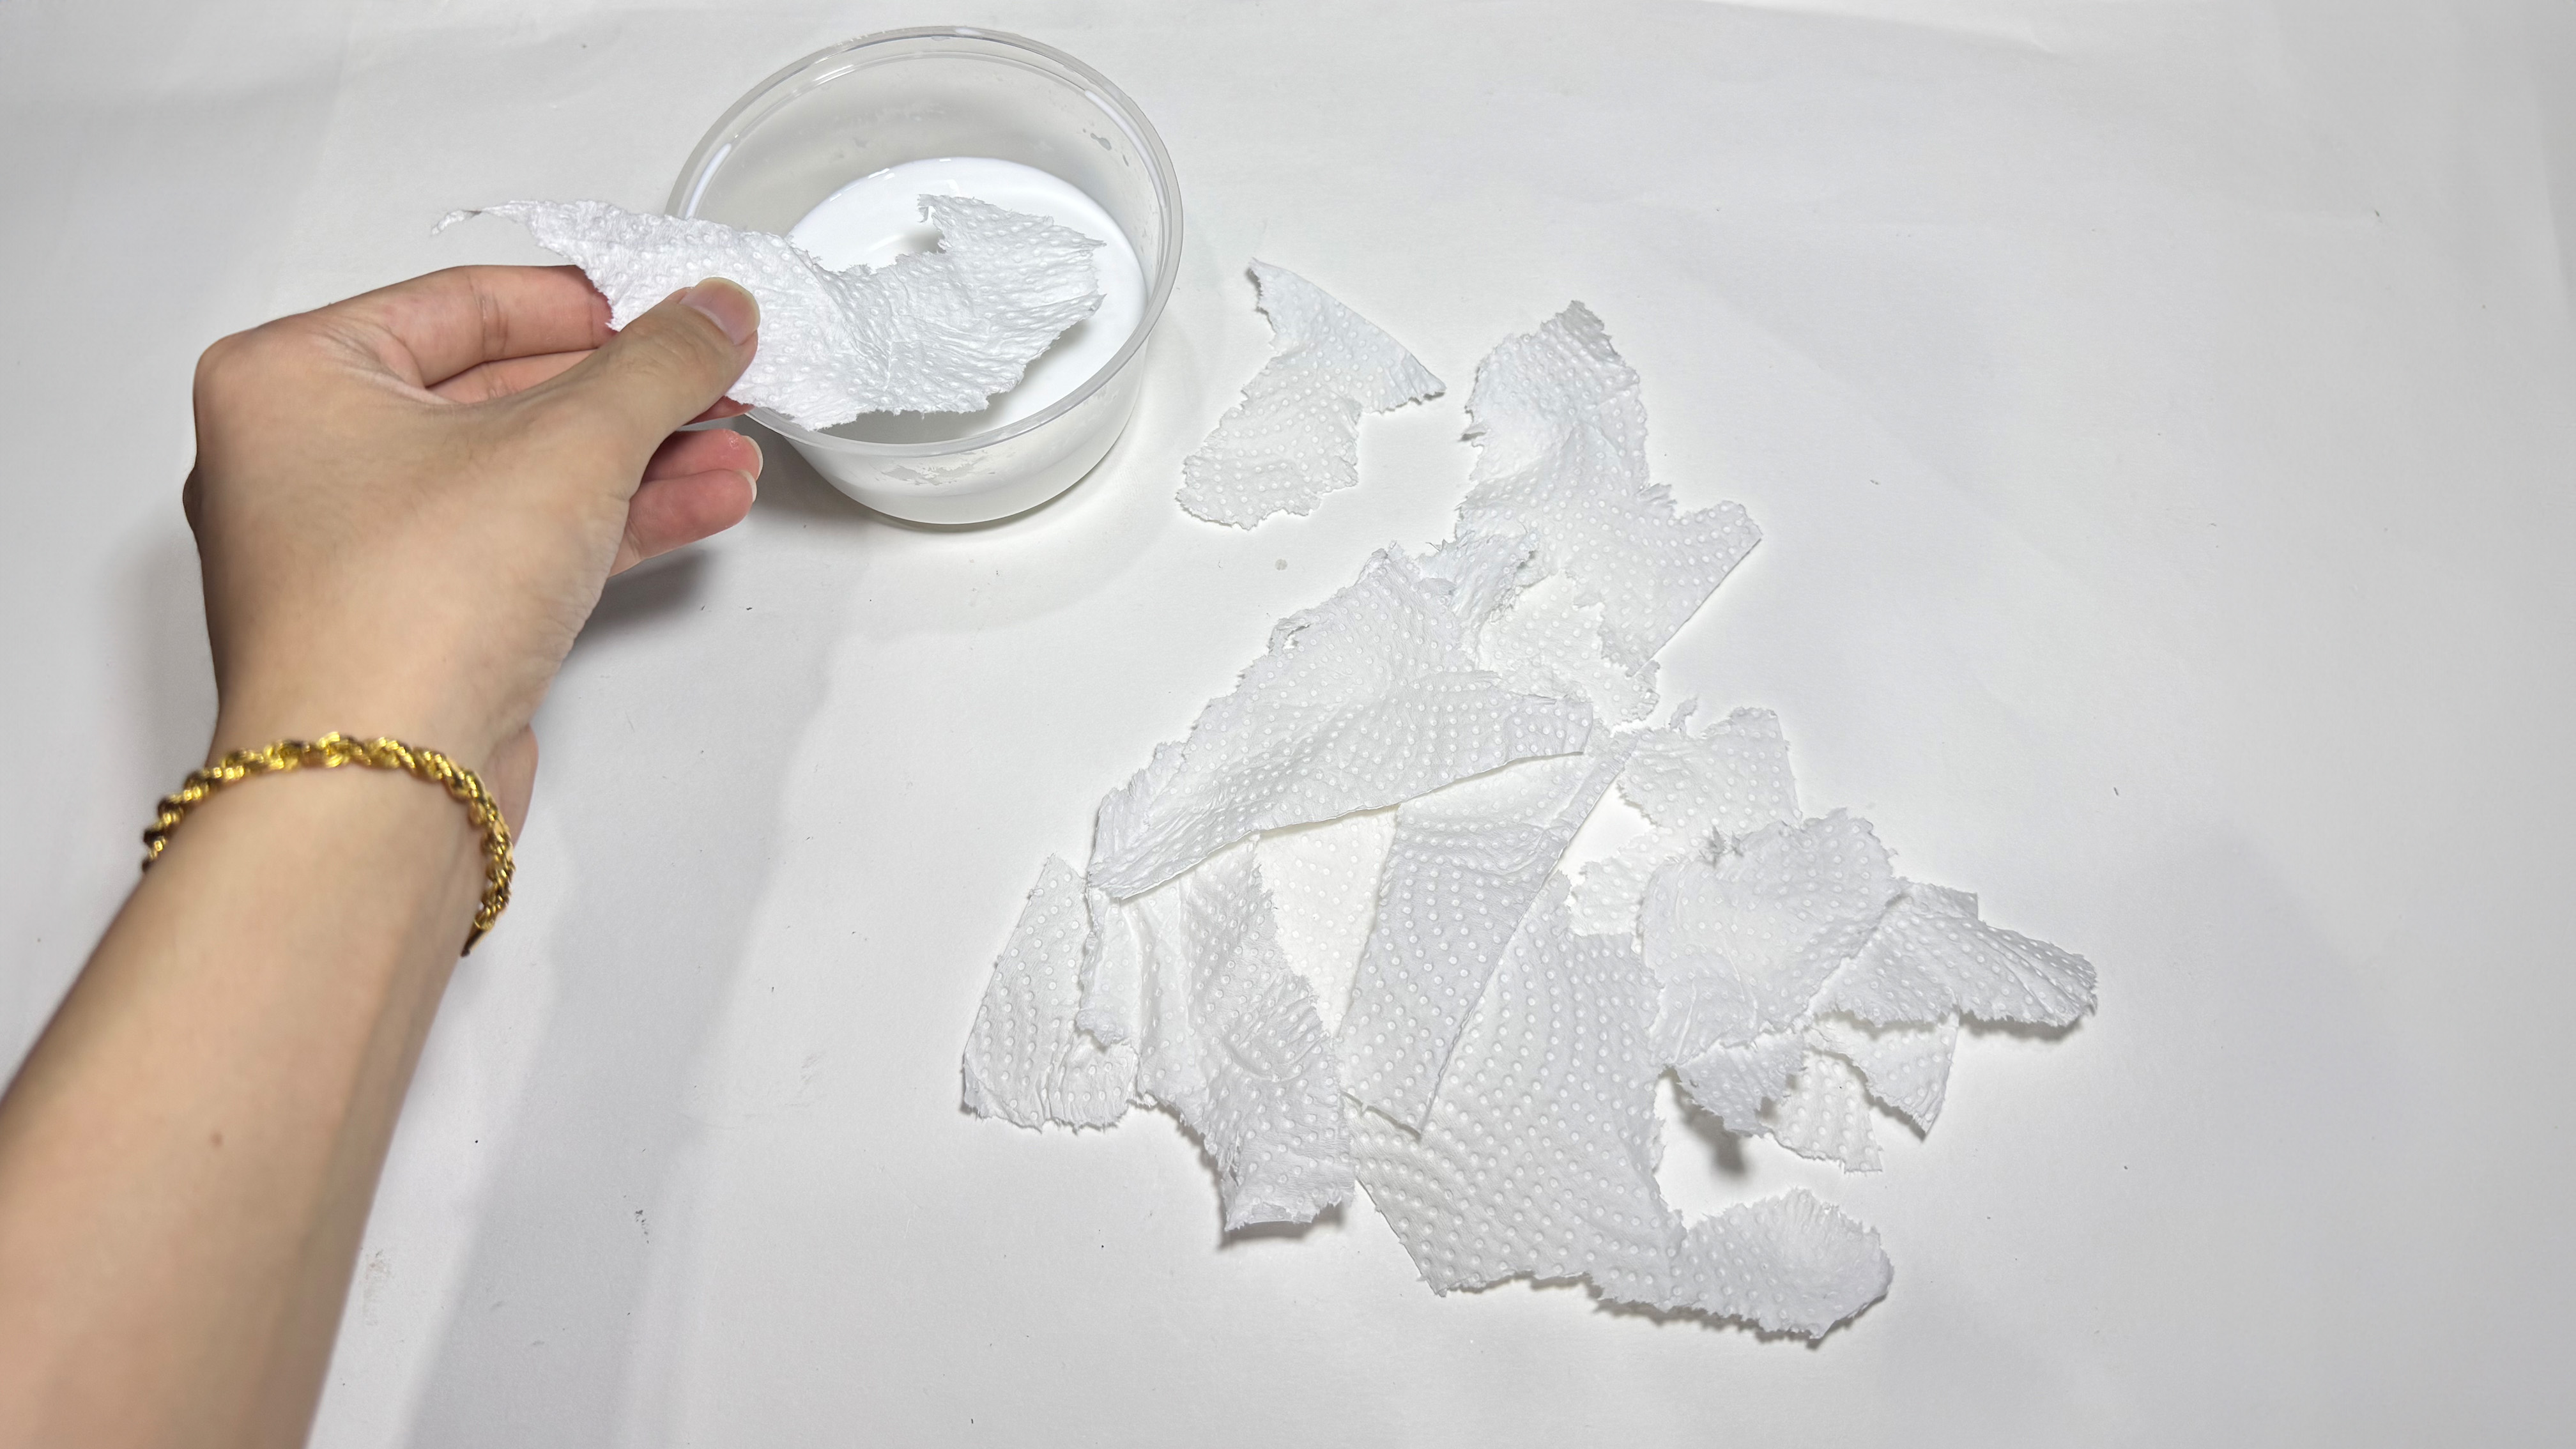
After adhering everything in place and completing my dragon's basic structure or bone, I decided to use paper towel and a glue and water mixture to give it a skin-like appearance. When I first started thinking about how to make the skin, I considered utilising fabric. However because the skin reminds me of pinata, I reasoned that I could build the skin using techniques similar to those used to make piñata. I plan to tear the paper towel, dip it into the equal parts white craft glue and water, and gradually build it up.
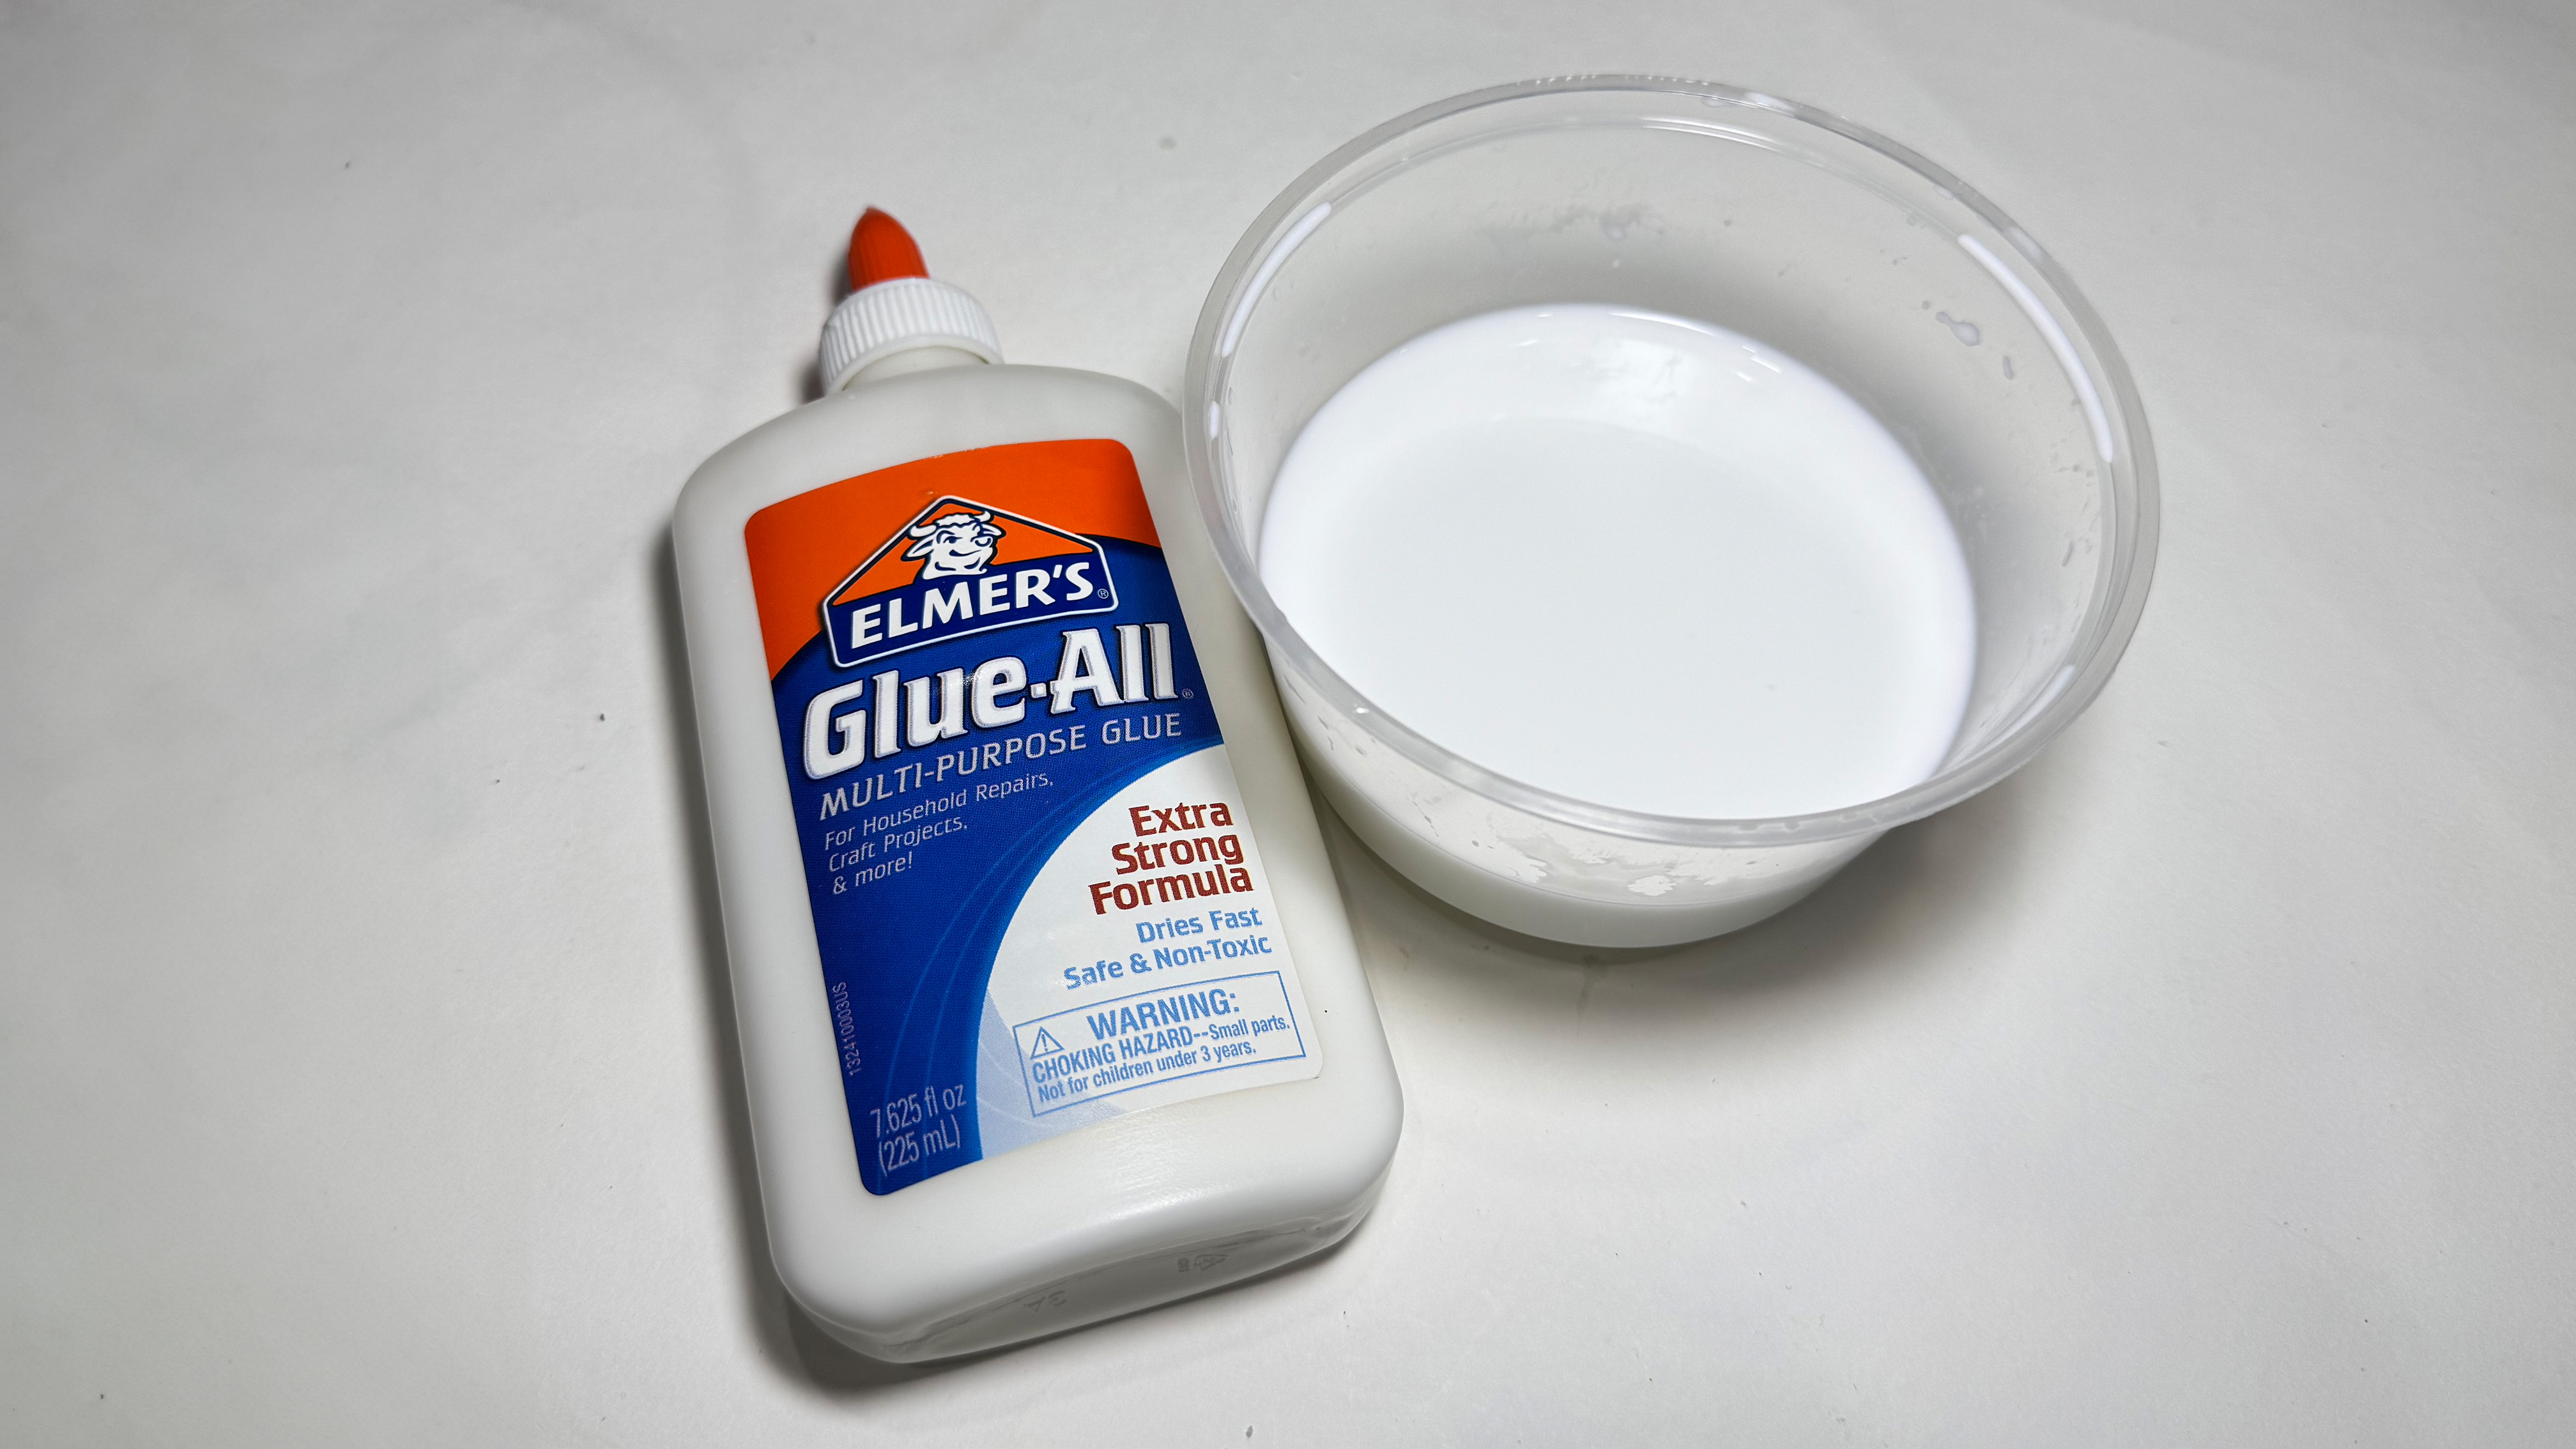
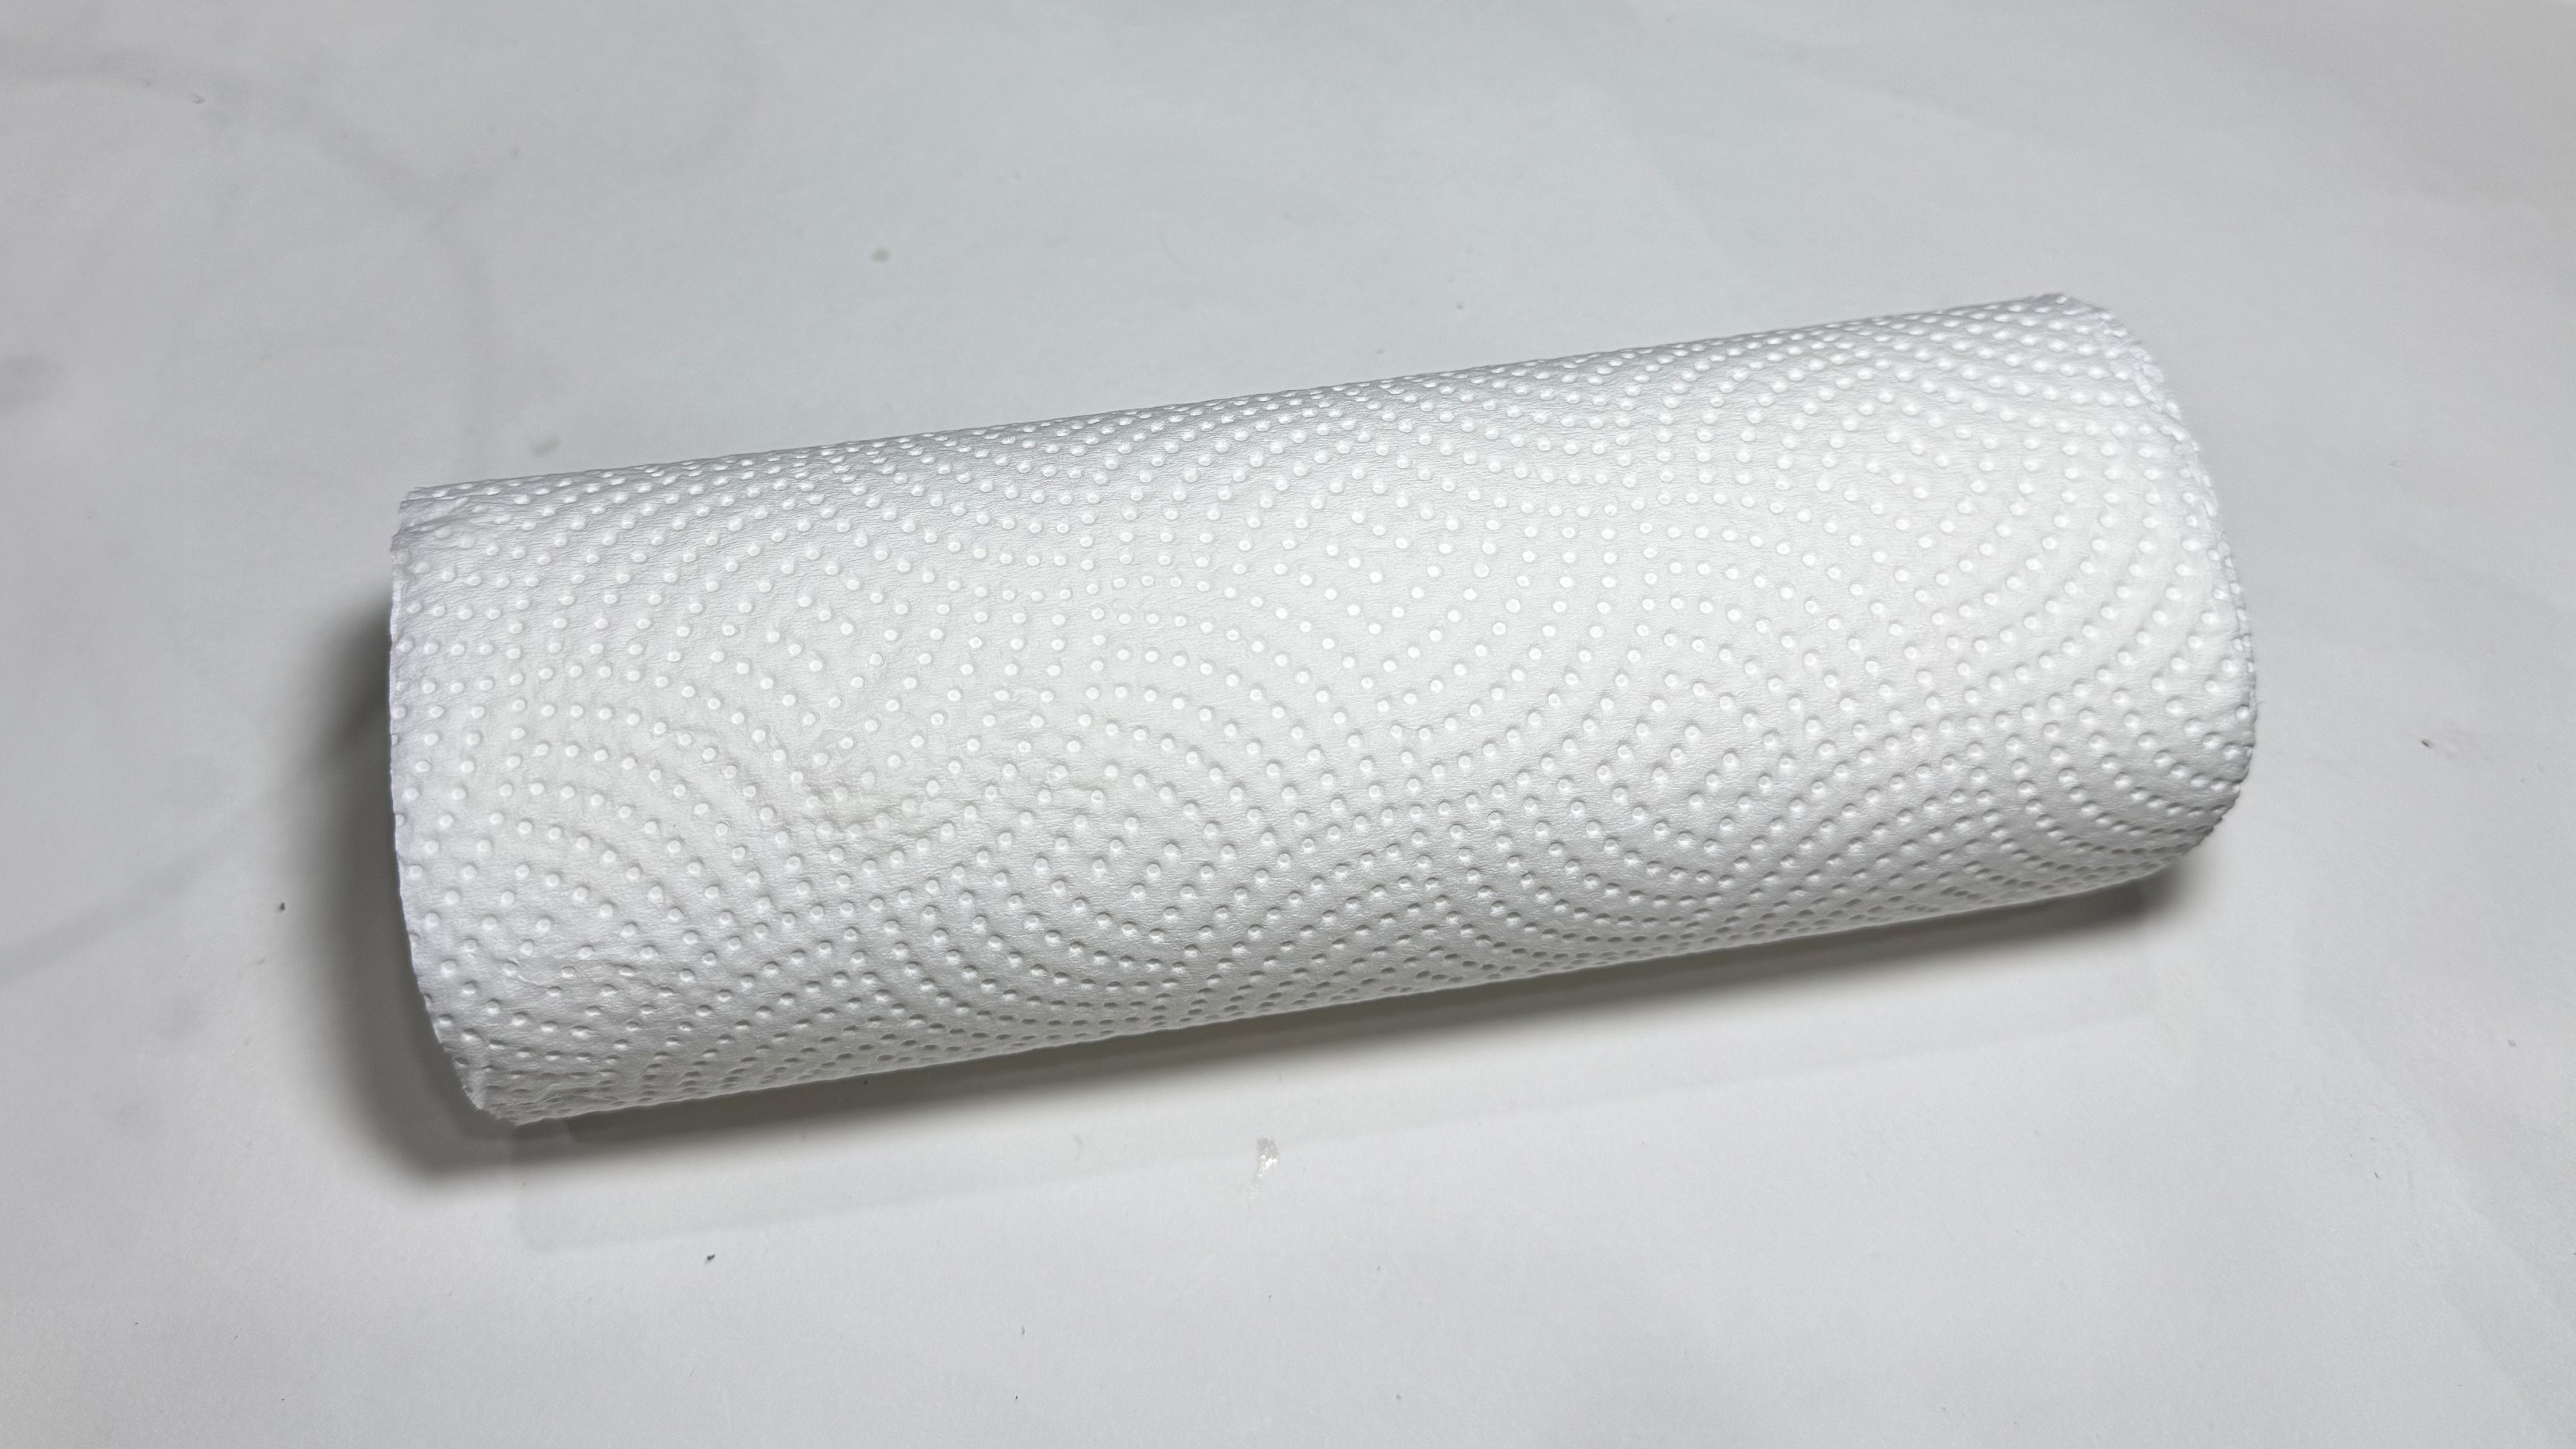
Since I planned to cut it into shape, I didn't have to worry about being particularly tidy; instead, I just built up the tissue layers at random. One problem was that I had to be careful of the paper towel's thickness while placing it down because I wanted the points to be clearly visible and the wire to still be seen through the towel. All I needed to do was use about two layers of paper towels.
My paper towel had a spotty texture when I first got it, so I went back and added another layer of regular tissue to give it a smoother texture. I made rings out of wires and wrapped them around each point to highlight the points, and make sure the paper towel touched the wires all the way around without leaving any strange bumps. This way, the paper towel would dry in the shape of the points rather than lifting up at the edge.
Before moving on to the rest, I attempted creating one area to see how it will turn out. Fortunately, everything worked out just how I had envisioned, and I love how the wires can be seen peeking through the paper towel.
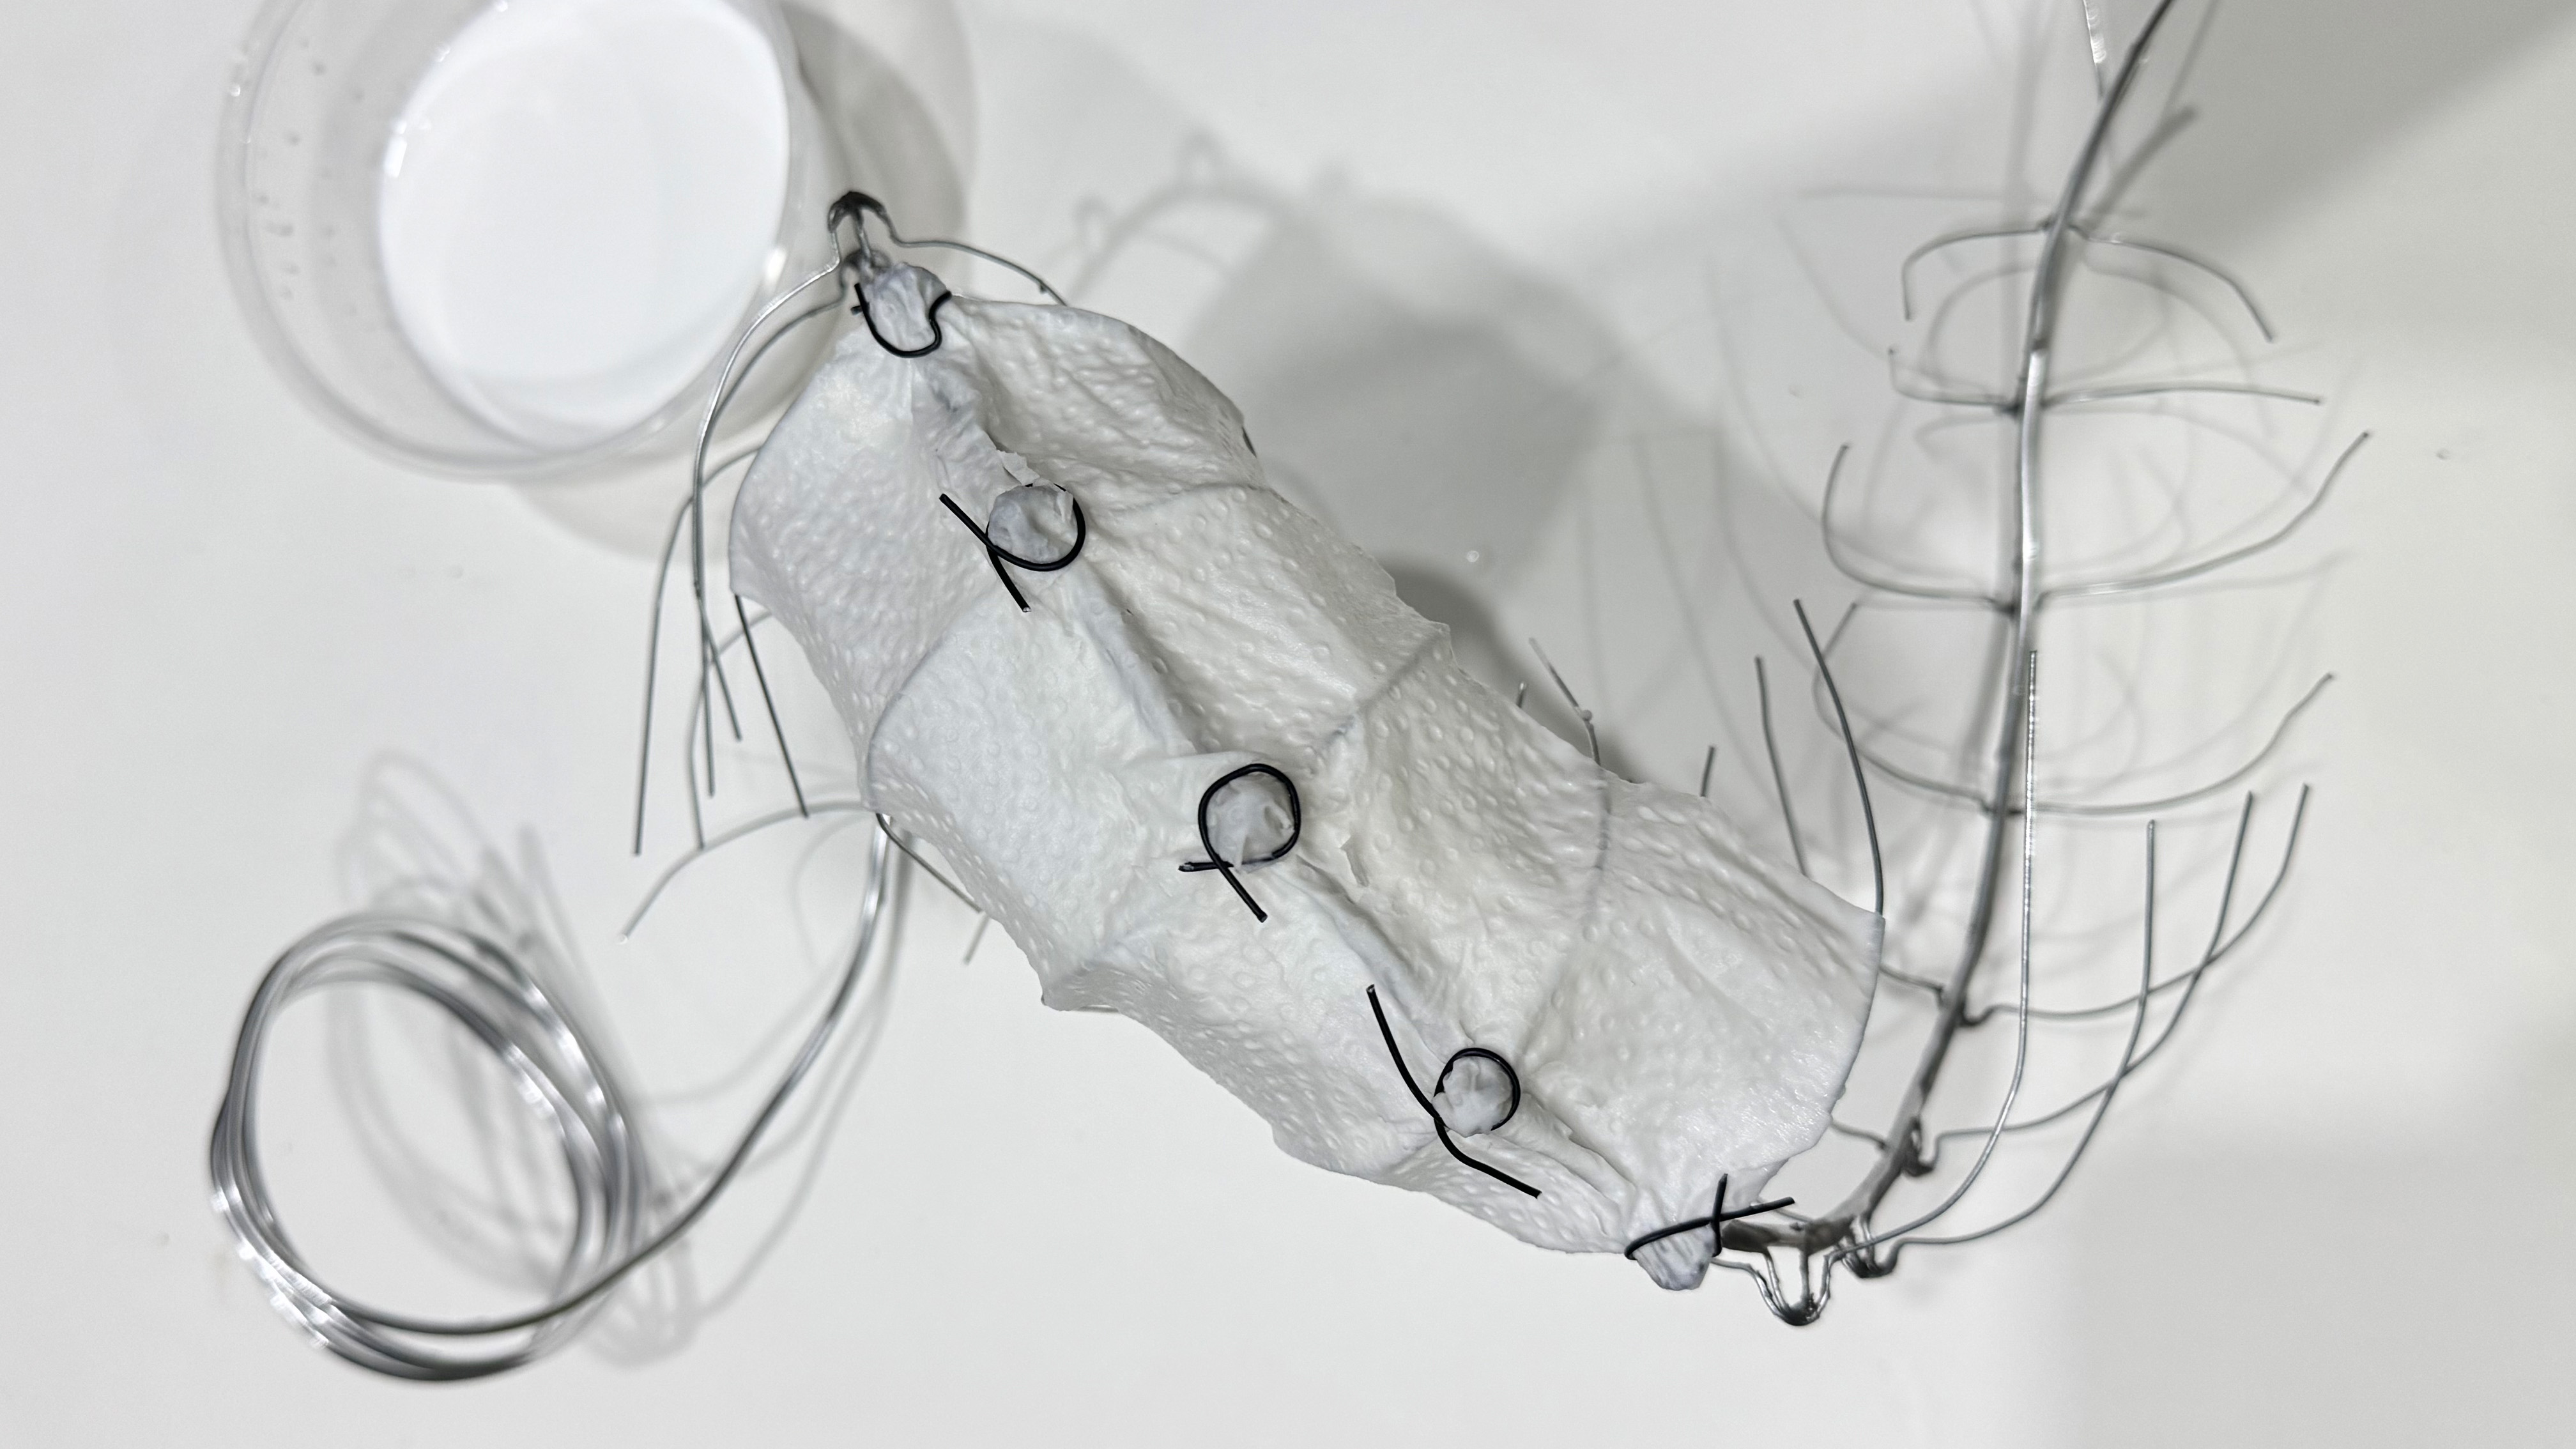
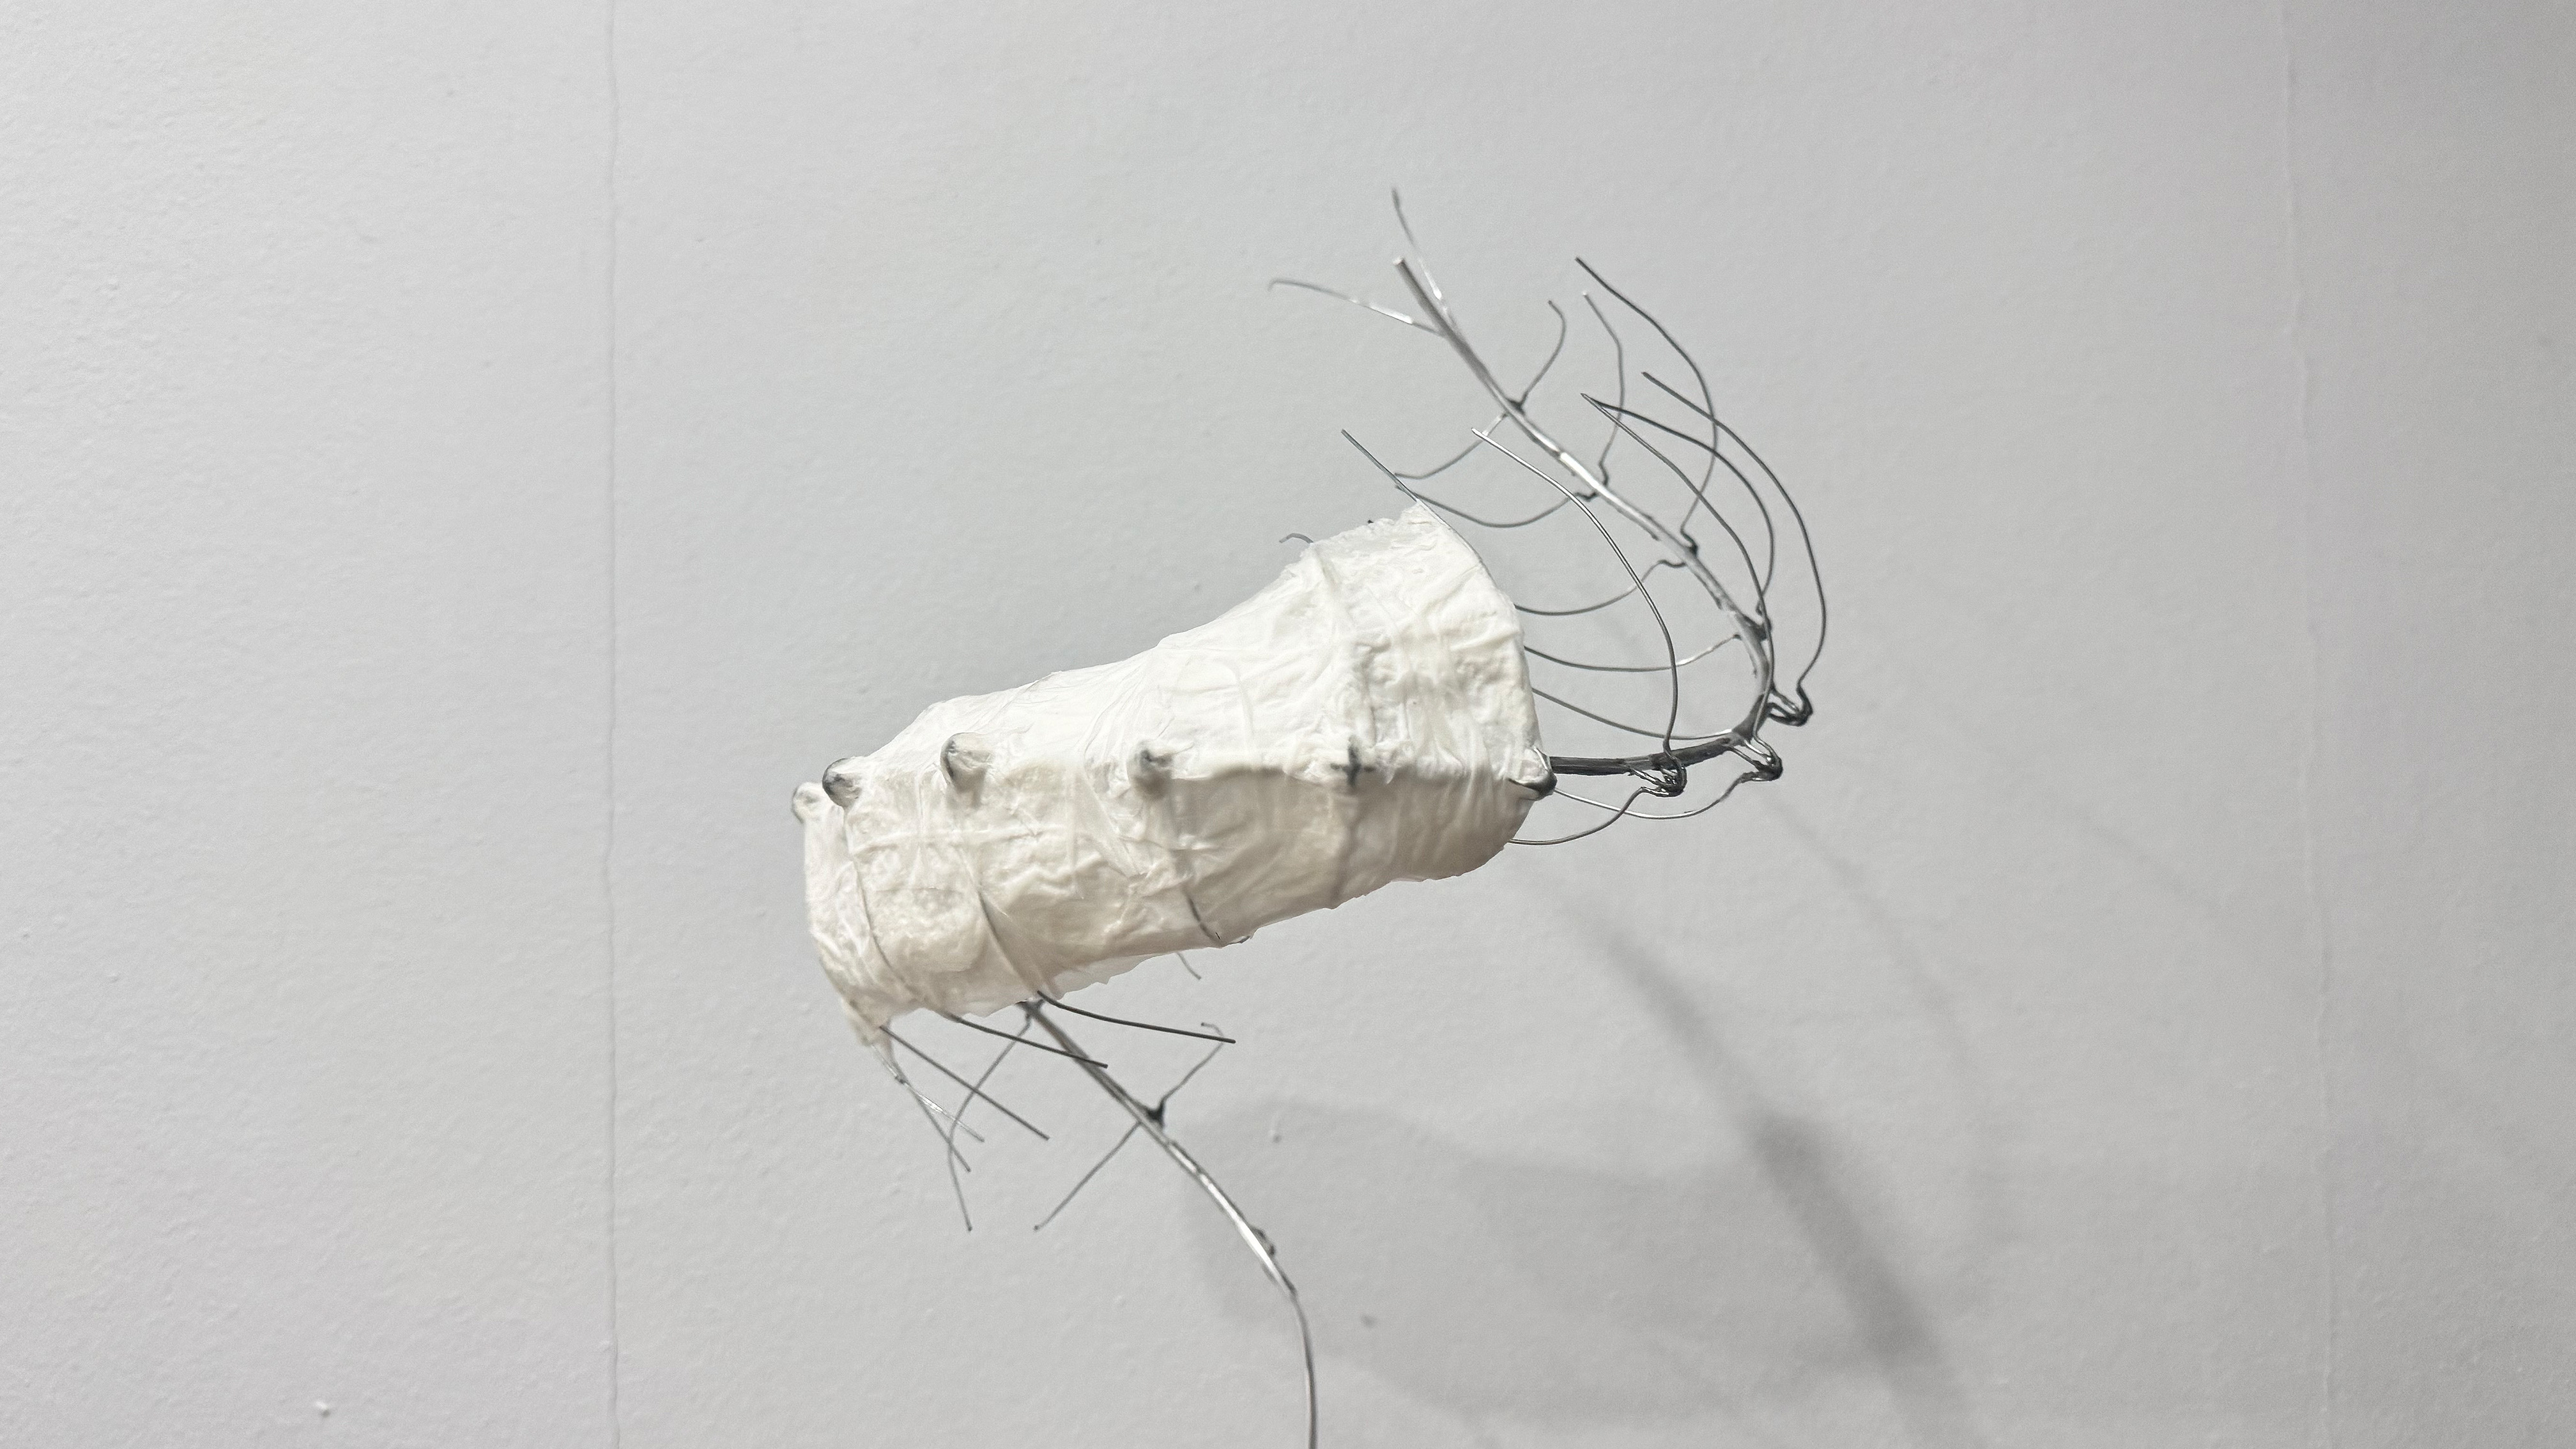
I carried out the same procedure on the entire structure and allowed it to dry fully. I can now clearly feel the weight of the entire construction after wrapping the wires in the paper towel, and the wires were somewhat bending where the structure wasn't there because of the weight. To make sure it dried properly, I had to hang it upside down.
I used a small pair of scissors to cut it into the desired forms once it was totally dried, and afterward, I could certainly feel the difference in weight throughout my entire construction. Fortunately, the entire wire arrangement ceased bending and became lighter after all the extra paper towel was cut off. I believe that the water content on it and the extra paper towel were the reasons it was so heavy.
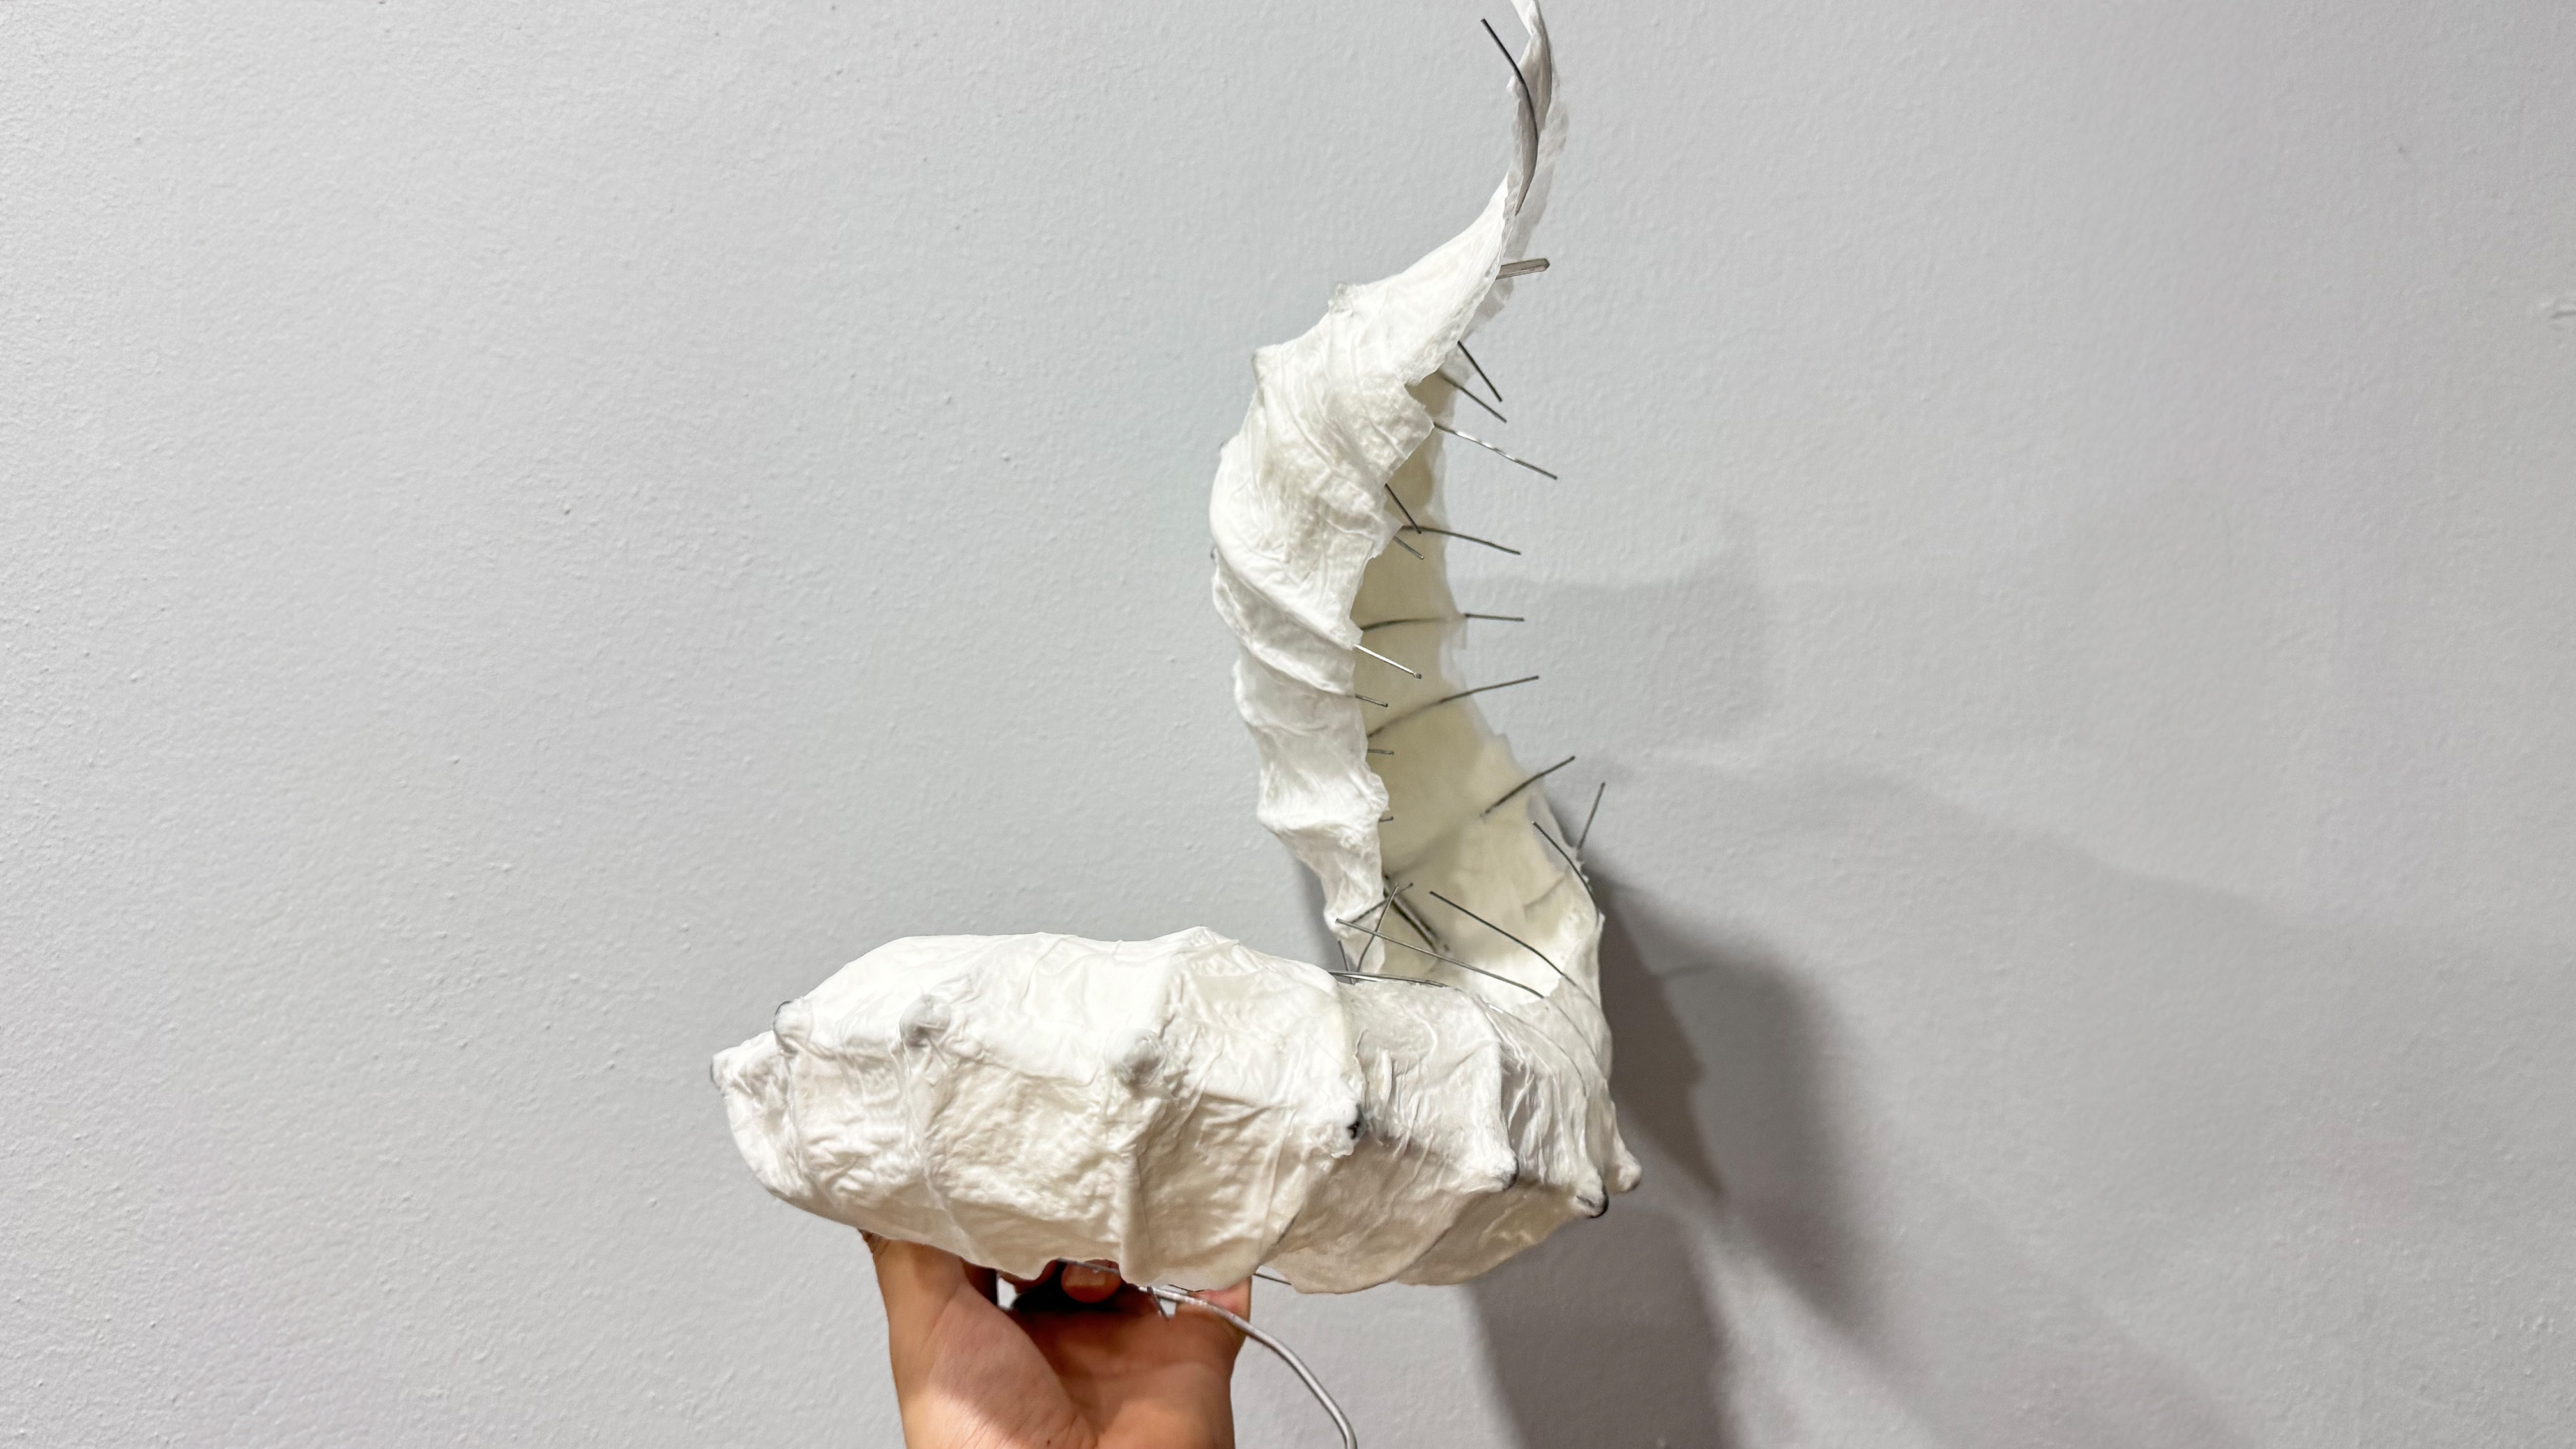
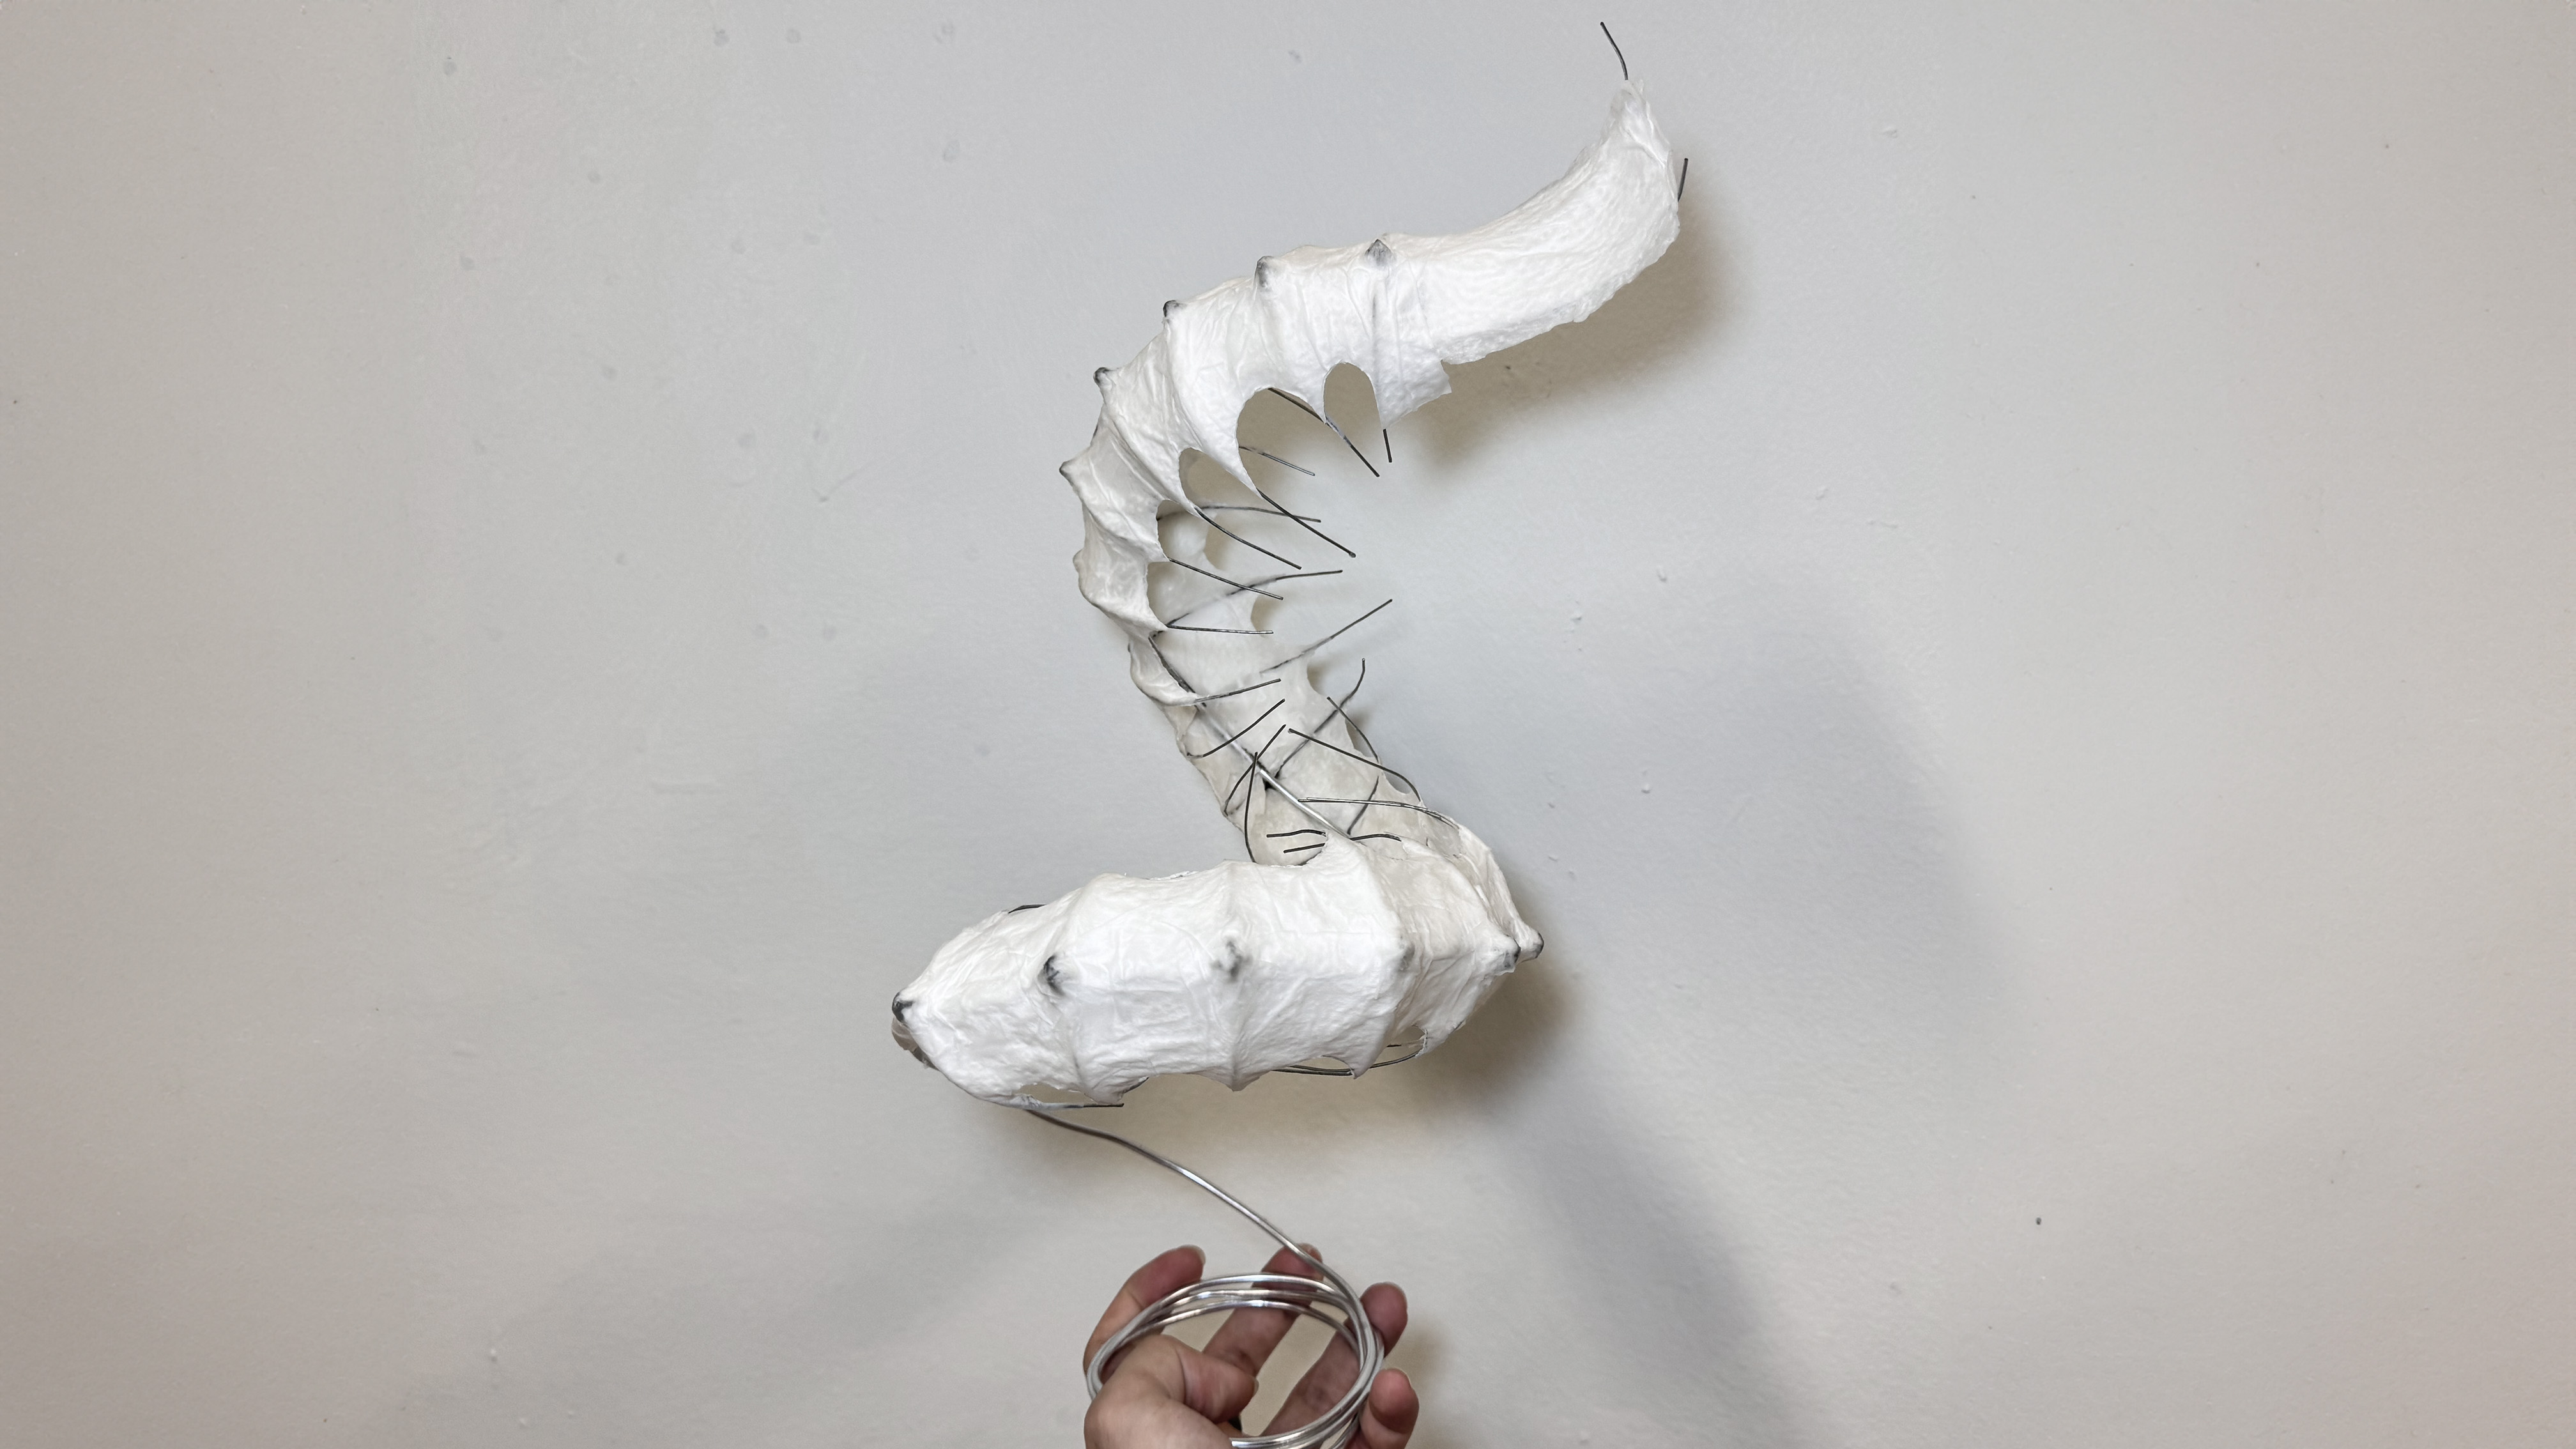
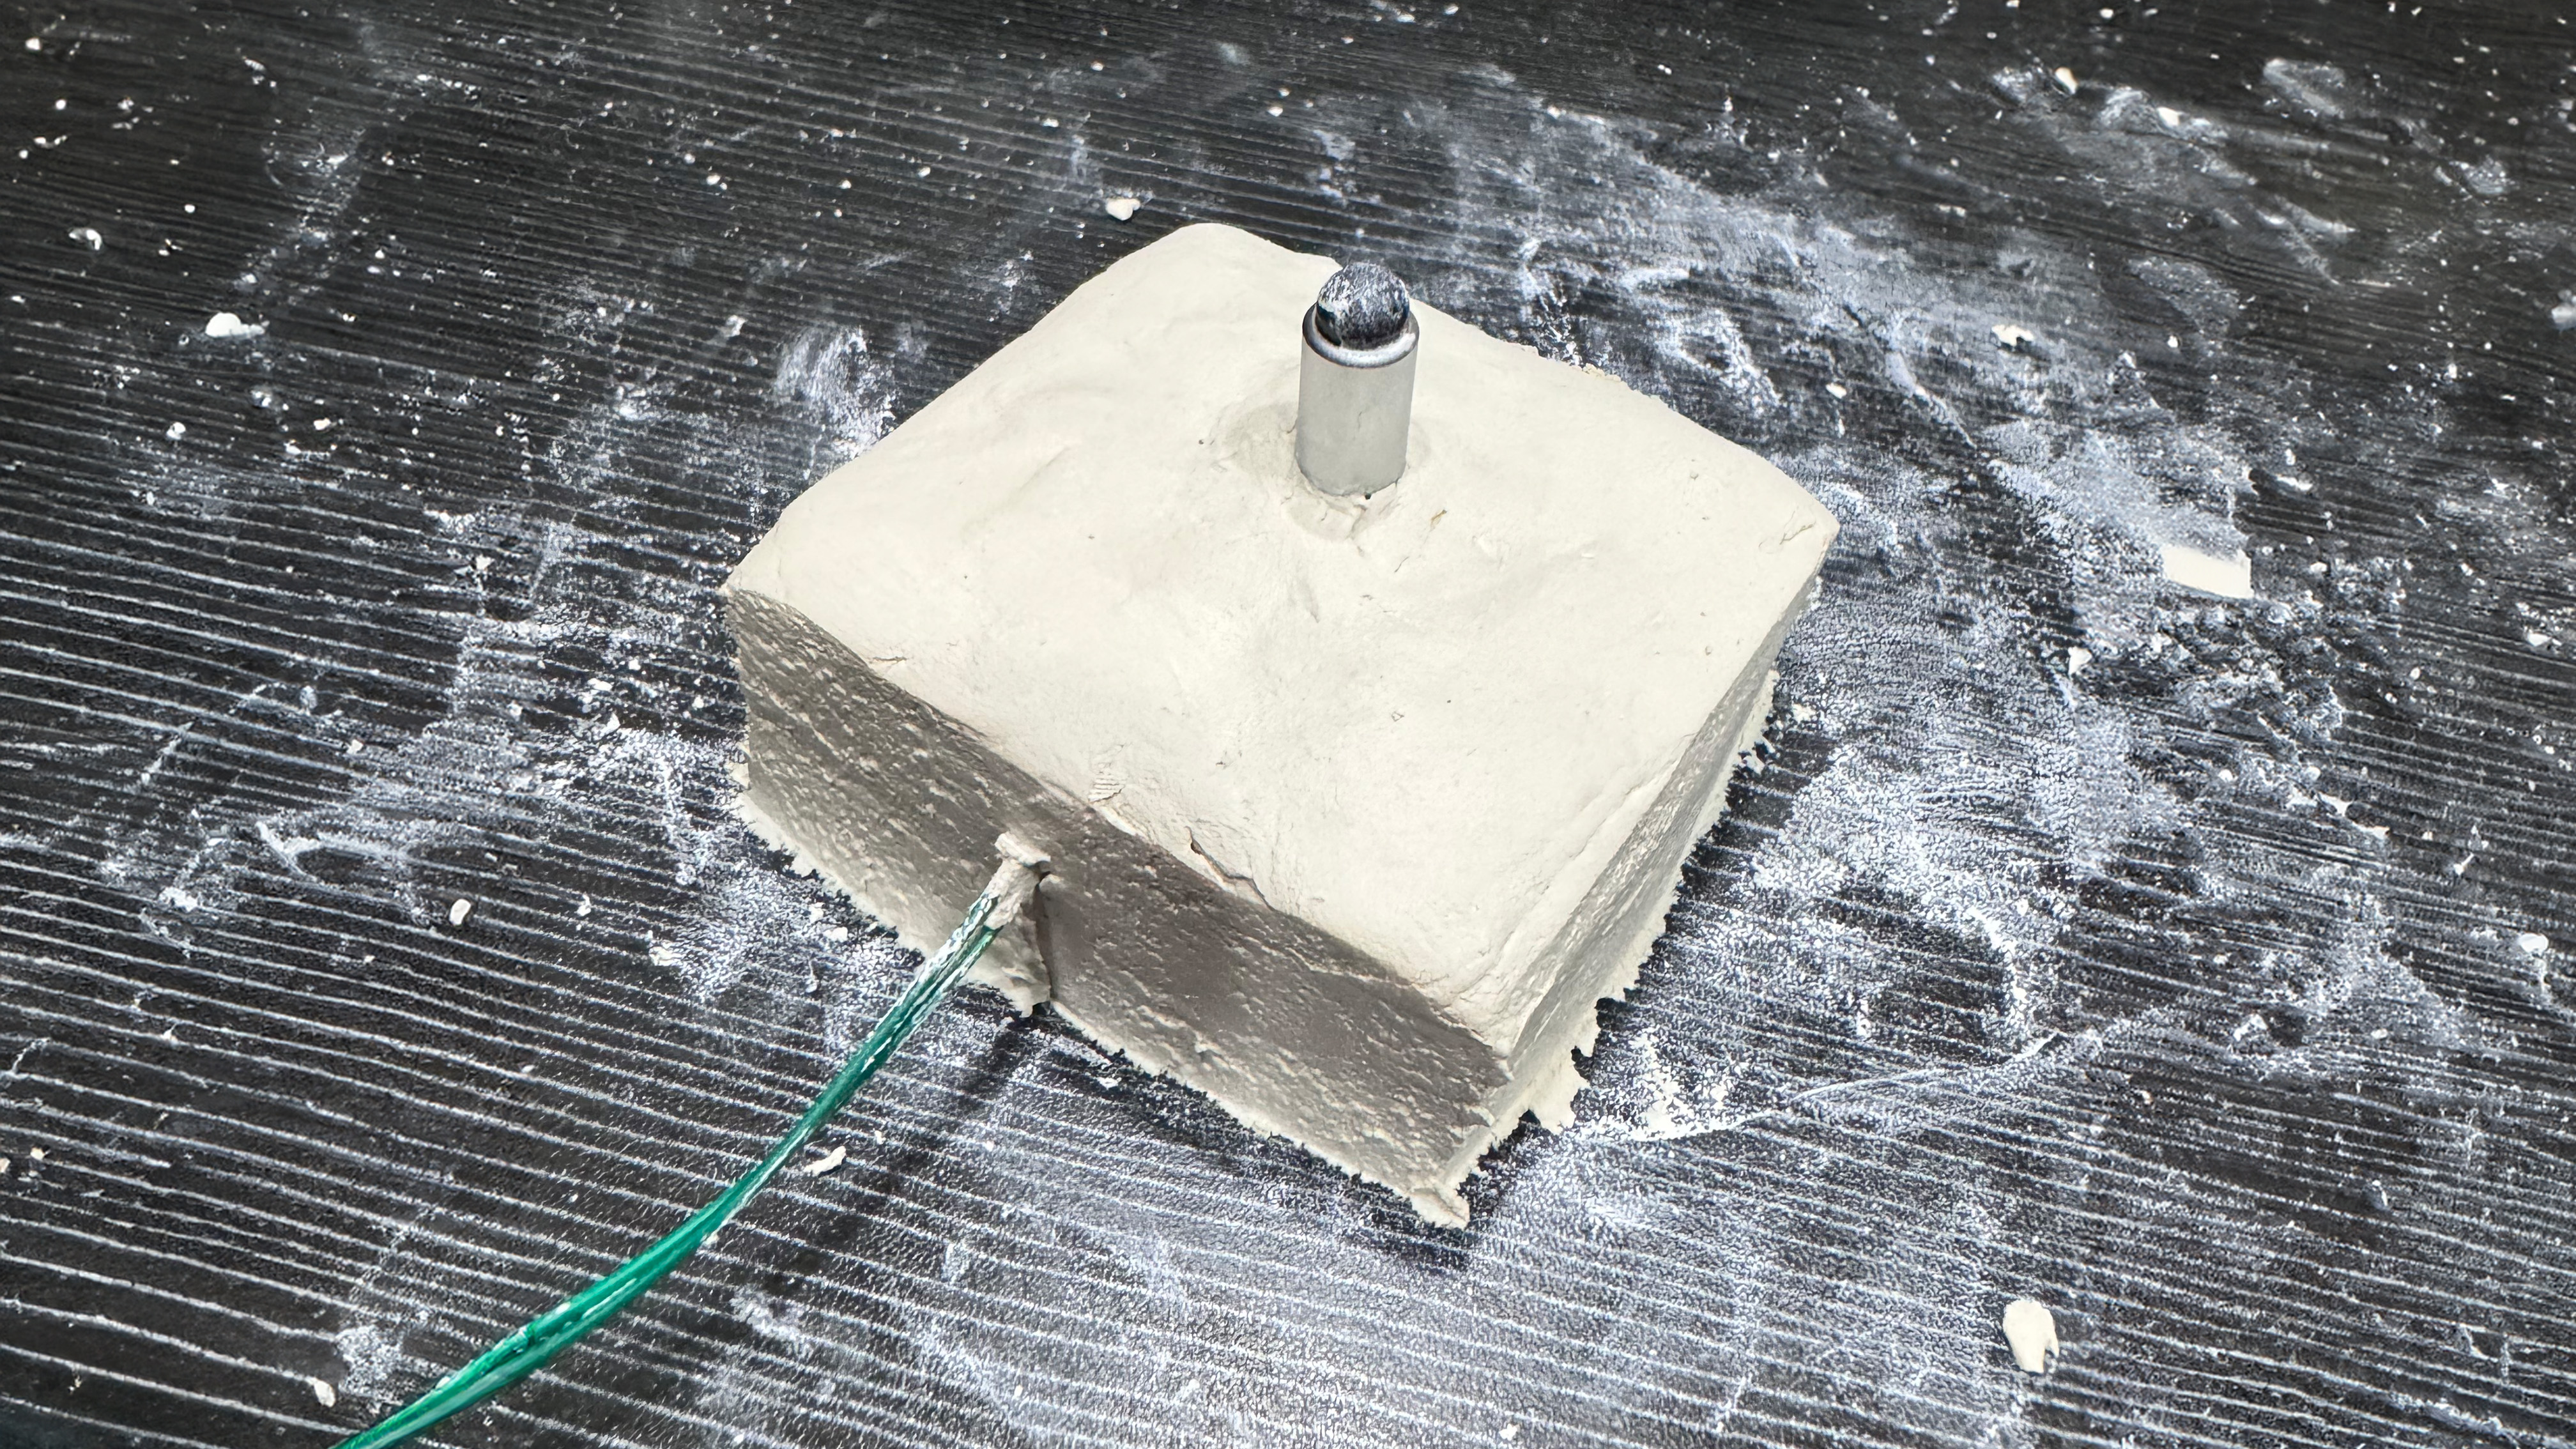
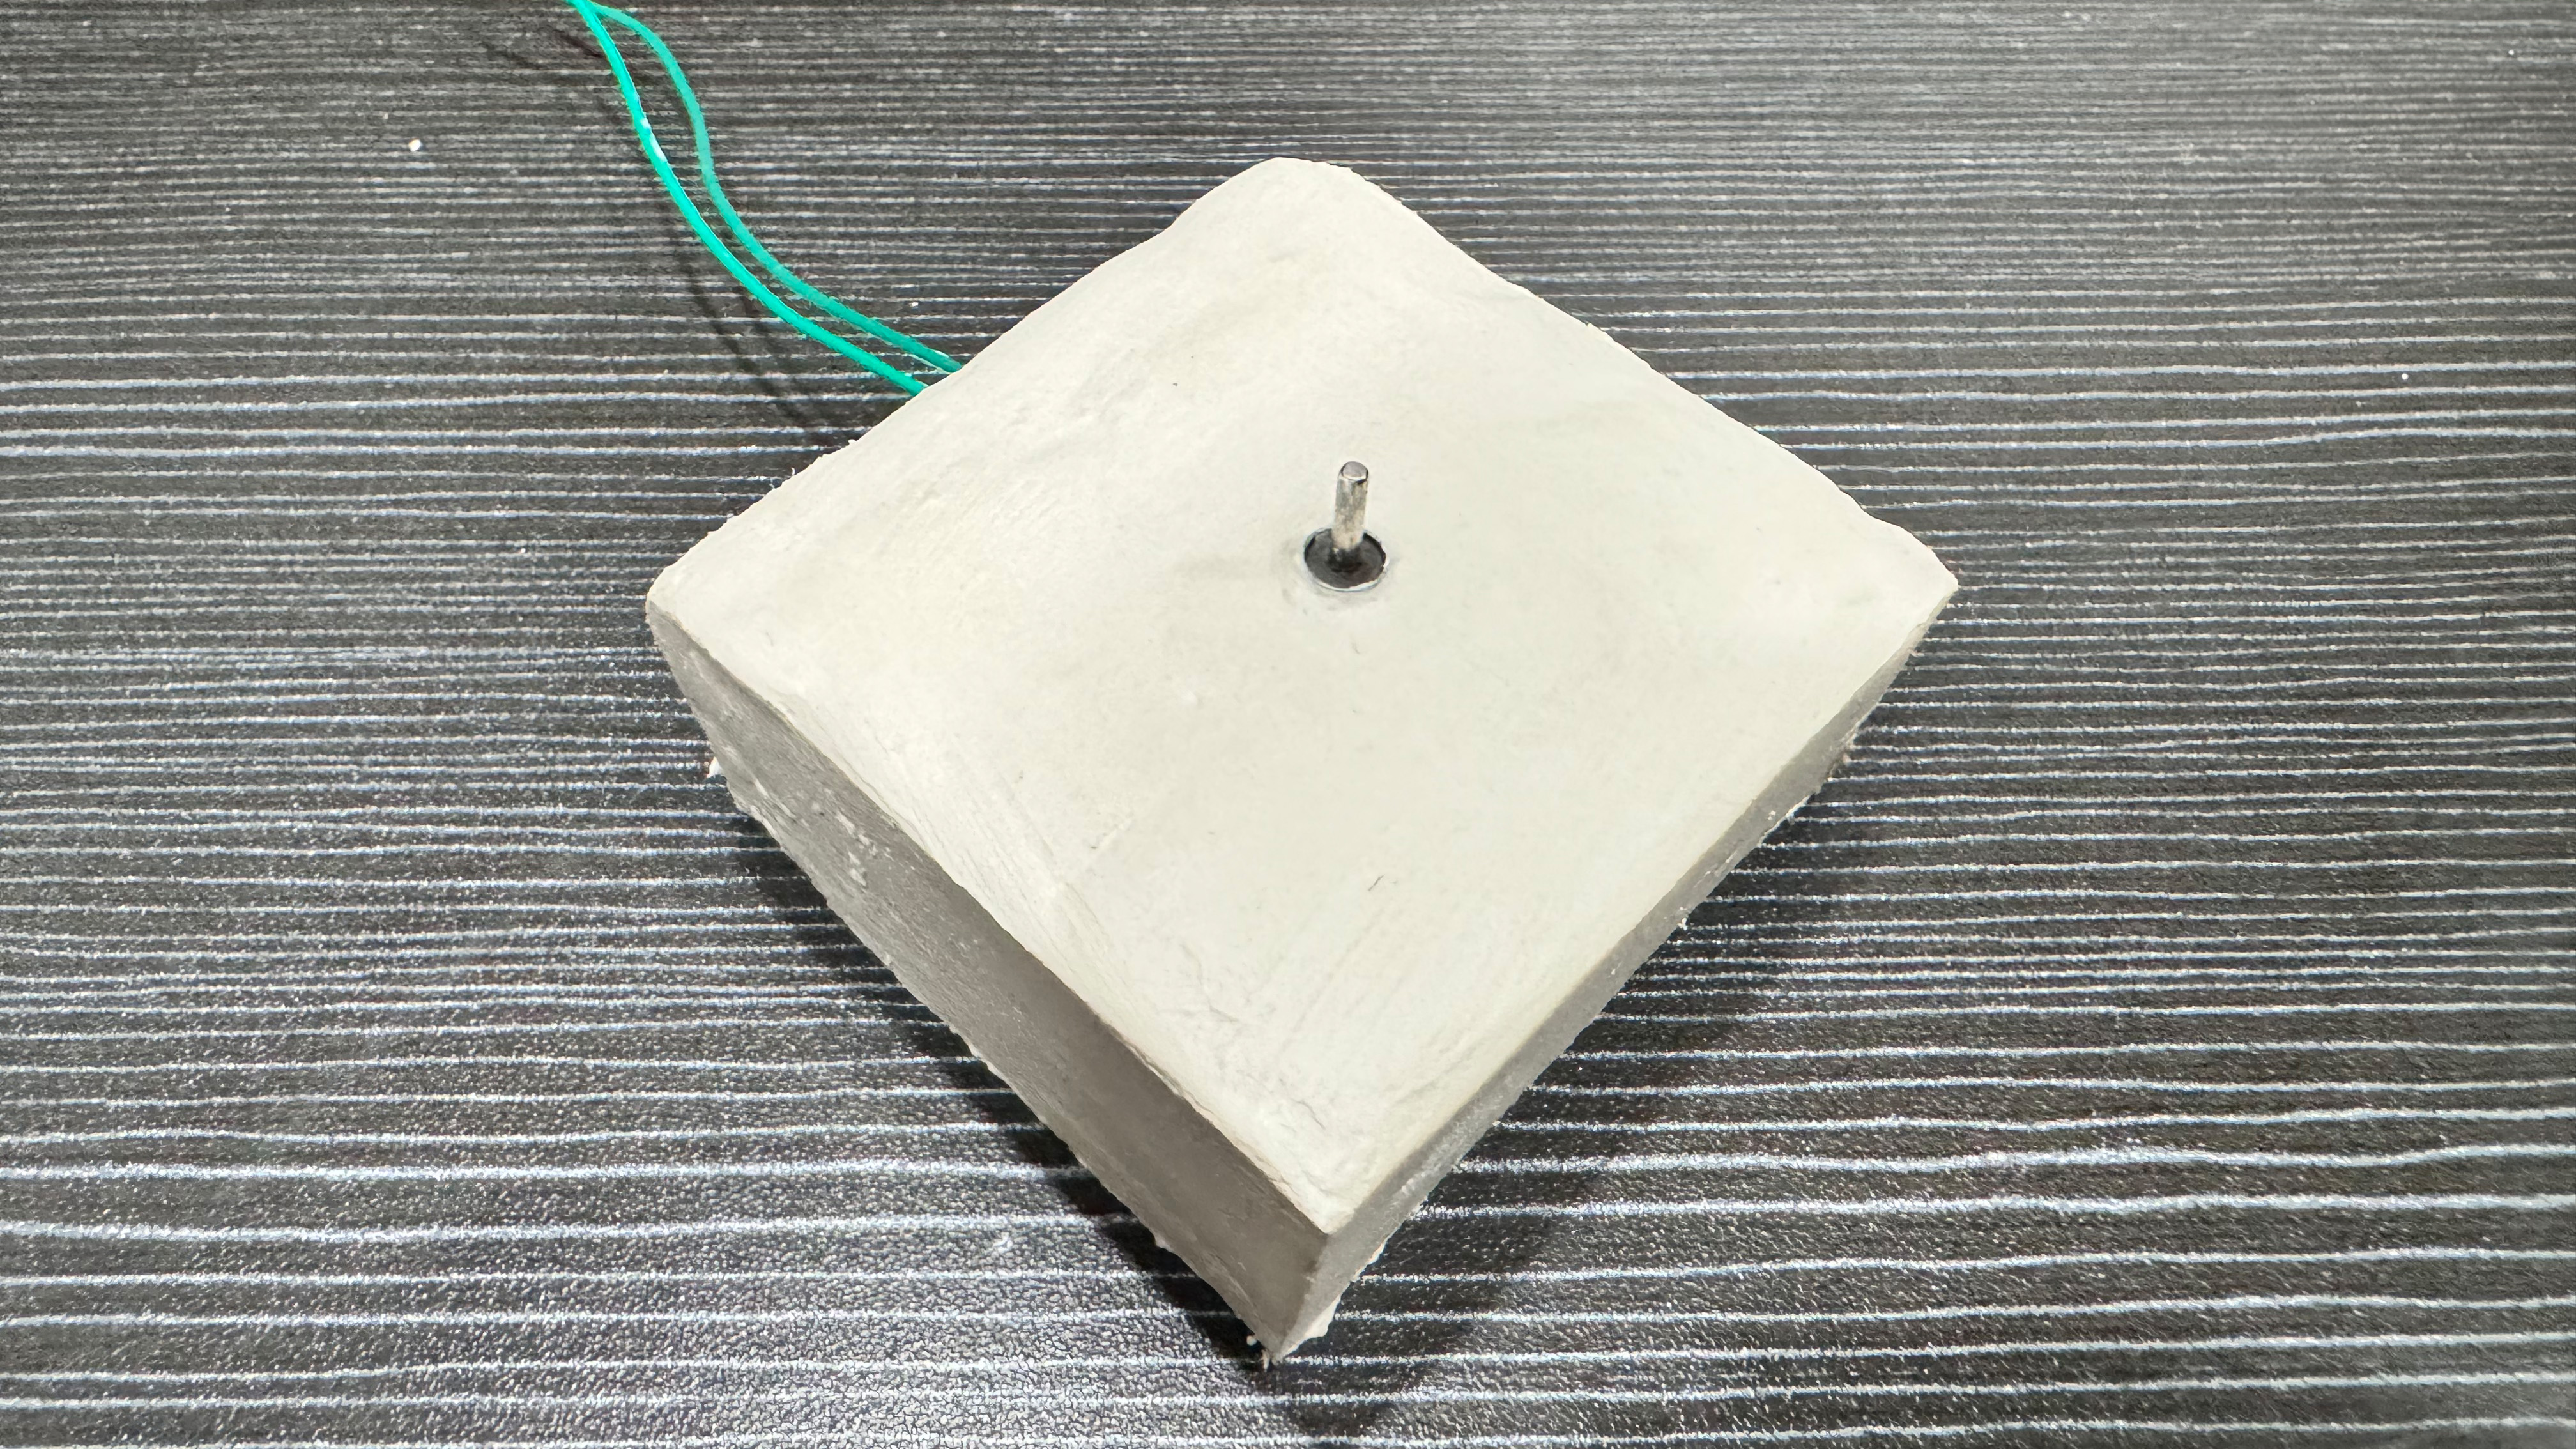
For the structure to be supported, the base must be strong. I was intending to cover the motor in airdry clay to make a solid base. I picked arydry clay given that I could not use baking clay on my electronics because I did not want to damage any of the components. I started by slightly softening the clay by kneading it, and then I started to wrap the motor in between the clay, making it look like a dumpling being filled. Then I pressed it flat against the table.
I cut all four sides of the square as precisely as possible with a ruler to make it a square with straight edges. To make sure the clay didn't get into the motor's nooks and crannies, I used the cap of my pen at the top as I shaped the clay. I was afraid the engine might be damaged or would stop spinning if any clay got inside of it. At this point, the colour and shape of the clay strongly reminded me of tofu.
Since I didn't want the clay to dry unevenly or at a different rate and crack, I had to cover it with a damp paper towel while it dries outside. It took three full days for it to dry, but happily there were no cracks. I used sandpaper to carefully sand the sides until they were smooth and connected them in order to make sure my motor was operating, which it was!
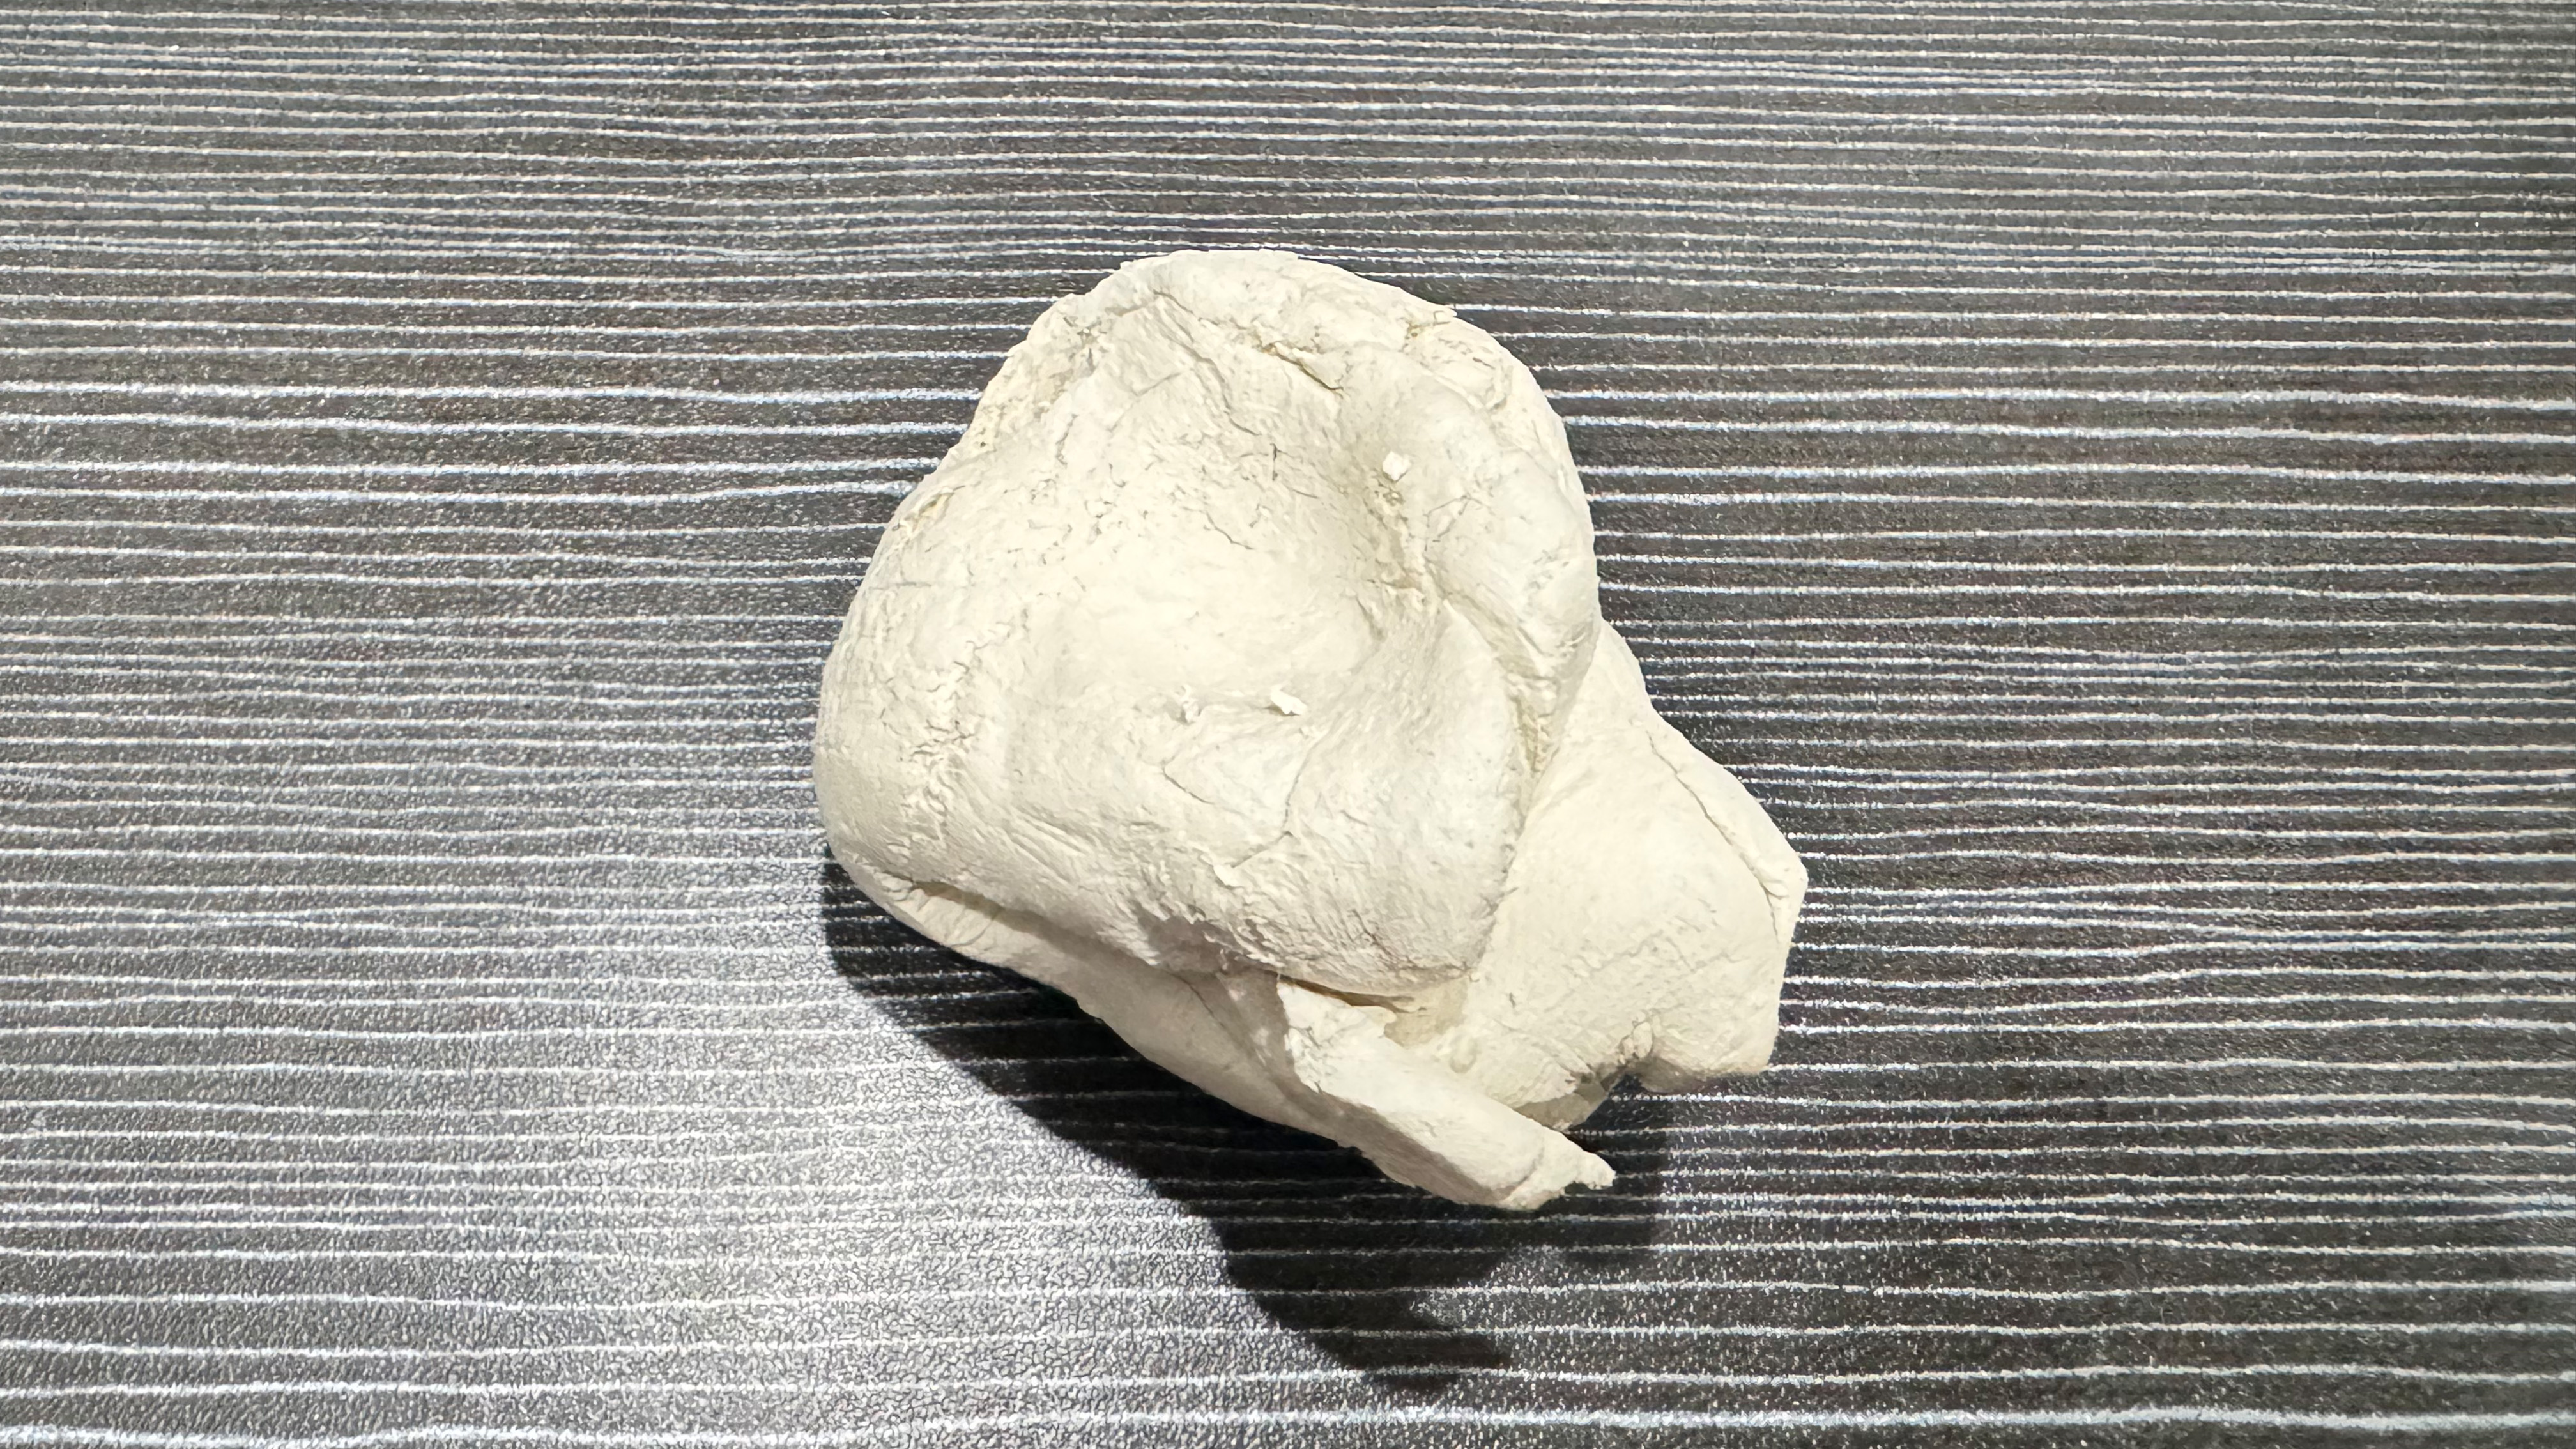
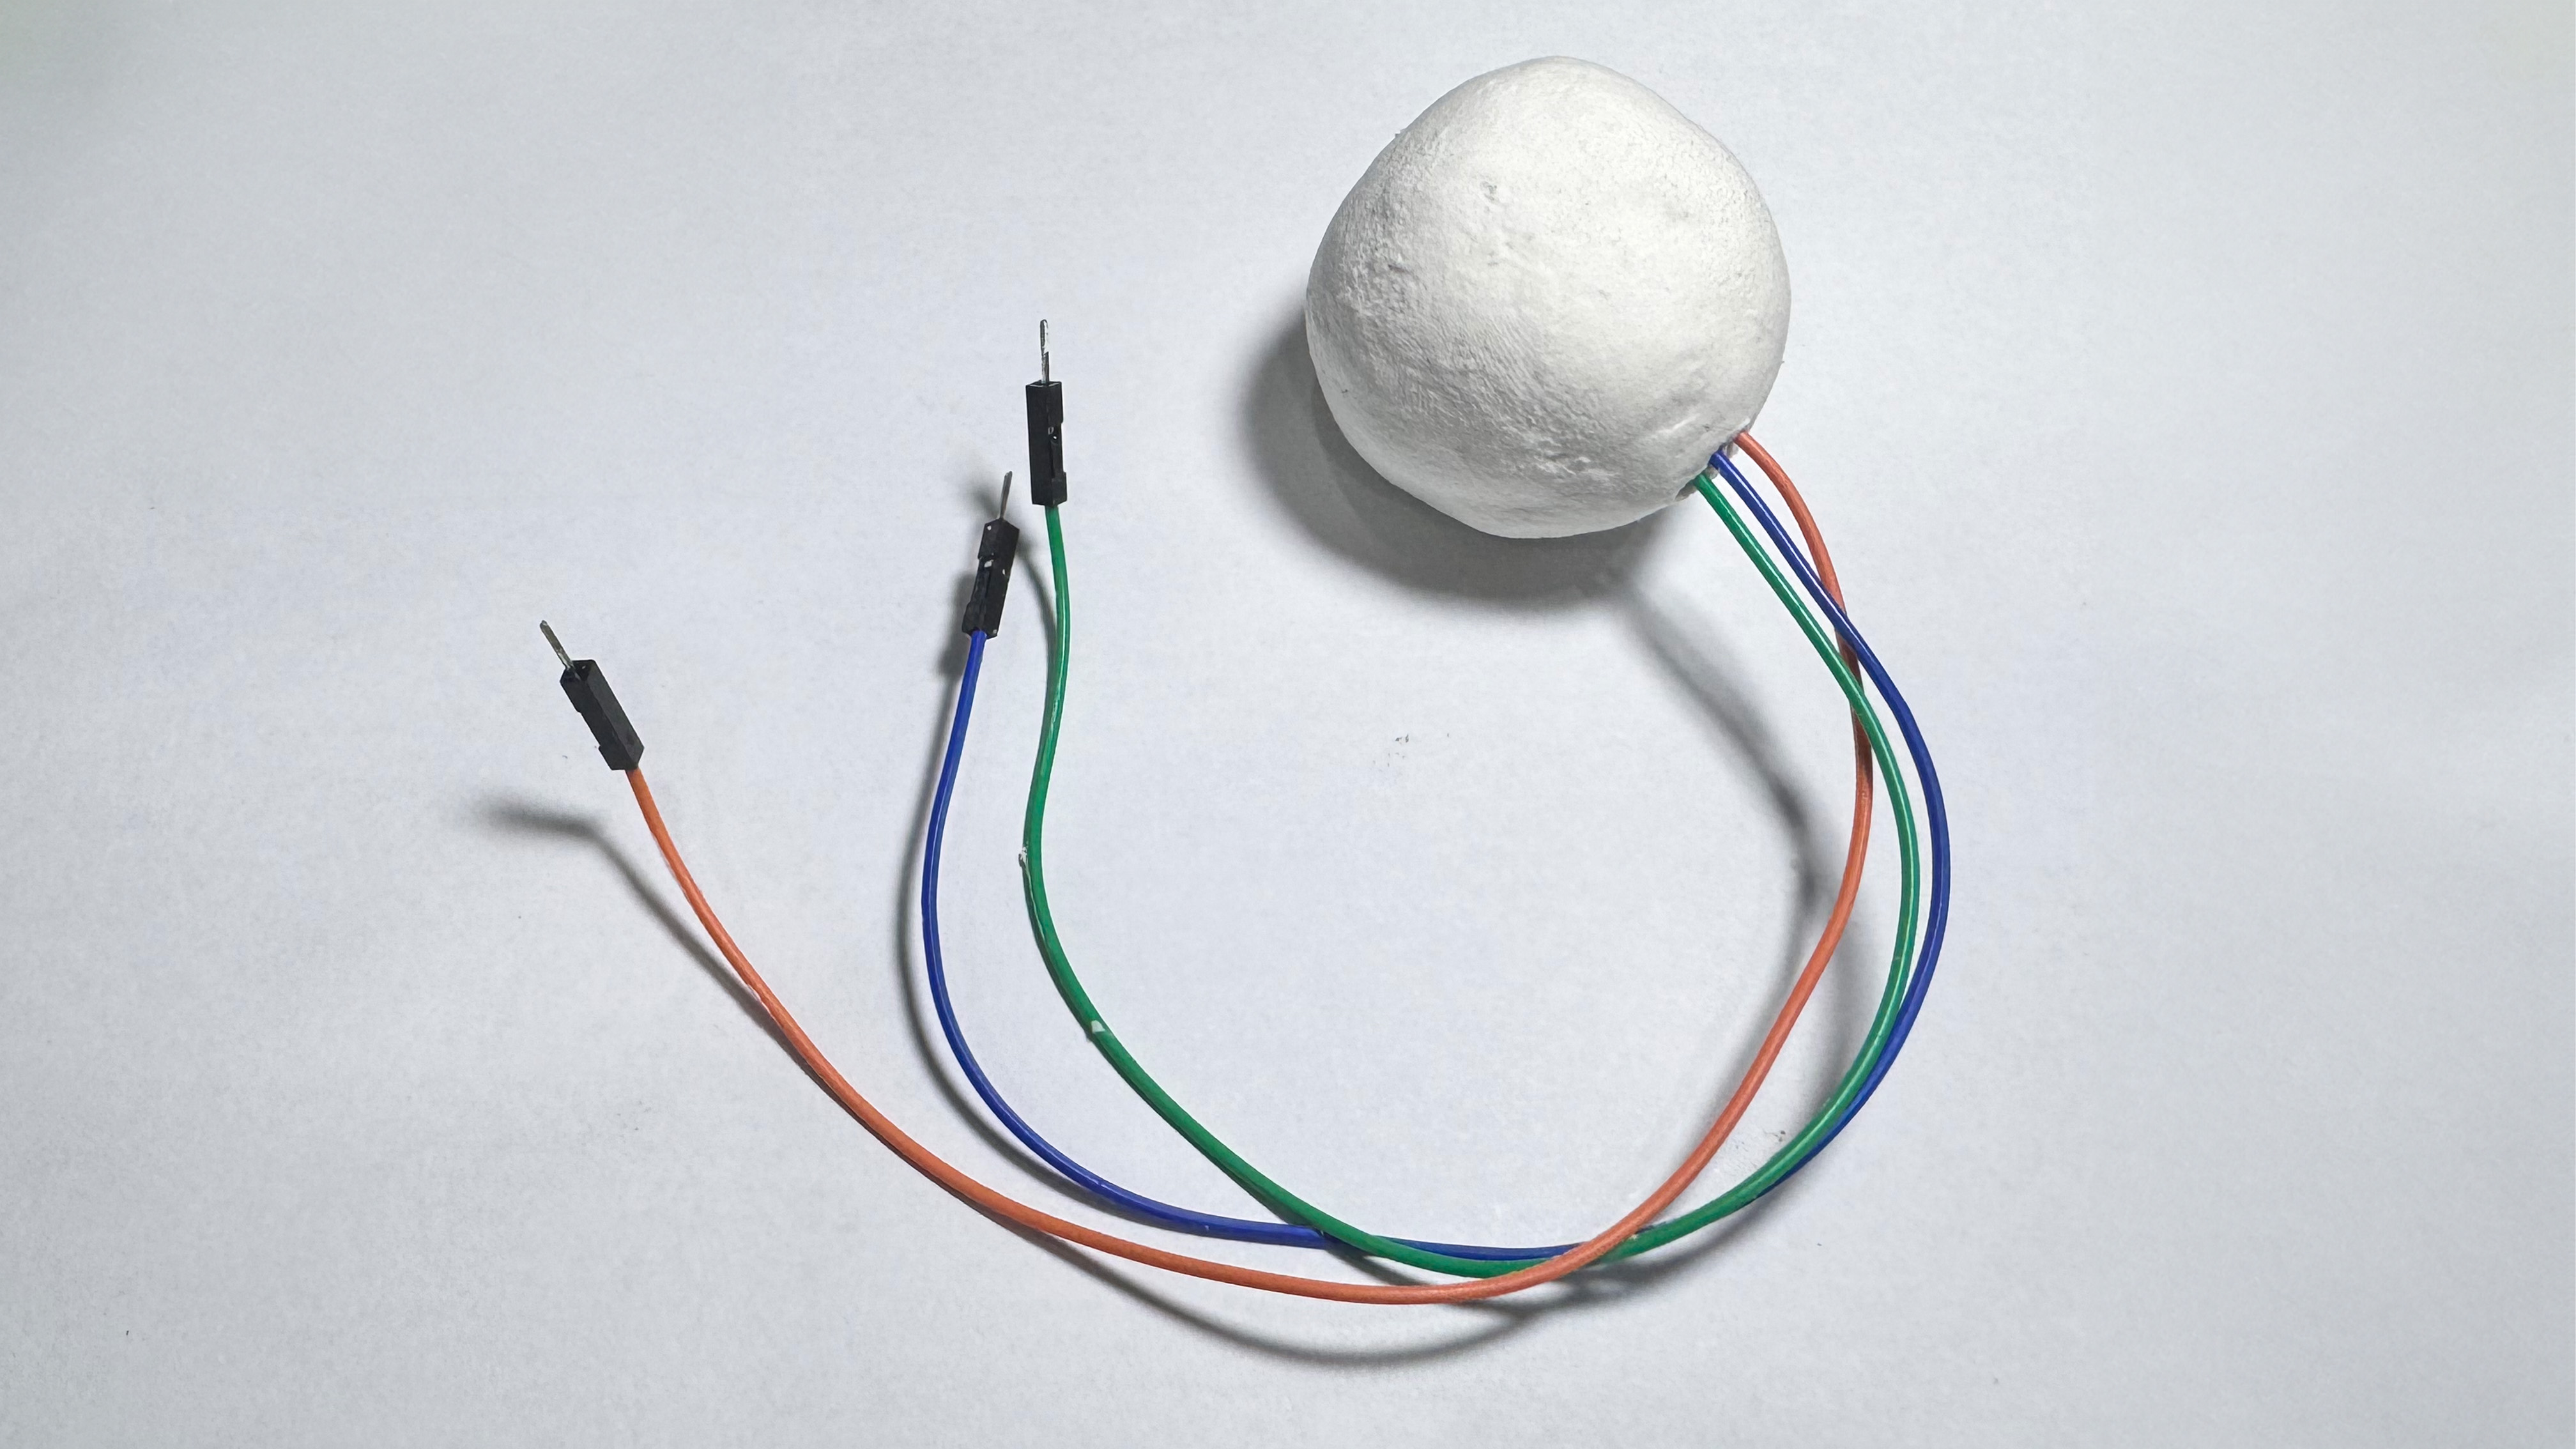
On top of that, I also covered my tilt sensor with clay, with the intention of making it look like a pearl. The reason why I wanted it to look like a pearl was because in chinese folklore and art, the dragon is commonly found holding a pearl. The pearl symbolises wisdom, spiritual energy and power. As there were wires attached to the sensor, I tried my best rolling out the ball so that it was as round as I could get it to be, and let it dry completely.
