Week 15
Utilising my existing resources and the knowledge gained from experiment 4, I made the
decision to go on developing it and turning it into a prototype.
"Beautifying" the project and the cables was undoubtedly the first step. I connected the
parts to the wires using heat shrink tubes and tapes, following the same procedures as
before.
Prototype 1
Regarding my prototype, I didn't want something that was the same old box with cables
inside of it at first. But since this is just the first prototype, I reasoned that I
could devote more time and effort to the design and craftsmanship of my next prototype.
The purpose and operation of my prototype, in my opinion, served as its main attraction.
Ultimately, I chose to simply fit it into the box to keep things simpler and more
organised.
I chose to utilise a box I discovered in my room that I had originally
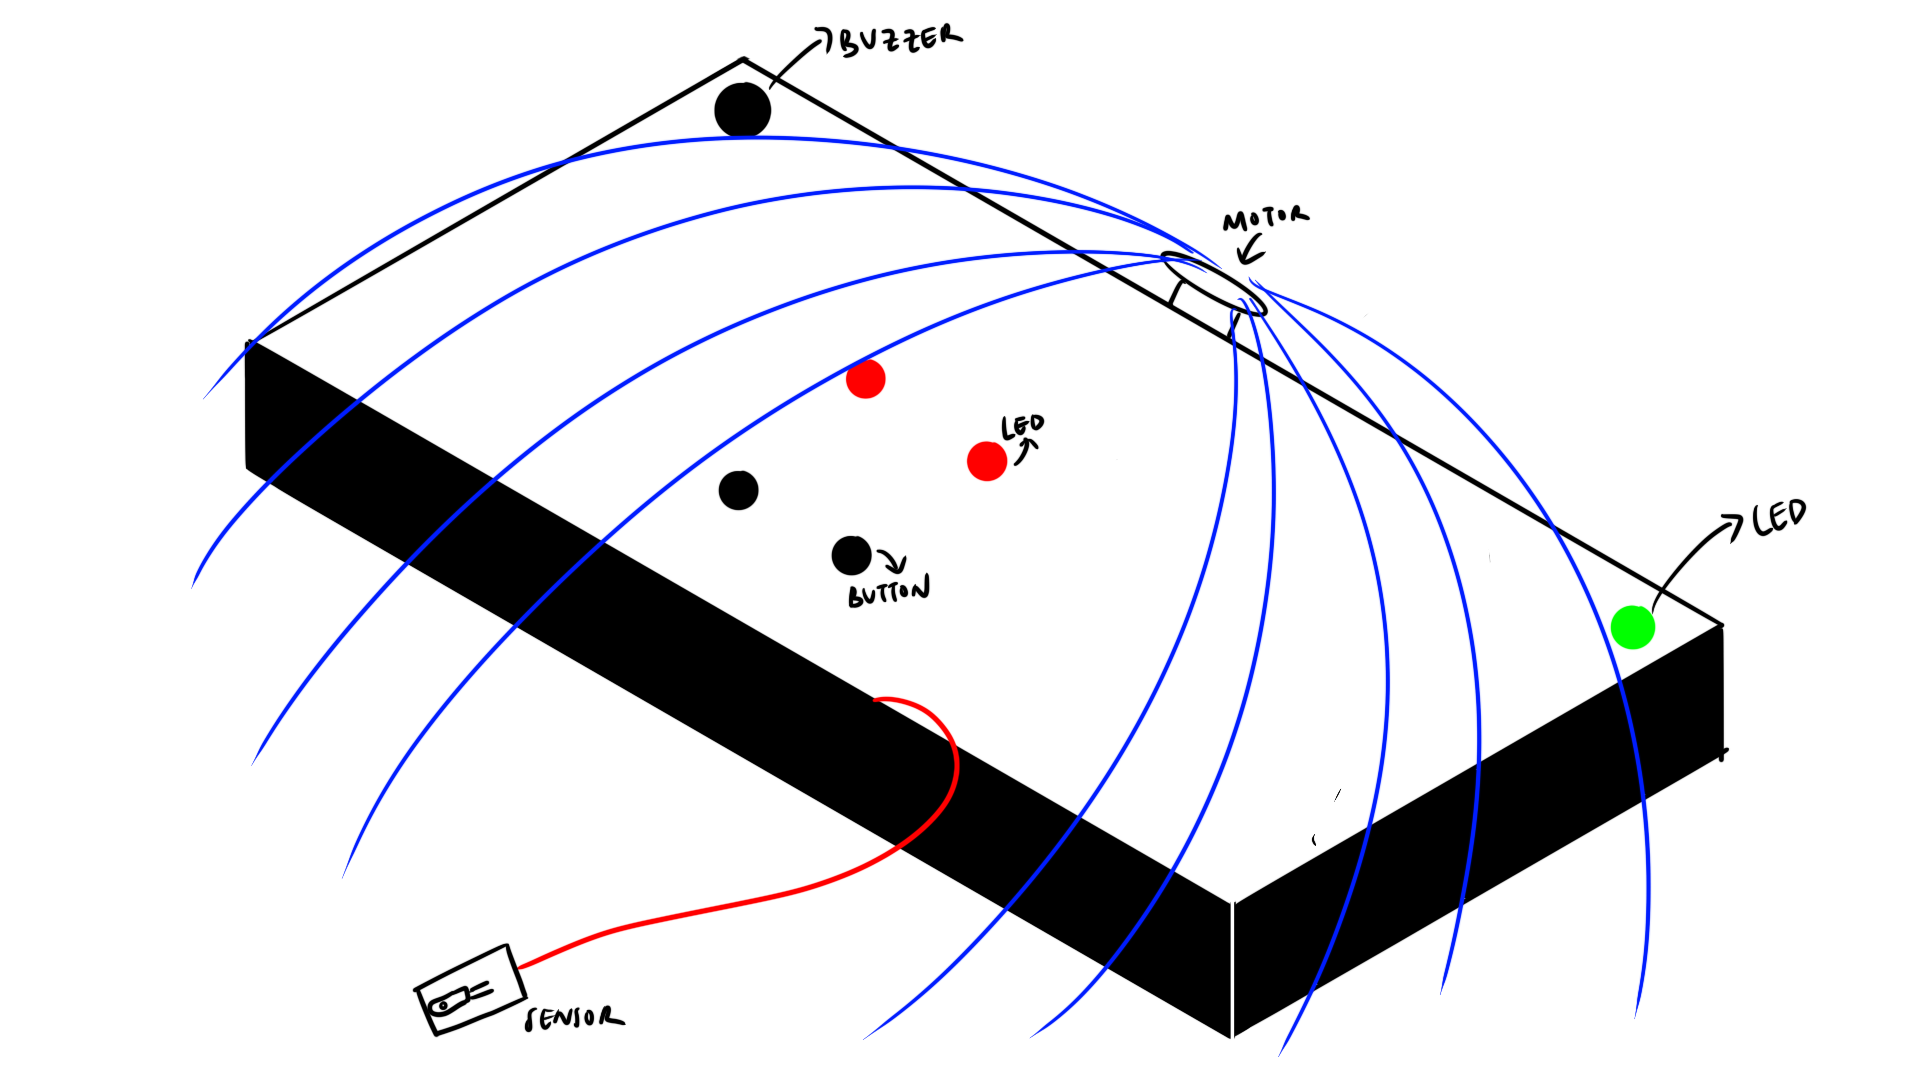
gotten when I bought a phone case as a casing. I started by drawing a simple sketch of
what I wanted my idea to look like. There were remarks about how little the movements
were, based on my feedback. I believed that adding a "finger" or "fringe" that would
move around the top of the buttons and the box would greatly increase the movement, so I
did that for this prototype.
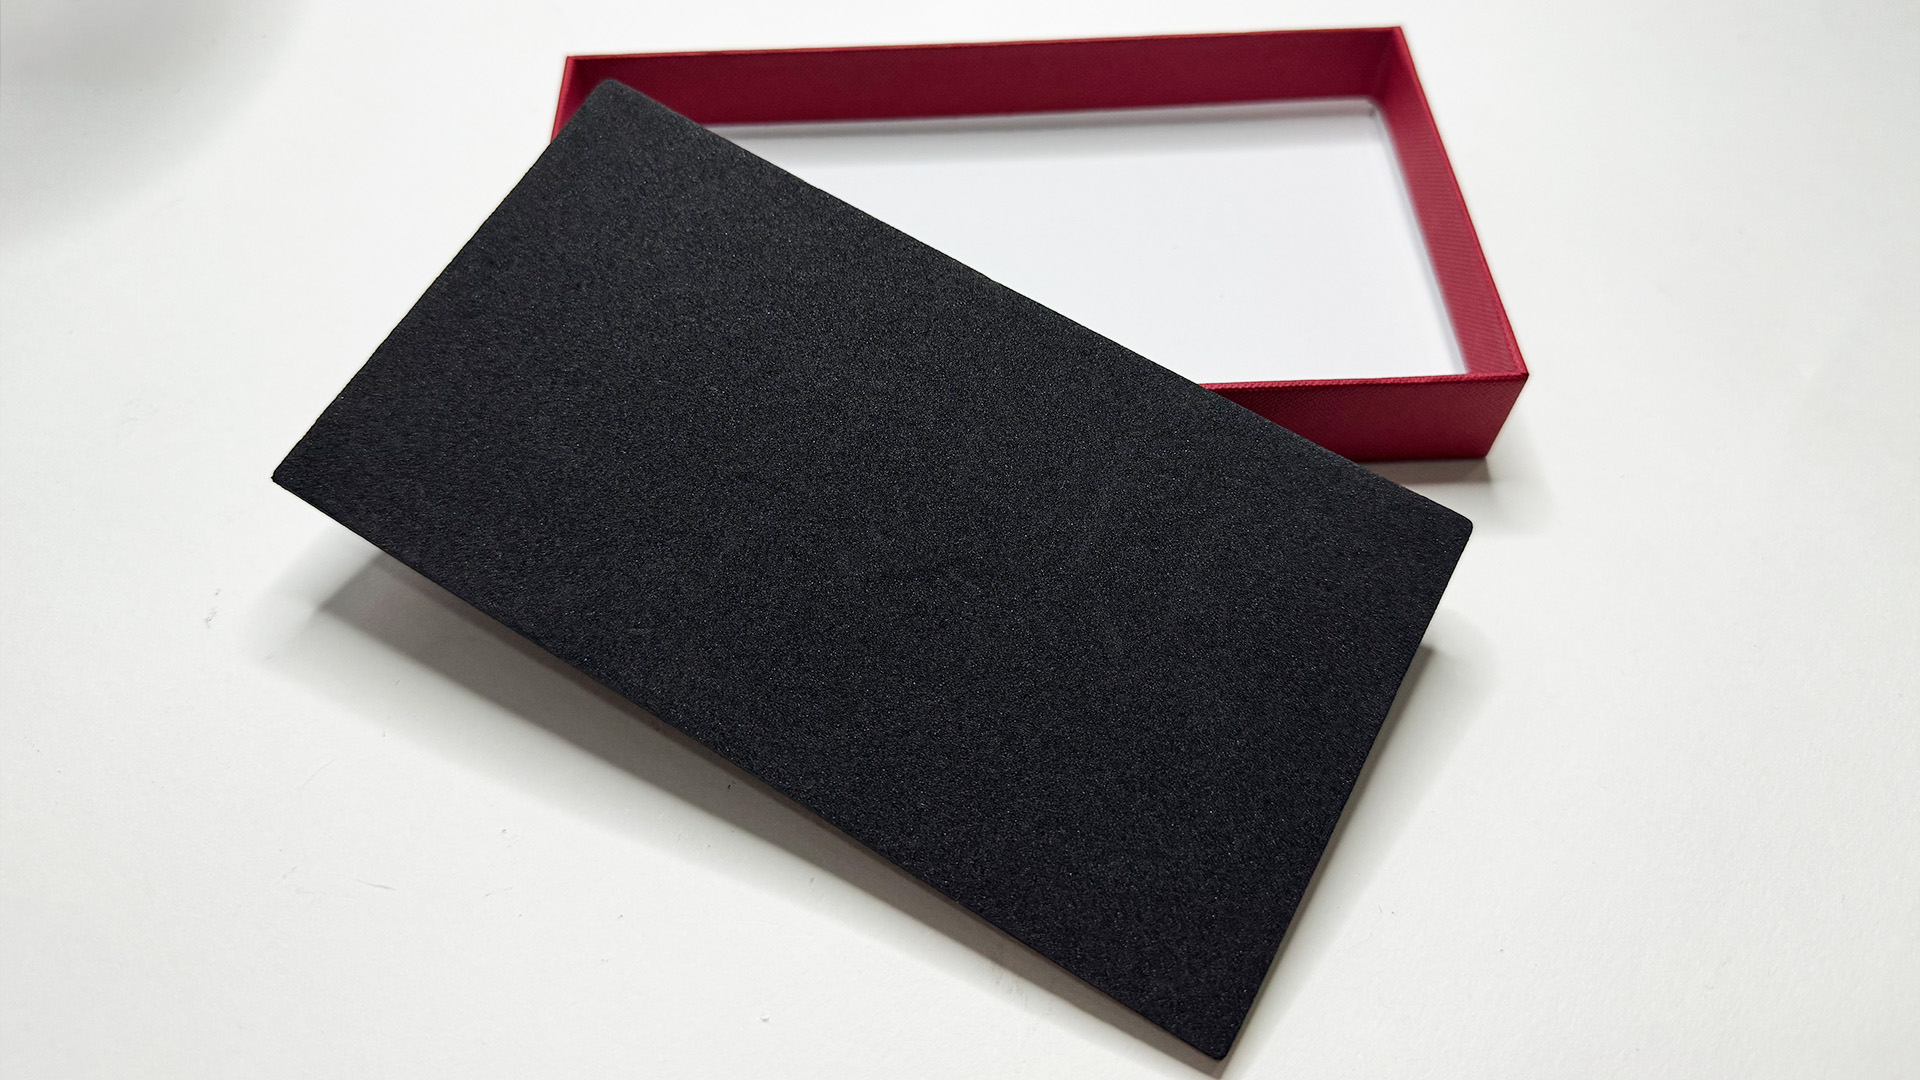
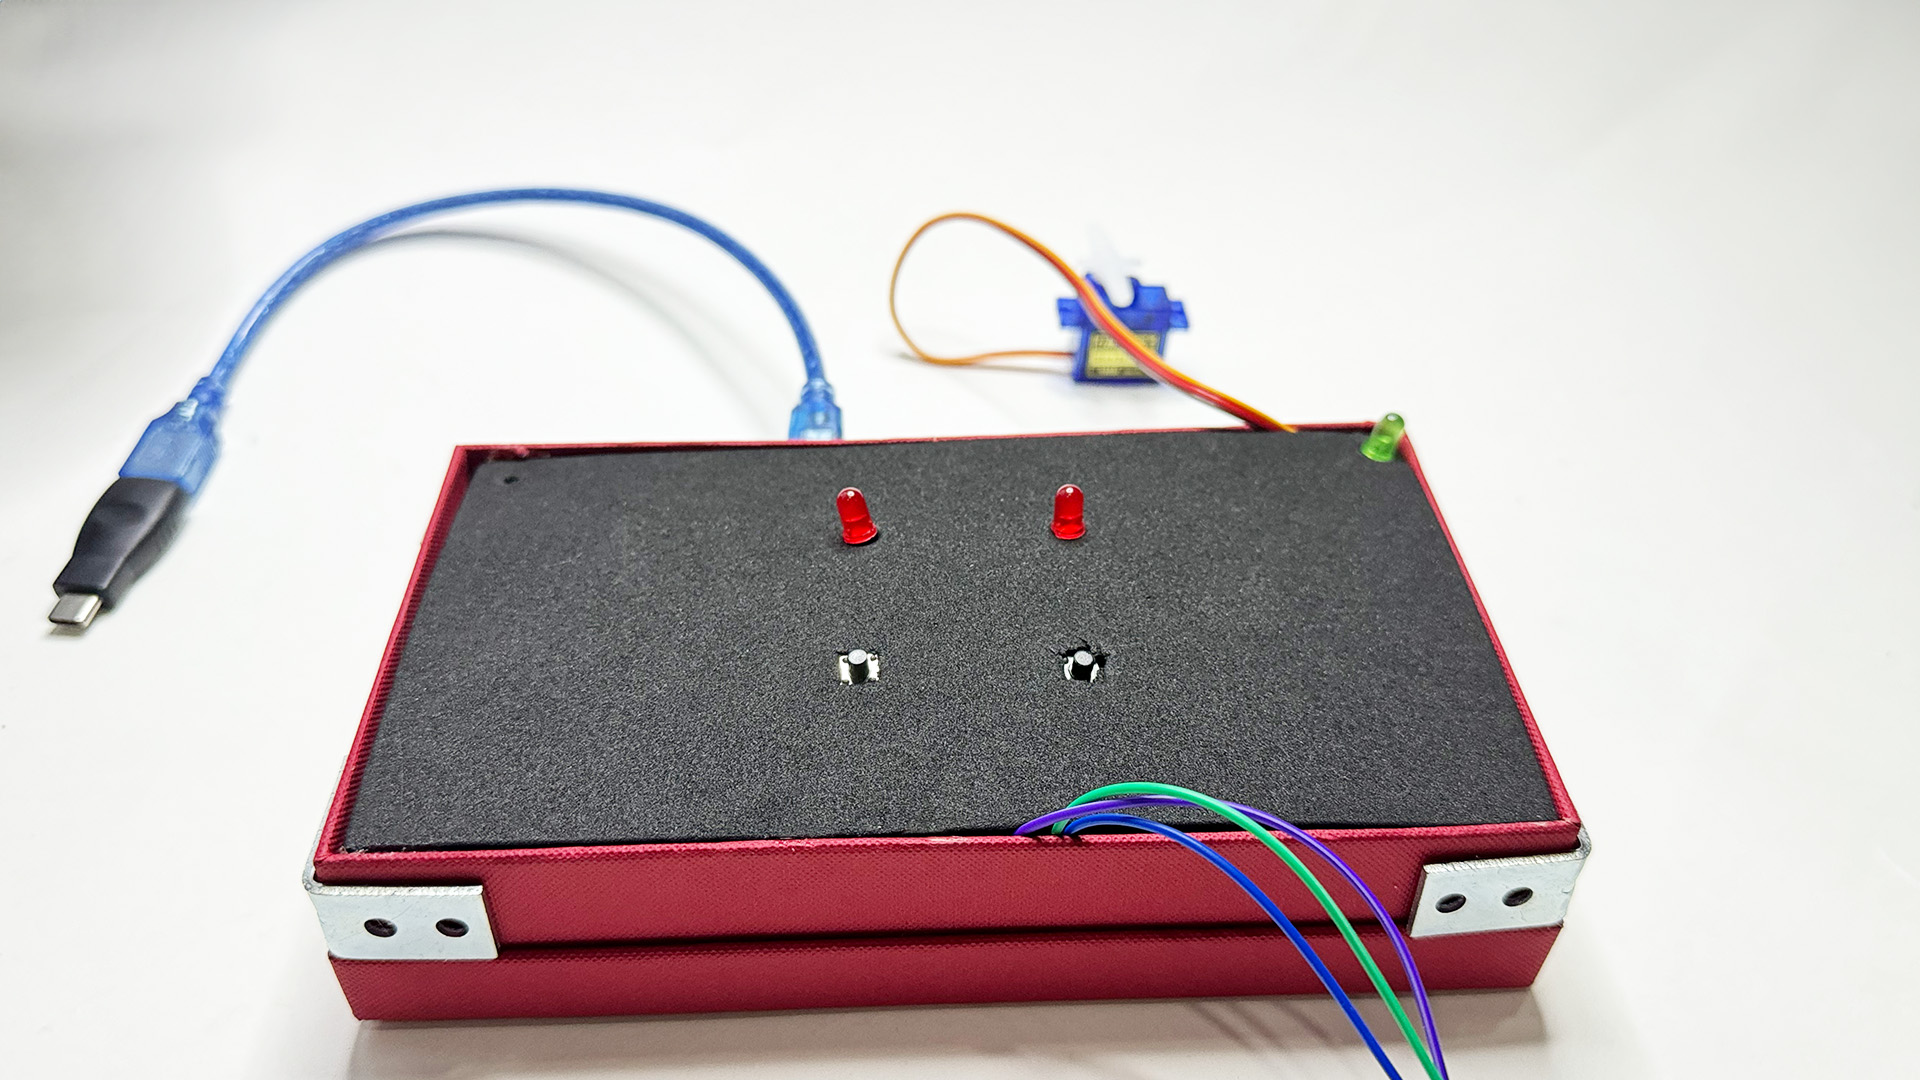
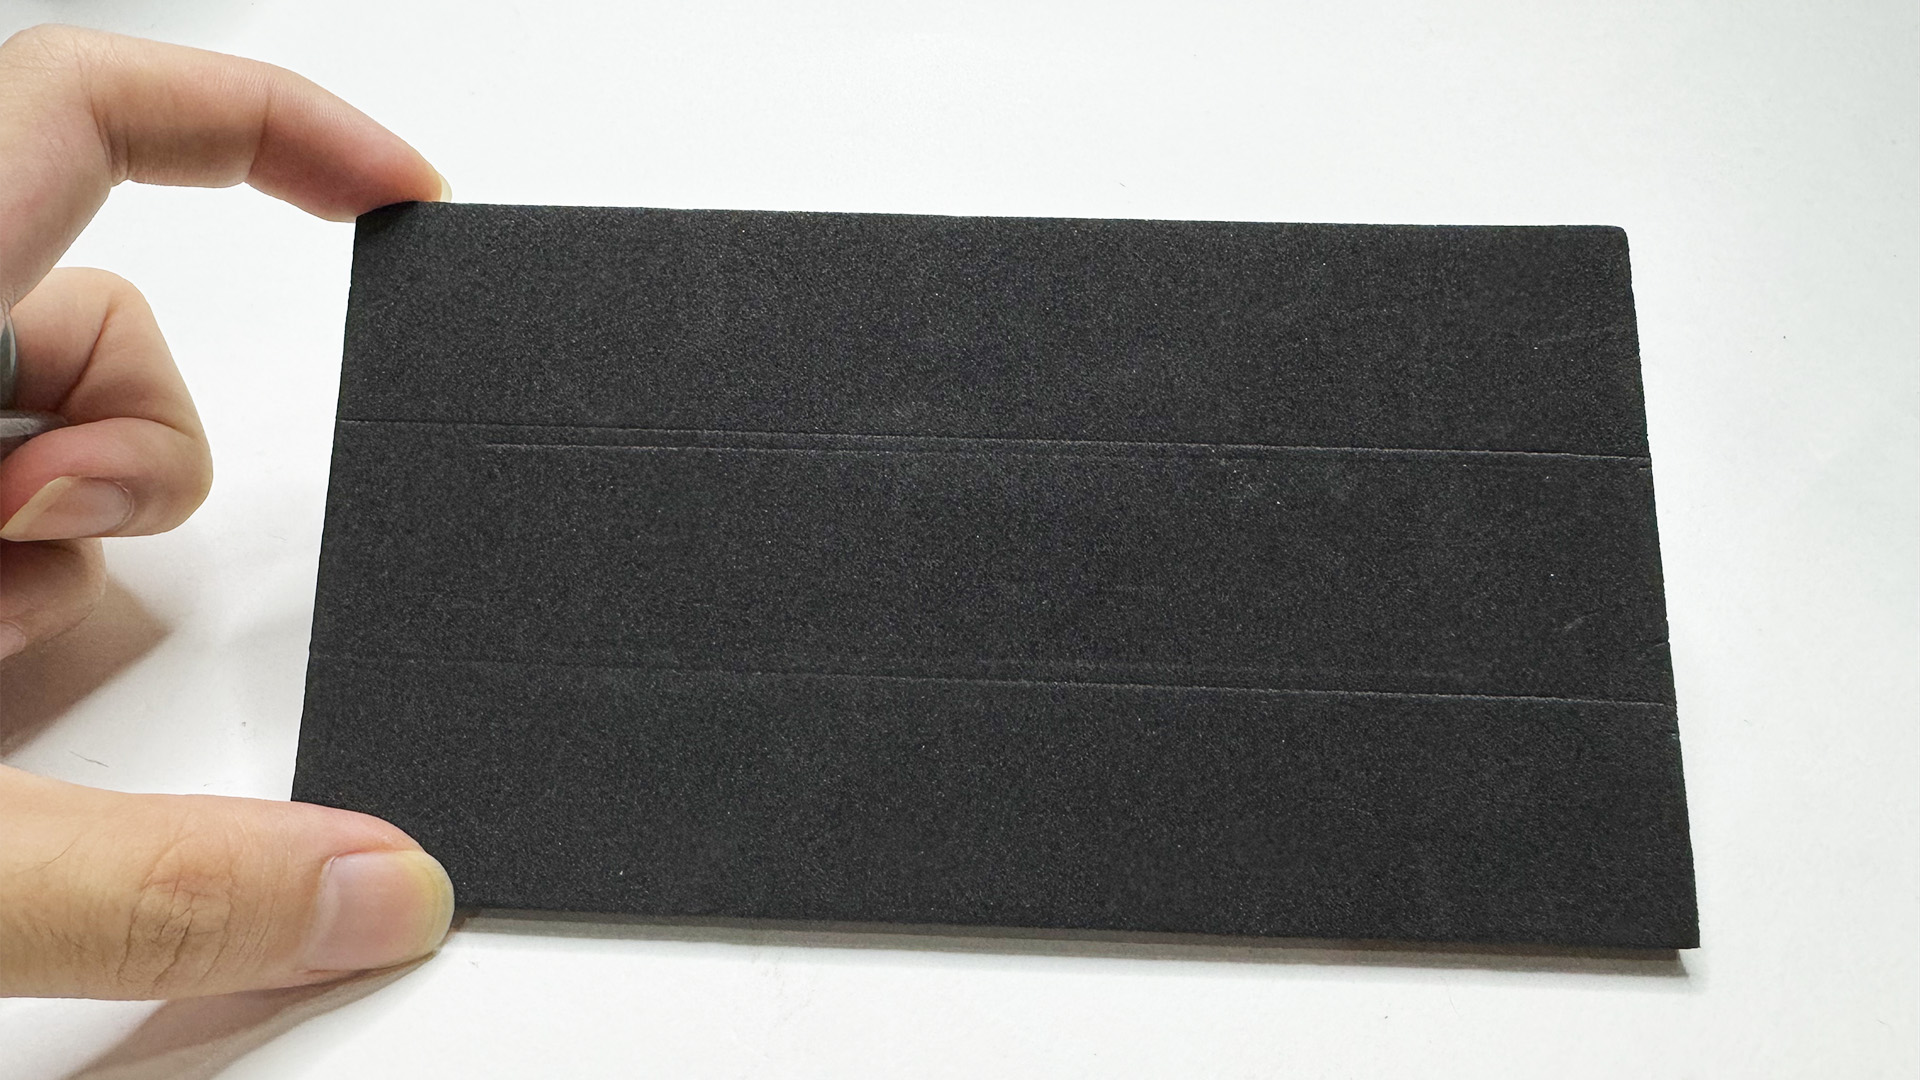
Since the foam that came with the box would make assembly so much simpler and neater
than trying to drill and shape holes on the box's cover to accommodate the buttons and
led, I decided to utilise the foam to store my components. Using a pencil and ruler, I
first drawn out the foam to decide where I would lay the components. I then went ahead
and made a hole in the foam where my components were going to be by using a sharp
object.
I made holes, put the components through, then used a
hot glue gun to
fix them.
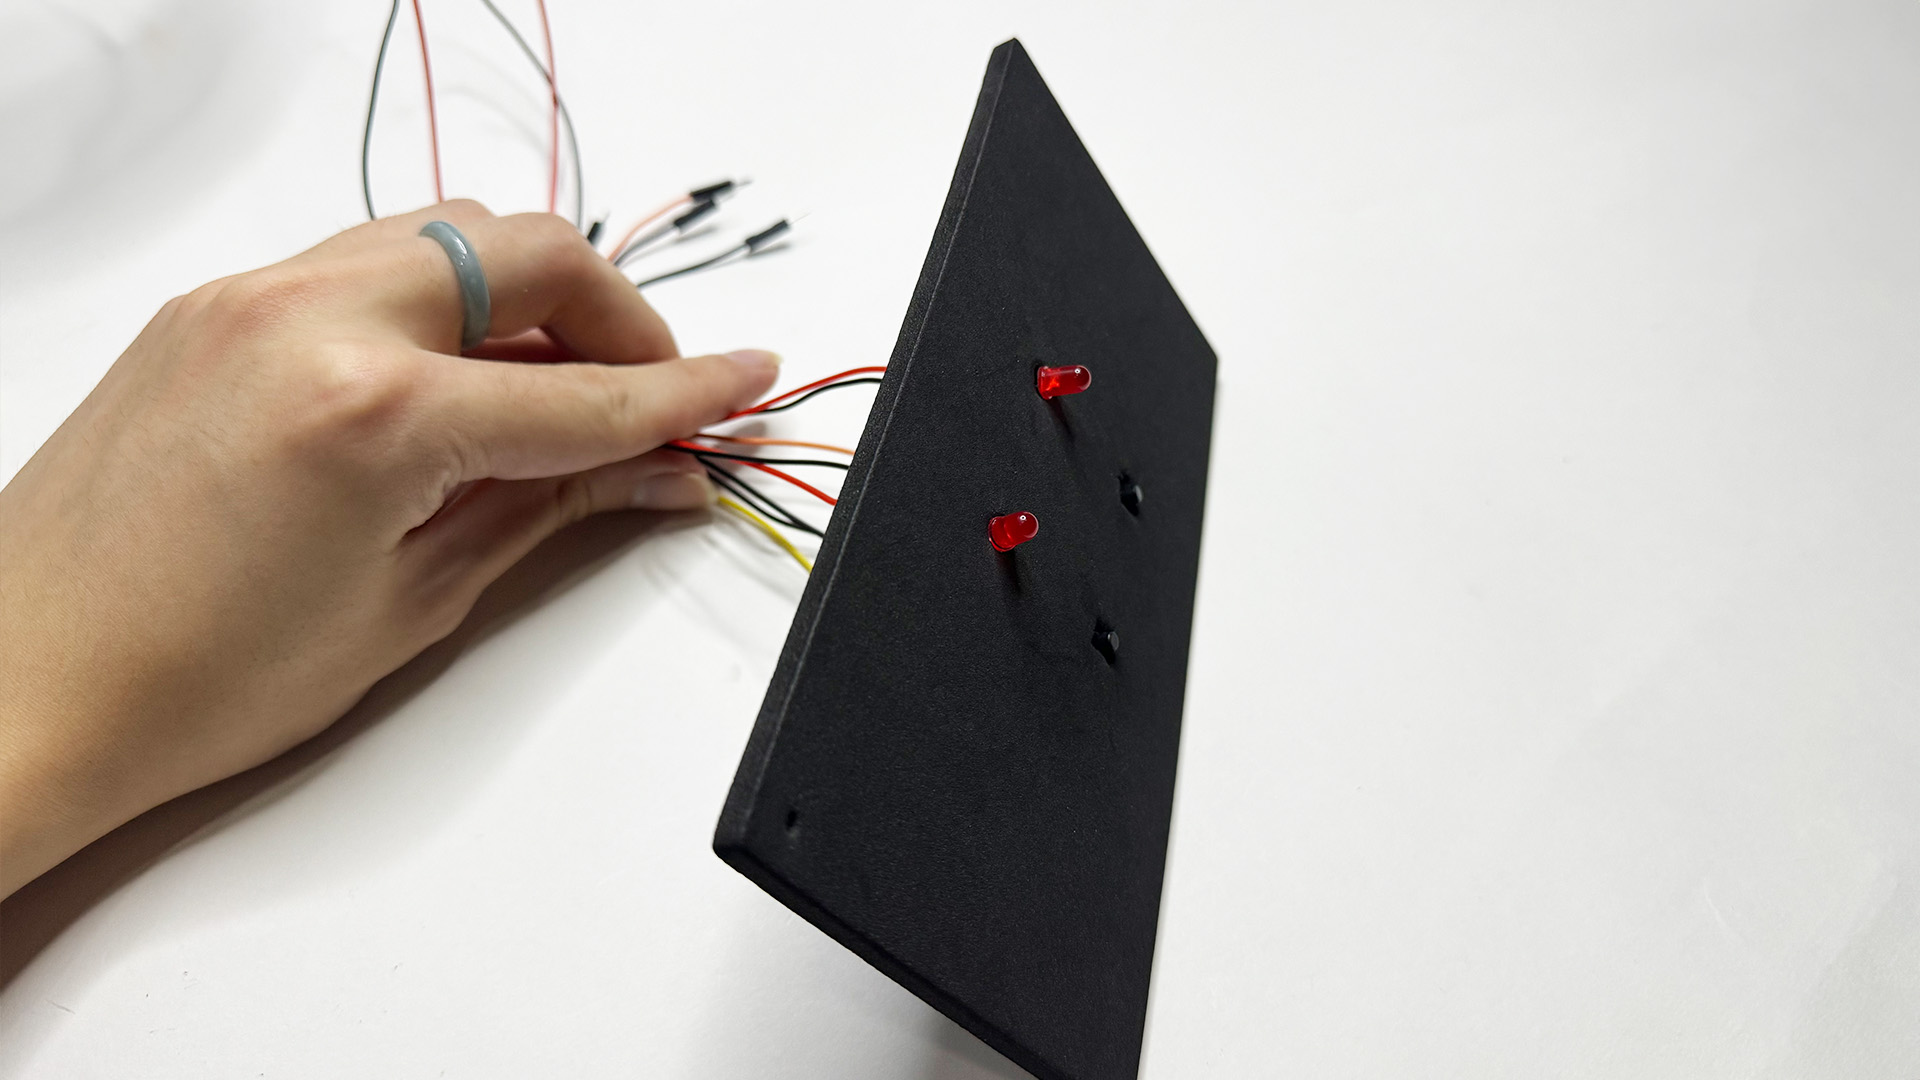
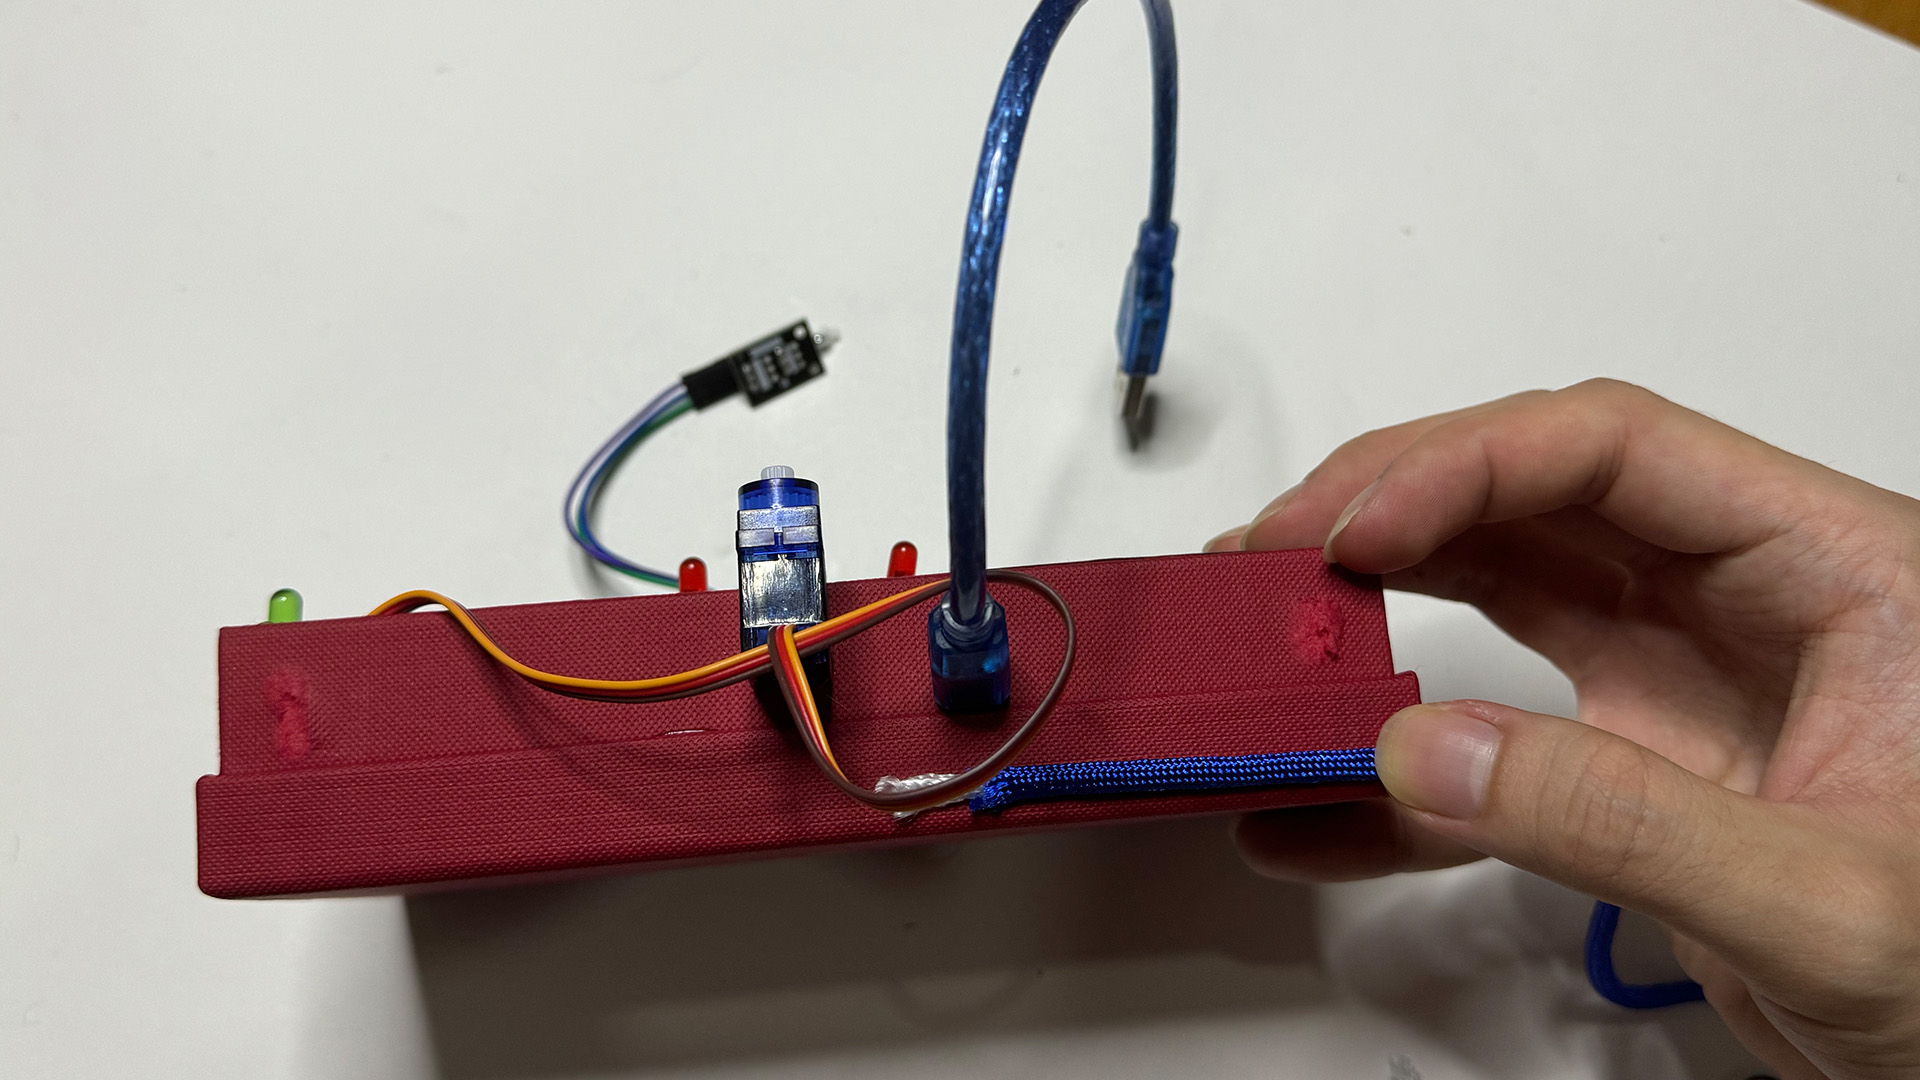
Since the breadboard and Arduino board would fit within the box, I reasoned that the wire that powers the Arduino board would be the only one that actually needed an exit point. Since the board is made of cardboard, I marked out a hole with a pencil and then cut it with a sharp penknife so that it was large enough to fit the wire through without being too huge to prevent it from sliding about too much.
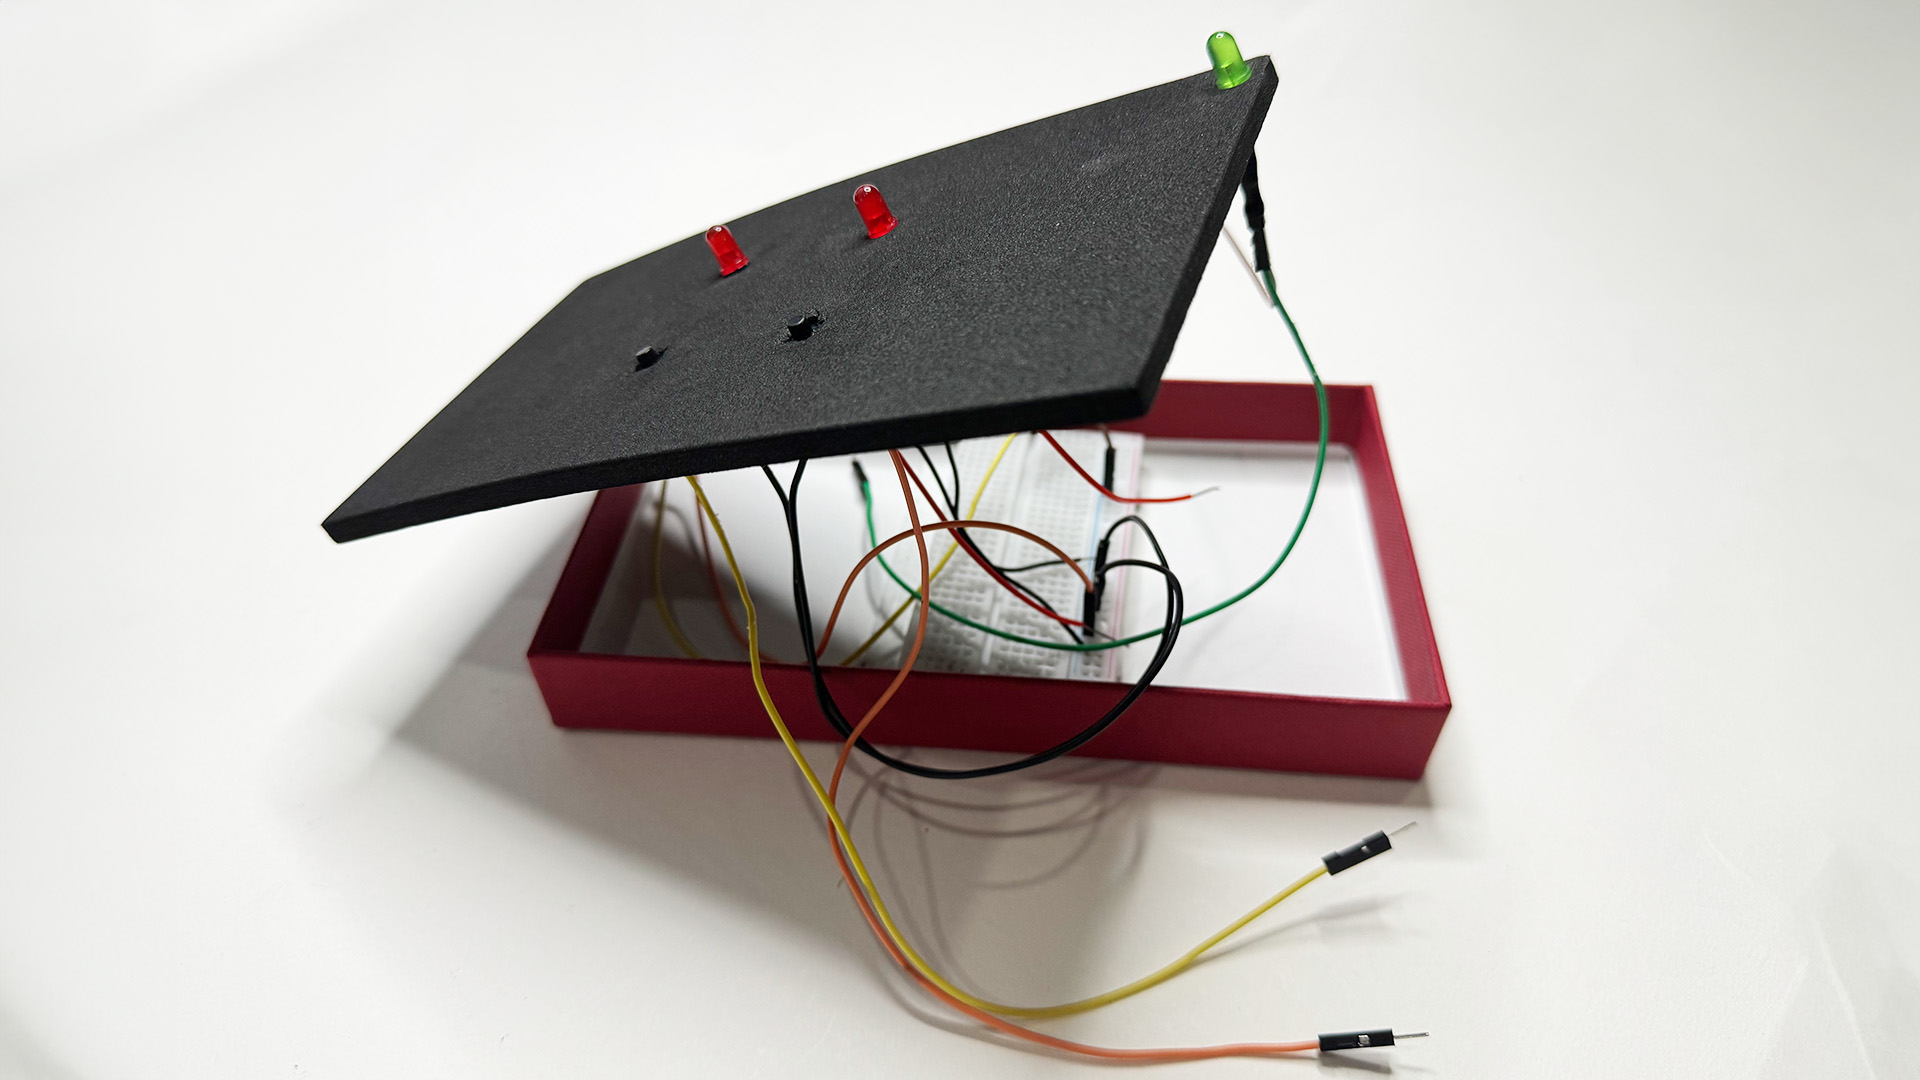
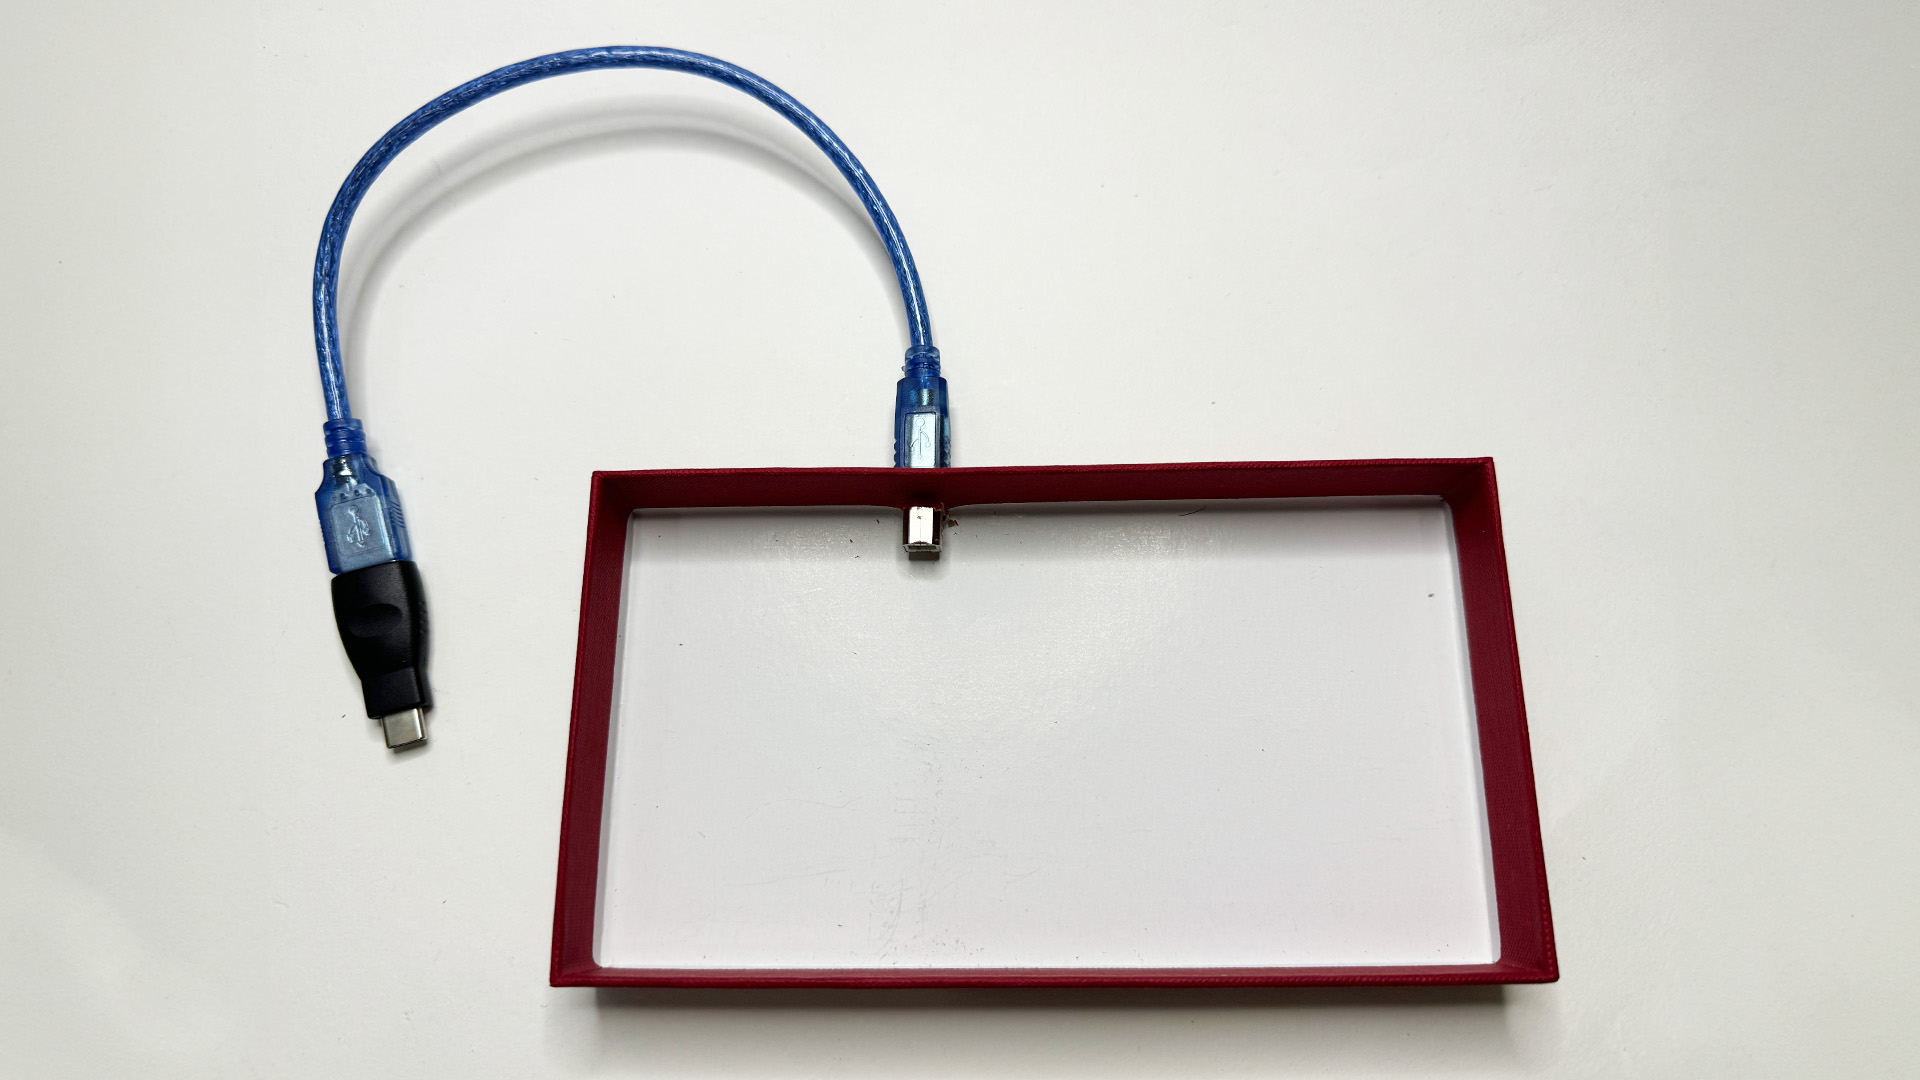
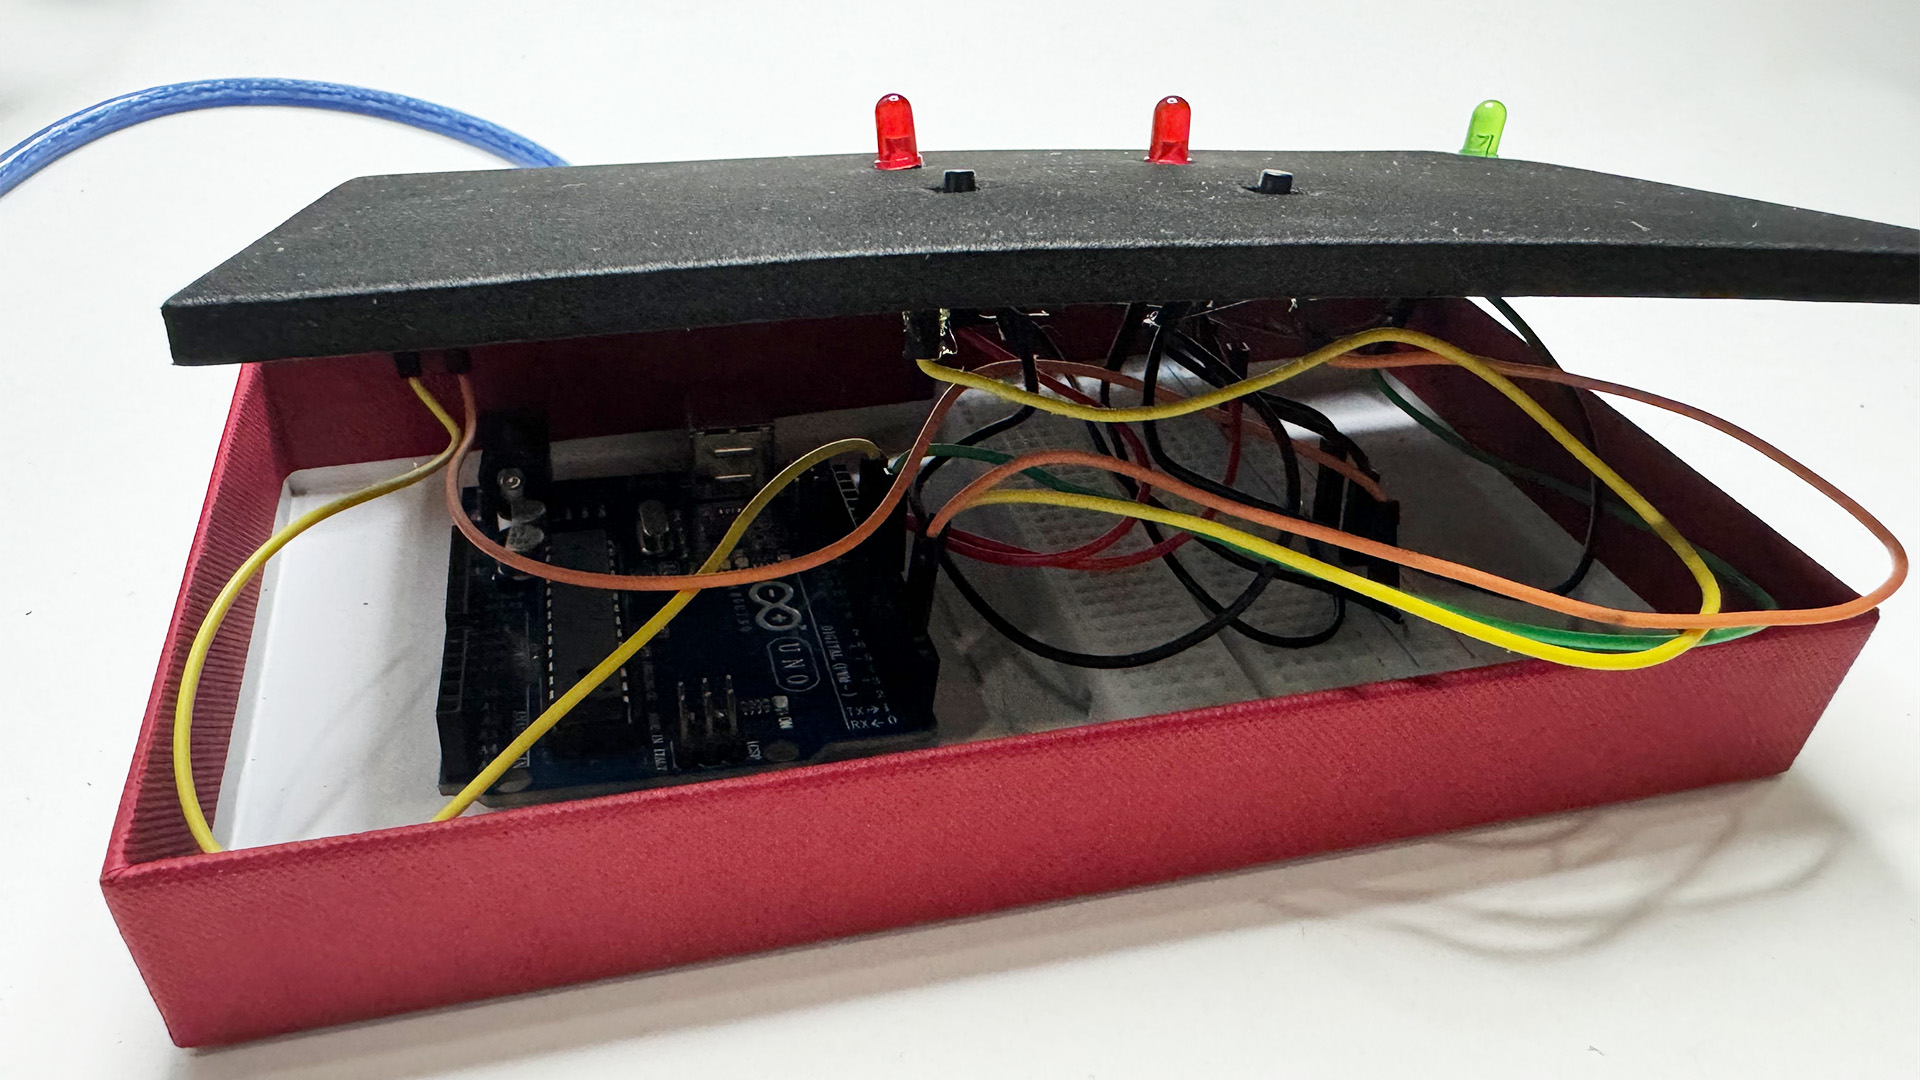
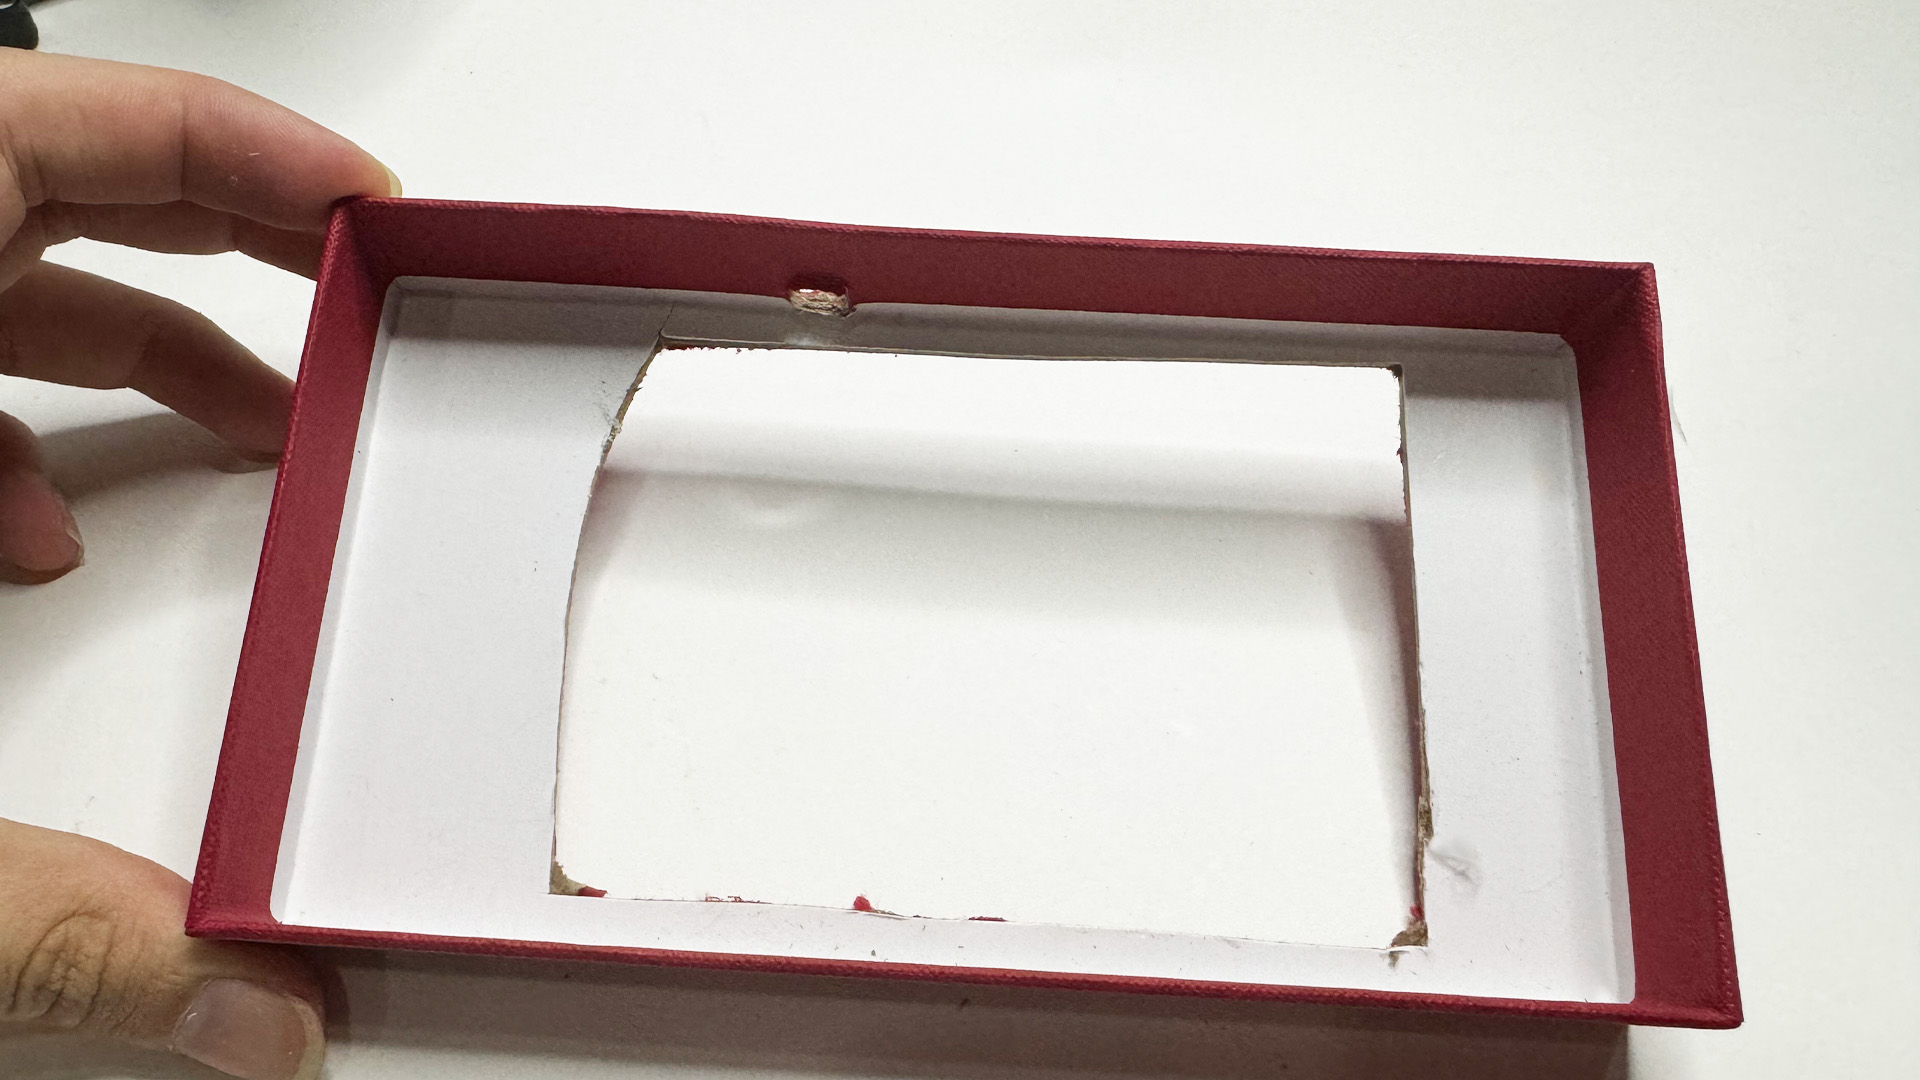
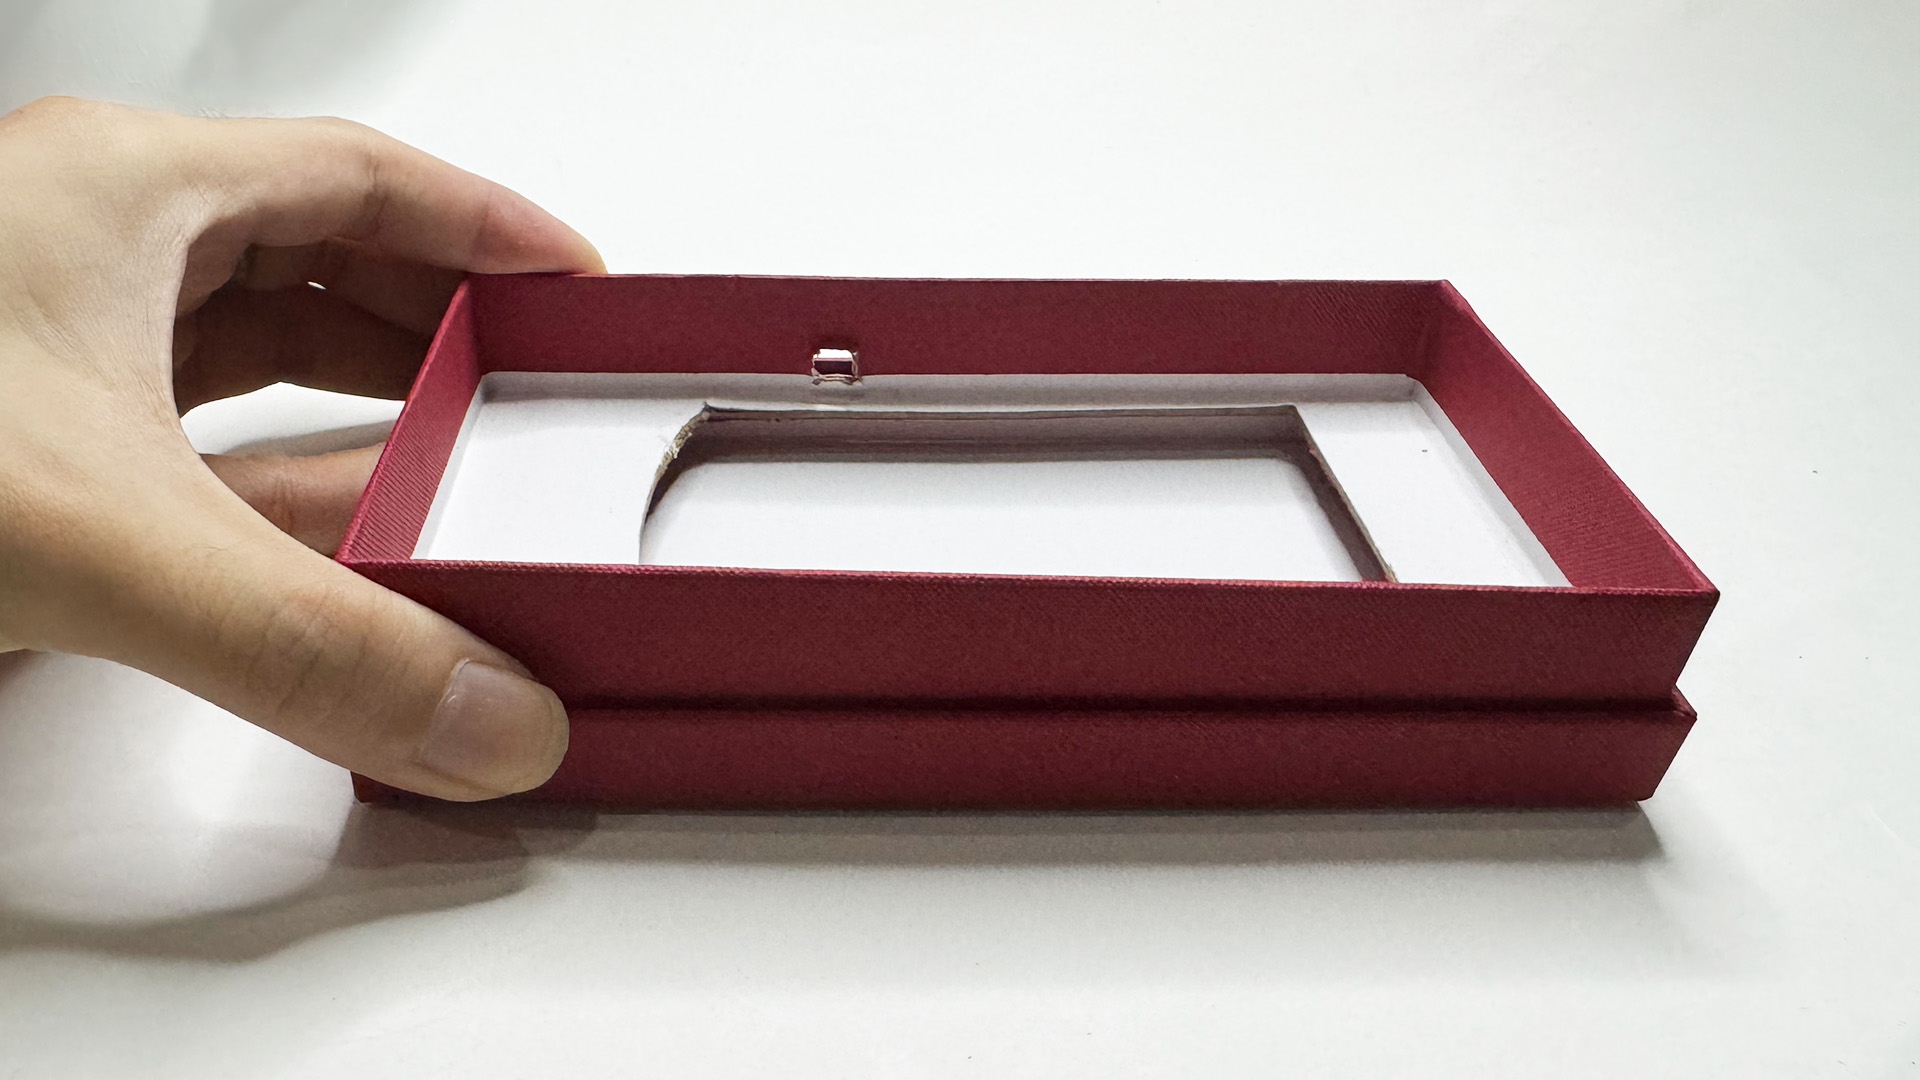
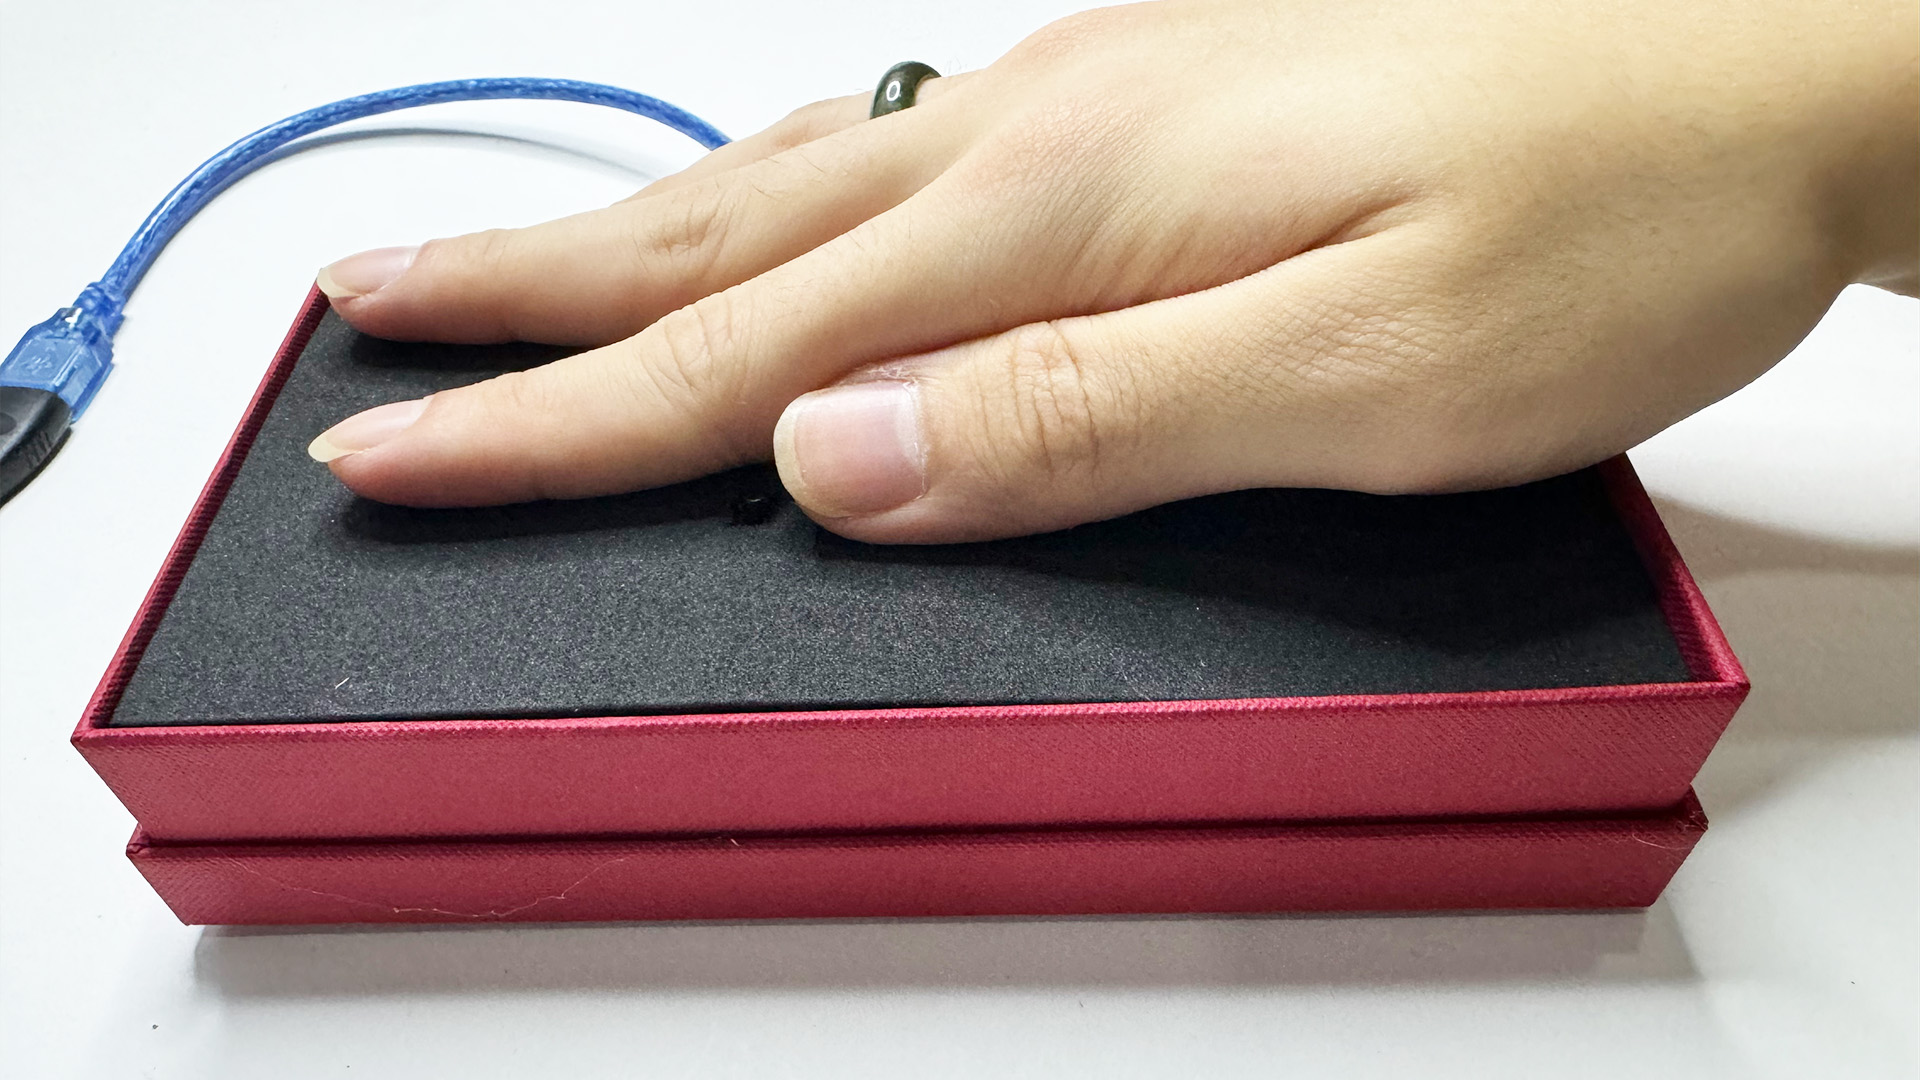
However after cutting and attempting to cram everything into the box, I discovered that the wire I had used was too long and protruded after connecting to the Arduino board. This indicates that nothing could fit within the box since it was too low in height. To allow everything to pass through the box, I decided to make a hole in the middle of it. After that, I glued the portion of the box that was supposed to be the lid to the bottom, significantly expanding the box. This made it possible for me to precisely fit all of my parts, wires, and board within the box. The foam eventually fit flat once the cover was added as the base.
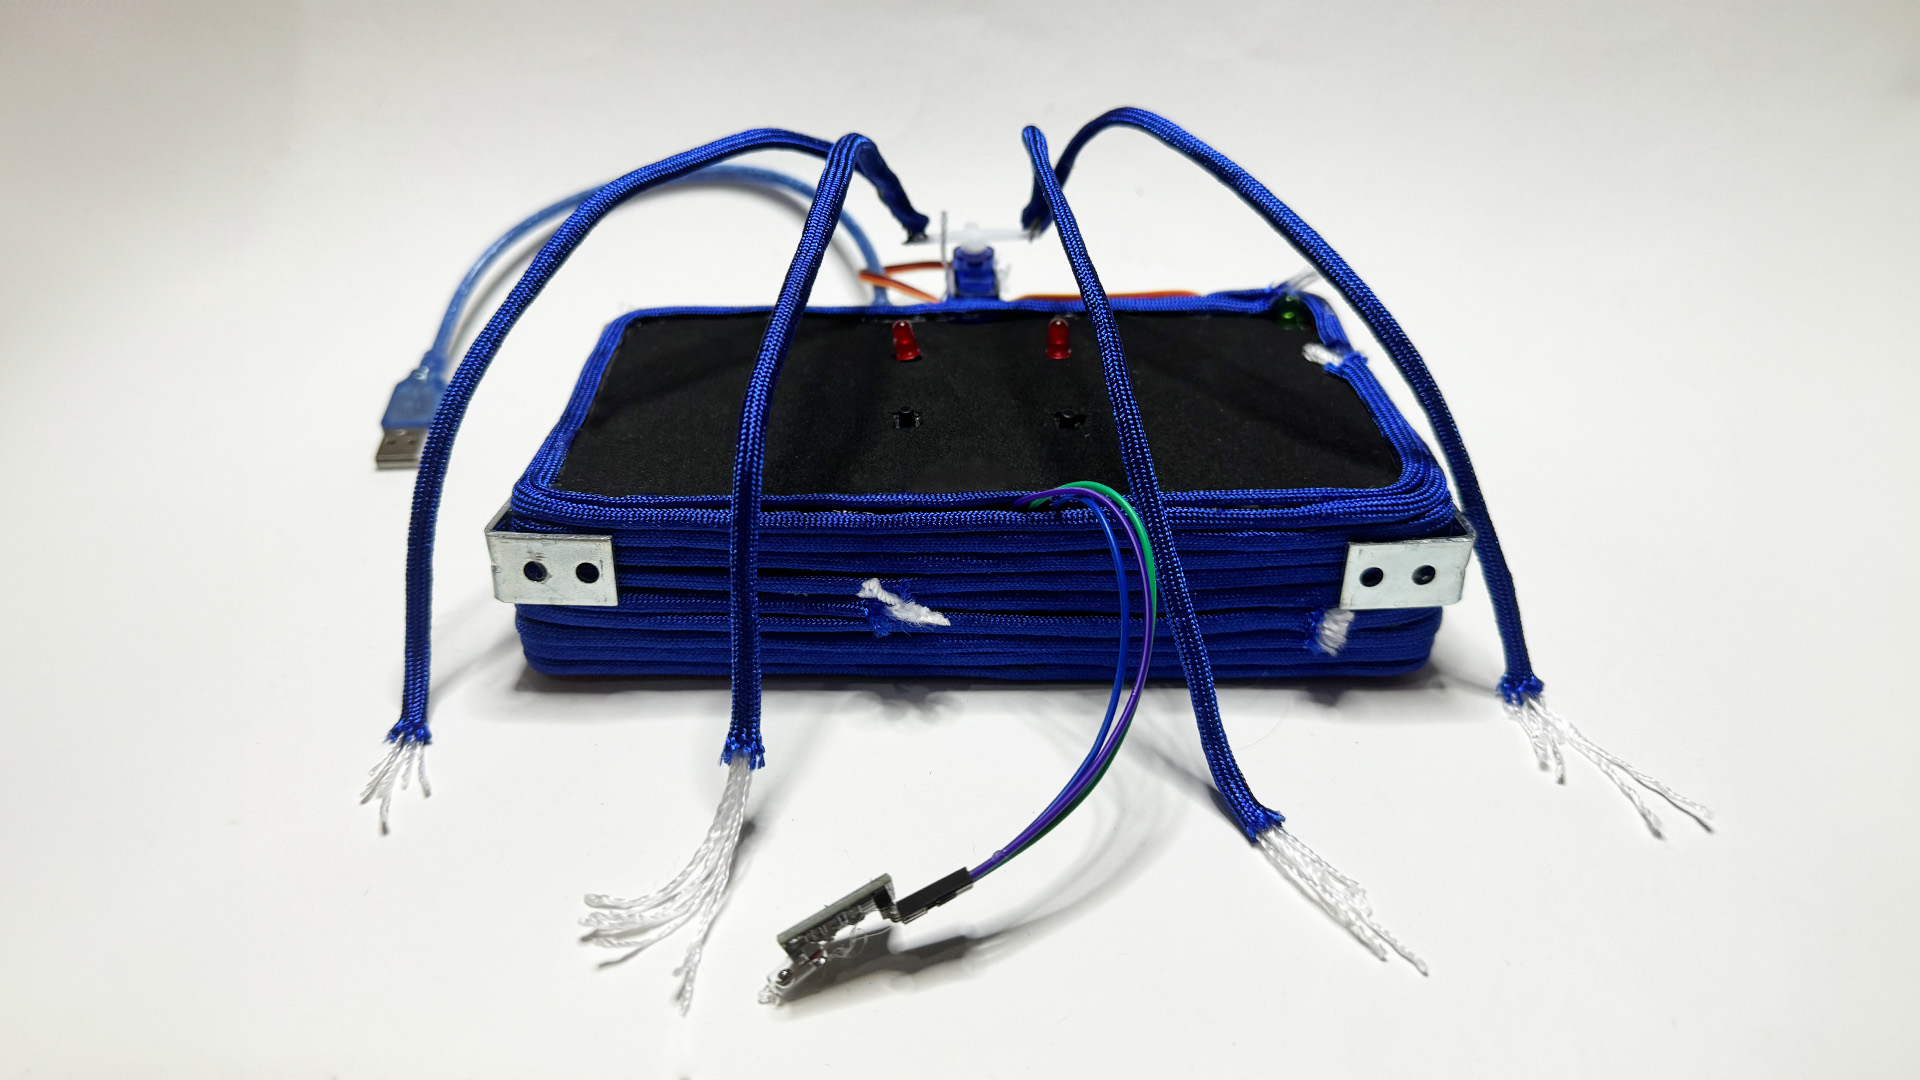
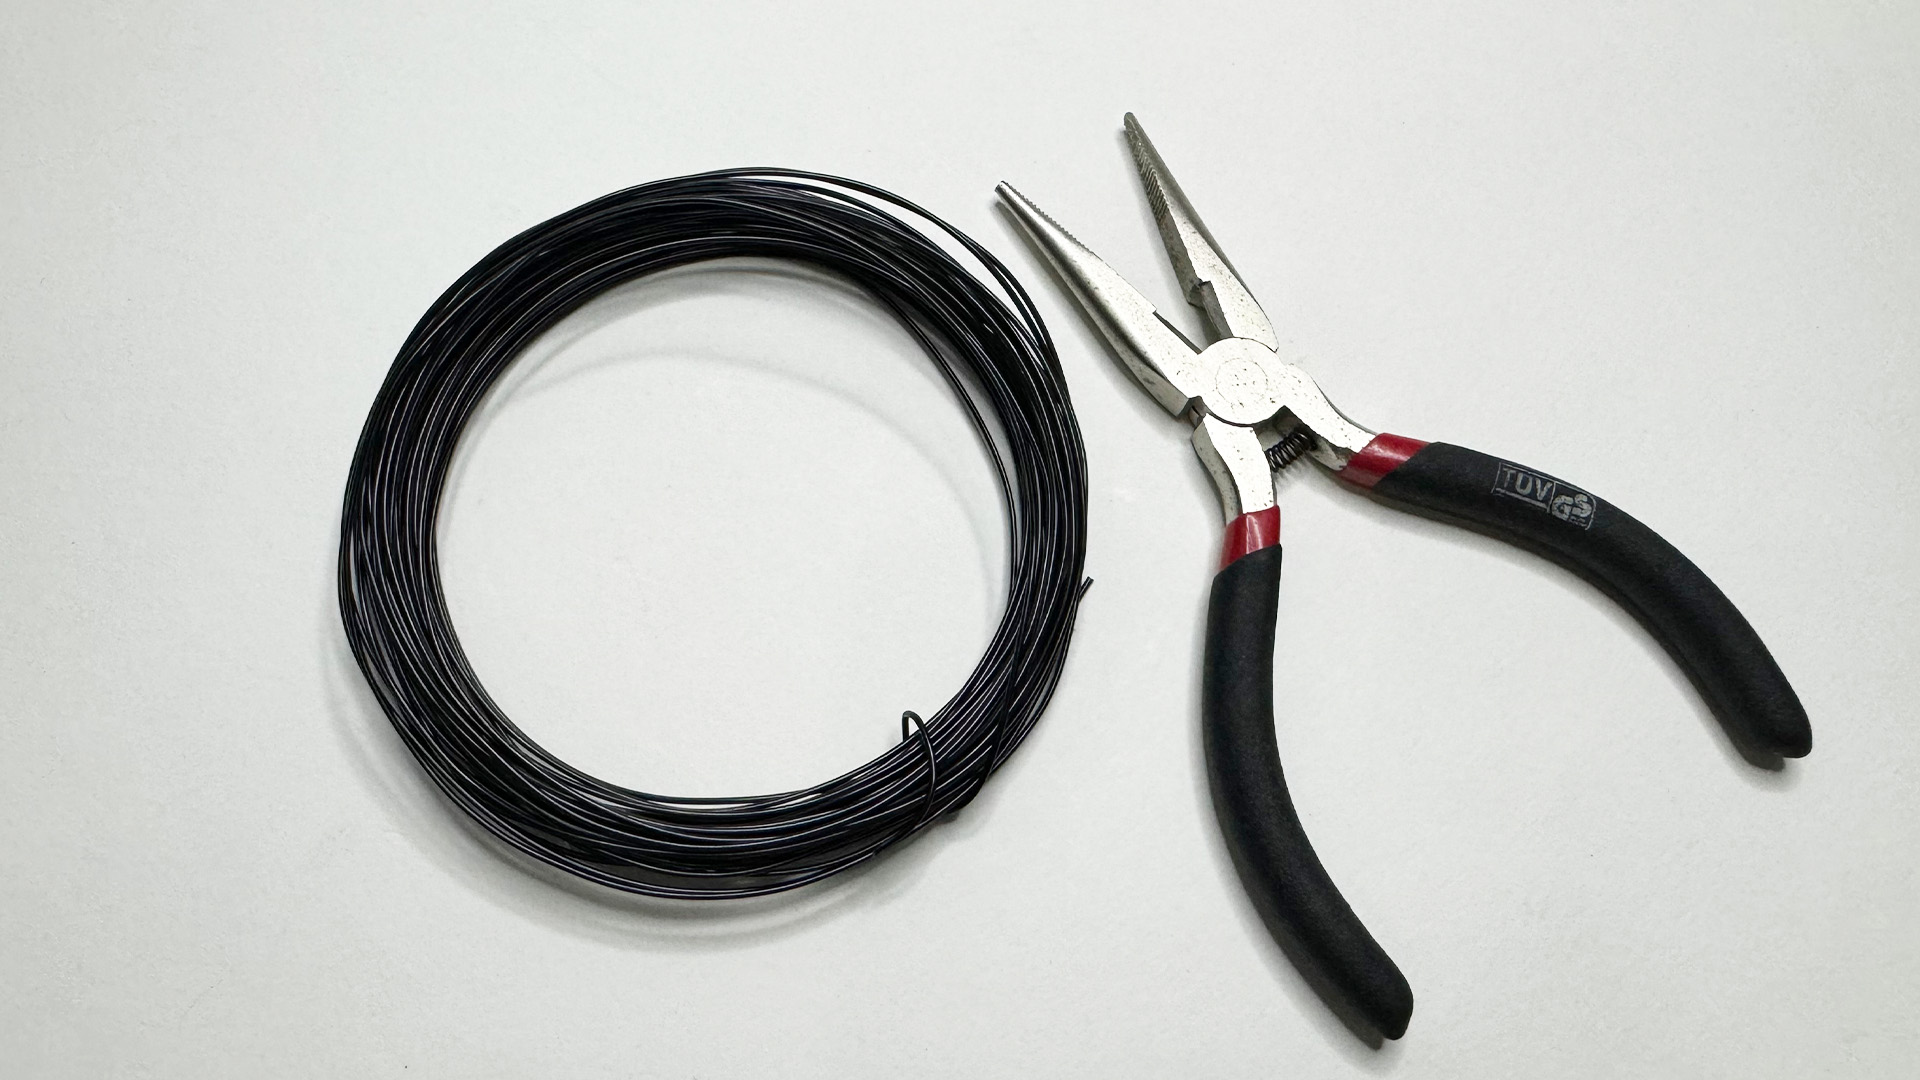
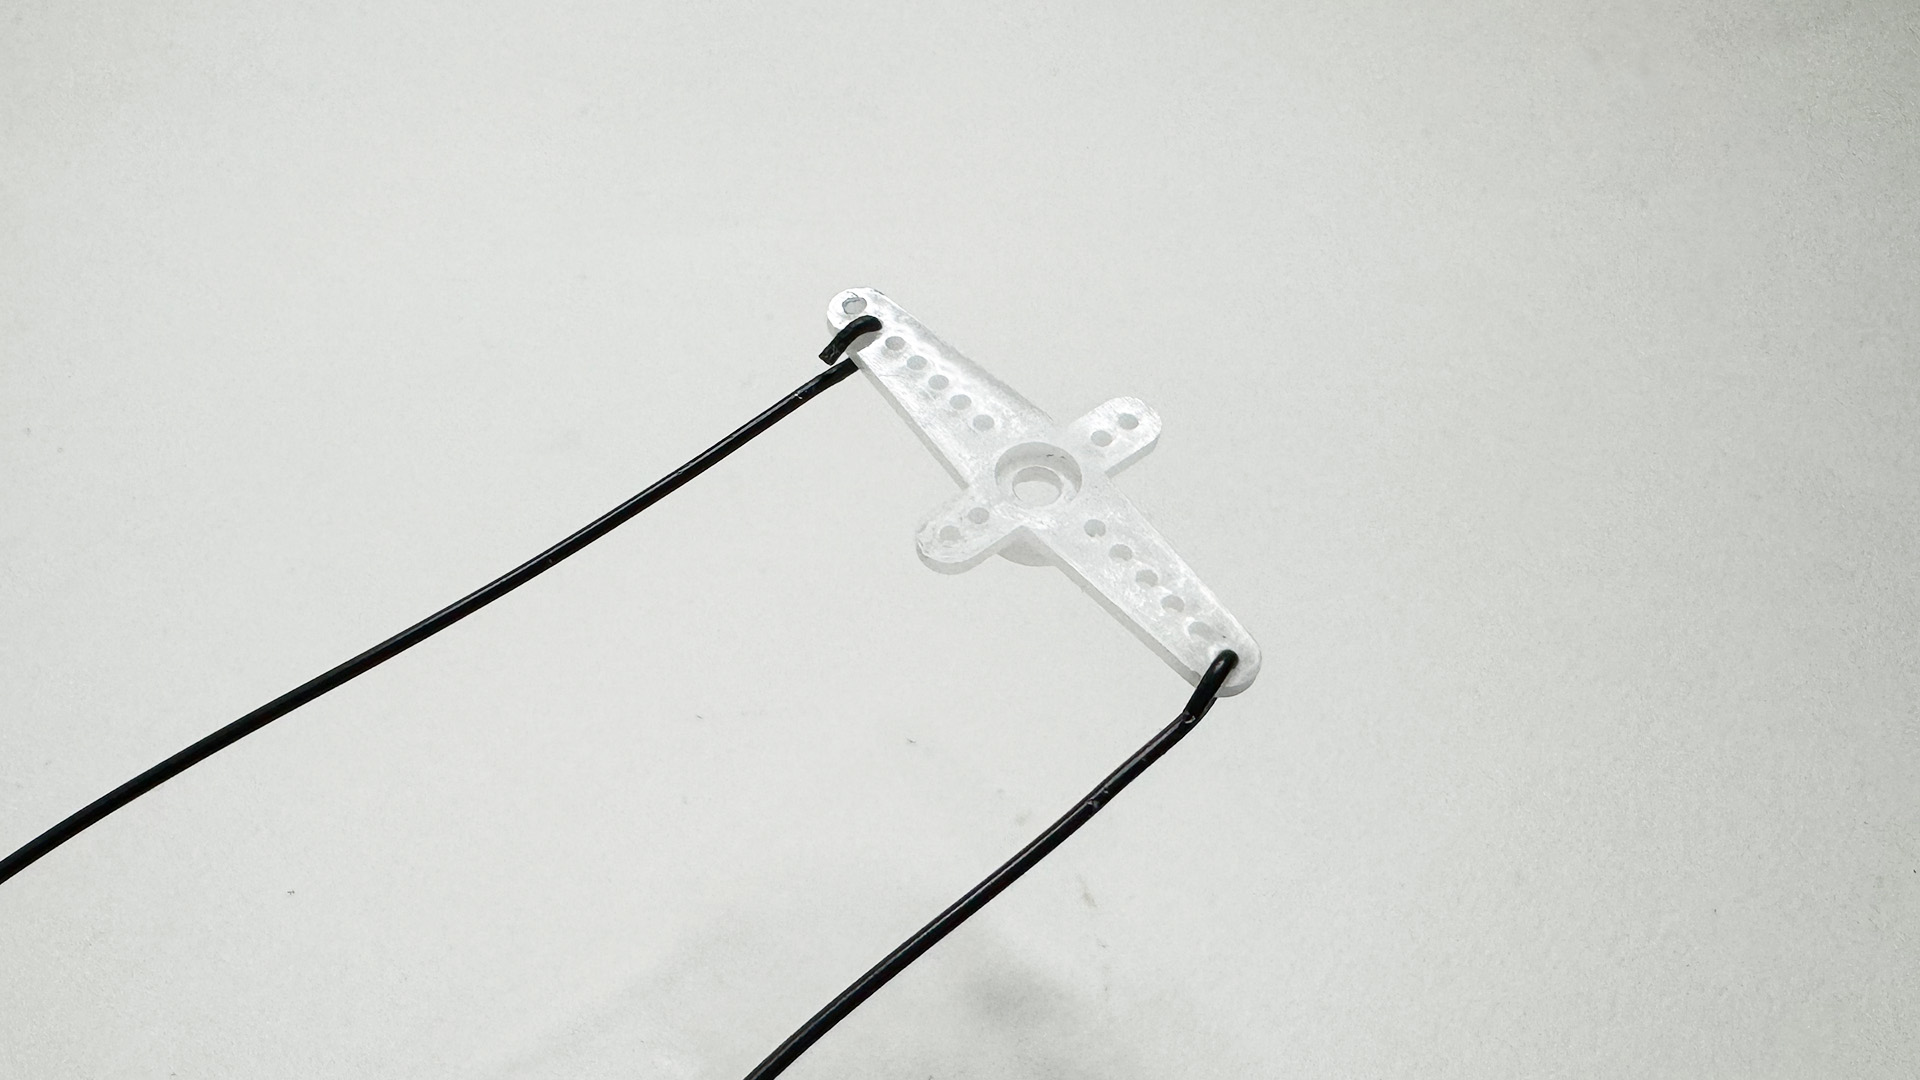
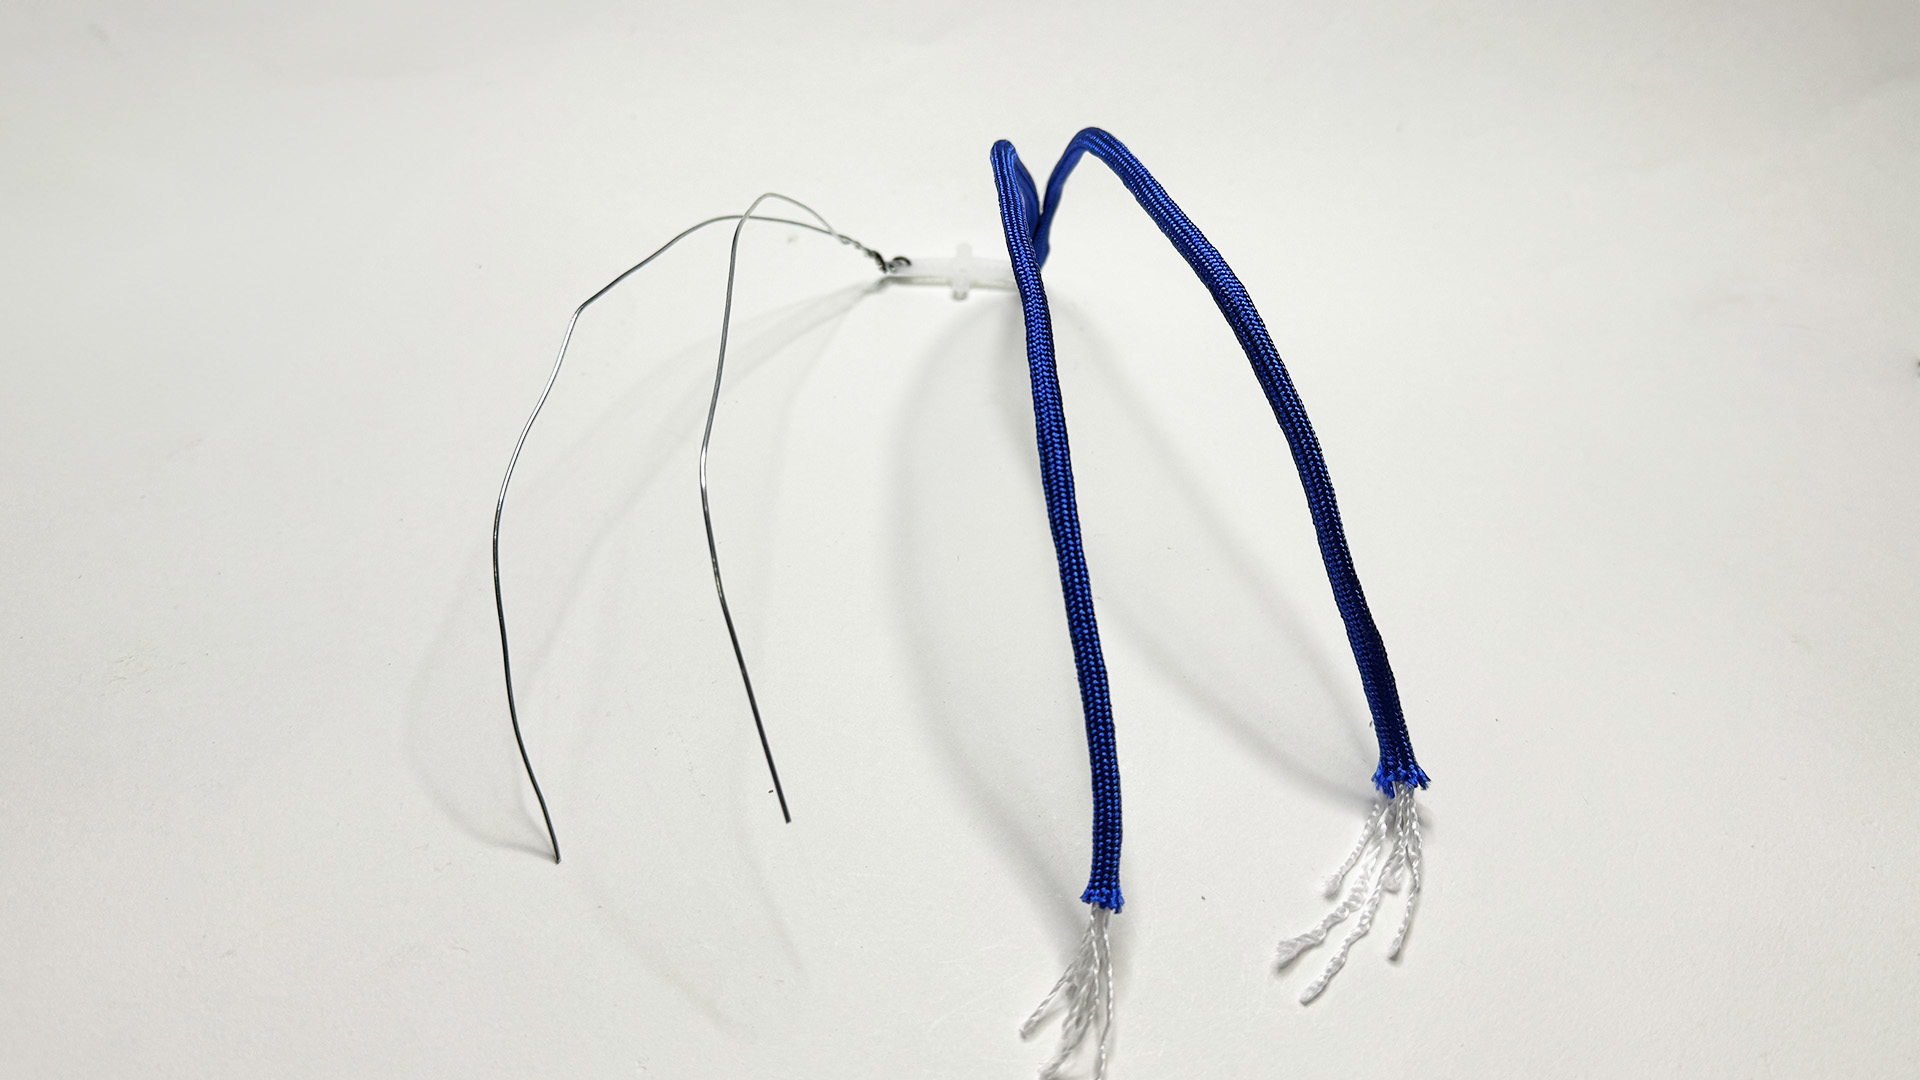
I started building my fringe after attaching the motor and sensor and using a hot glue gun to secure everything in place. I made a curve by looping wires over the plastic portion that was supposed to be connected to the motor. I finished the shape's skeleton by inserting the wires into the frayed ends of parachute cords and adhering them firmly to prevent the cords from slipping out.
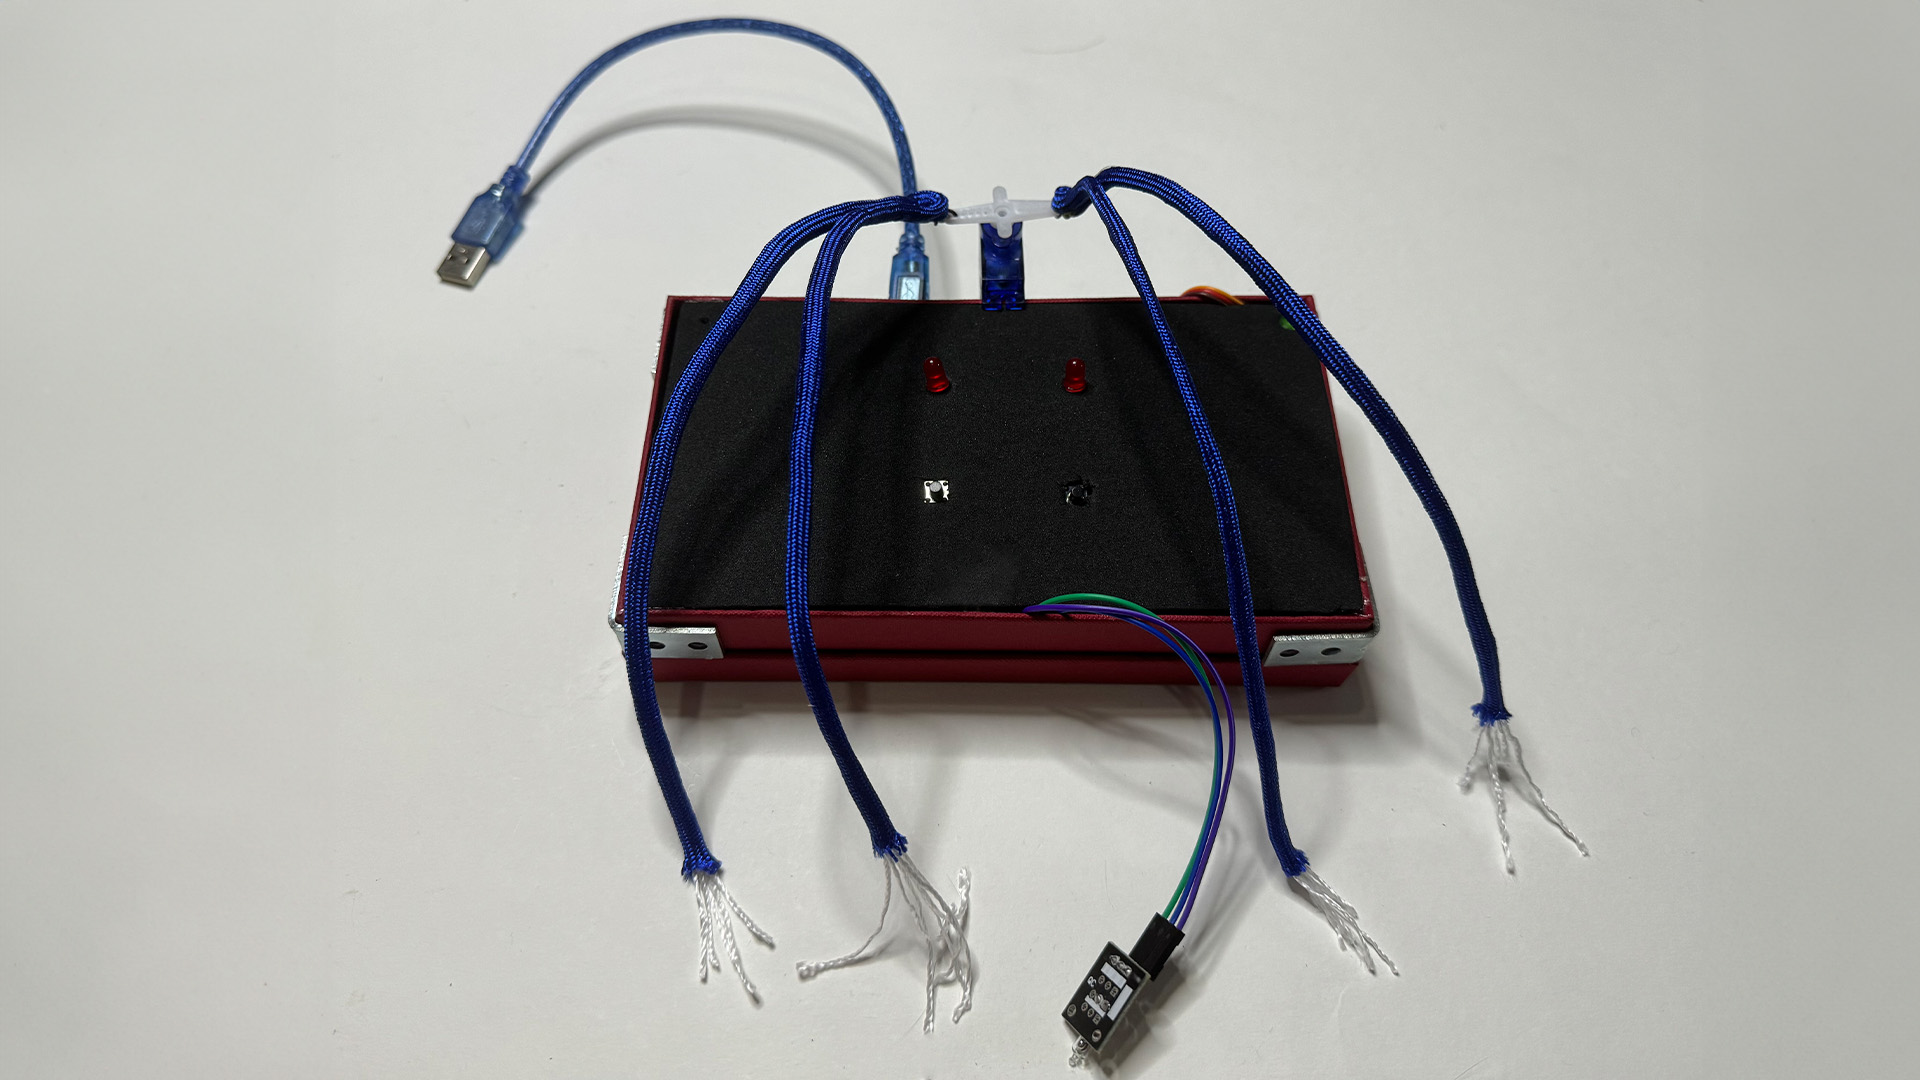
I felt it would seem more consistent if I wrapped the box with the same string that I
used for the fringe. But now that I've wrapped it, I kind of realise that it actually
made everything appear really unkempt. Nevertheless, it did inspire me to investigate if
messiness had an impact on attention span as well. For my initial prototype, I opted to
simply leave things as they are. Although I acknowledge that the finishing was somewhat
lacklustre, there is yet more space for growth going forward.
I believe that in the future, I would like to experiment with other ways to implement my
prototype. I most certainly do not want to feel like I'm in a box anymore—at least not
as the primary topic. Like I've showed in my moodboards, I want to be more adventurous
with my work and give it a more "interesting" look and feel.
