Week 12
I explained to Andreas this week that I was at a loss for how to proceed with my
research and had been concentrating solely on finishing my CPJ. I mentioned in the
session that I was unsure of how to make components that related to my theme or
attention span. When Andreas started inquiring about the concept of attention span, I
identified that there were essentially two kinds of attention span: hyper attention and
deep attention.
Objects that need deep concentration are those that are given in a single format, such
as math problems, novels, text-filled screens, or one repeated chore. Objects with
various stimuli competing for the user's attention are known as hyper-attentional
objects.From there, we develop the concept of designing two separate experiments that
each represent a distinct form of attention, giving the audience a clear picture of the
two extremely distinct attention types.
When it was brought up, the mental block I was experiencing became apparent, and a tonne
of thoughts started to flow through my mind. I felt more inspired than I had the day
before, when I had been feeling lost.
Experimentation 3
To encourage deep concentration, I came up with the idea of making an attention box. In
this box, I would put a straightforward task for the audience to do, with no outside
stimuli other than the satisfaction of the assignment's requirements.
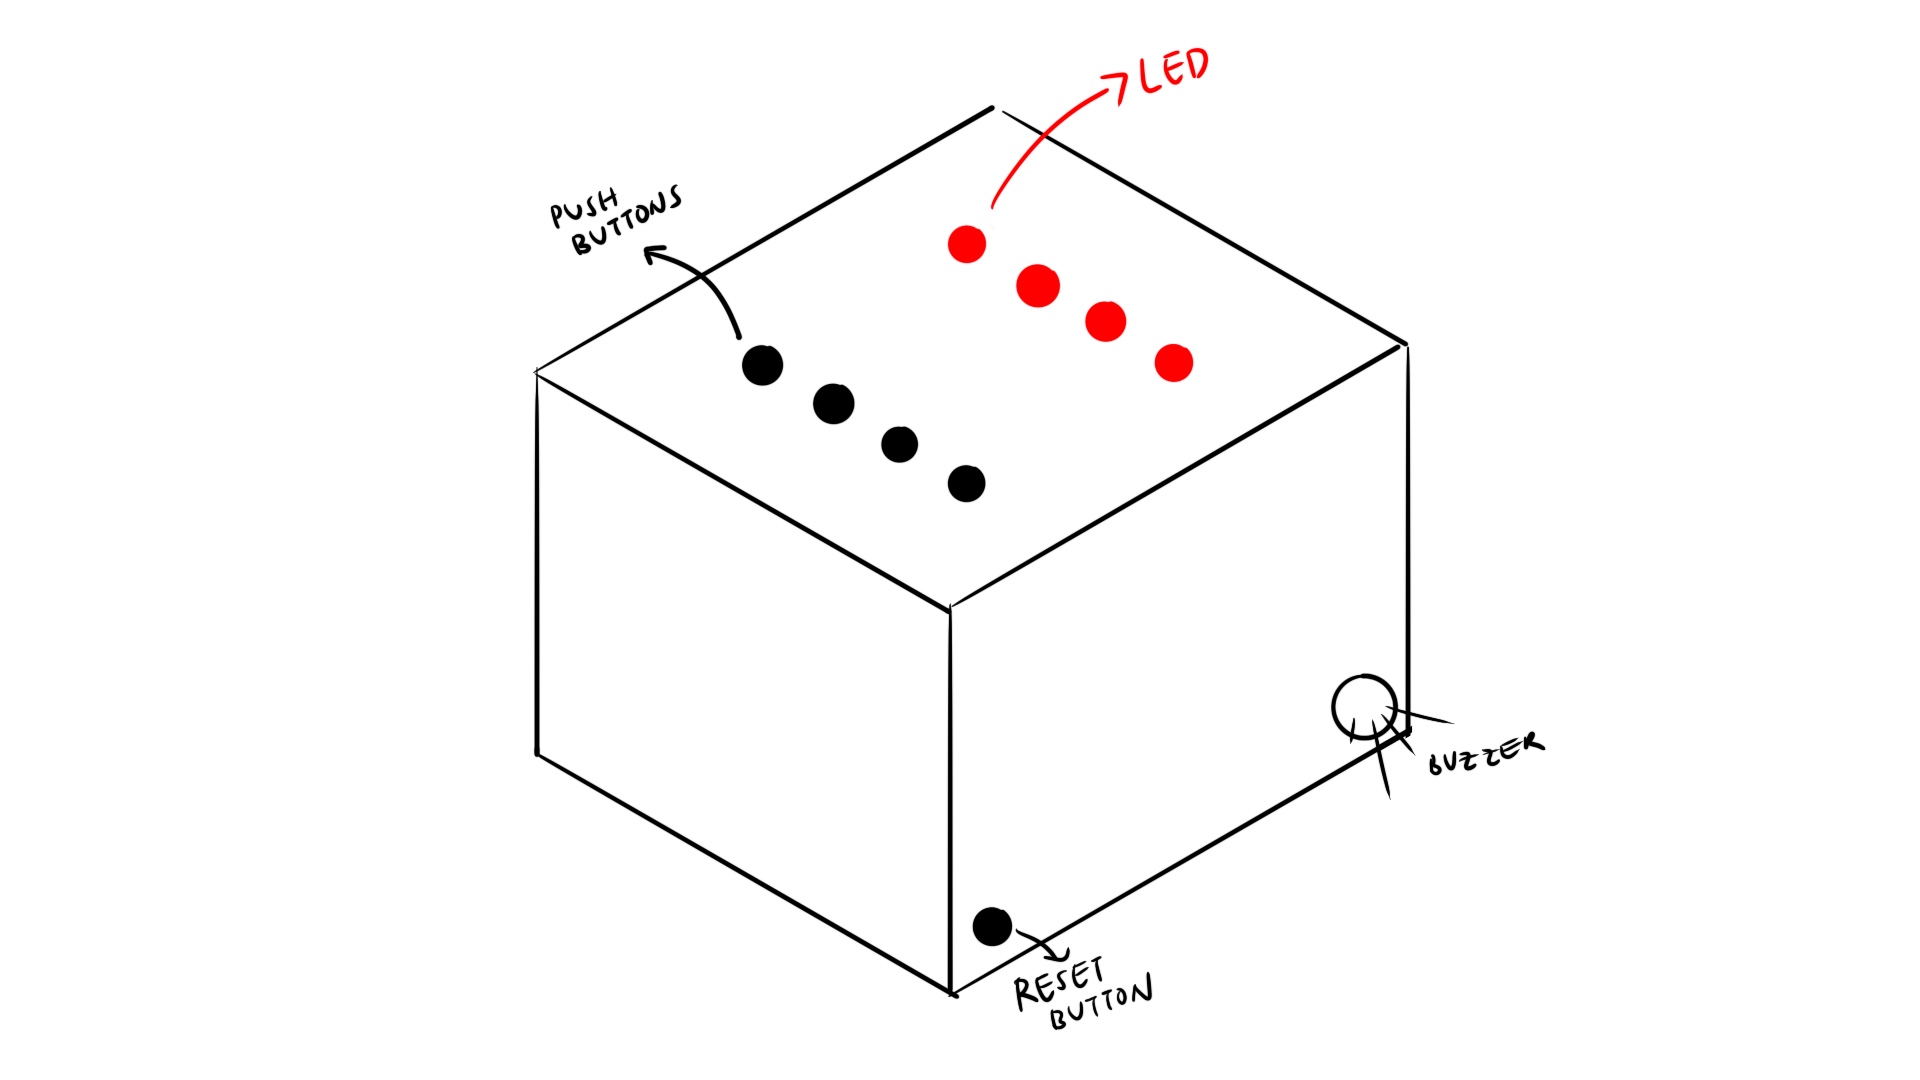
In my idea,
push buttons and LEDs would be used. The LEDs would light up in response to a
predetermined pattern or sequence on the buttons. A buzzer would sound when the LED lit
up, informing the audience that they had answered correctly. The buzzer would play a
tune to signal the conclusion of the sequence and the start of the code when every LED
was turned on. The job was supposed to be brief and easy so that it would demonstrate to
the audience that they were trying to focus on the object and complete the task.
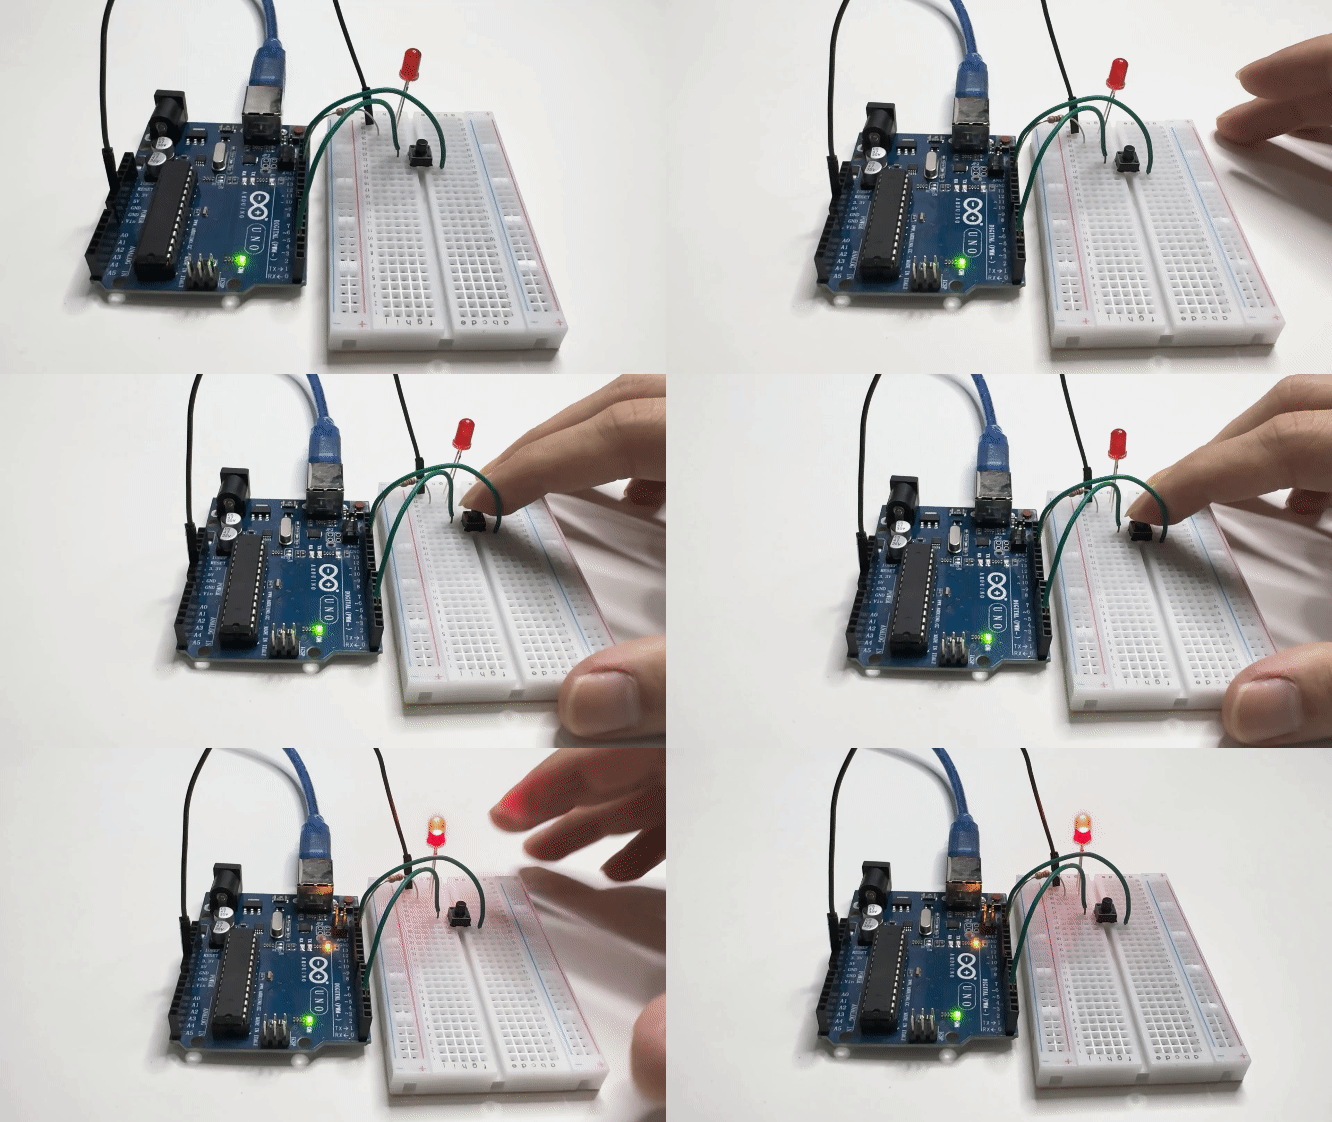
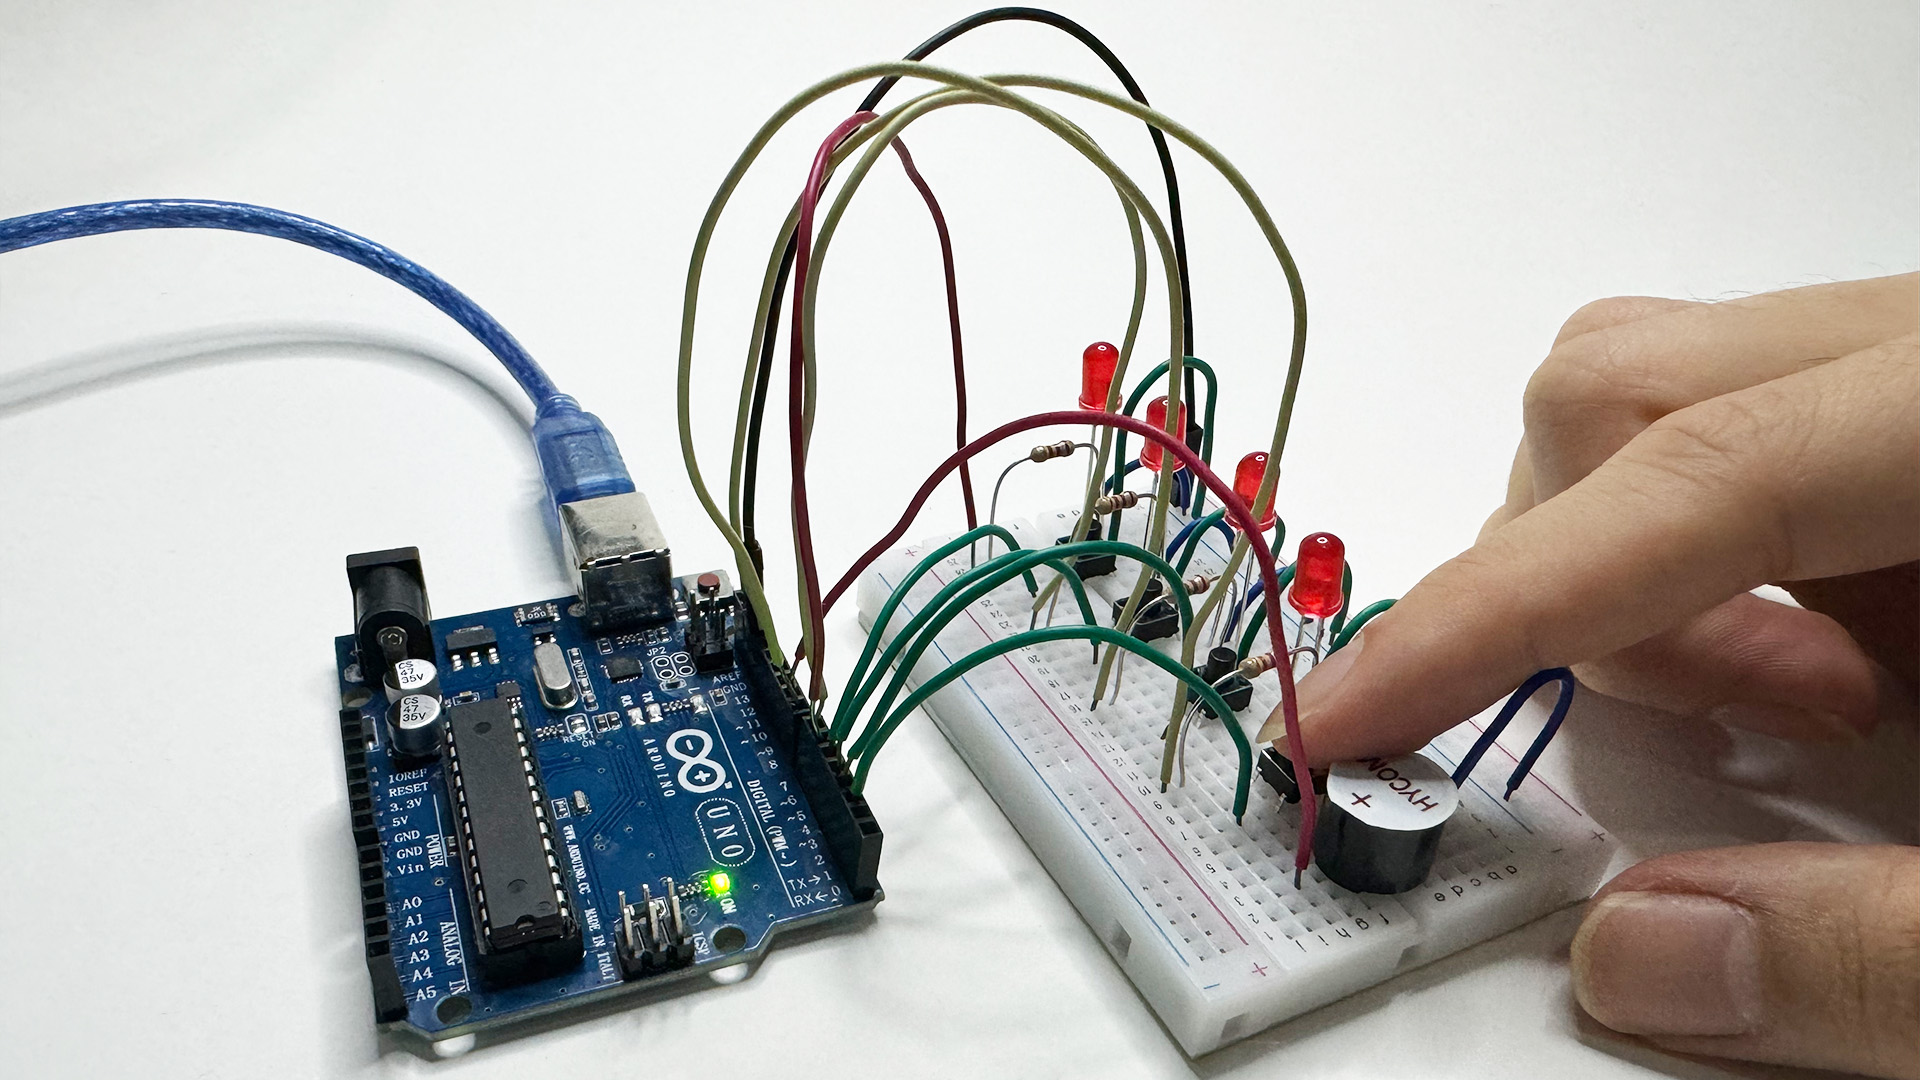
I began by building a circuit consisting of an LED and a button, and I tried to programme the button to activate the LED. I wasn't too confident because it was my first time putting a sequence to a button. When I wrote the code, I discovered that it did not function as intended. I coded a test to see how many presses each button received, and I discovered that the button was the reason my project didn't function. I discovered that every time I pressed the button, the software recorded the input as though I had pressed the button seven times. This indicates that my sequence would be invalid. I discovered that the reason was that I had not used a resistor for my button. I adjusted my code and got it to function as it should have after some trial and error and research on Google.
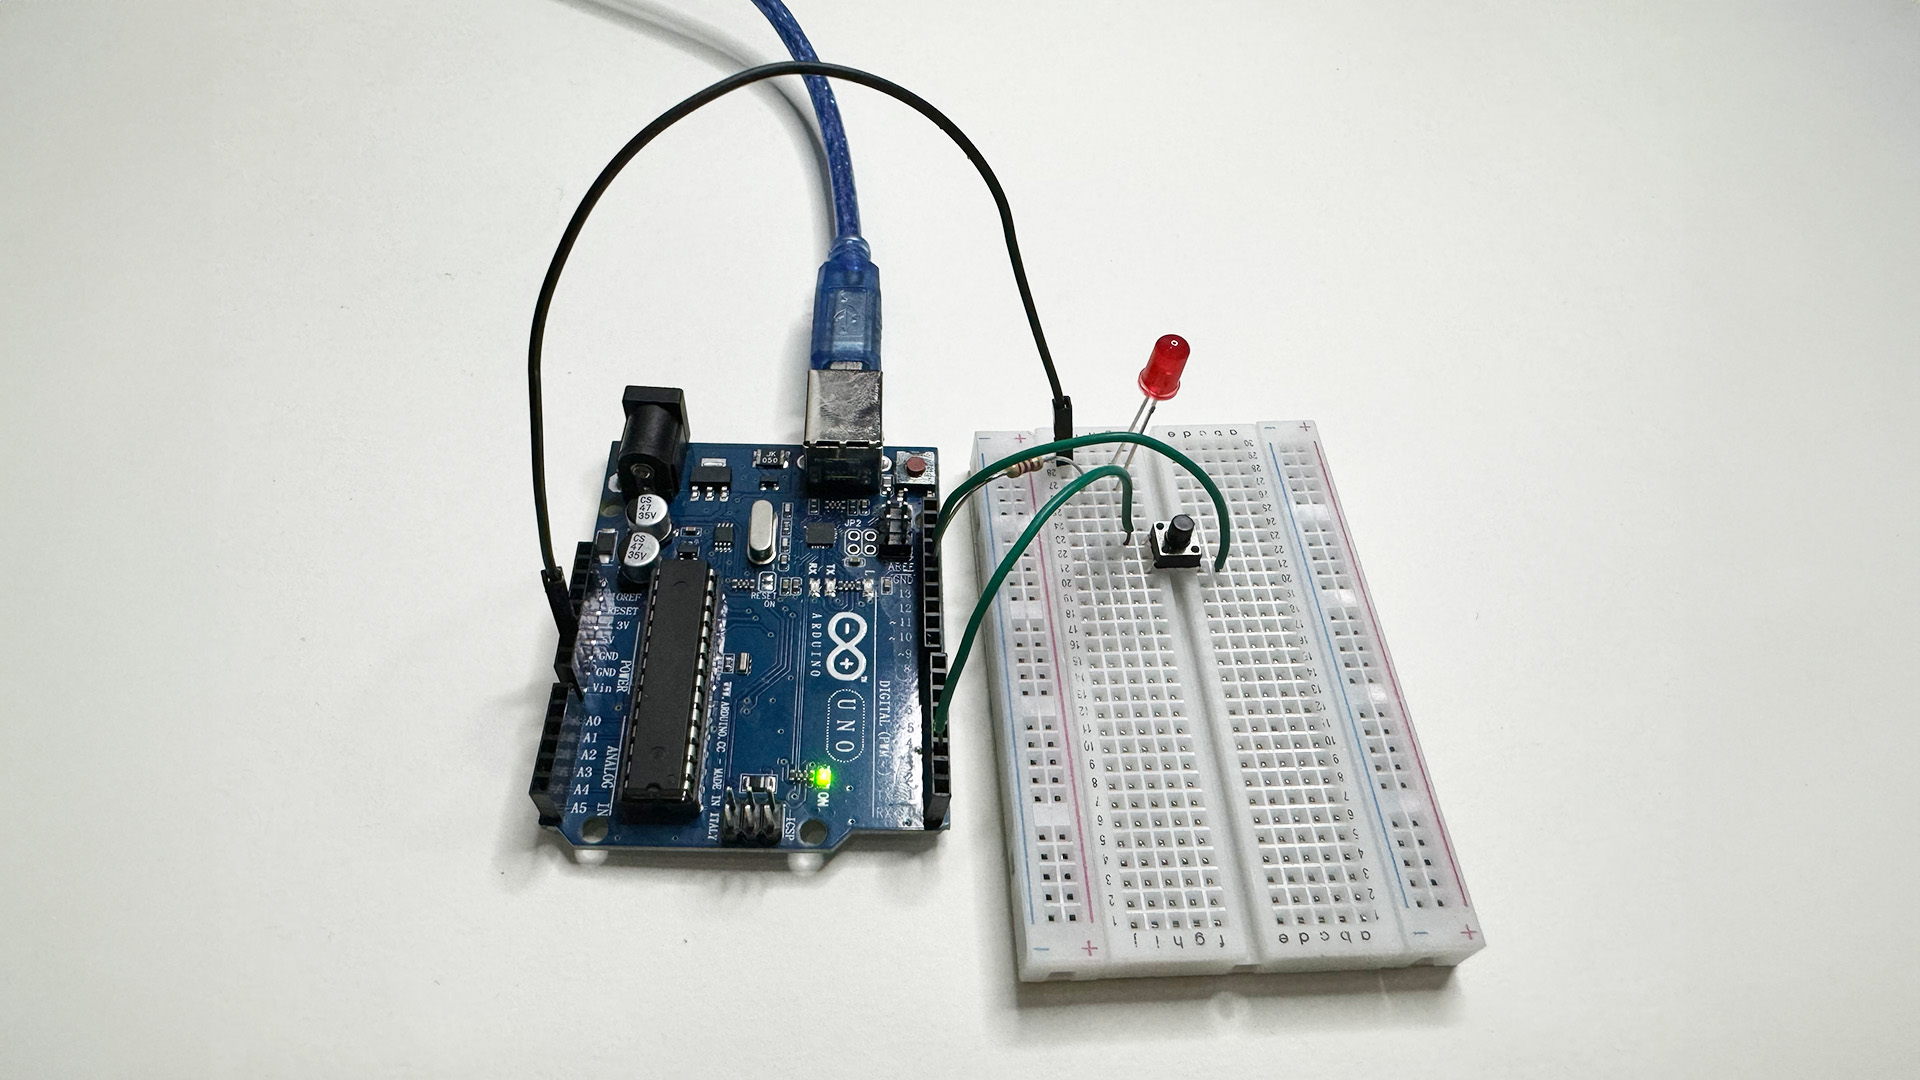

In order to give the participants more time to complete the assignment, I repeated the same action three more times, adding four buttons and four LEDs, when my led started to light up as it should have.
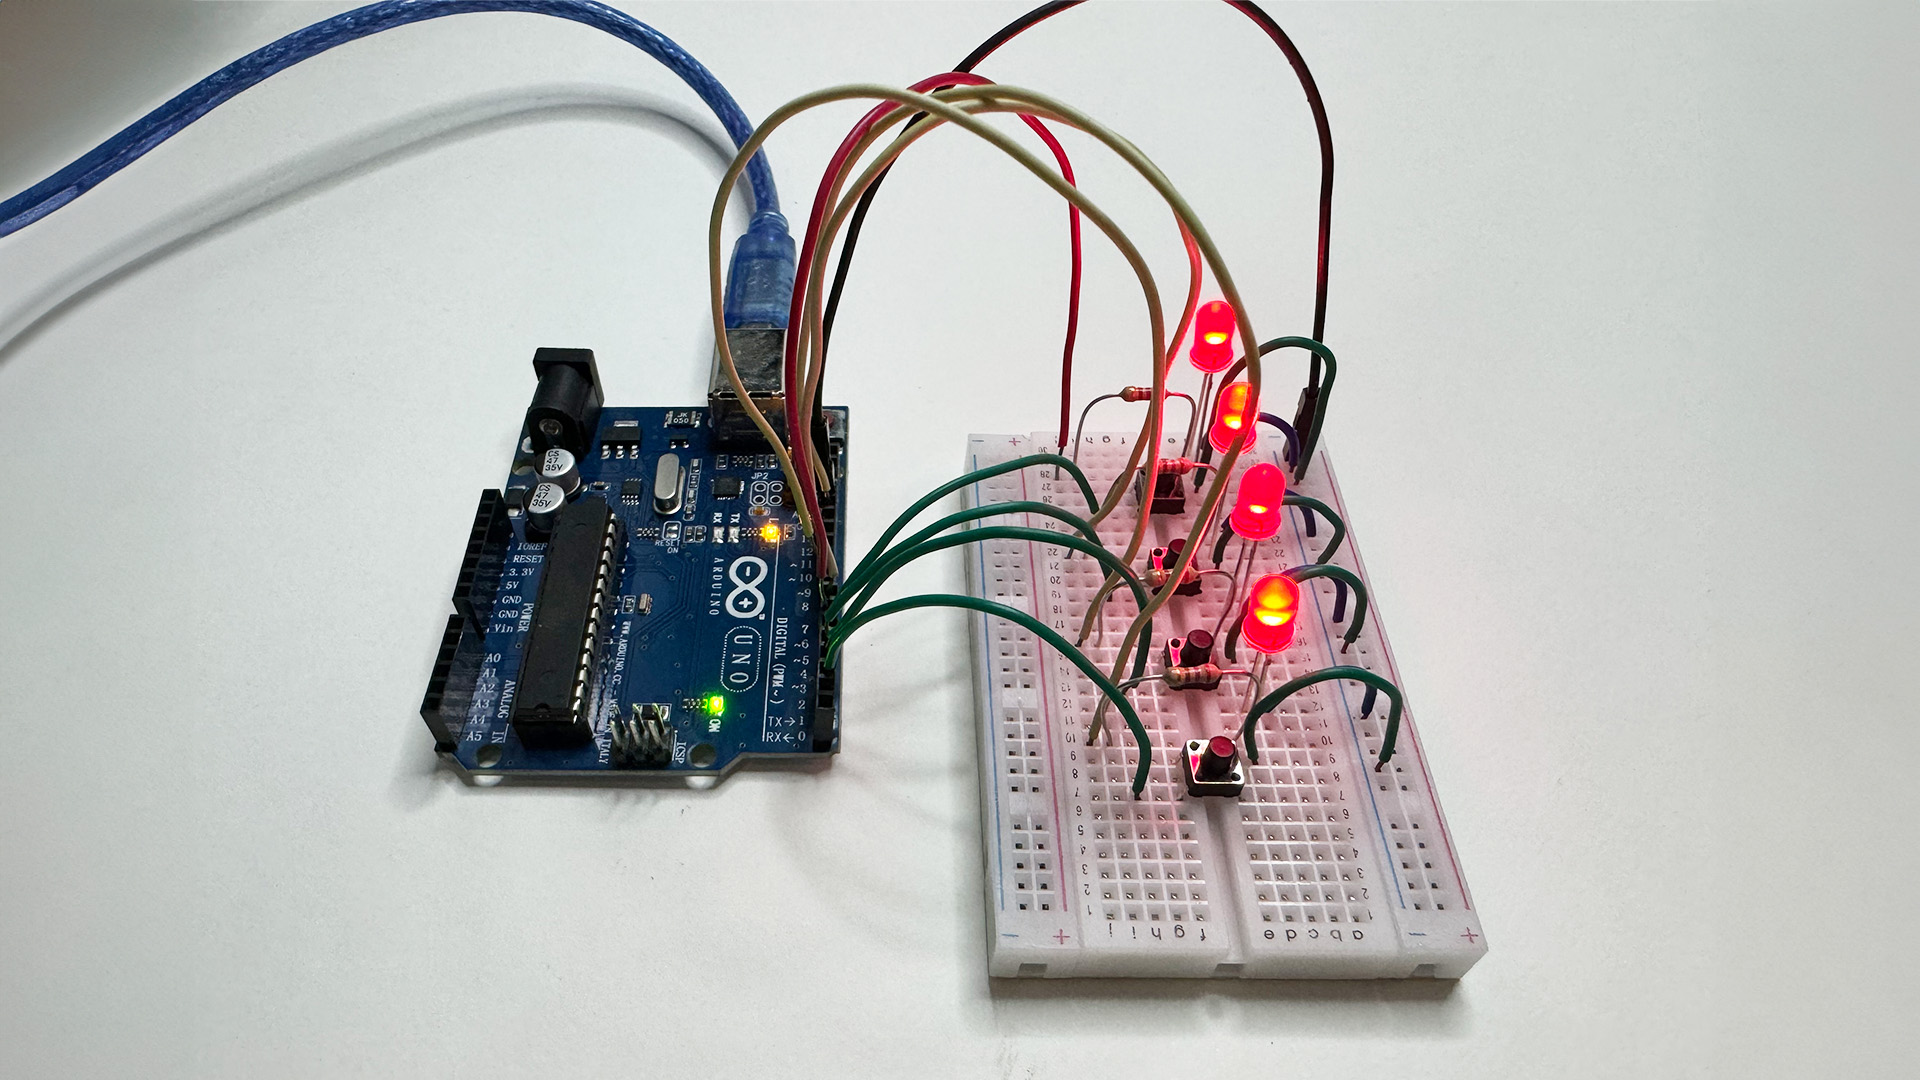
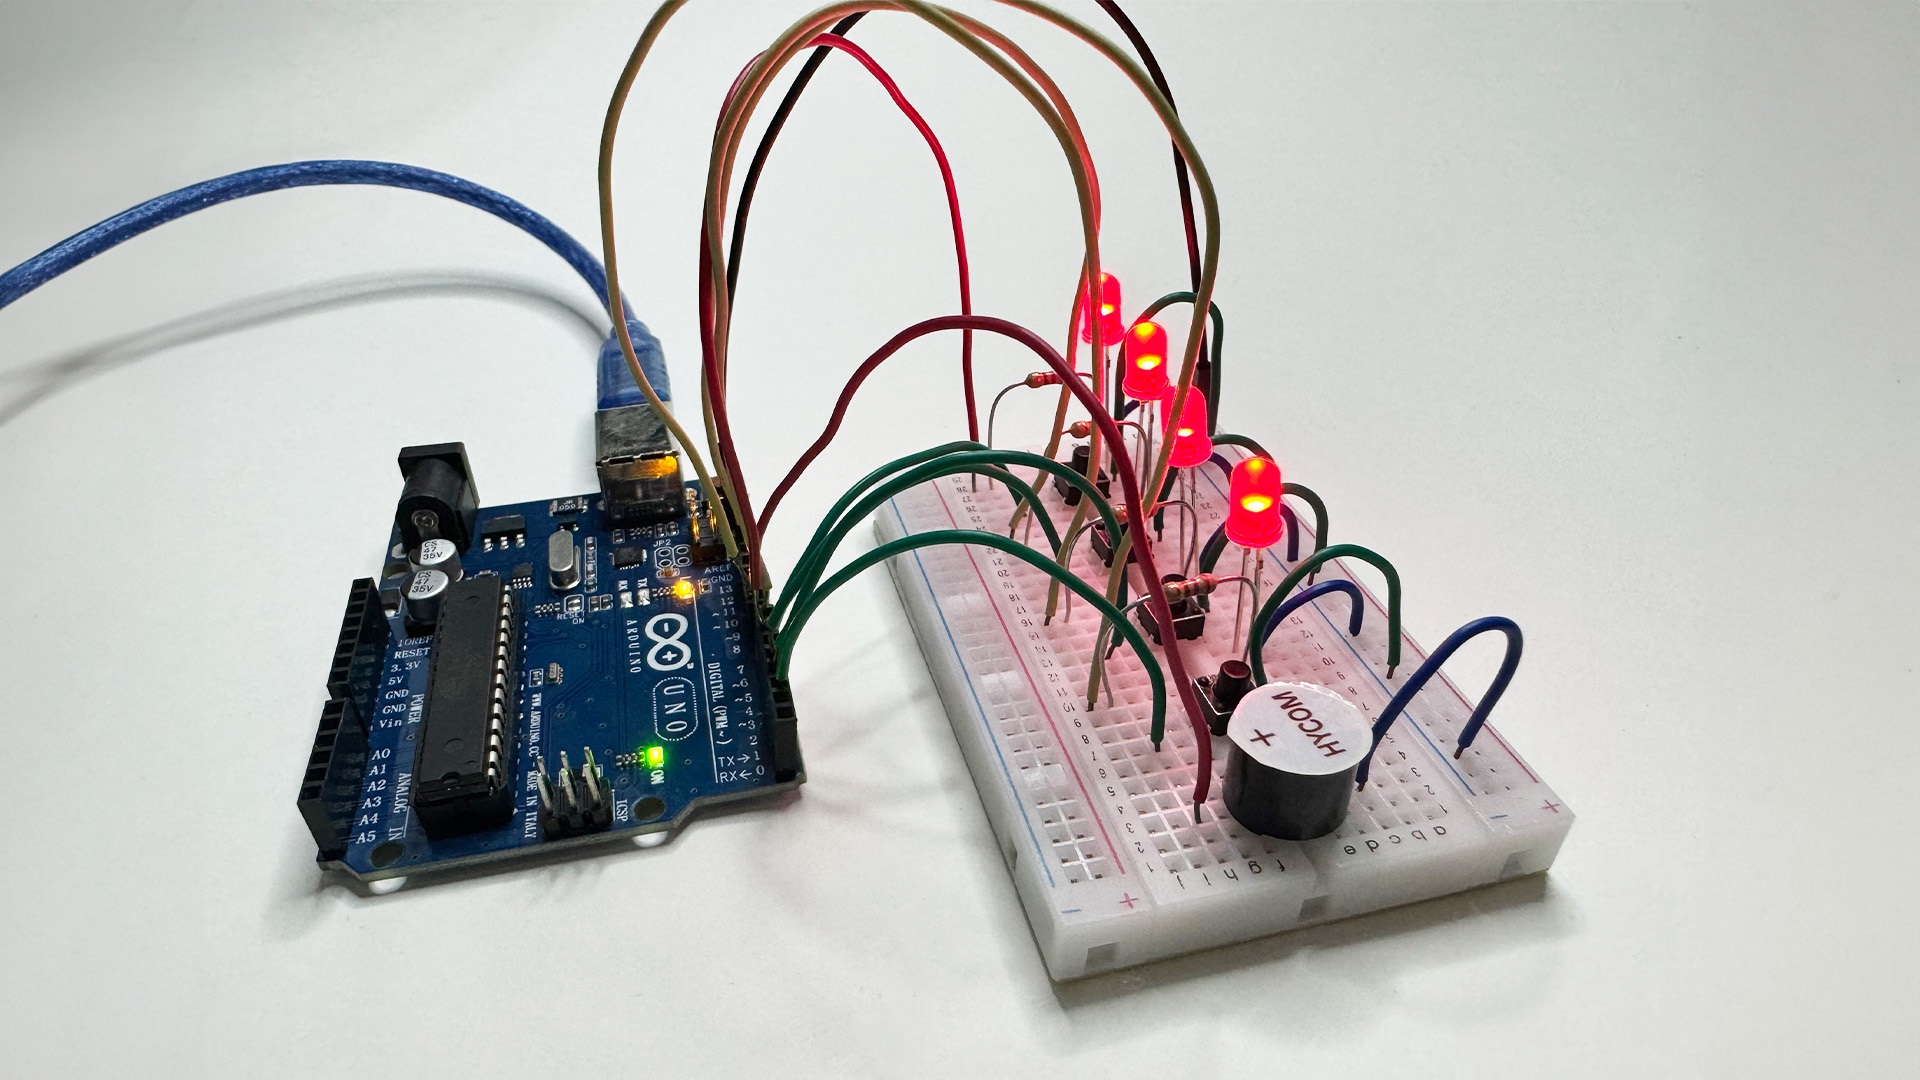
Having the LED light up only seemed to leave something out, in my opinion. In order to
alert the audience that everything was correct, I added a buzzer that rings each time an
LED lights on. When all of the LEDs turn on, the buzzer is supposed to play a
song.
I discovered that the code ends there, so if more than one person
participated, they would not be able to continue after I added the buzzer. I reasoned
that I ought to provide an additional button in the component that serves as the
program's reset button for other users.
Construction
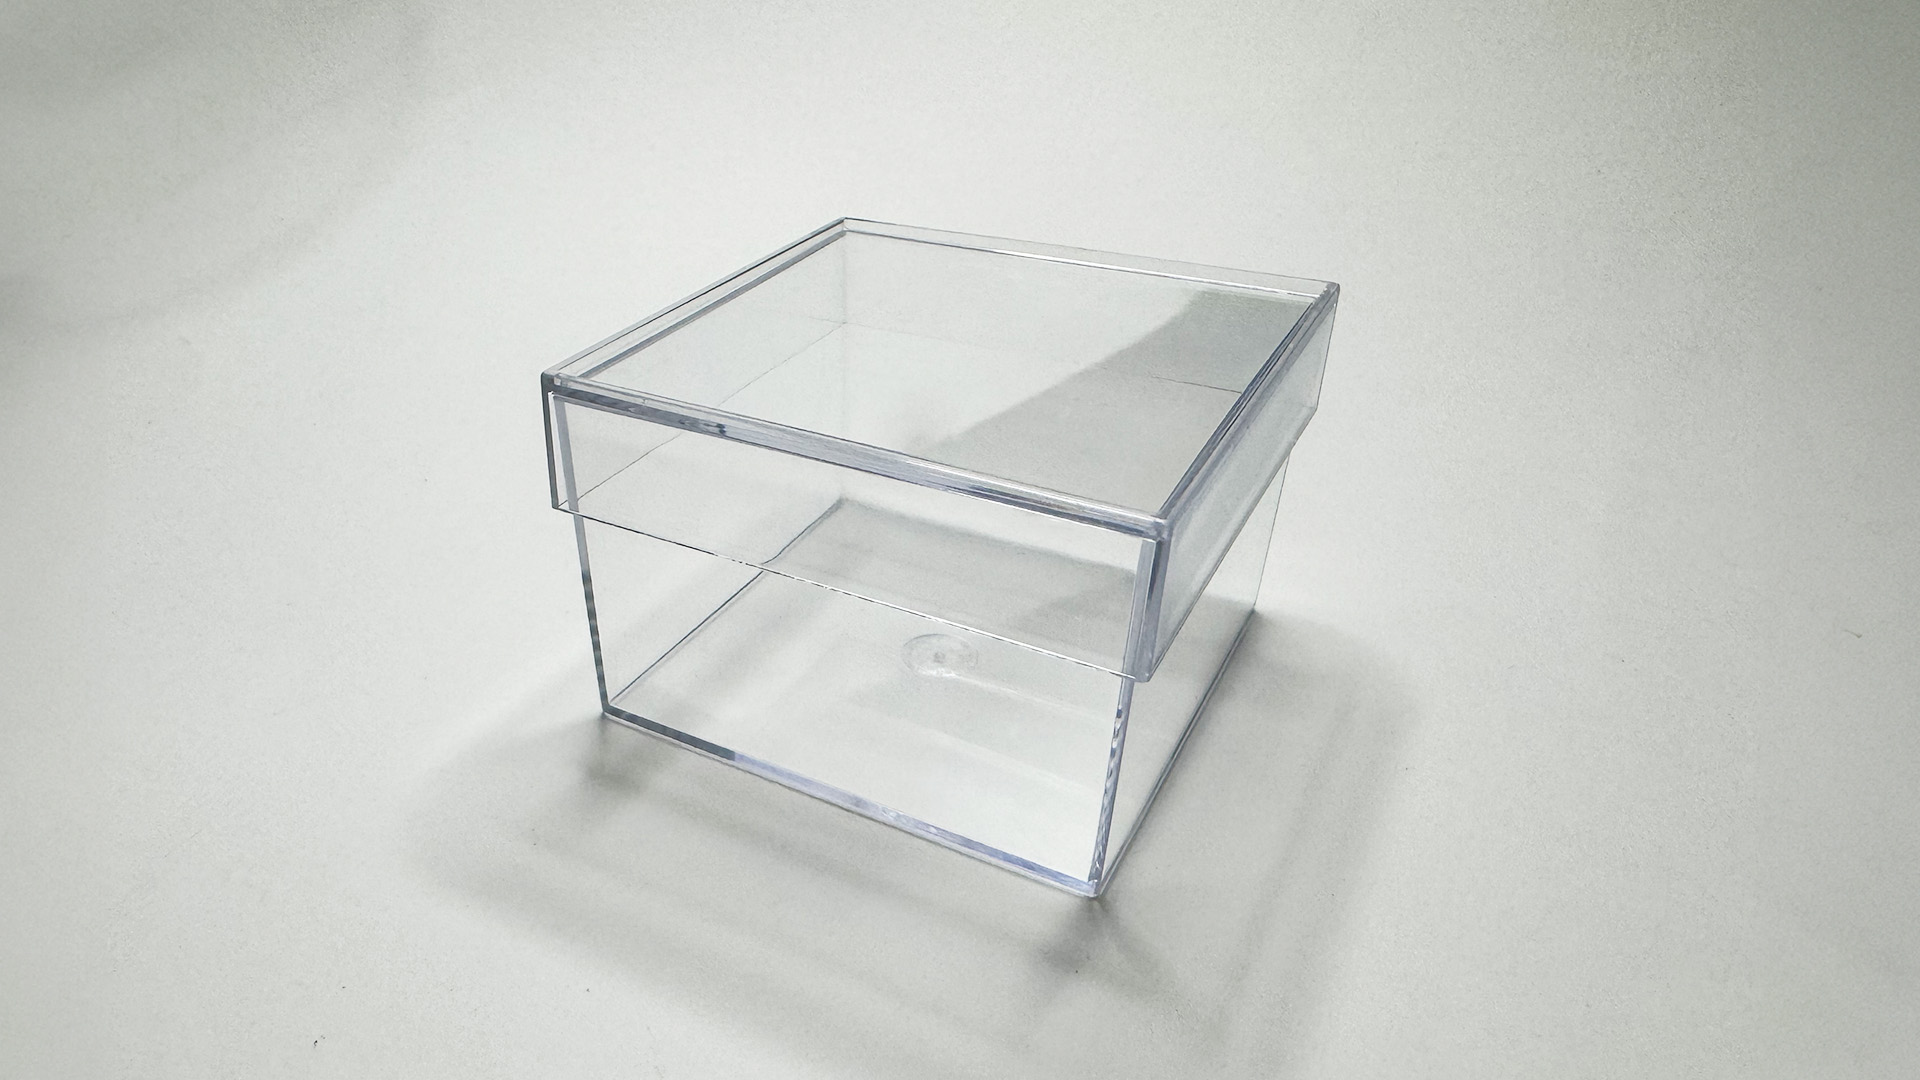
I made the decision to encase the wires inside a transparent acrylic box after
completing the major portion of this project, which involved wiring the components and
coding. Since I consider the box as our brain or mind and the clear acrylic case as an
invitation to inspect the interior wiring, which acts as a visual metaphor for the inner
workings of the mind, I felt it would be a good idea to put it in a clear acrylic case.
It illustrates the intricacy of attention as well as the different factors that affect
cognition. In addition, enclosing the wires inside the box gives the design a more
sophisticated touch. It symbolises the organised and disciplined mind, suggesting that
beneath the surface of apparent chaos, there is a structured and systematic
foundation.
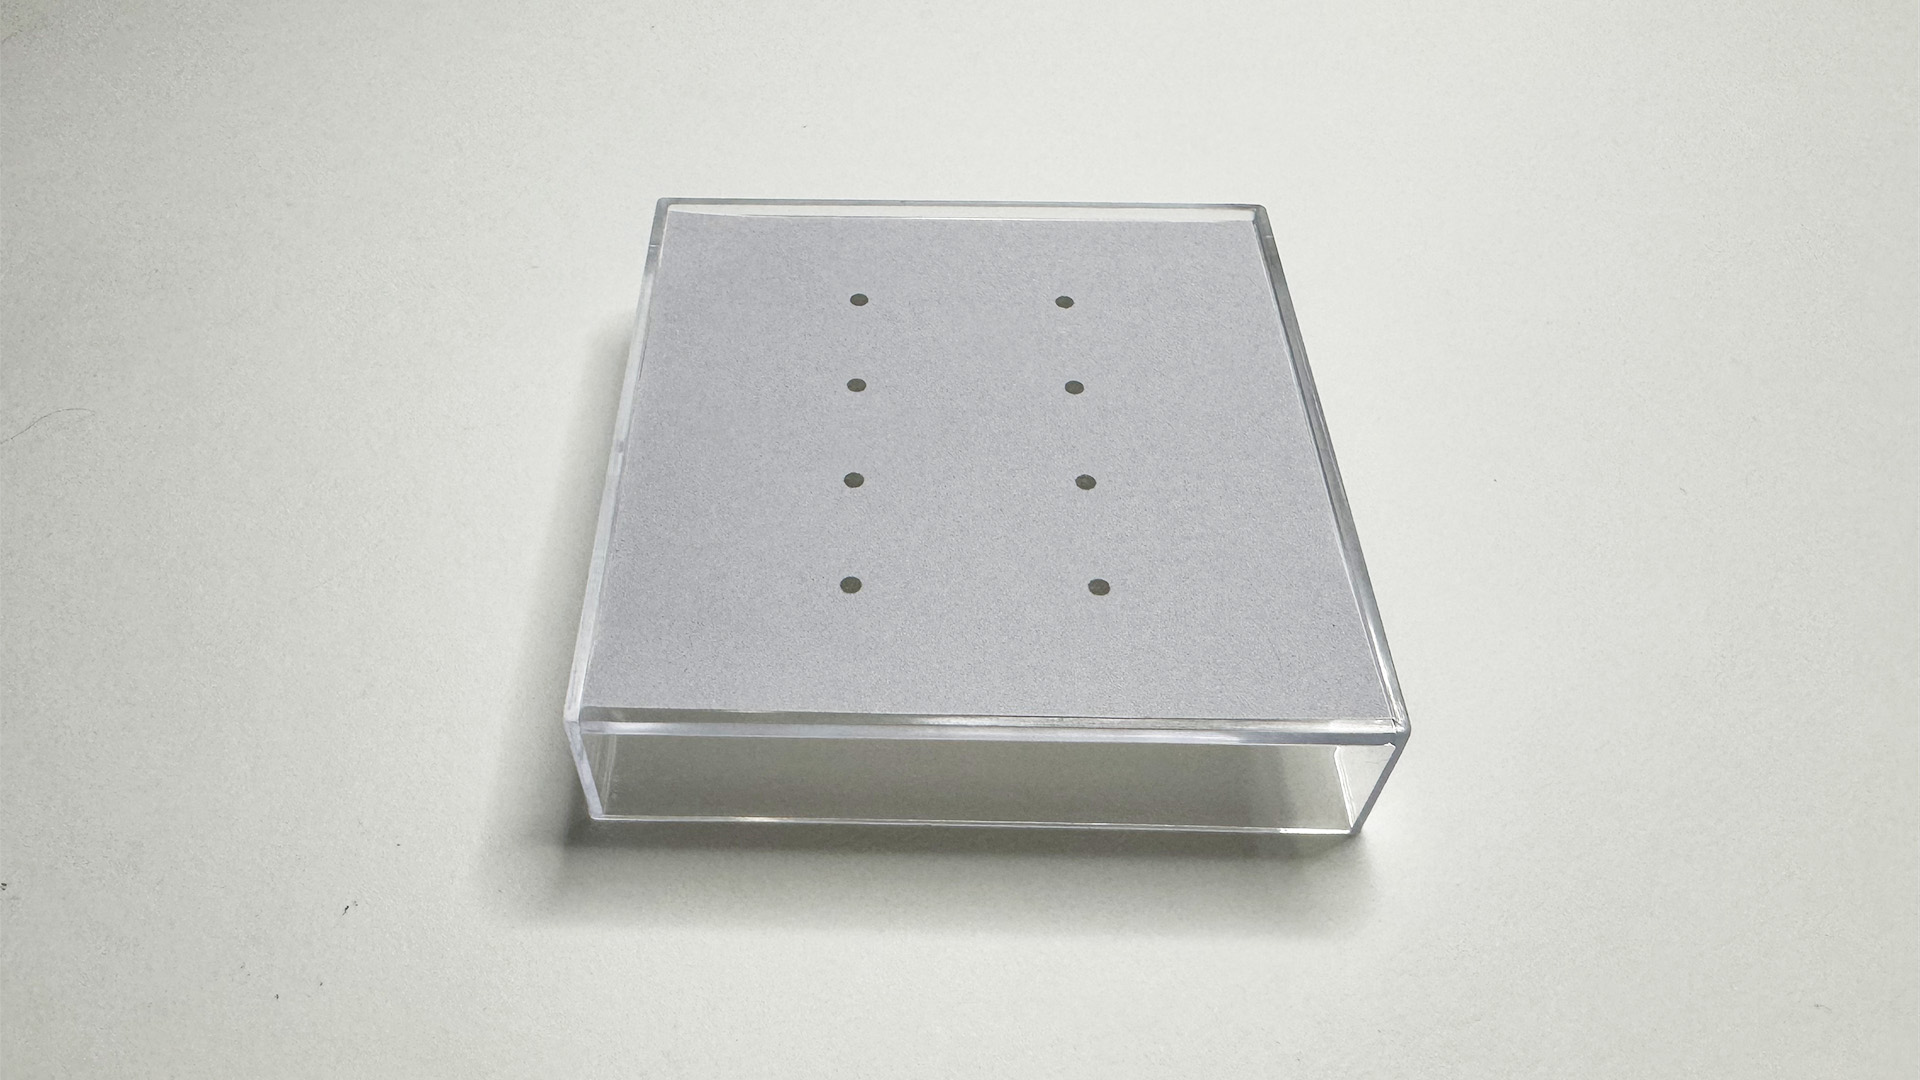
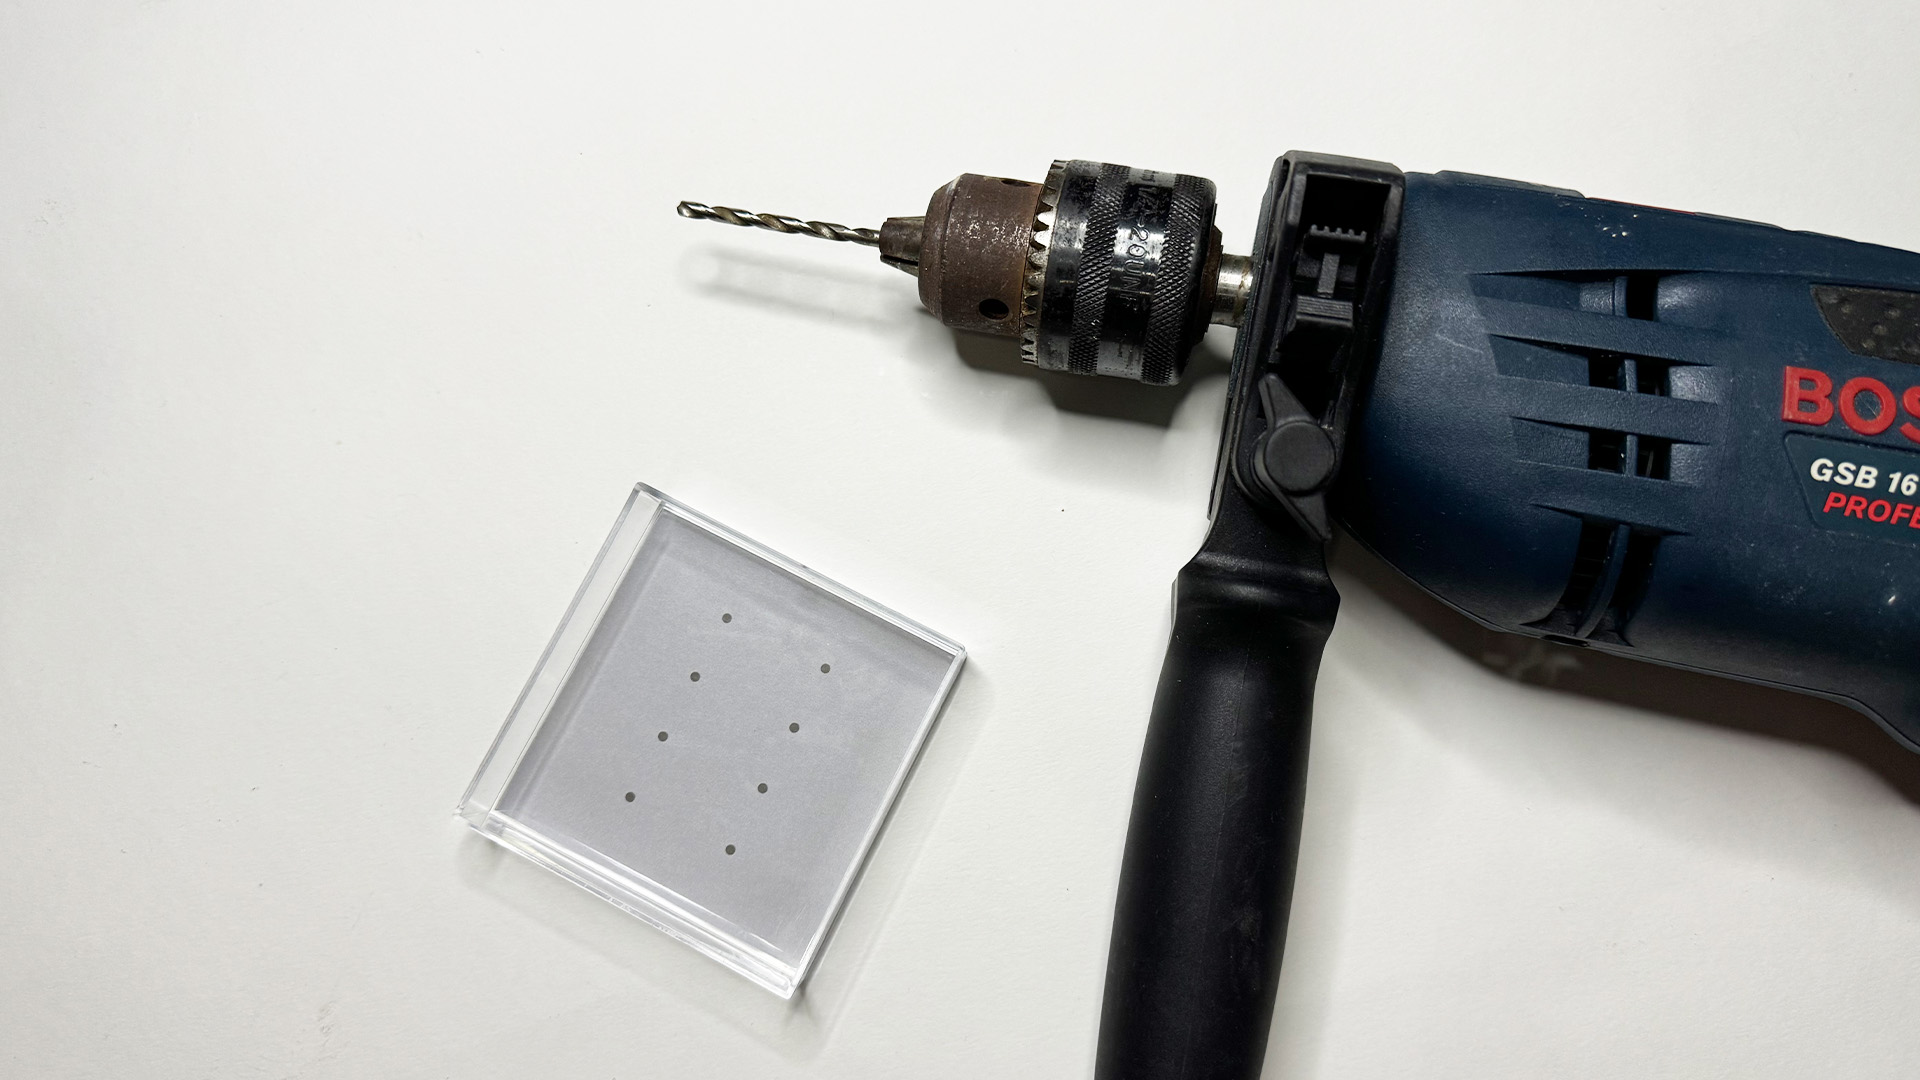
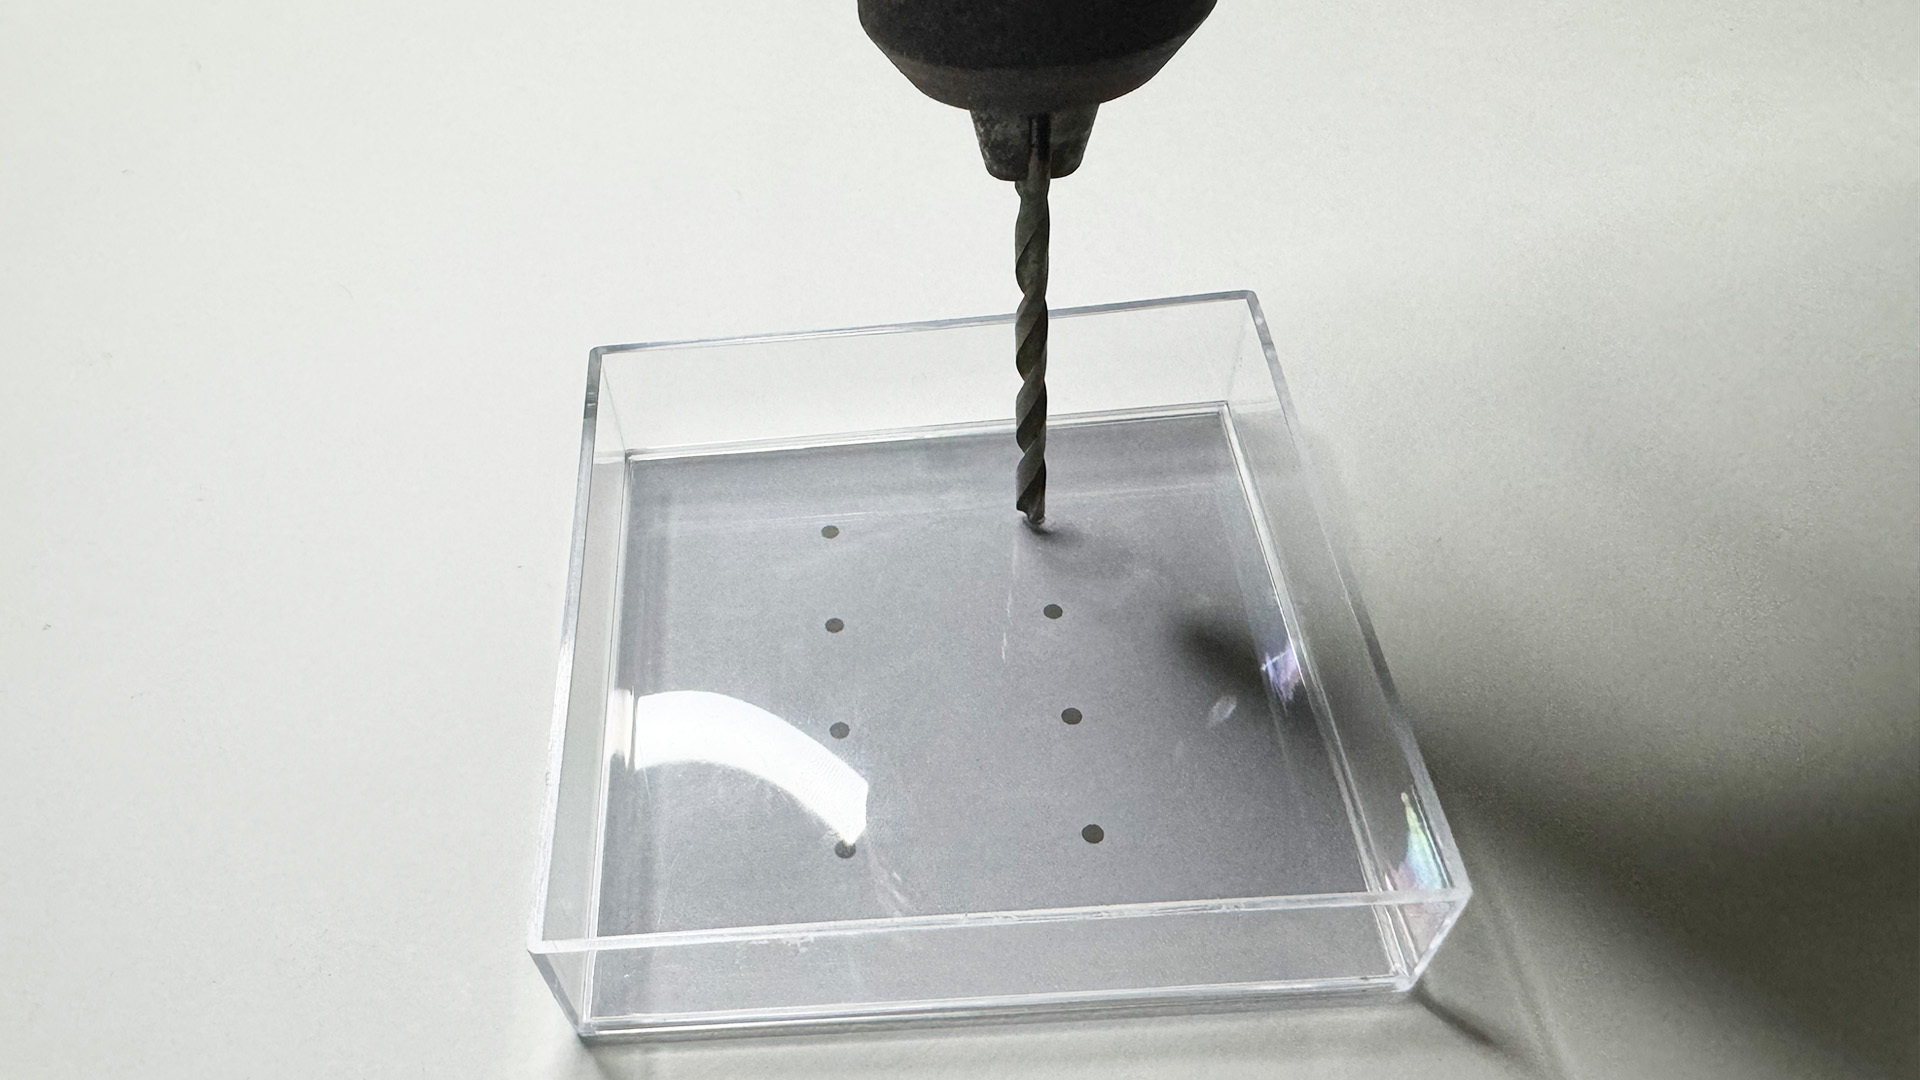
I made a basic template in Illustrator to mark out where my buttons
and LEDs should go, and I printed it out to serve as a reference when drilling holes in
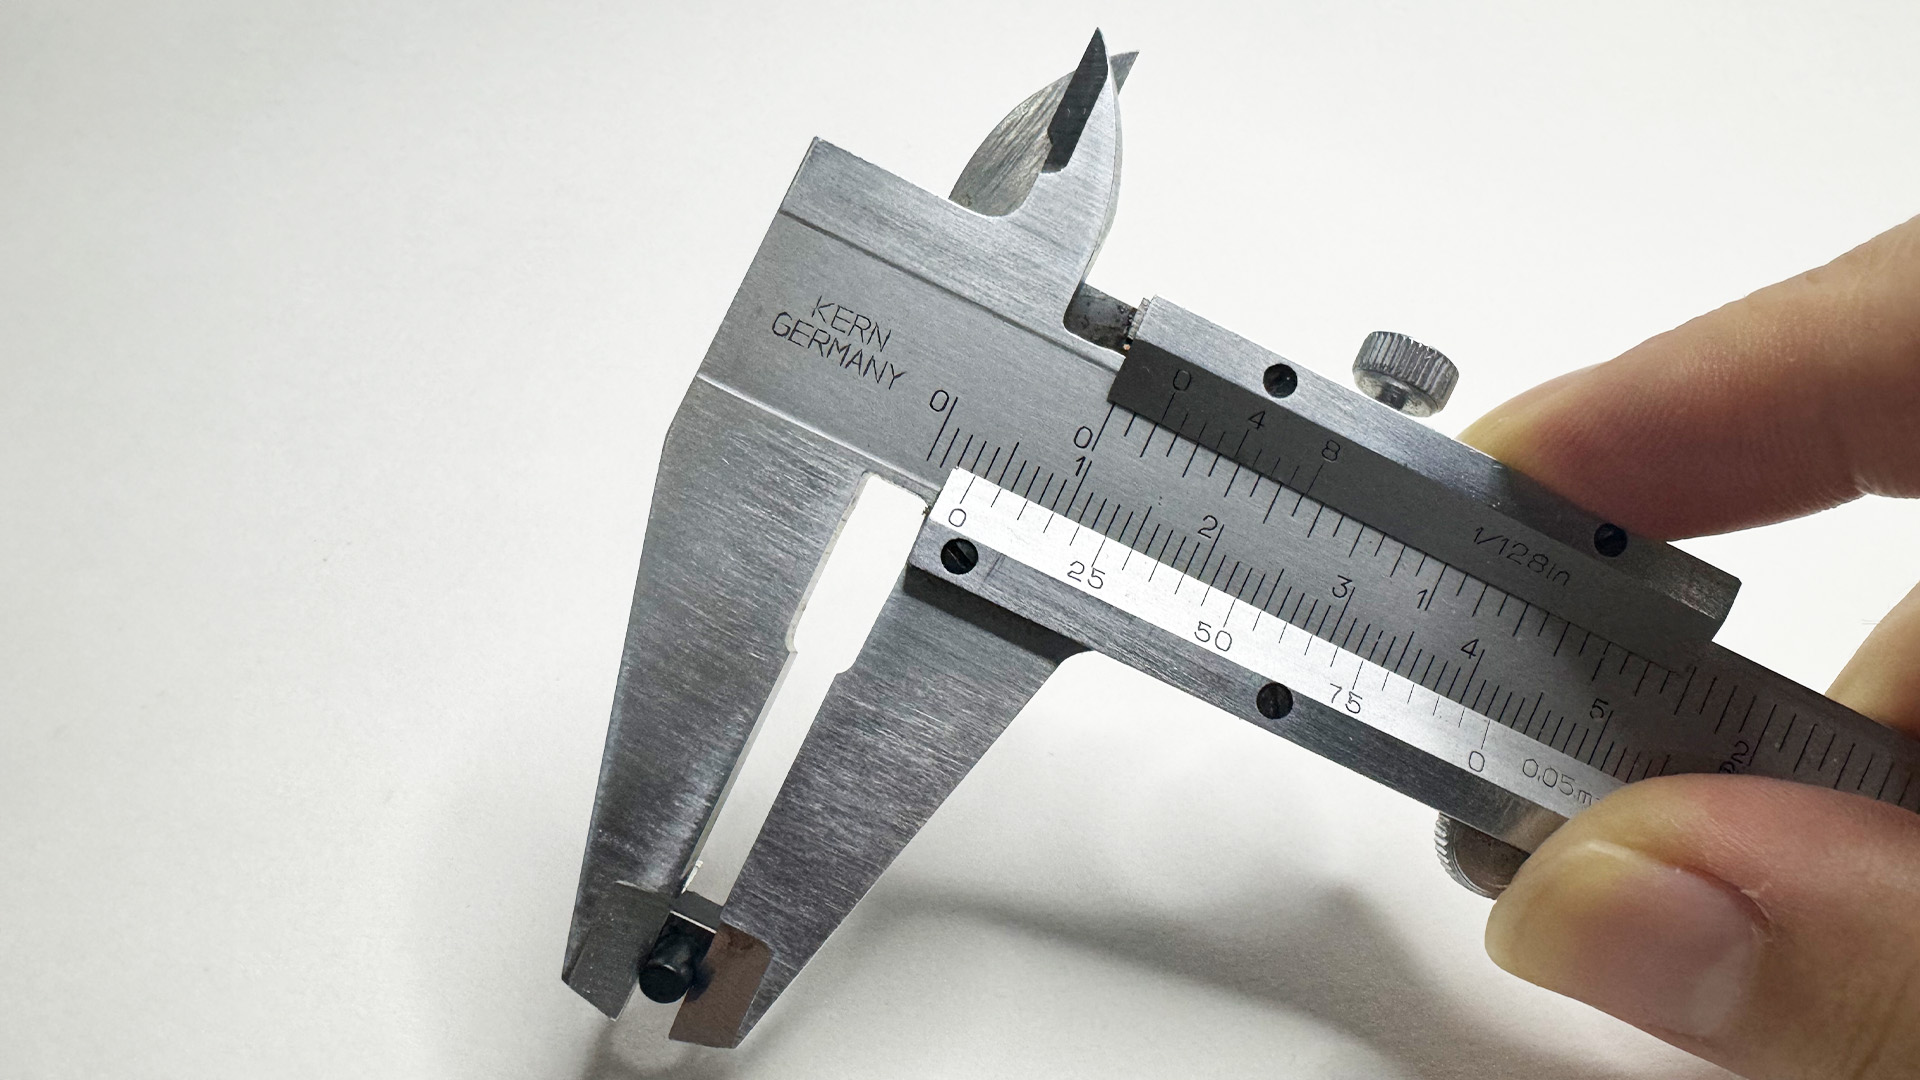
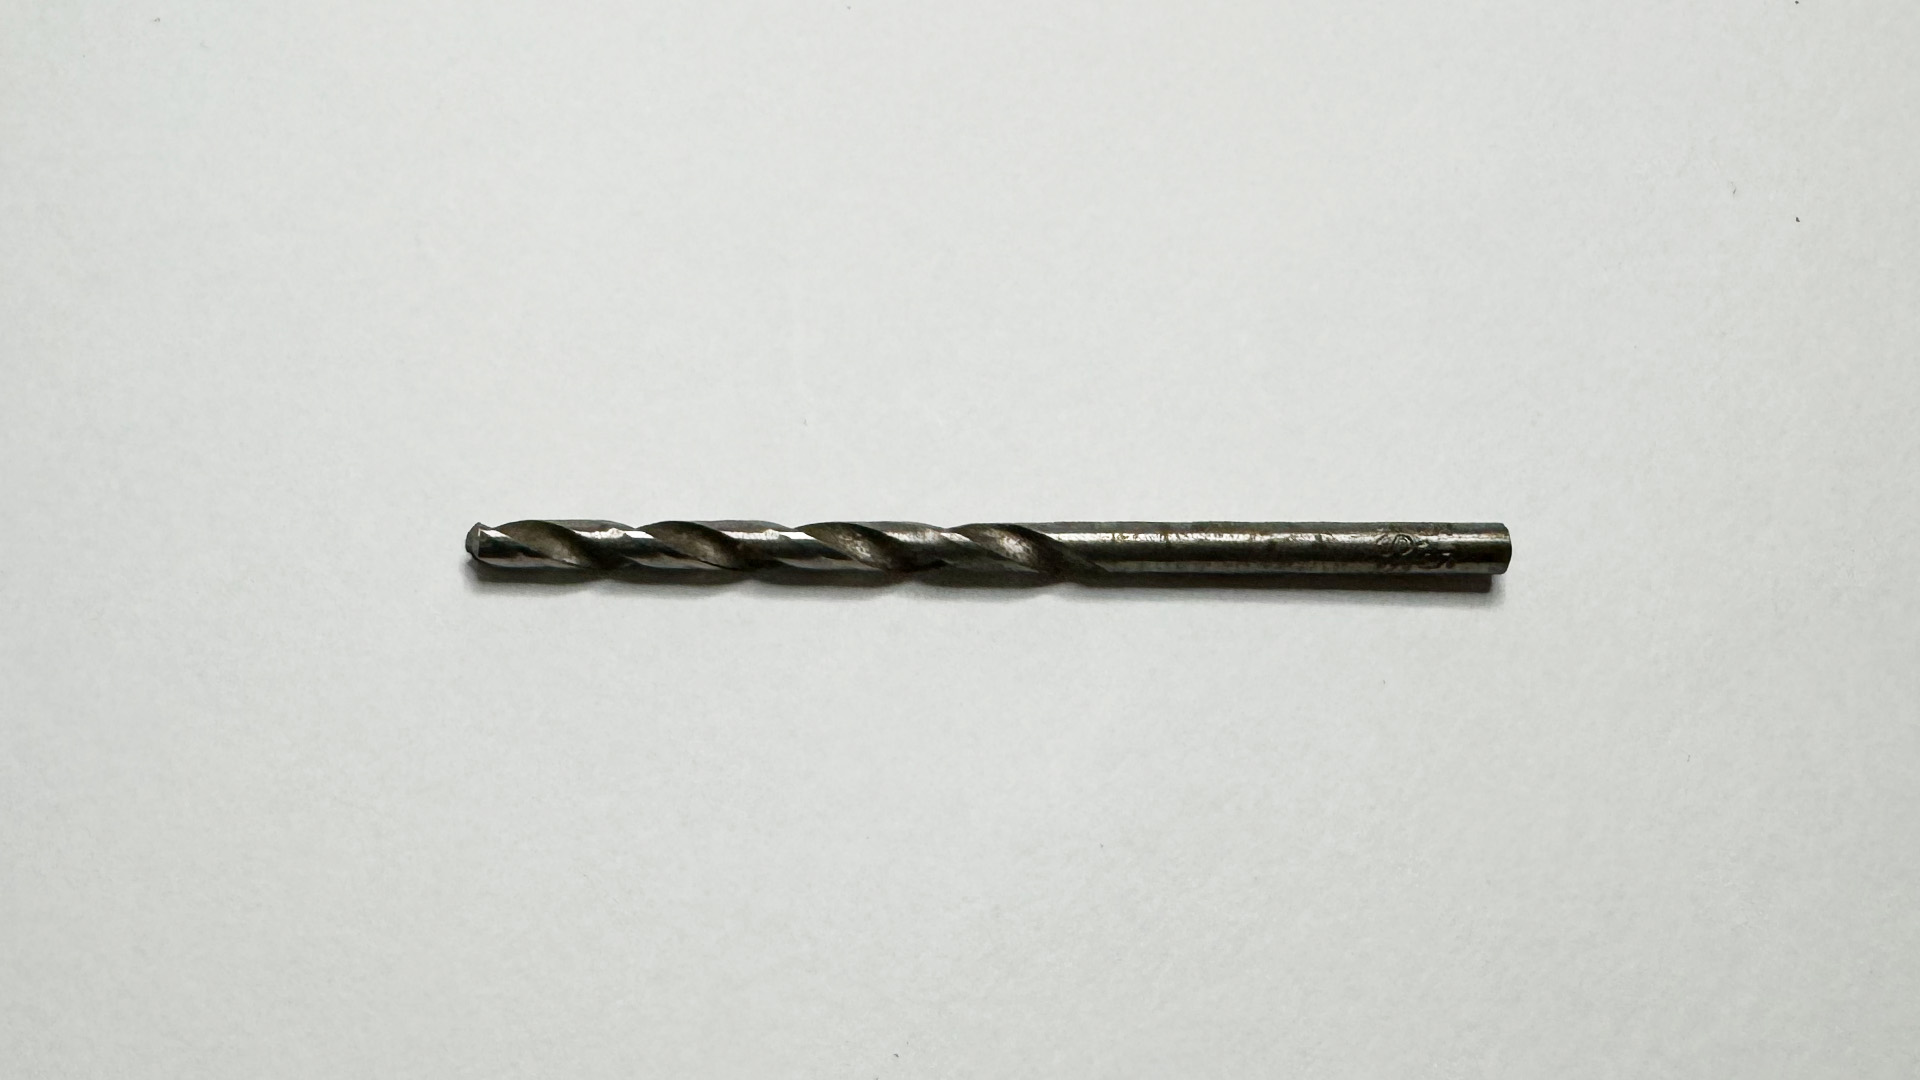
my case. I measured the buttons' diameters with a vernier calliper, and that allowed me
to choose the appropriate drill bit size. I then tried to drill the holes that my
template had indicated using my electric drill.
Since I didn't have the proper clamp to hold the acrylic cover in place, I had to drill
the hole slowly so as not to damage it. The drill passed through the hole pretty neatly,
but little cracks started to appear all around it. I guessed that it was because of the
lid's somewhat elevated form and the fact that its surface did not lie flat on the
surface I put it on.
As a result, when I tried to drill through it, the surface
somewhat bent. Even while it doesn't really change how this experiment is used, I felt
it looked sort of ugly and chose to come up with a different way to make the hole.
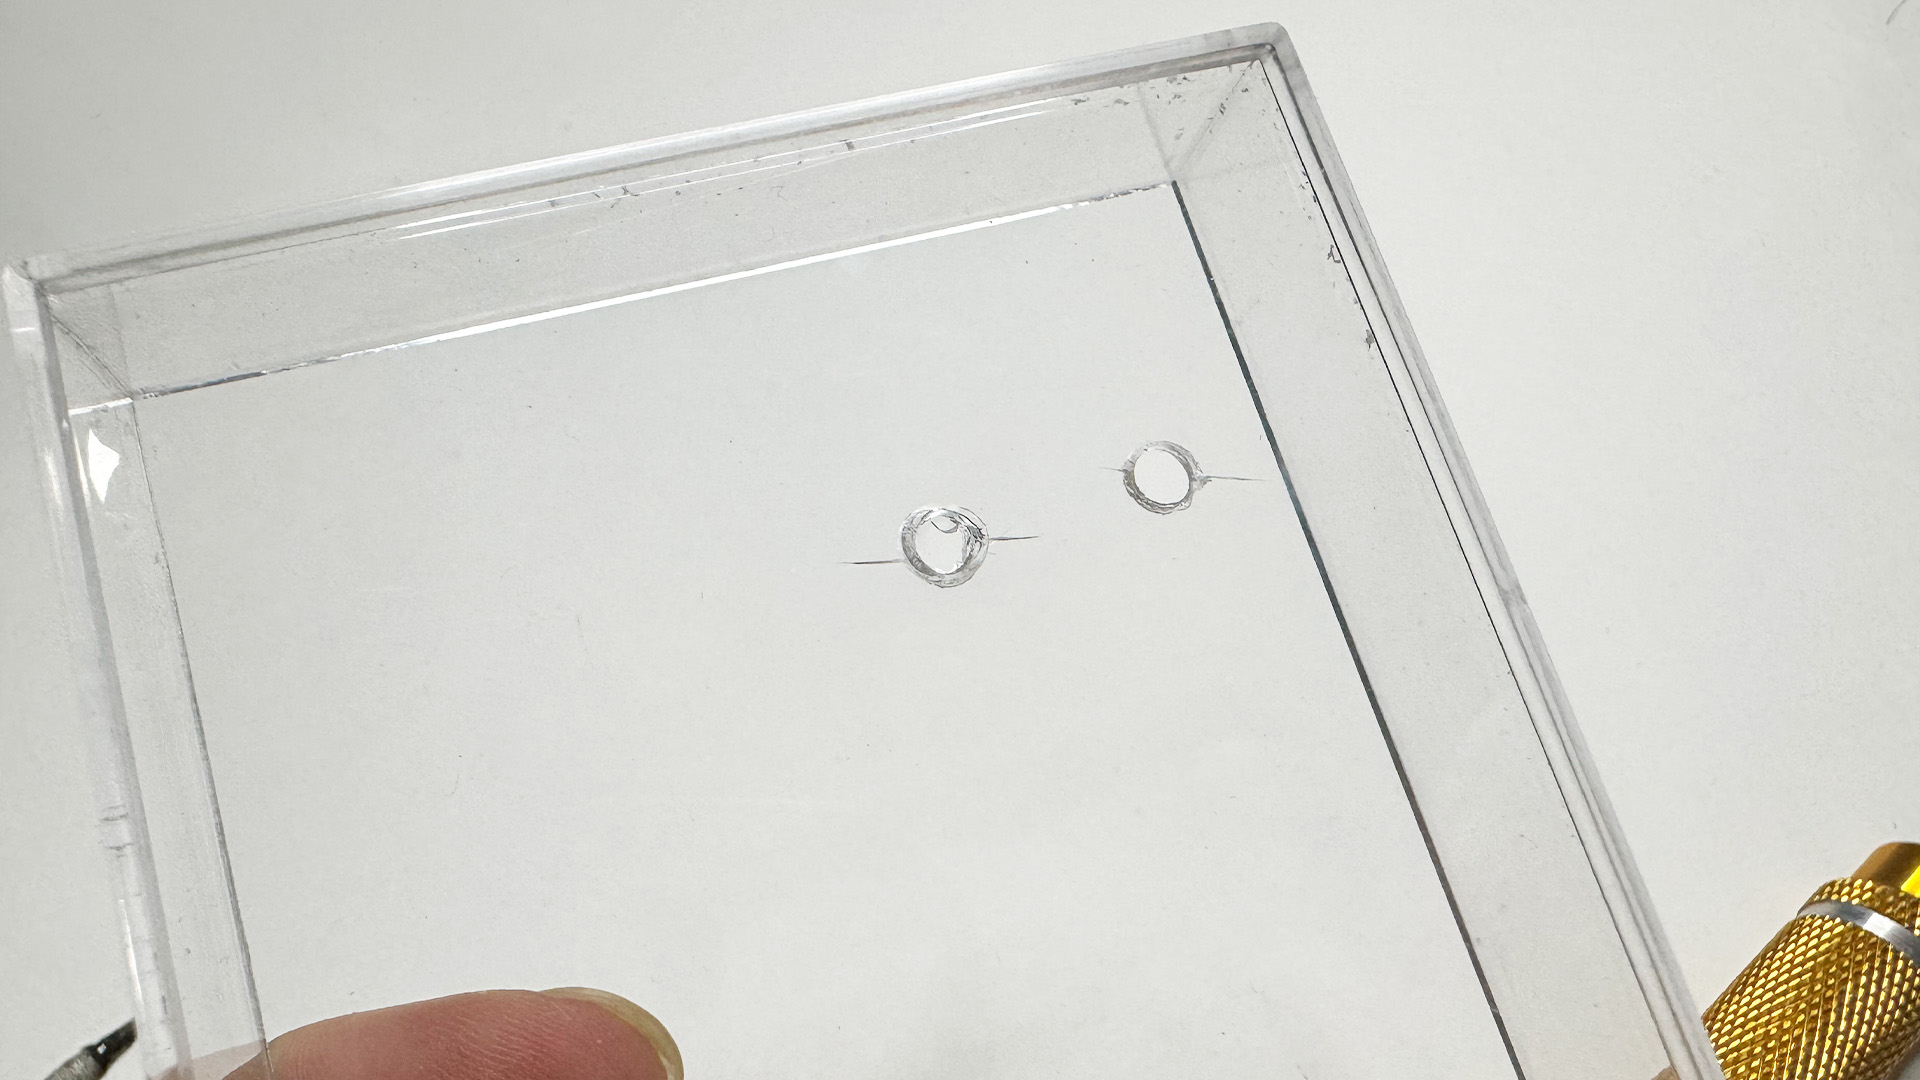
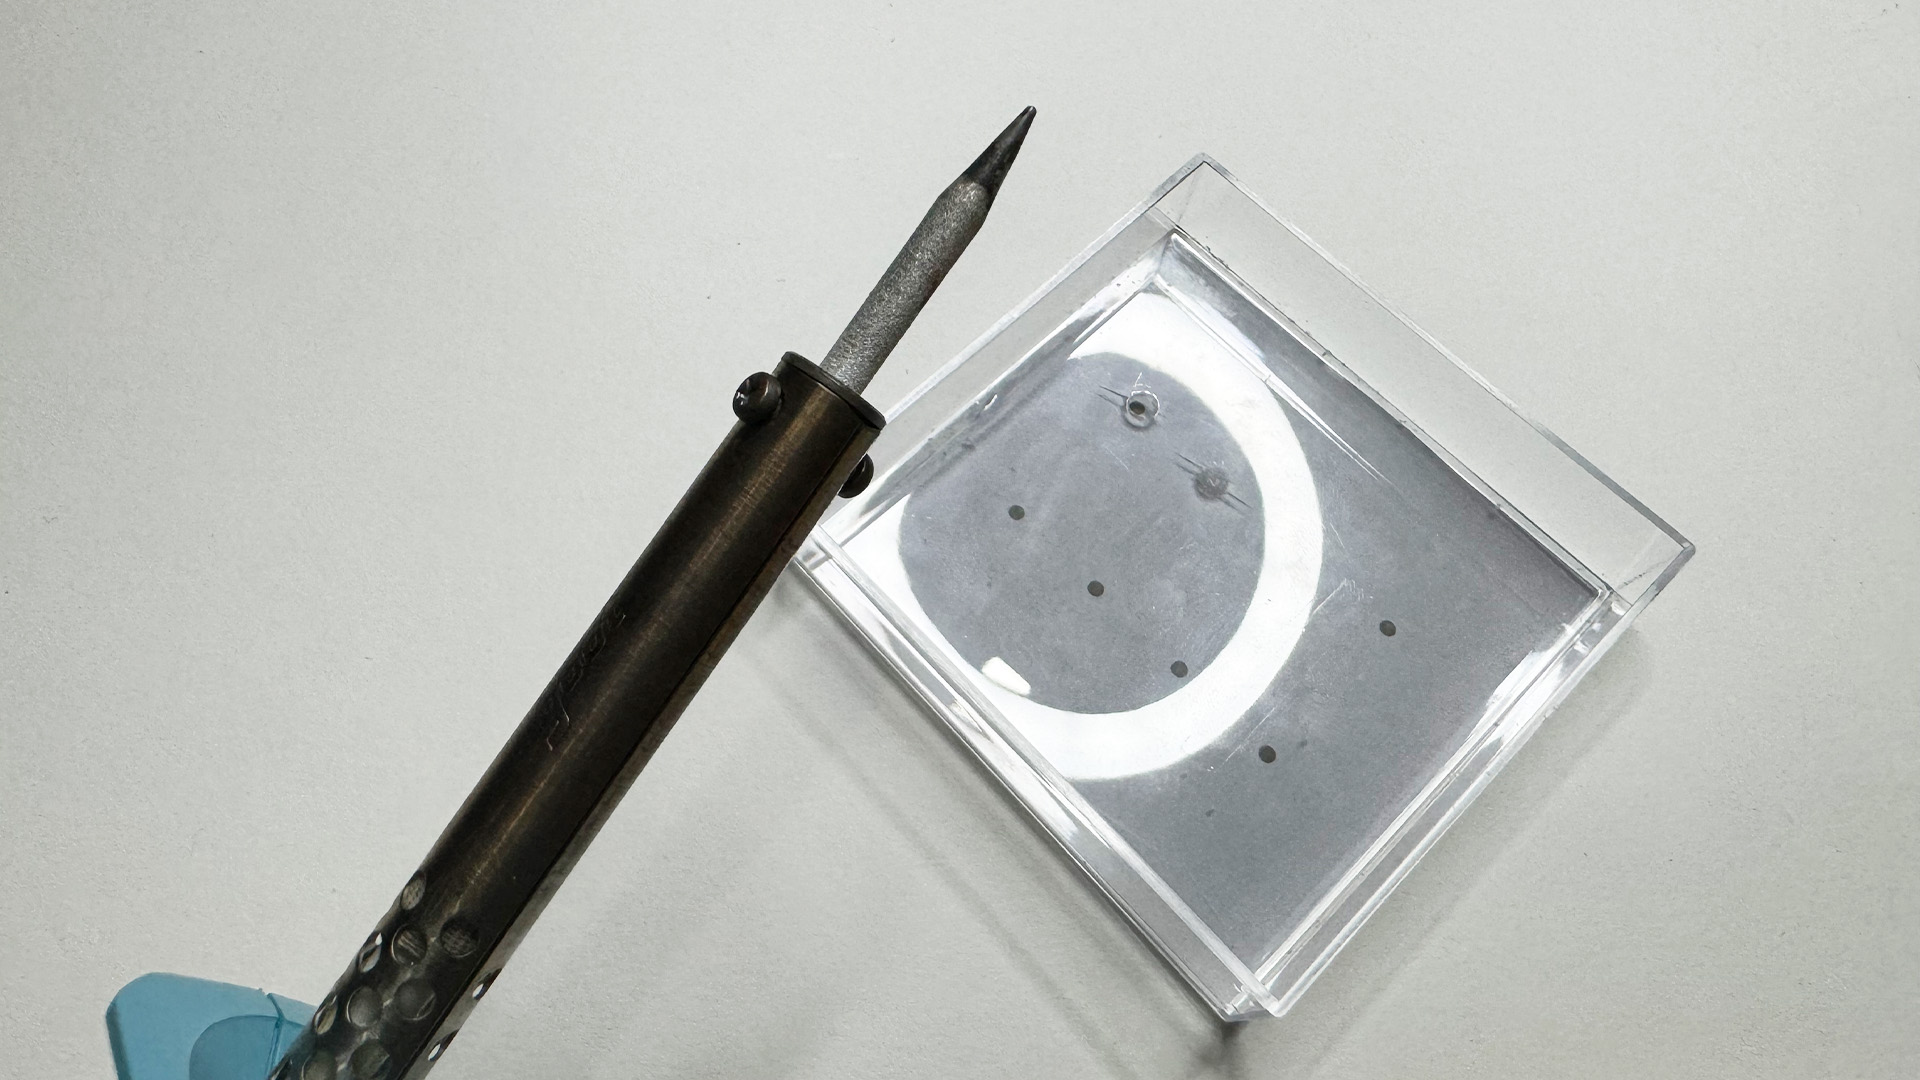
I had the idea to burn a hole through with my soldering rod to create a smoother, crack-free circle. But I was concerned that the uneven surface might result from the melted plastic. When using the rod to melt through, I made sure to clean the rod between holds and tried to minimise movement with my hands. The components that should have been there, however, did not lay flat because the plastic continued to collect around the opening.
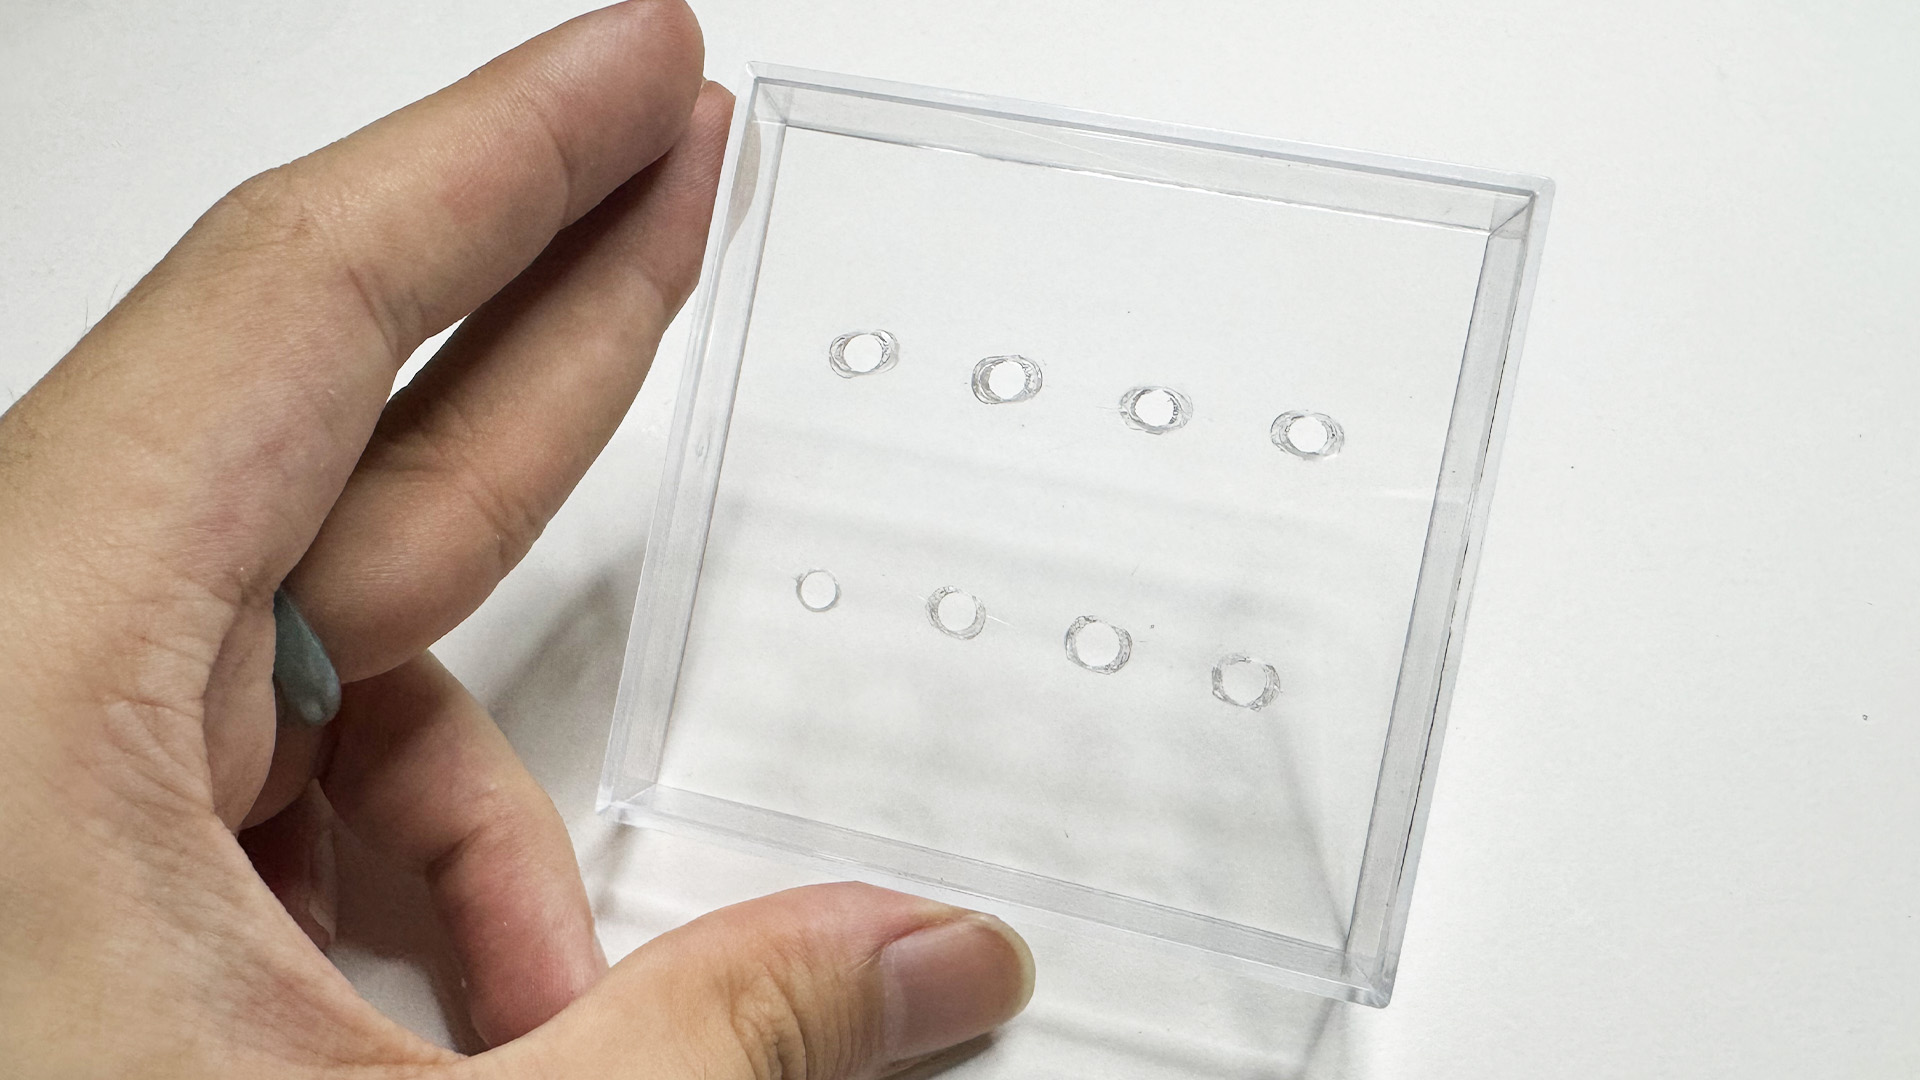
I had to make sure the surface was as level as possible using sandpaper so that the
parts would lie down correctly. But after sanding the surface, everything was hazy and
opaque and the acrylic lid's clarity vanished. The inability of the components to lay
flat was resolved, however I introduced a new issue where the case was
unclear.
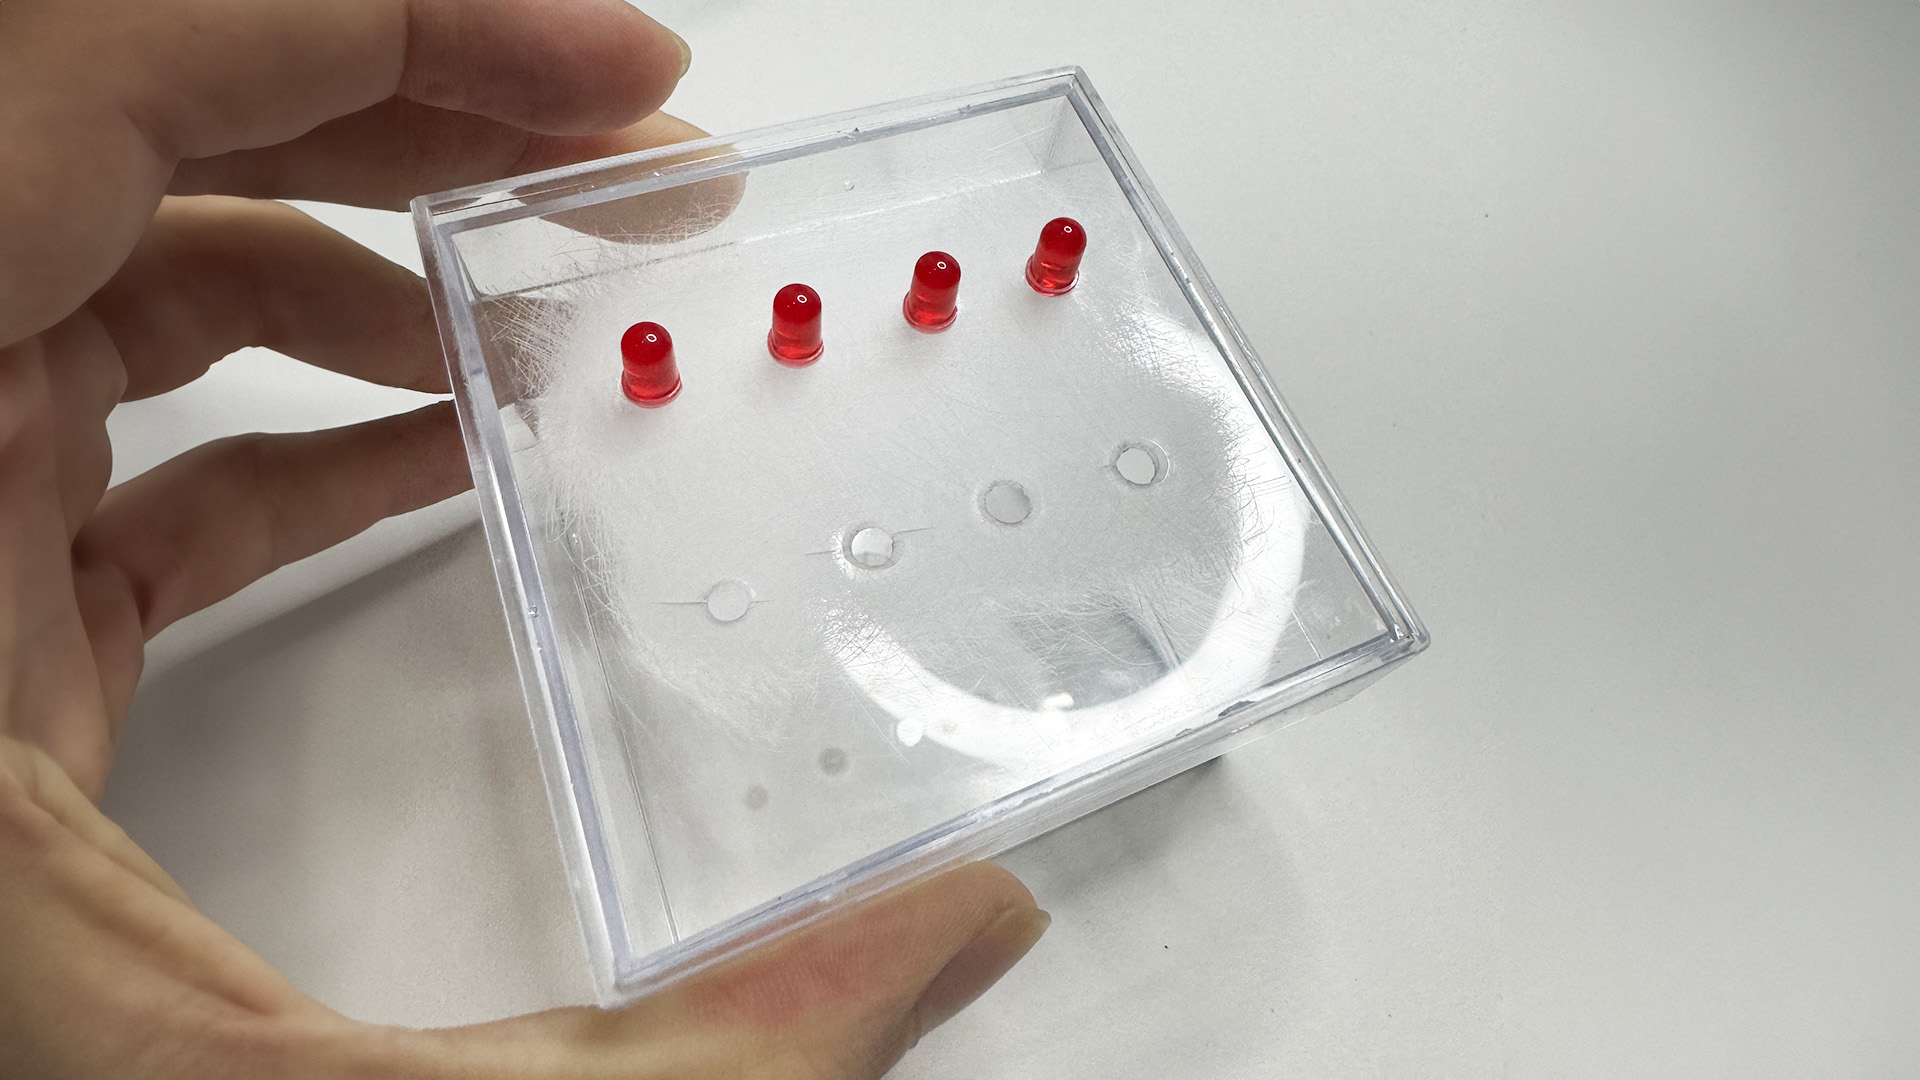
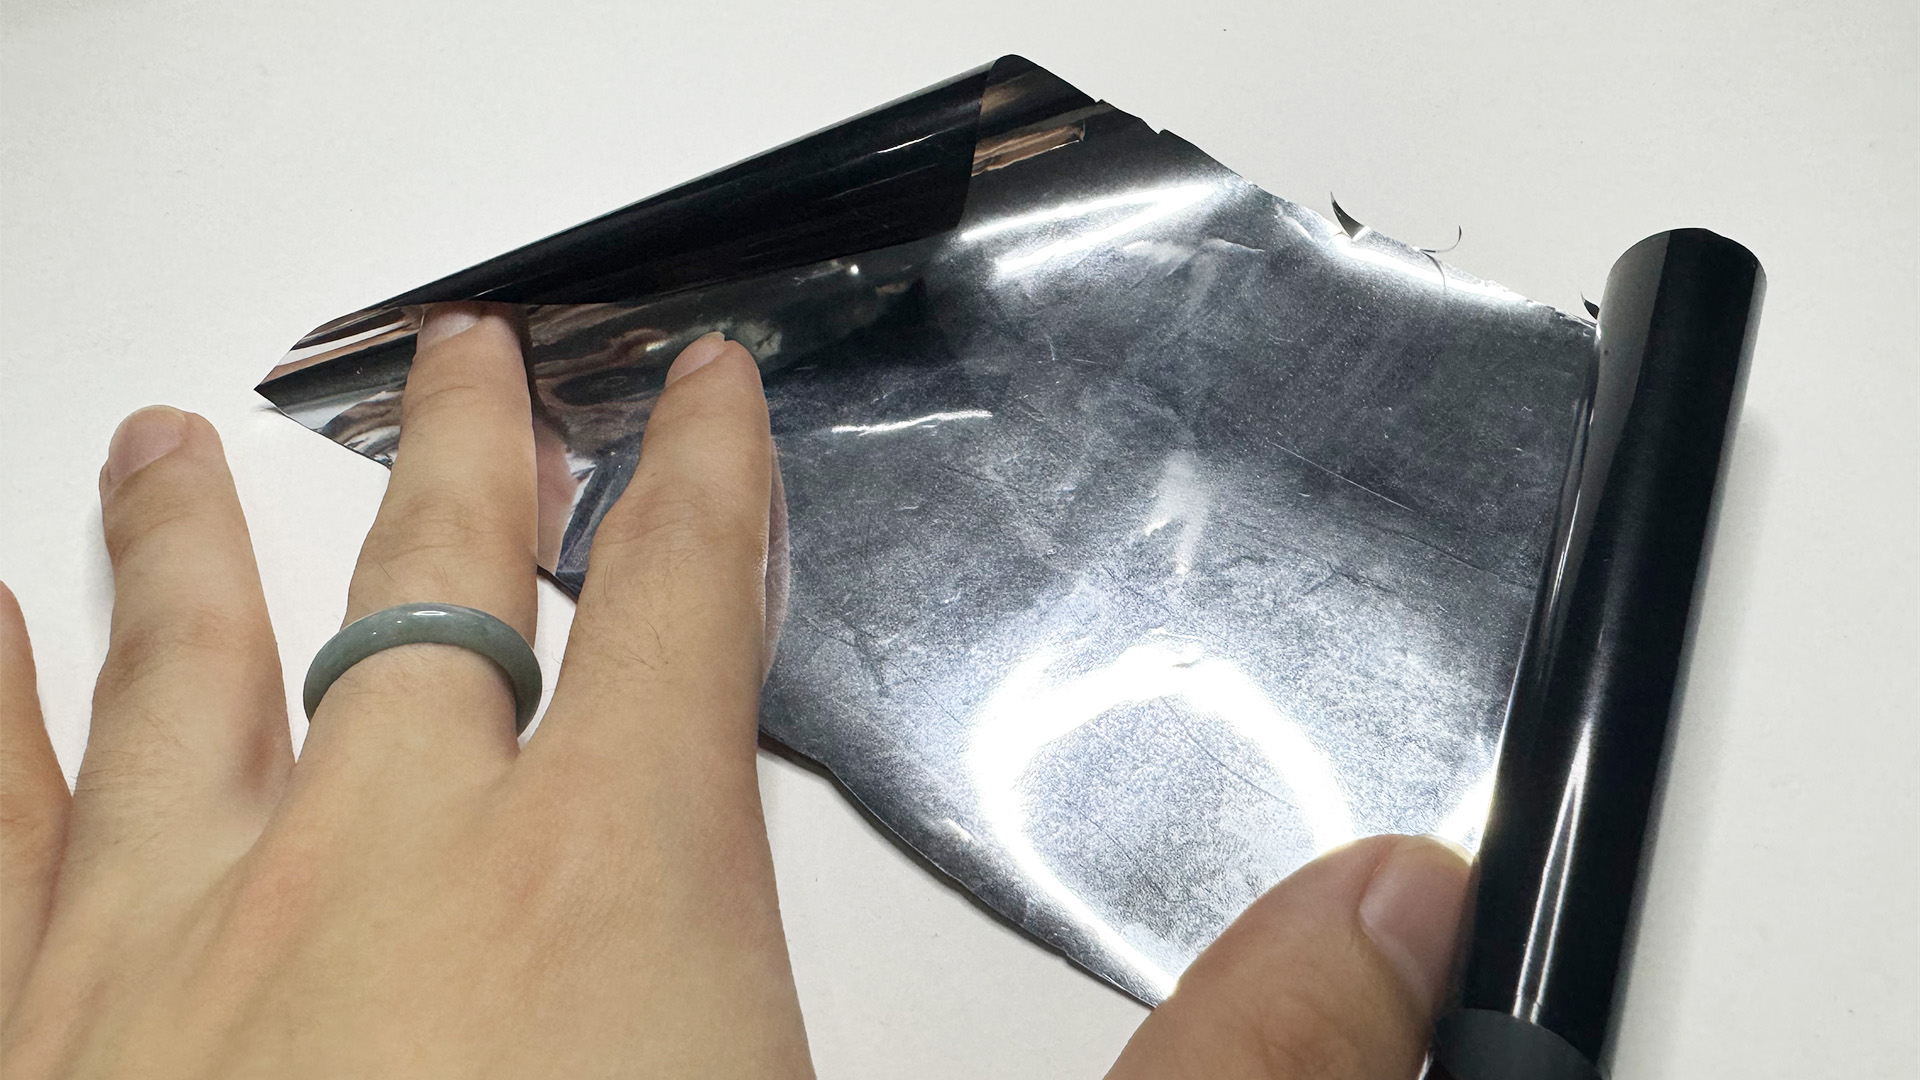
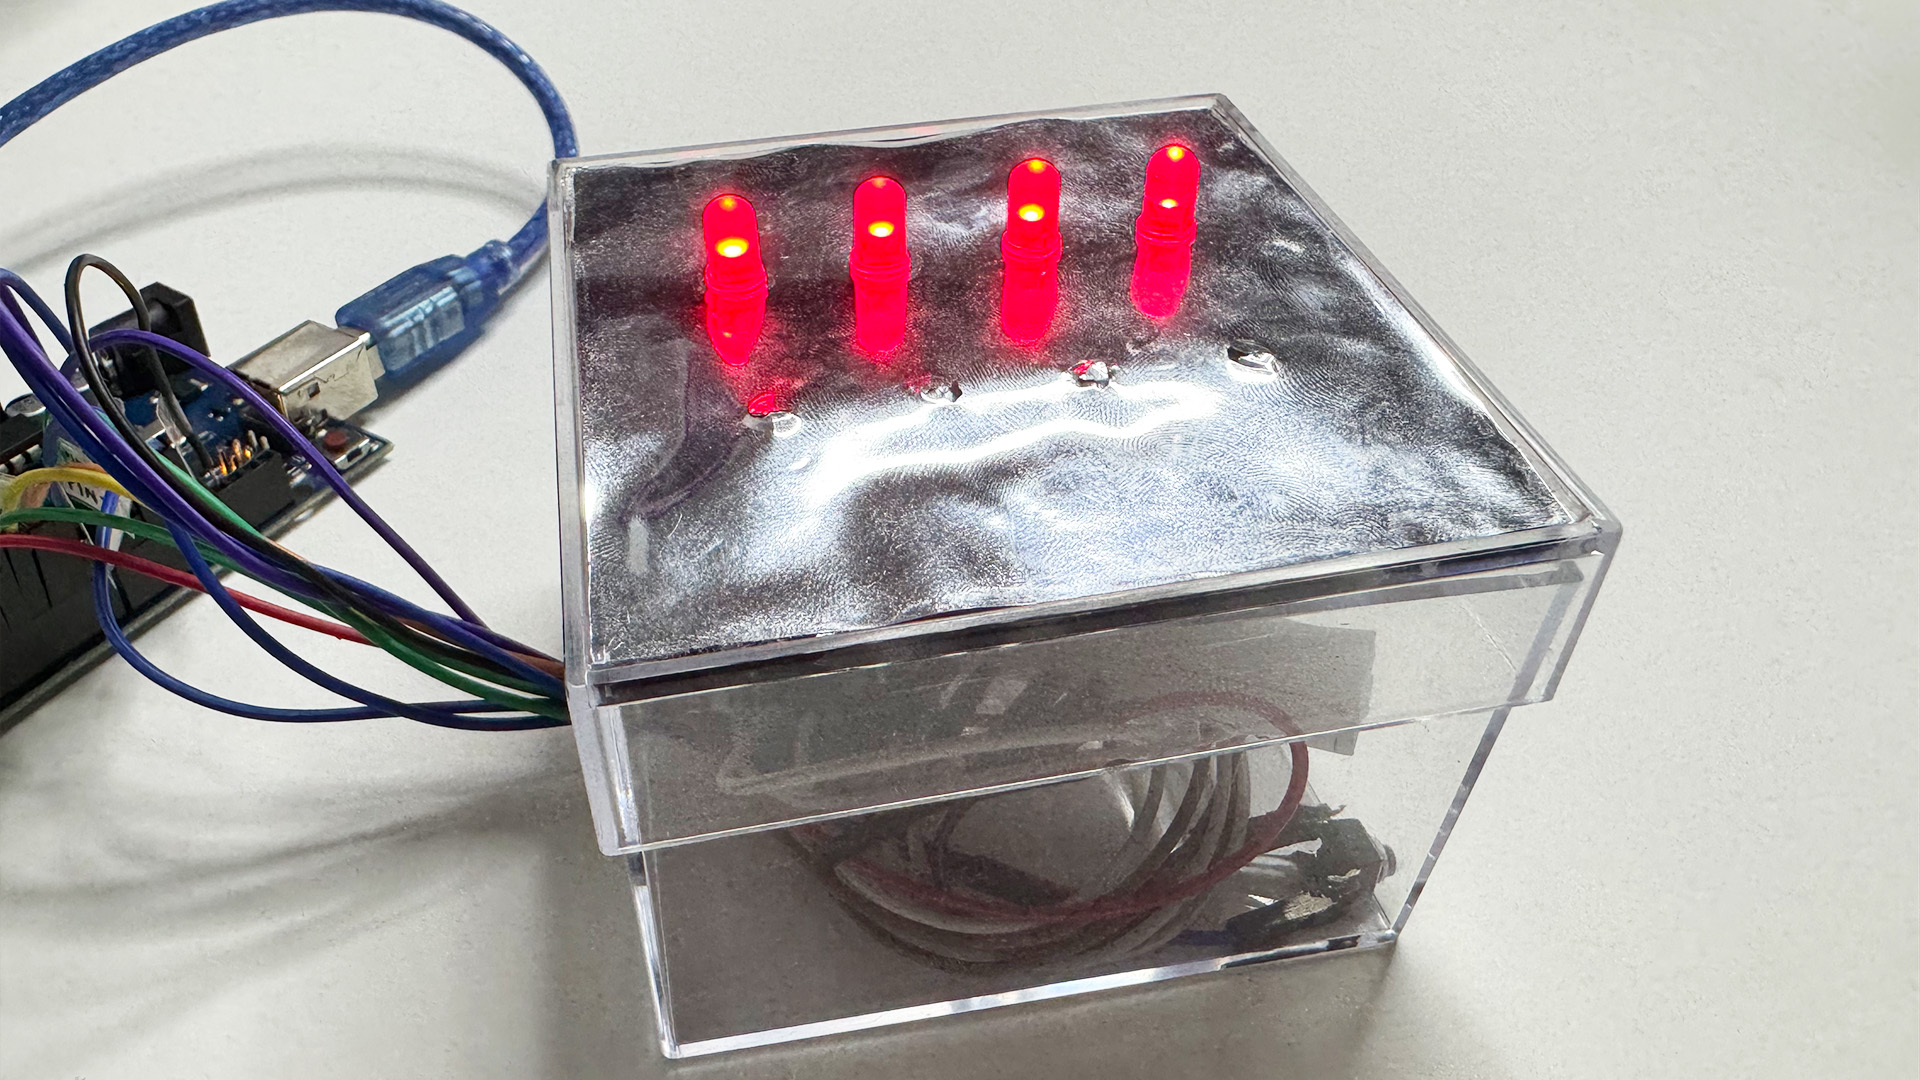
In order to hide my errors and shortcomings and to add some visual
appeal, I then considered cutting and pasting something to the lid. I came across a
metallic plastic sheet and reasoned that it would give it a more "robot" appearance and
feel because of its reflecting quality.
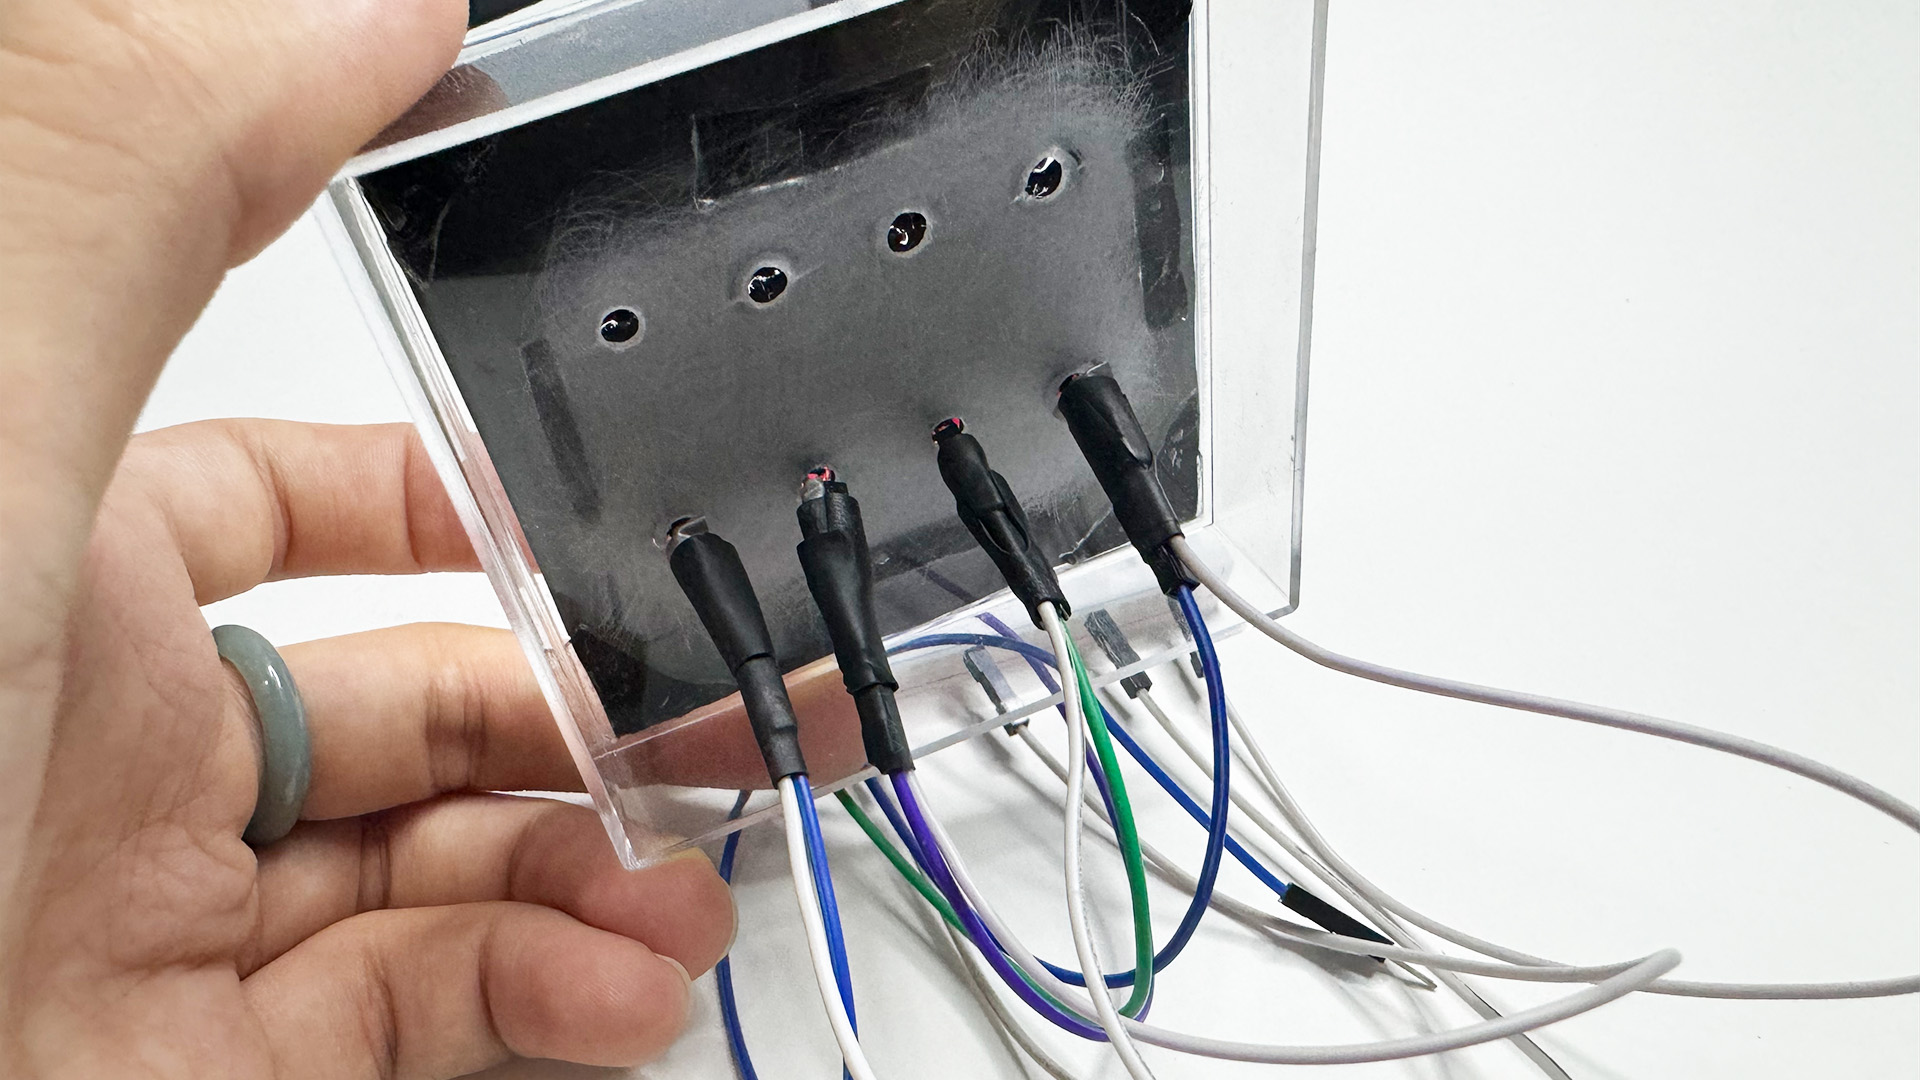
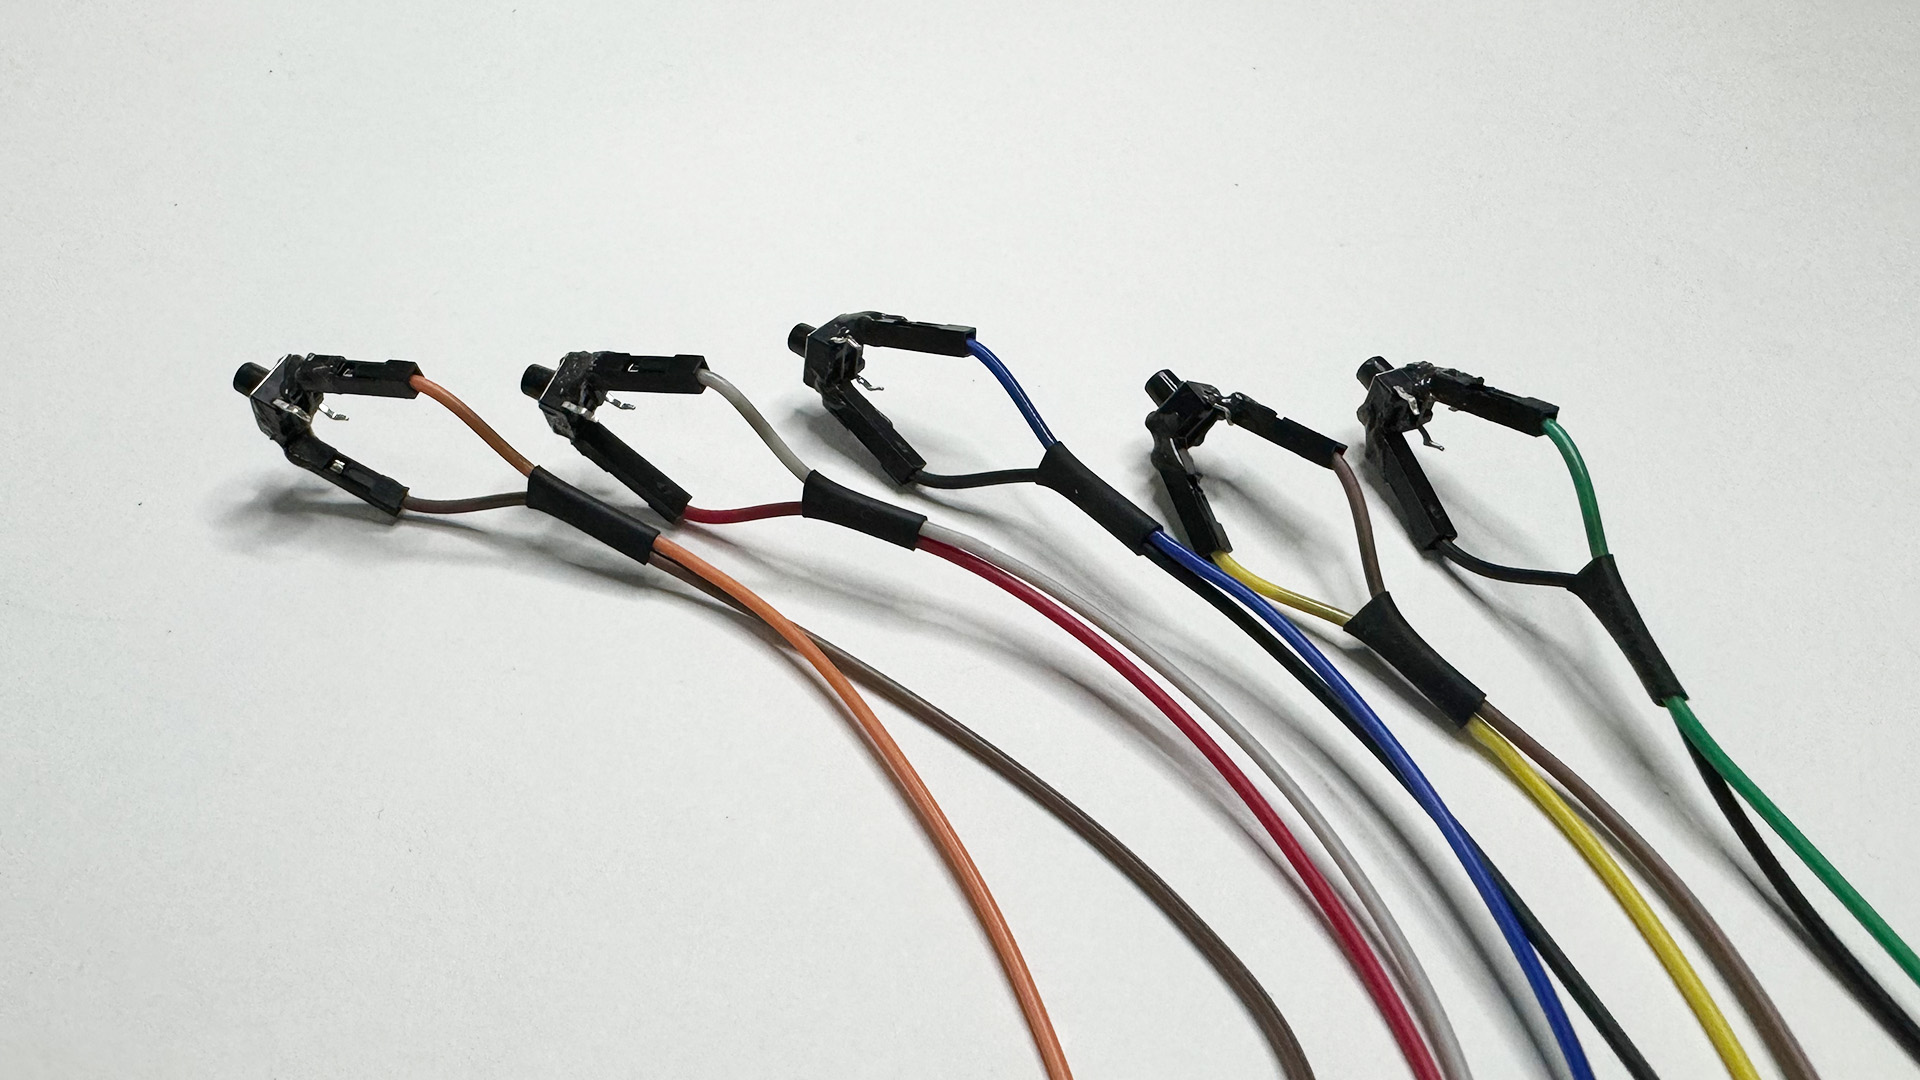
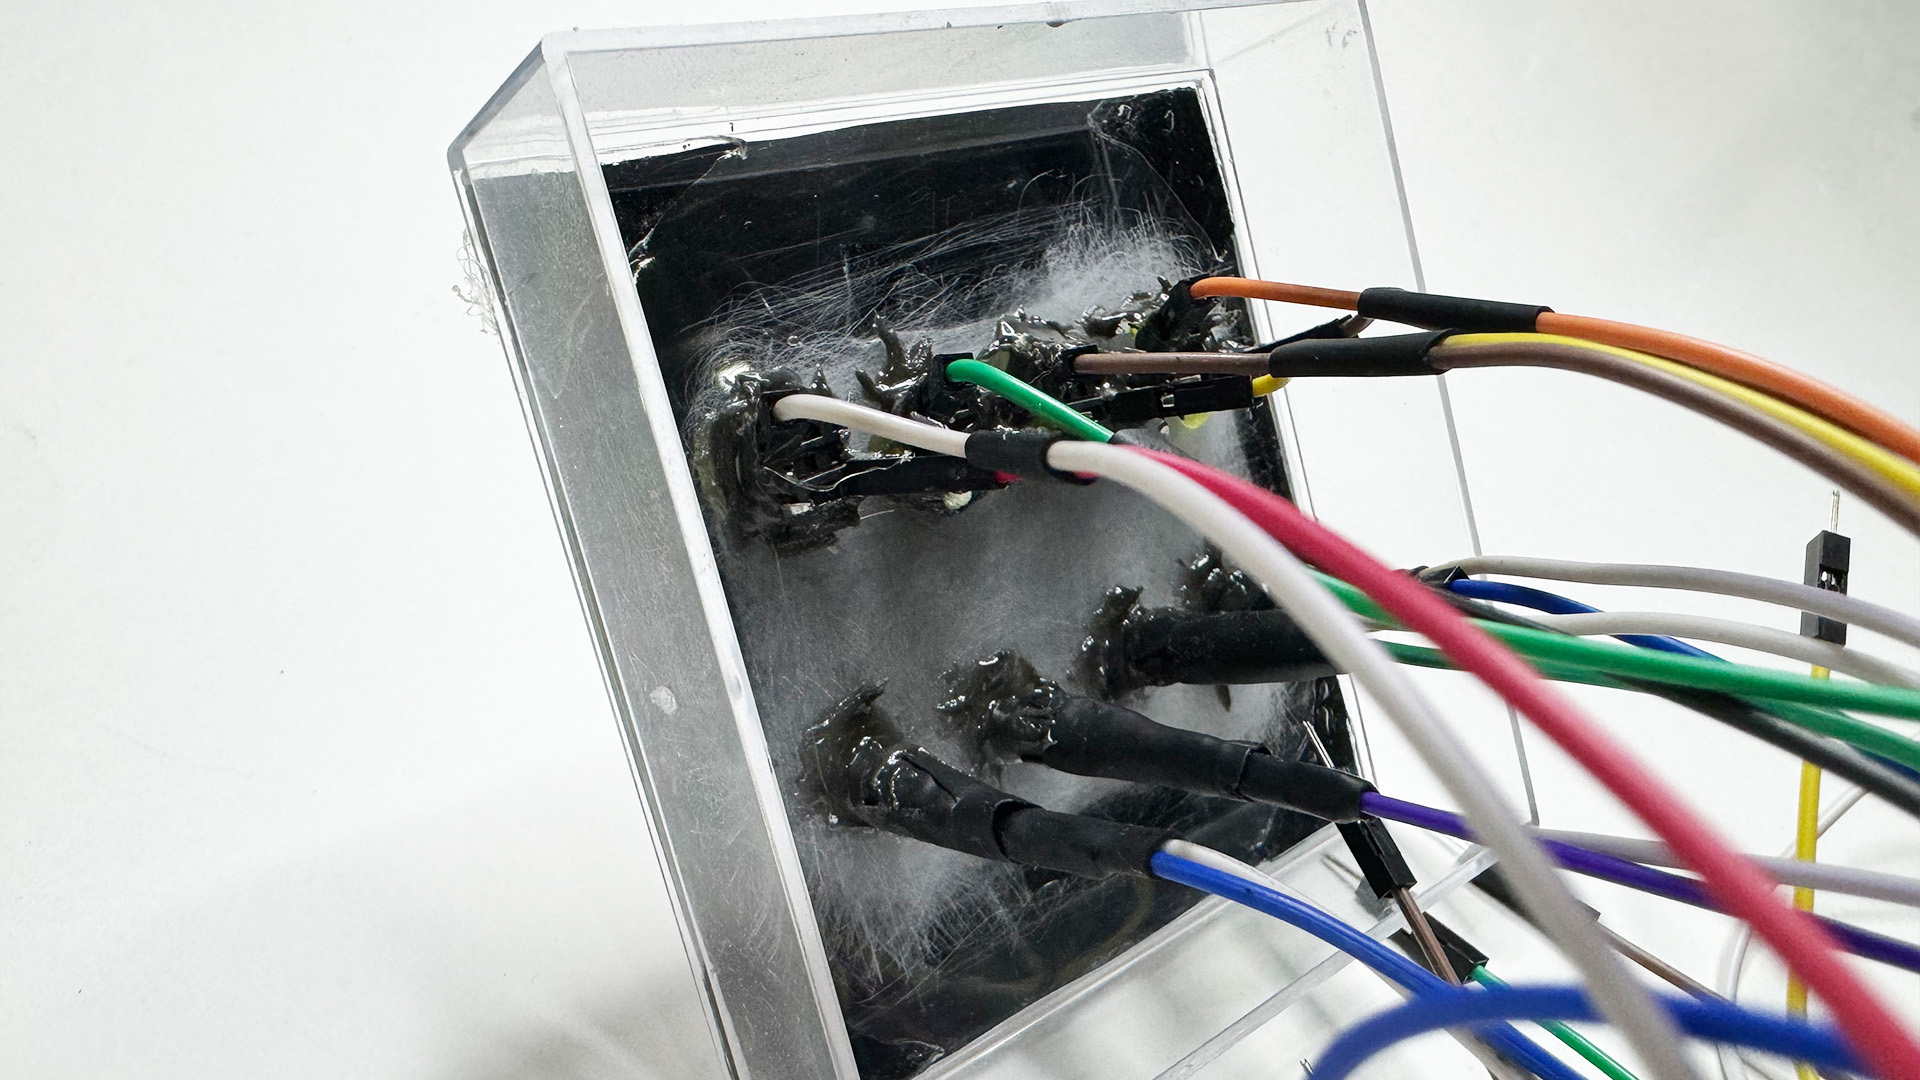
I attached the wires to the leds and connected them through the hole, wiring my
components using earlier techniques without the need for a breadboard. Using heat shrink
tube and tape made connecting the wires easier because the LED's connecting point was
long. The buttons did, however, have a very small connection point for my wires, meaning
that as long as there was movement in the buttons, the wires might easily come loose
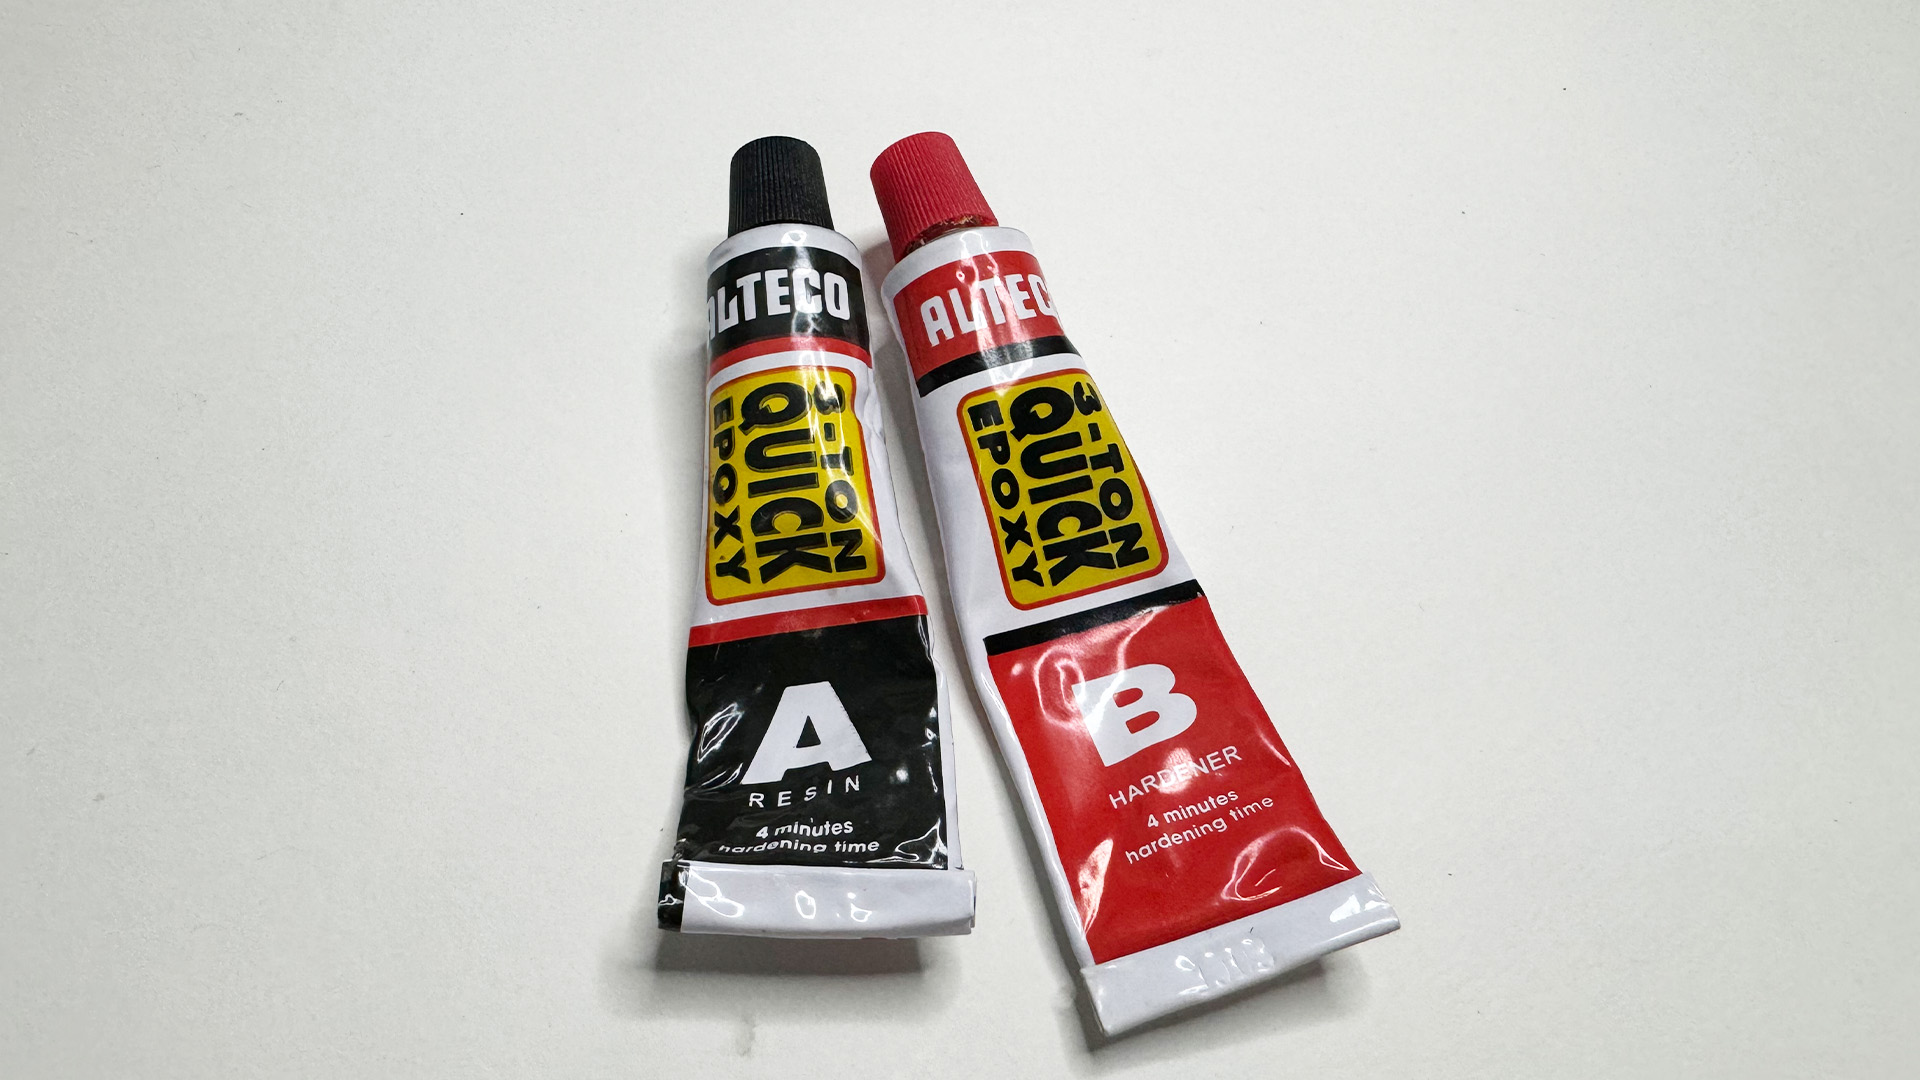
from my button. In consideration of this, I adhered them in place using resin glue so
that the connection would not break and the glue would essentially become as strong as
plastic after it dries completely.
I then adhered them to the lid using the
adhesive to ensure that nothing would move and that the buttons would remain in place.
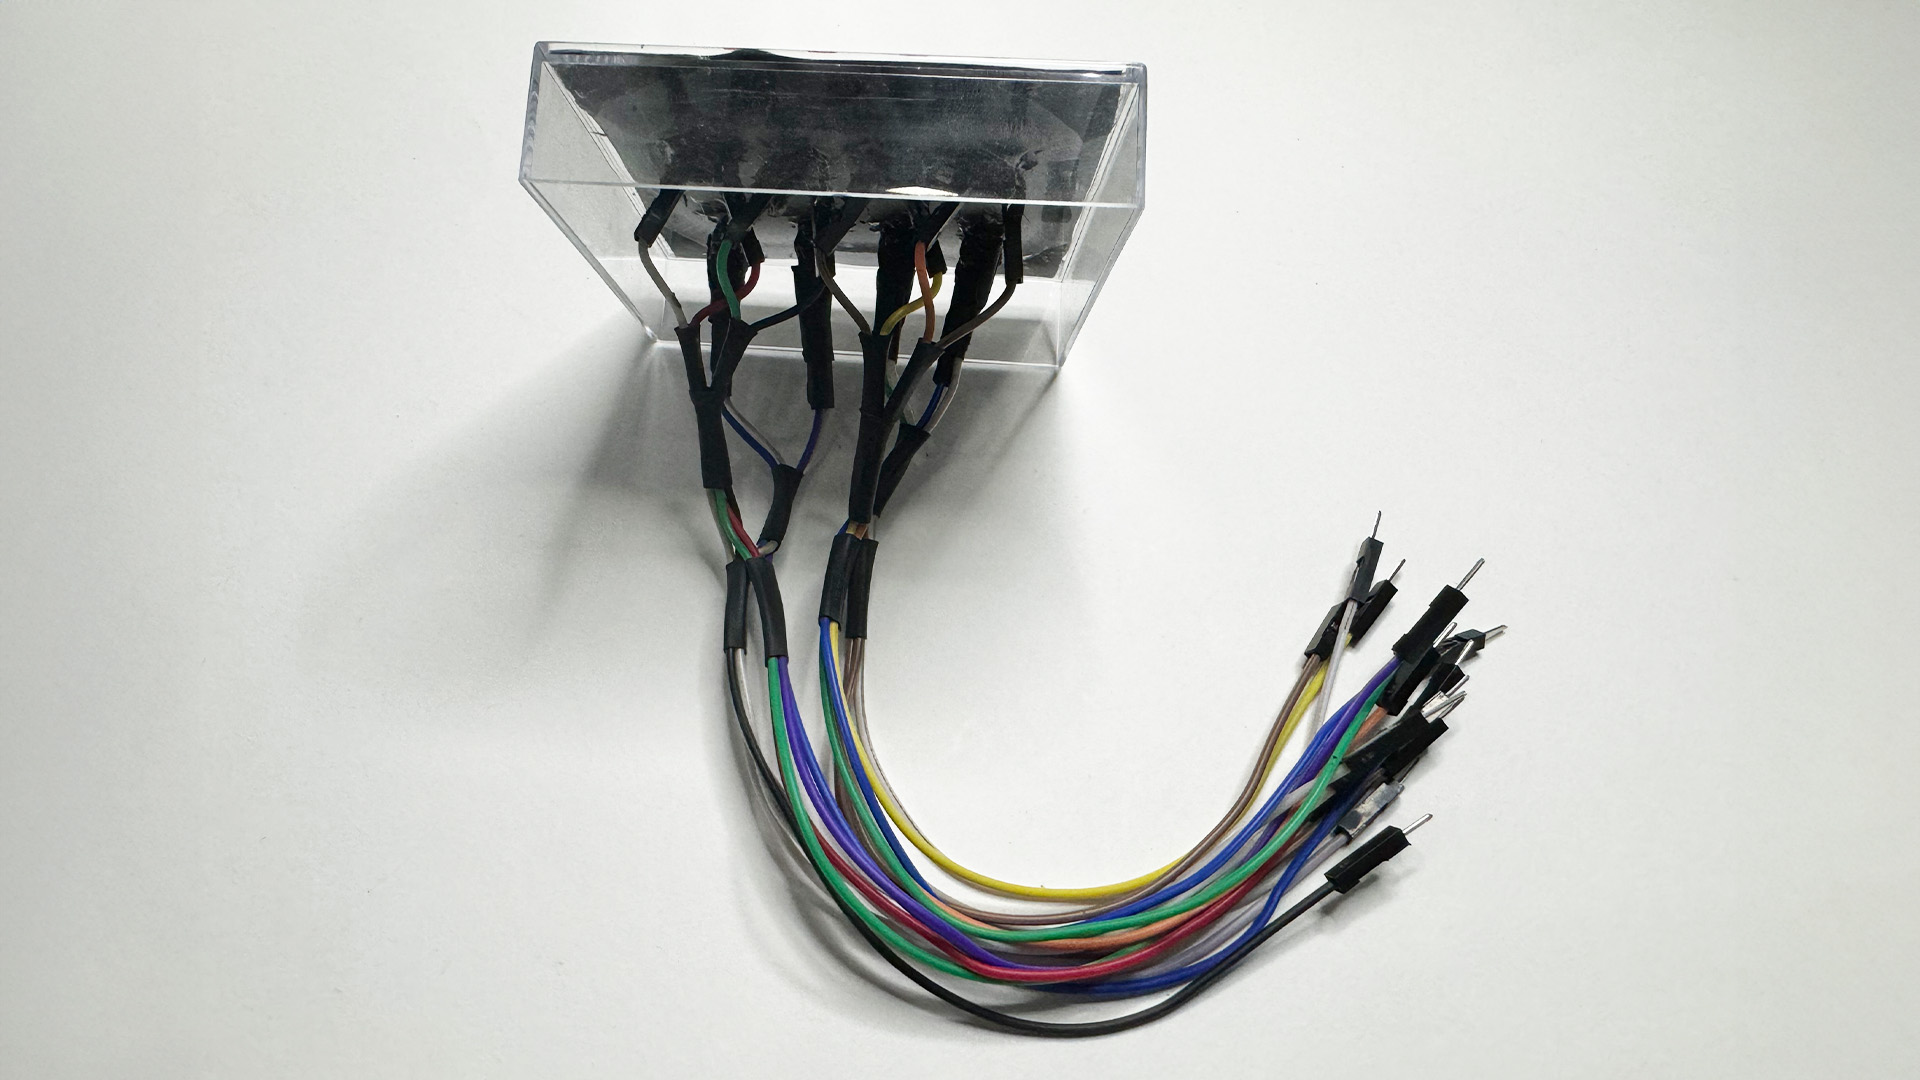
Since there were many wires, I explored arranging them with more heat shrink tubing to
make the arrangement neater and make it simpler to determine which cables corresponded
to which input and output pins.
I made the decision to attempt applying electrical tape and taping them on the
acrylic's surface before using the soldering rod to melt through it, based on what I
had seen and learned from the previous experience. Theoretically, in this scenario,
the melted plastic should be on the tape, allowing me to remove the tape right away
before the plastic solidified. My surface could then be flat and free of plastic
access as a result.
To be honest, I did not anticipate that this method would
be so effective and that the hole would stay level. There was some sticky residue
left by the tape, but it was quite easy to remove with some lighter fluid. The case
was perforated with three holes: one for the reset button, one for the buzzer that
lets sound through, and one for all the cables that connect the Arduino board. I
assembled my box by adhering the remaining parts to the box's base using glue.
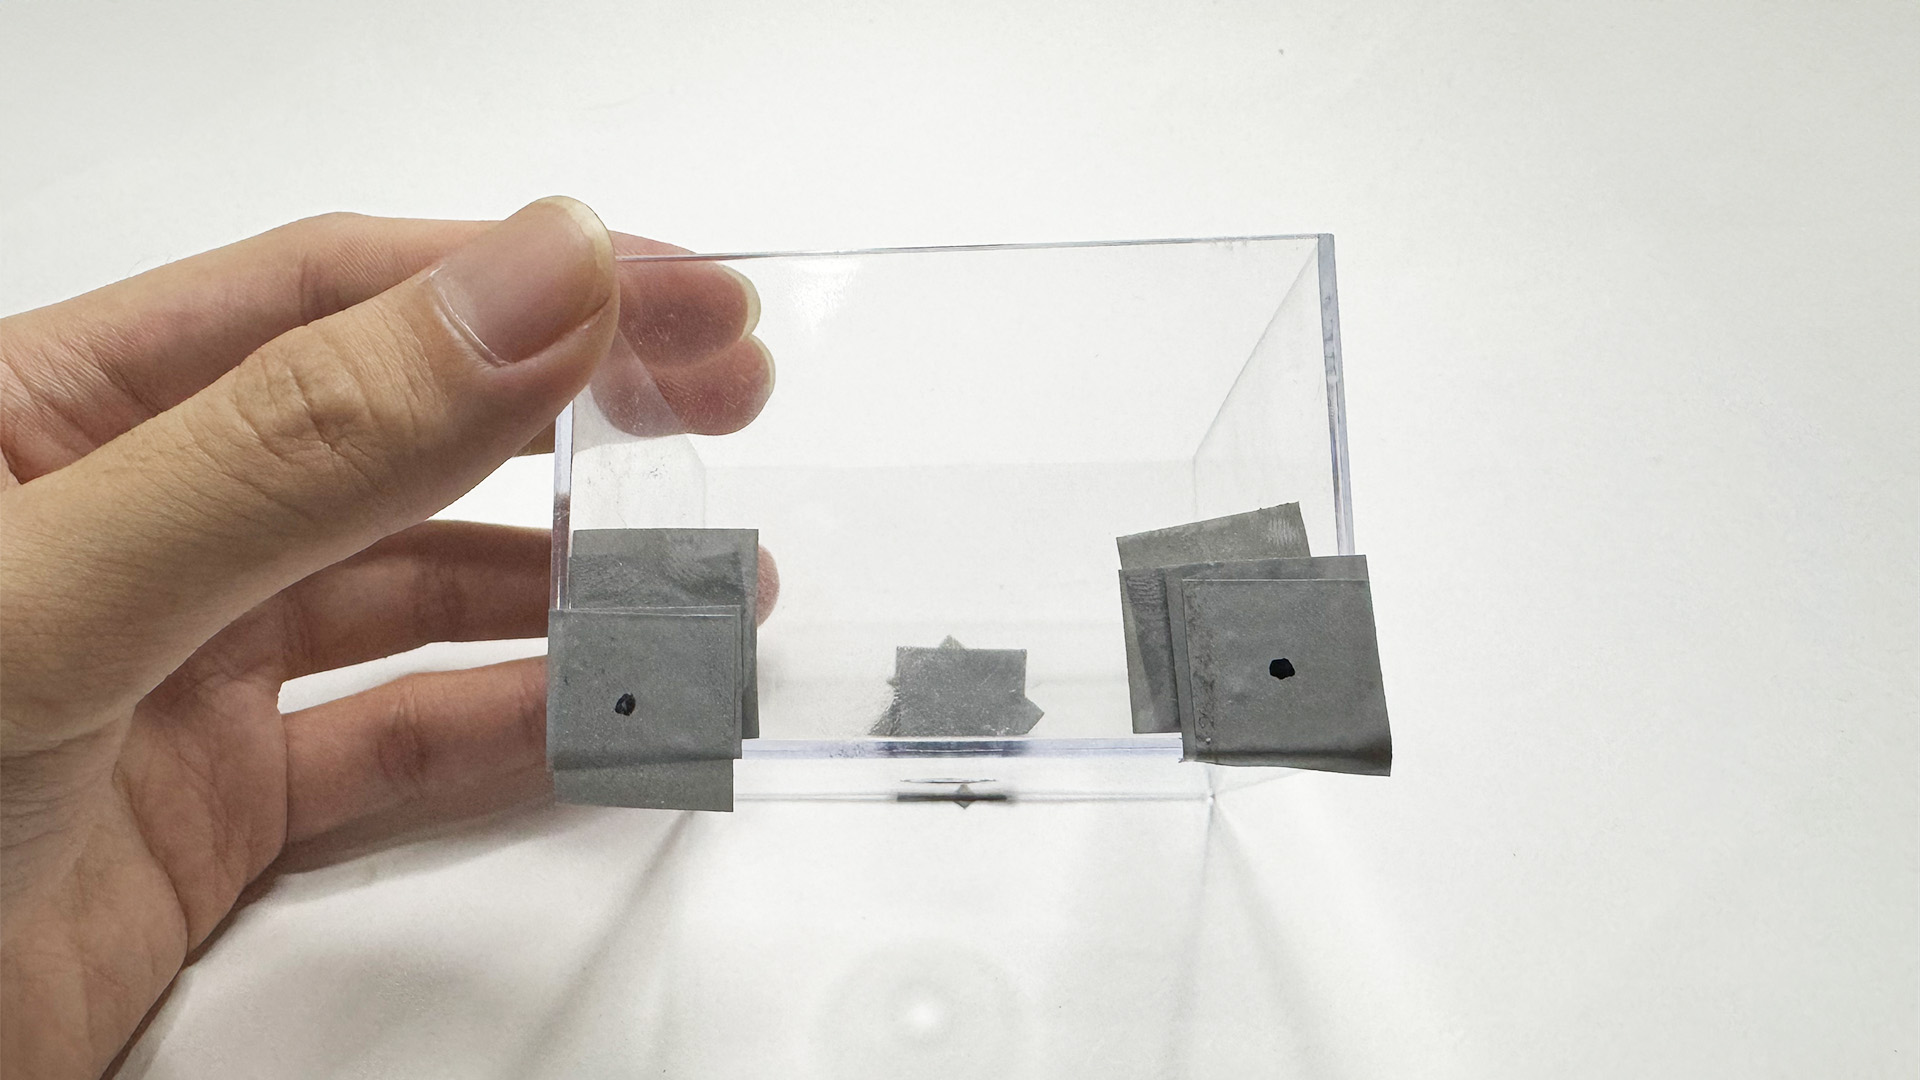
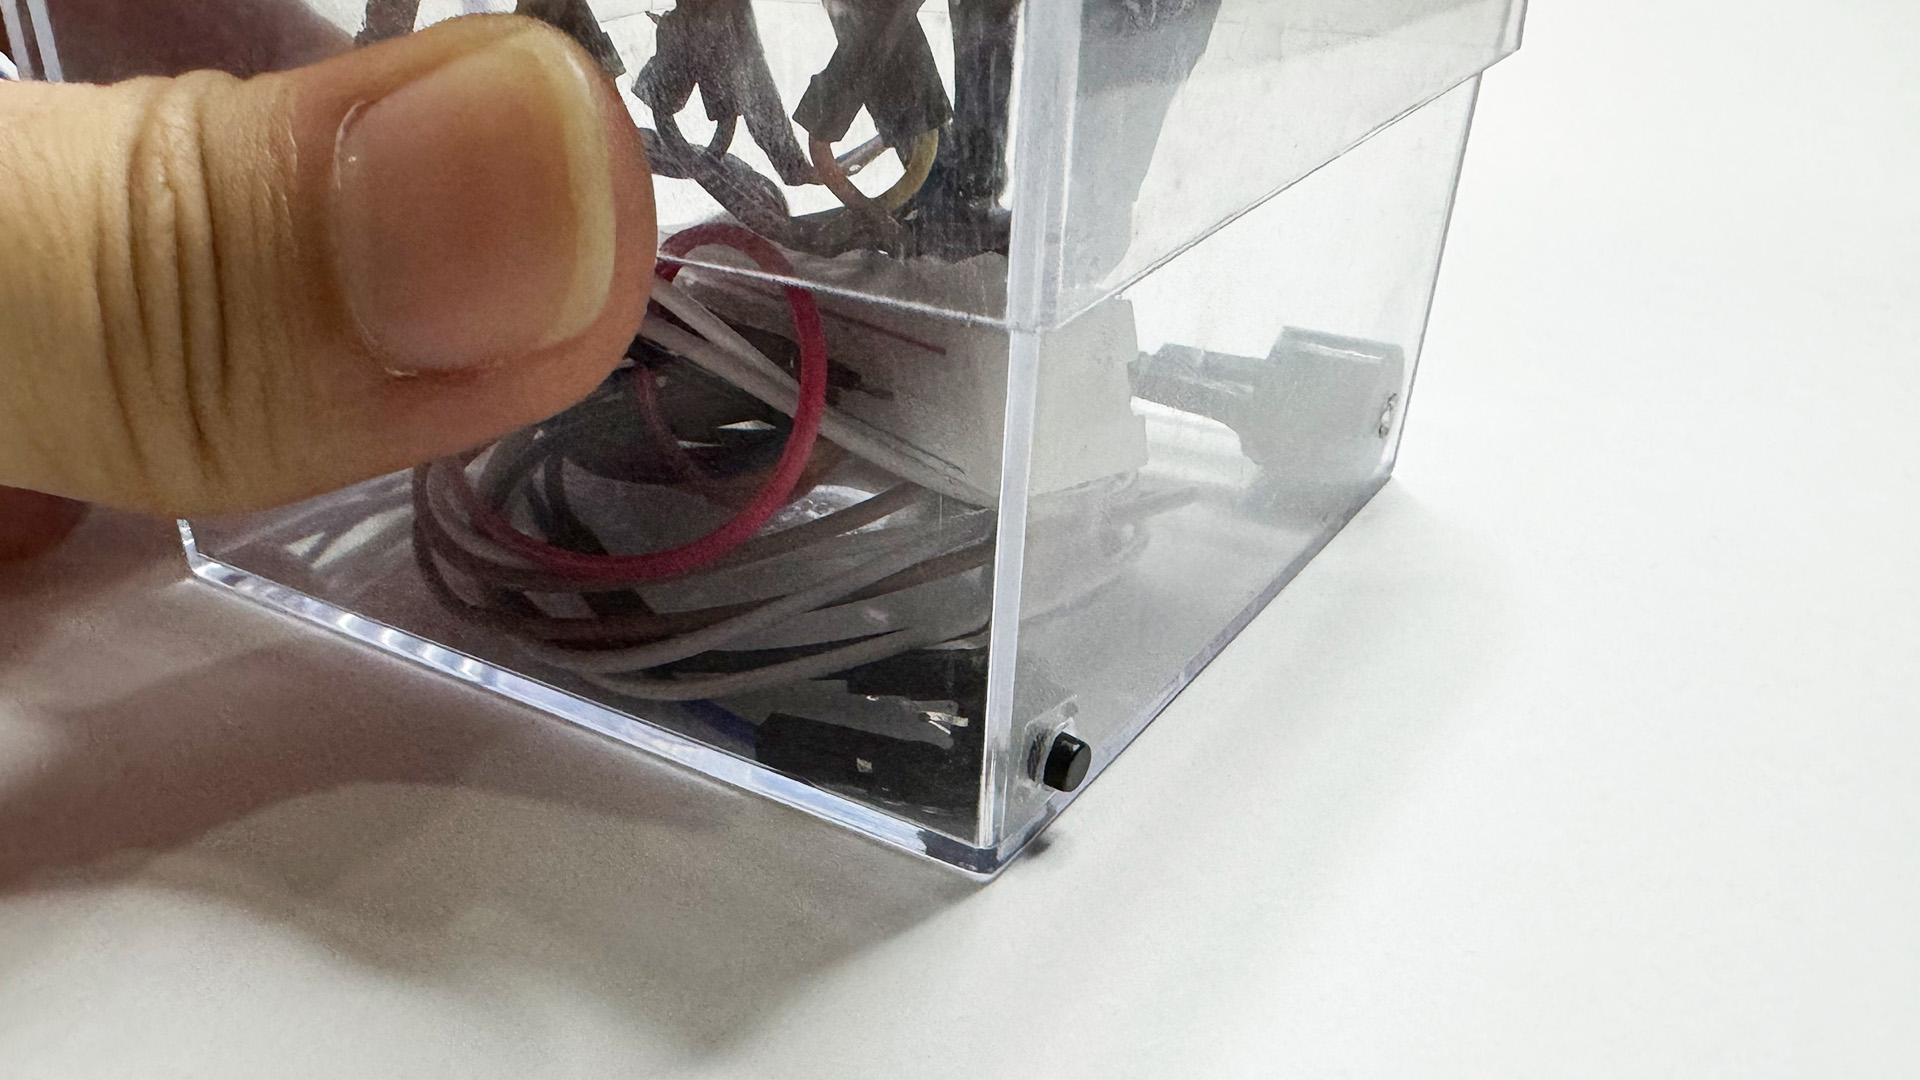
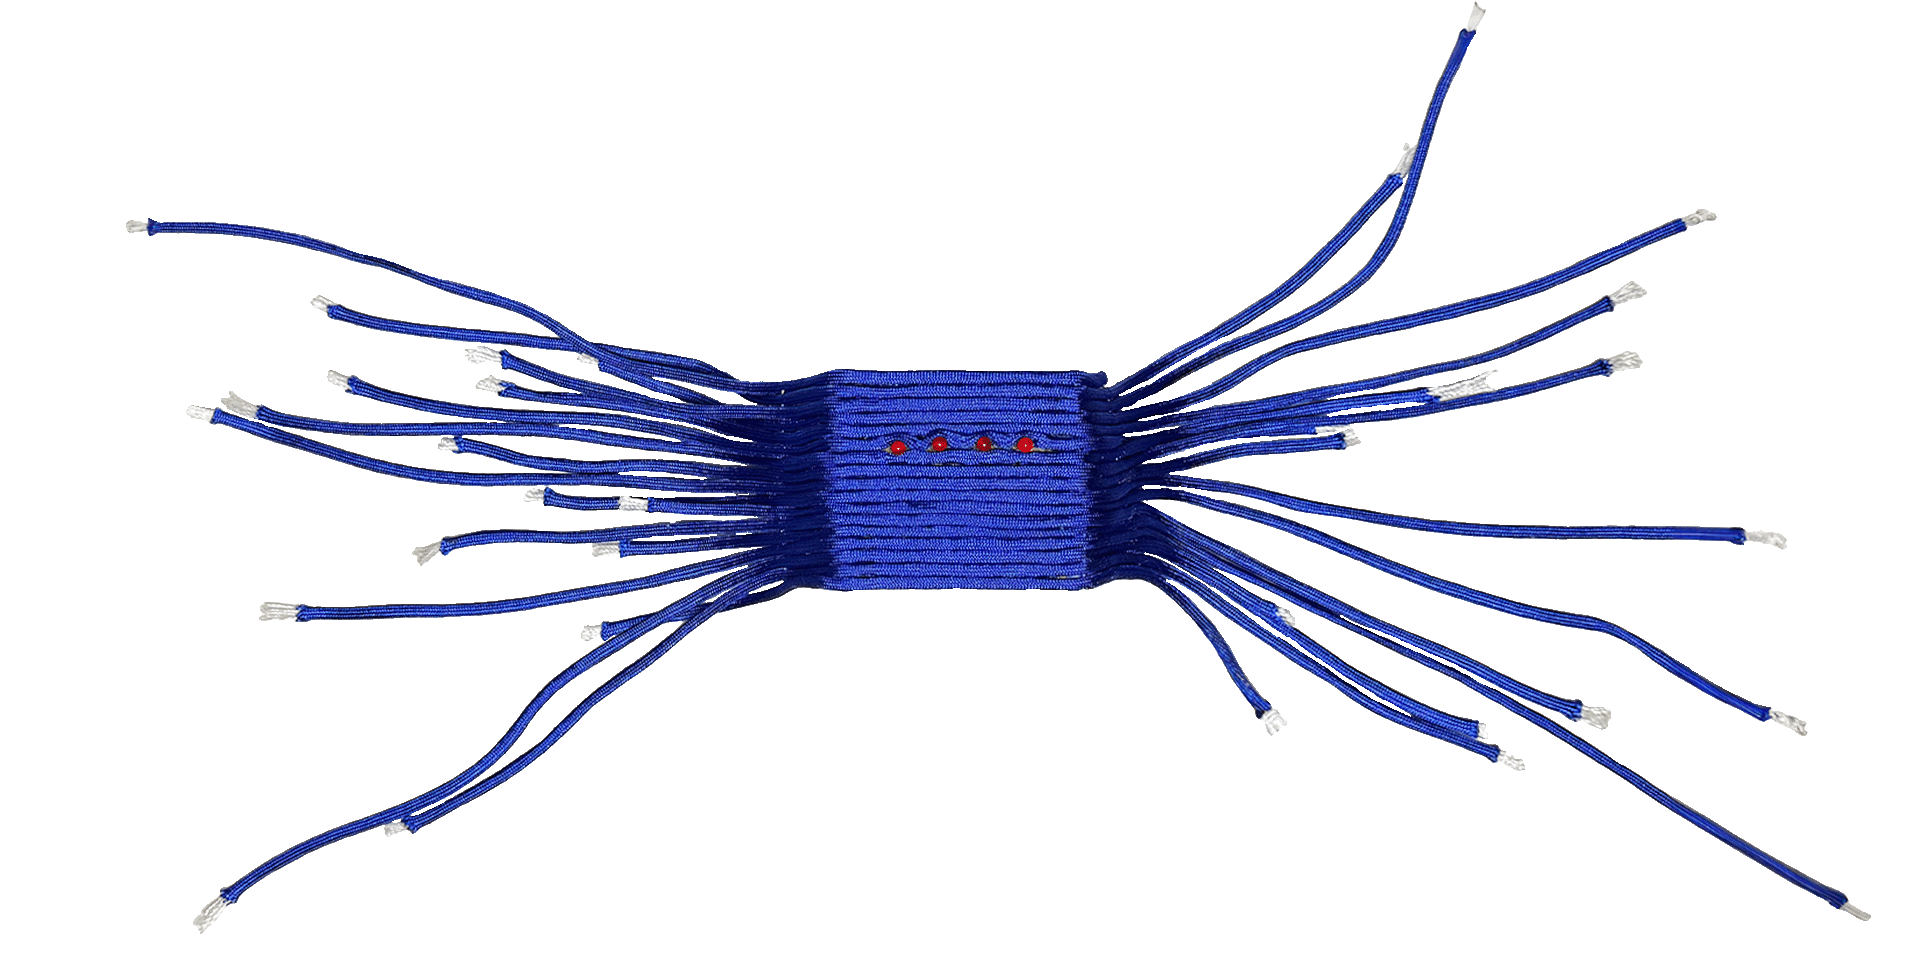
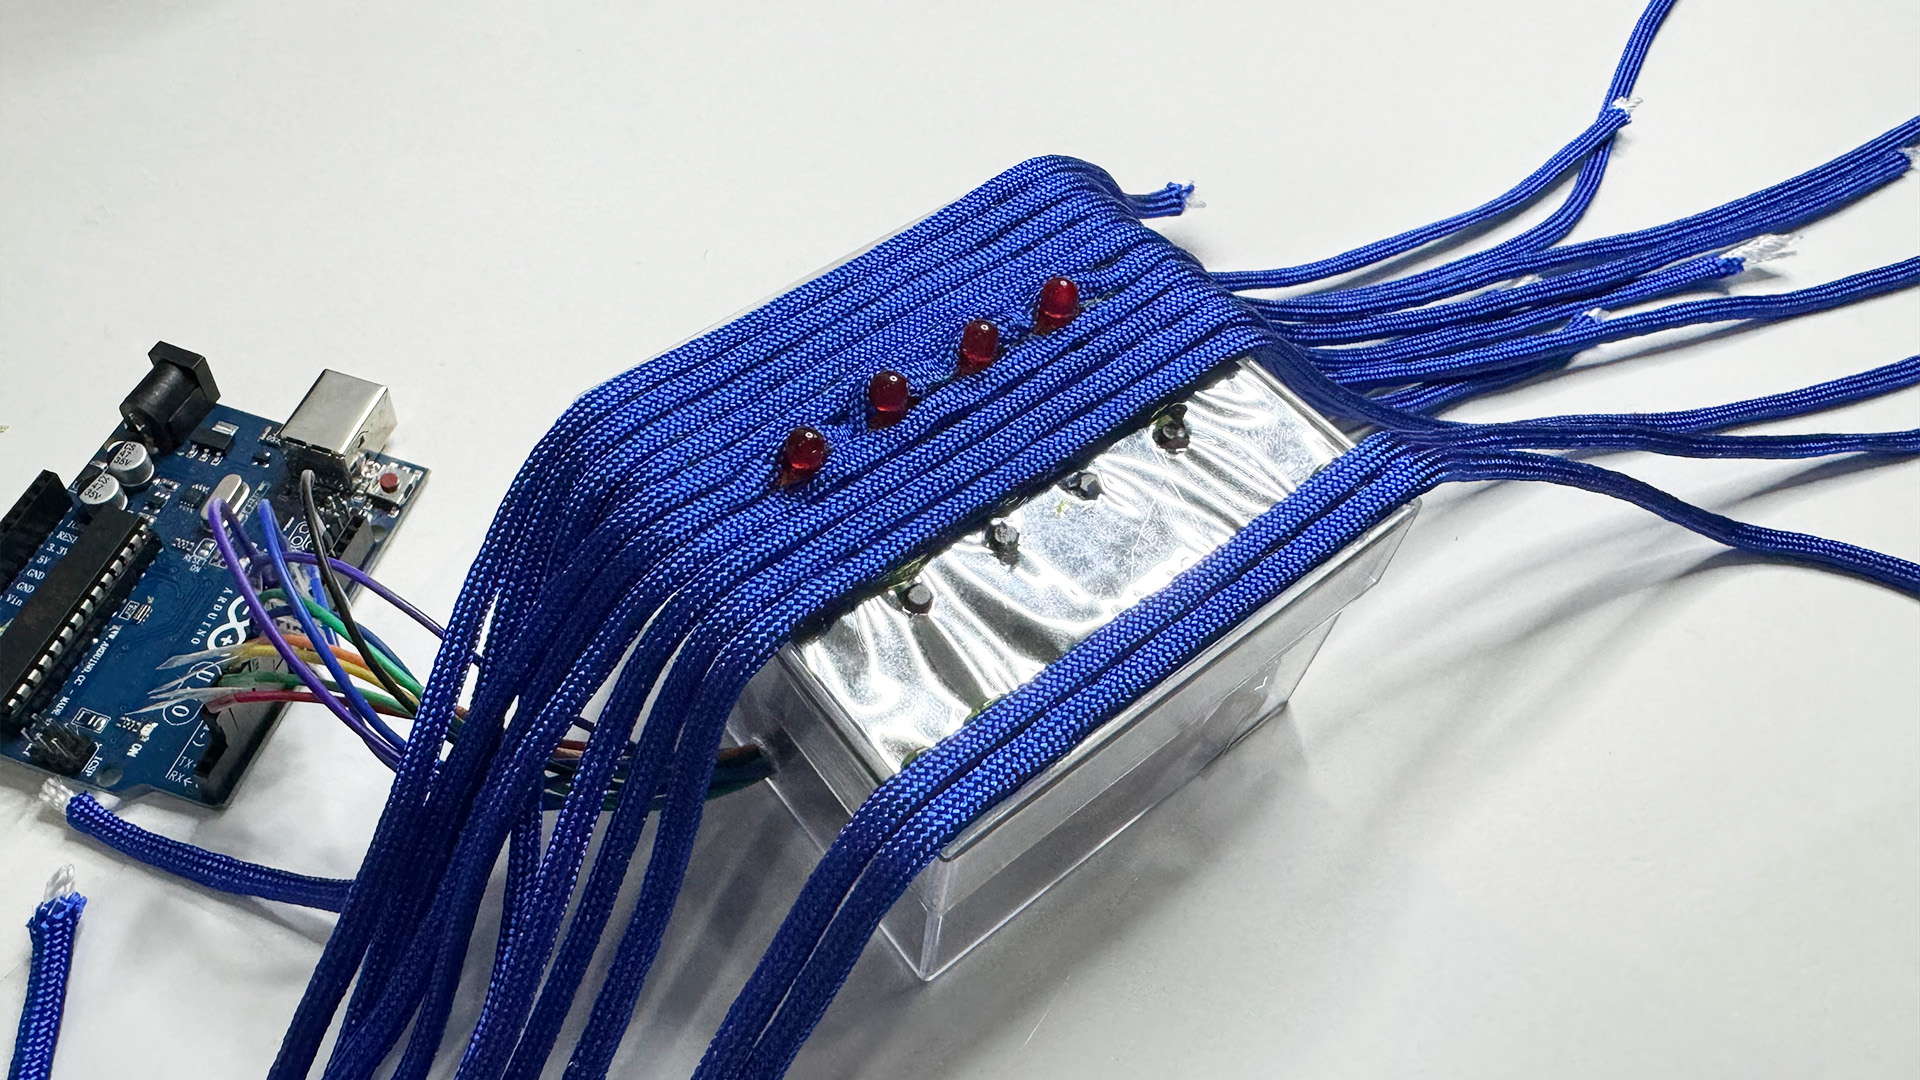
The plastic left a lot of finger pint and was really unsightly because it was smooth and reflective. The buttons could not be seen since the plastic was difficult to cut. I considered covering it with something above. I thought it would be fascinating to include the parachute ropes I found in my room into my creation. The coiled ropes reminded me, I thought, of the grooves in the brain. As blue is a colour linked to serenity and tranquilly, I made the decision to go with it.
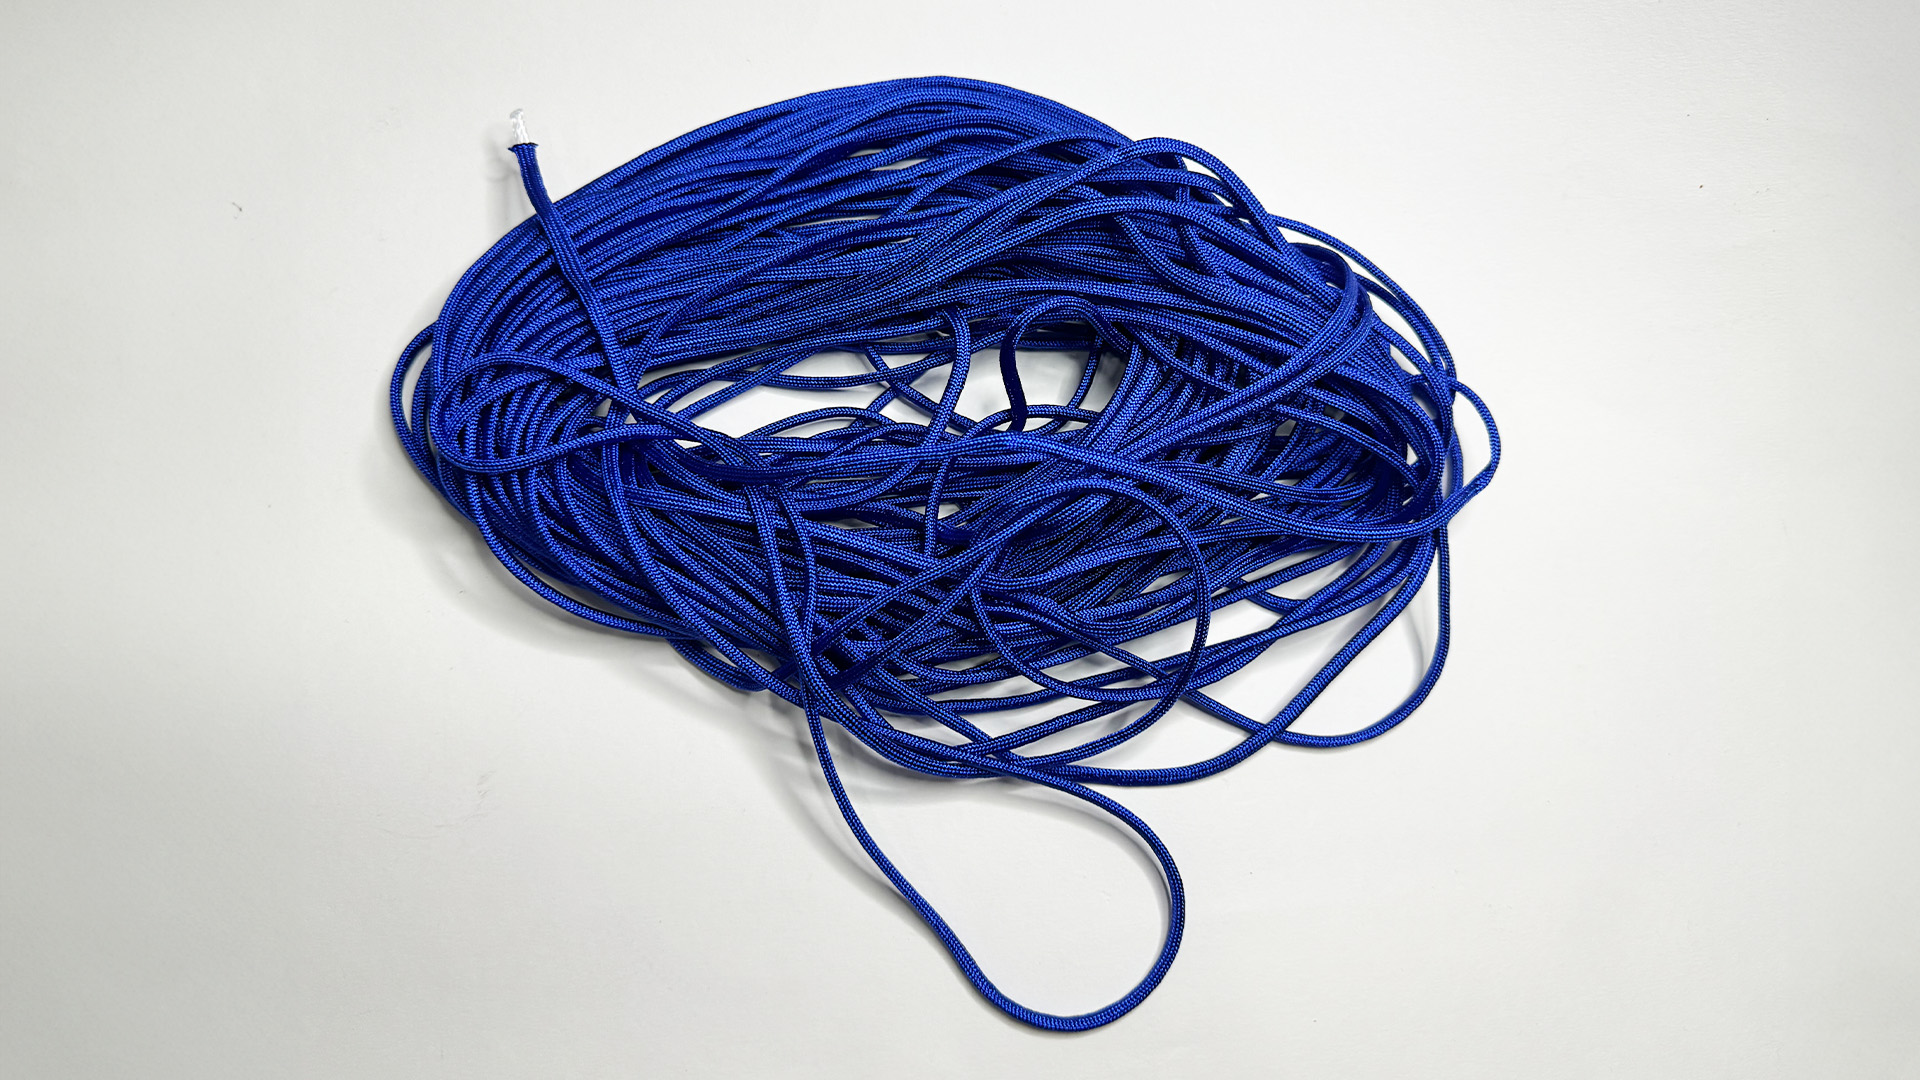
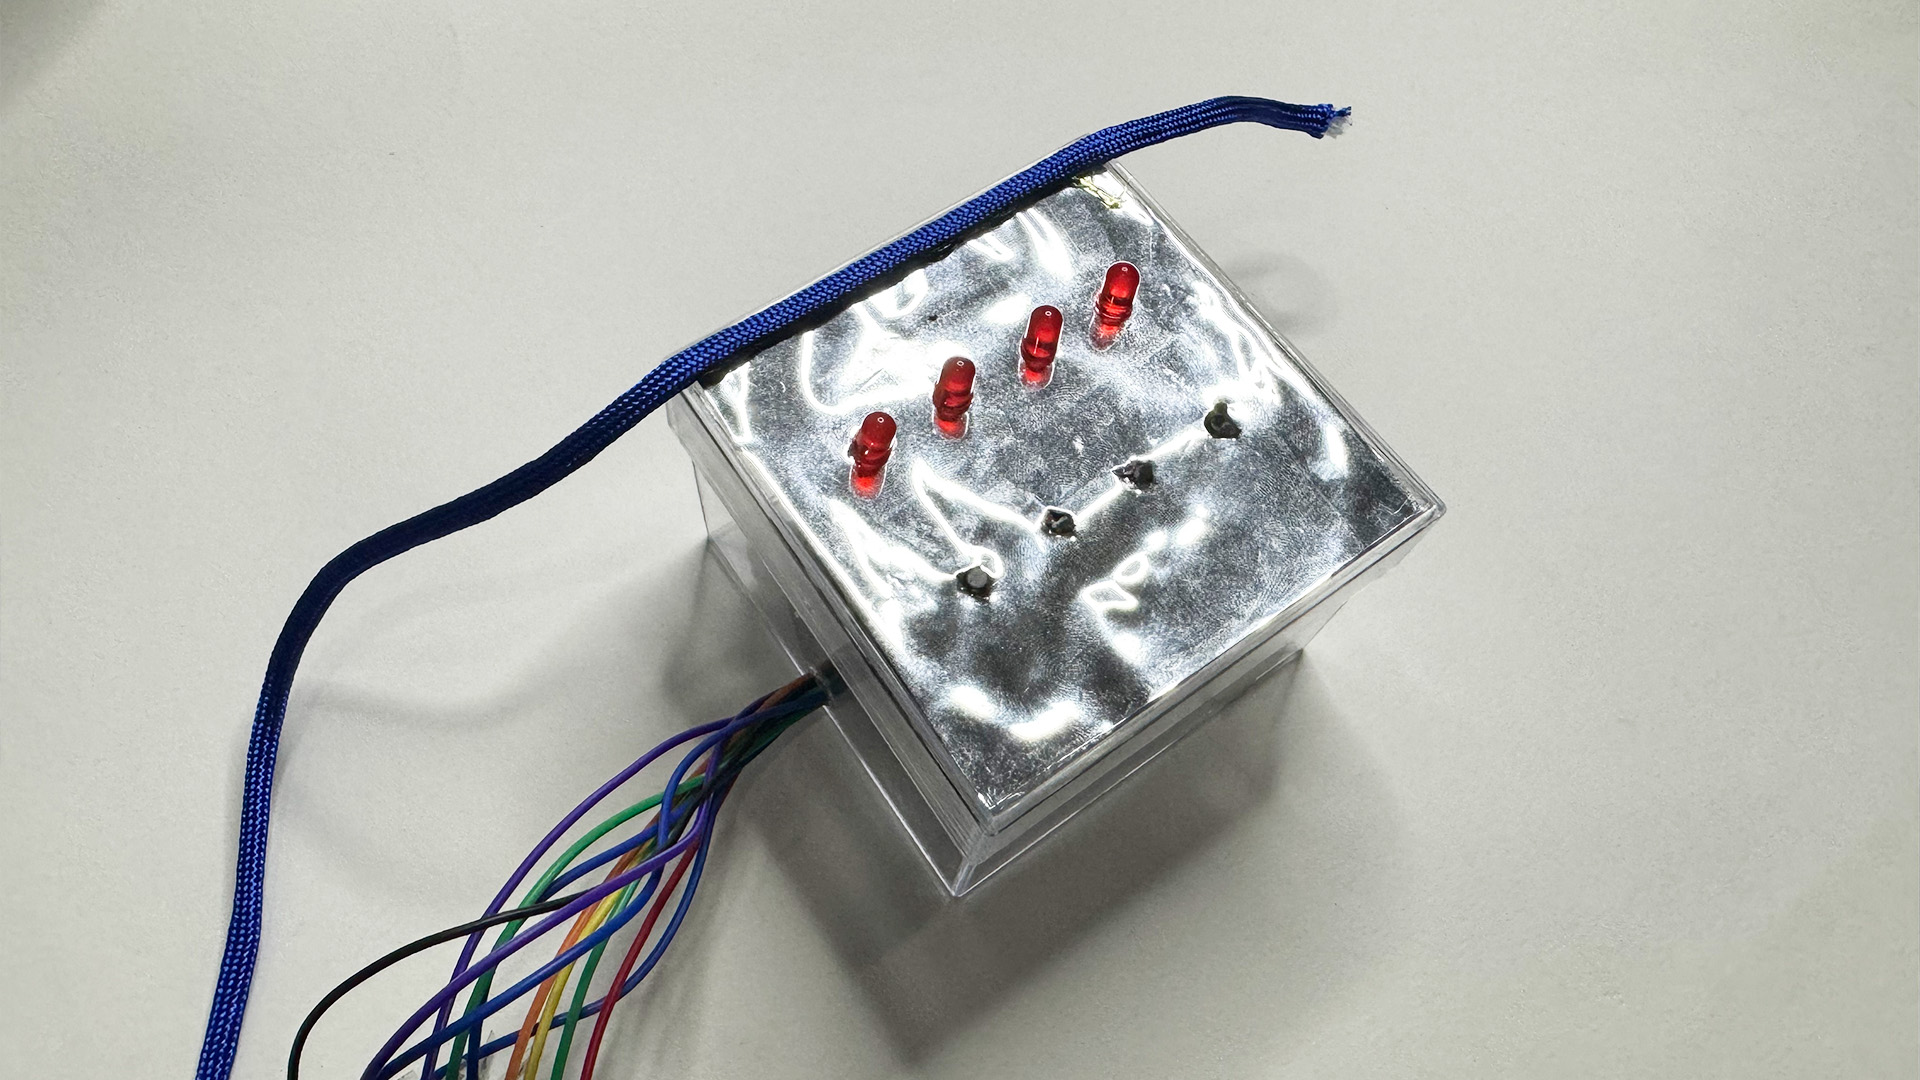
In order to create an uneven flow on both sides of the box, I chose to cut the ropes
into equal lengths and arrange them at random. I pictured it seeming as though the
box had been torn from something, exposing the tattered edges on each section. The
way the parachute ropes cascade and arrange in an erratic manner symbolises the two
contrasting states of attention: focused and chaotic. The ropes' haphazard
arrangement represents the erratic nature of attention.
I decided that the
ropes should cover the button and not be visible while I was adhering them down. A
touch-sensitive surface in place of the button provides a degree of interactivity.
Playing with the lid provides a tactile sensation that reaffirms the idea that
attention is a physical and mental state of interaction with the environment.
Without a doubt, the manner in which my work is to be displayed is not by itself.
Along with the actual work, there would be a tentcard exhibited. Since the audience
would not know what to do with it, each participant would be given a brief
instruction or hint to help them guess what they should be doing. A clear
understanding of the task would also help to prevent attention loss because it would
encourage the participant to actively attempt to solve the given challenge.
The tent
card's text would be, "I'm a sequence of actions, not a dance or a song,
Press me three times, not too short, not too long. Follow it up with a press that is
sustained. What I am?"

